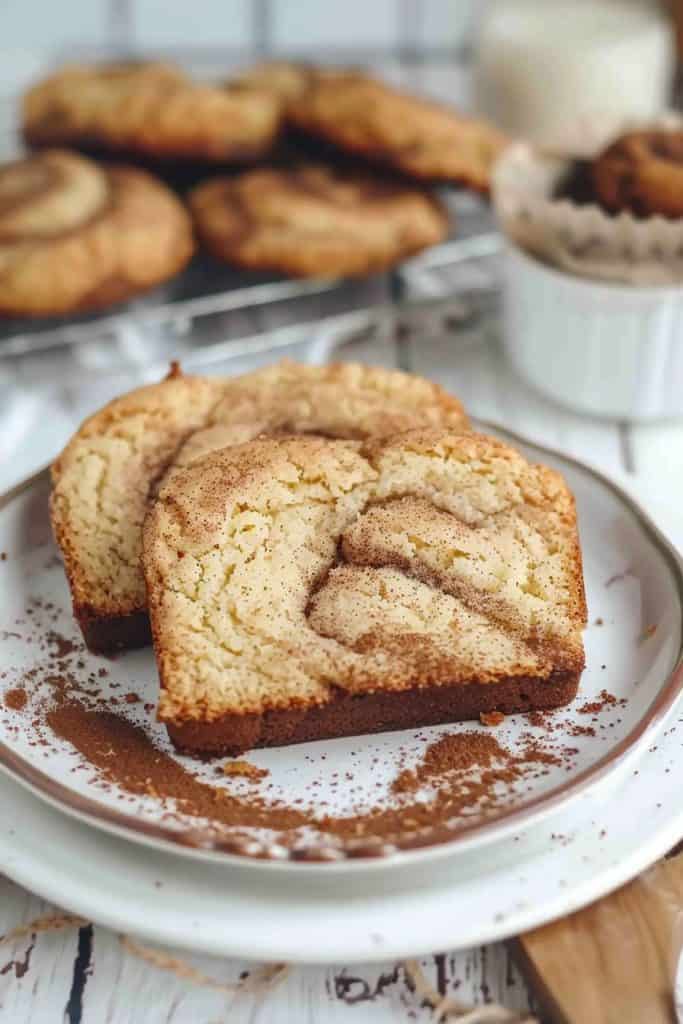
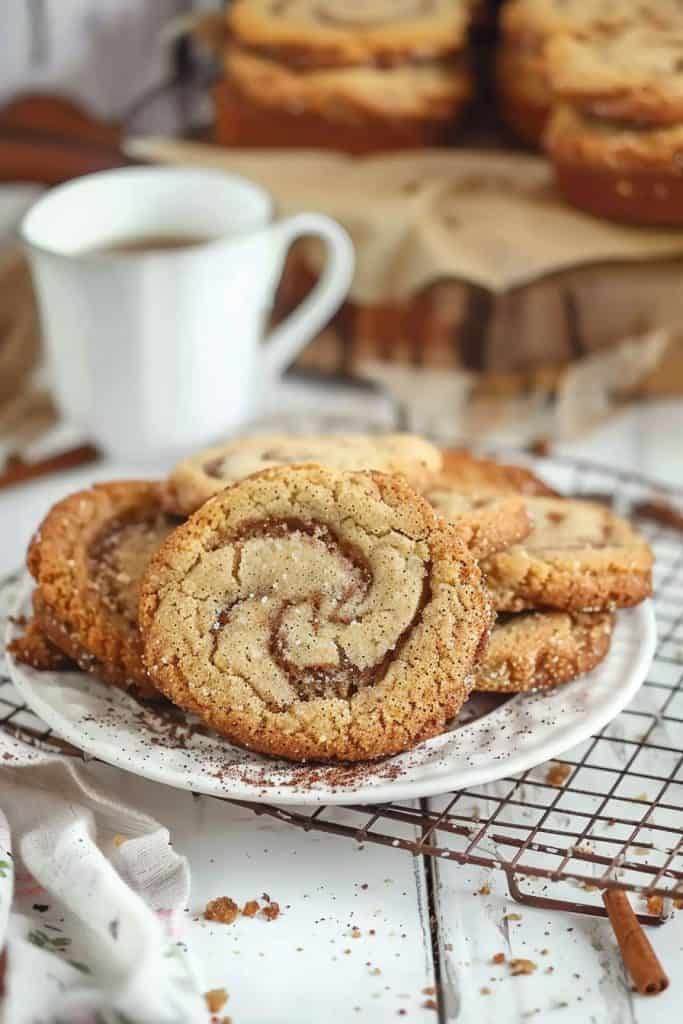
If you’re a fan of the classic snickerdoodle cookie, you’re going to love snickerdoodle bread. This delightful treat combines the soft, buttery goodness of bread with the cinnamon-sugar magic of snickerdoodles. Imagine biting into a slice that’s both moist and slightly crunchy with a swirl of cinnamon running through it. It’s perfect for breakfast, dessert, or an anytime snack.
Ingredients
Gathering the right ingredients is essential to making that perfect snickerdoodle bread with a moist texture and a delightful cinnamon twist. Below is the list of ingredients you will need for the bread itself and the topping.
For the Bread
- 1 cup butter (softened)
- 2 cups sugar
- 3 eggs
- 1 teaspoon vanilla extract
- 3/4 cup sour cream
- 2 1/2 cups all-purpose flour
- 2 teaspoons baking powder
- 1/2 teaspoon salt
- 2 teaspoons ground cinnamon
- 1 teaspoon ground cinnamon
- 1/2 cup sugar
These ingredients will infuse your snickerdoodle bread with the perfect balance of sweetness and spice, making it a delectable treat for any time of the day.
Equipment Needed
To prepare a delicious snickerdoodle bread, having the right equipment on hand is crucial. Here is a detailed list of the necessary tools and their specific usage to ensure the best results.
Mixing Bowls
You’ll need a set of mixing bowls—preferably one large and one medium. The large bowl will be for combining the dry ingredients, while the medium bowl will be for wet ingredients.
Hand Mixer or Stand Mixer
A hand mixer or stand mixer will help you achieve a smooth, creamy batter. Using an electric mixer ensures that the ingredients are well-incorporated and the batter is free of lumps.
Measuring Cups and Spoons
Accurate measurements are key to a successful snickerdoodle bread. Utilize both dry and liquid measuring cups, and a set of measuring spoons to precisely measure all ingredients.
Rubber Spatula
A rubber spatula is essential for scraping down the sides of your mixing bowls, ensuring that every bit of batter is used. It’s also helpful for folding in any additional ingredients.
Loaf Pan
A standard 9×5 inch loaf pan is ideal for this recipe. Make sure it is non-stick or lined with parchment paper to ease the removal of the bread after baking.
Parchment Paper
Parchment paper is useful for lining your loaf pan, preventing the bread from sticking and making cleanup a breeze. Cut a piece to fit the bottom and sides of the pan.
Cooling Rack
A cooling rack allows the bread to cool evenly from all sides, preventing it from becoming soggy. This helps maintain the perfect texture of the snickerdoodle bread.
Whisk
A whisk will help you combine dry ingredients thoroughly, ensuring the baking powder and salt are evenly distributed throughout the flour mixture.
Bread Knife
Once your bread is baked and cooled, a bread knife will make slicing through the loaf easy and clean, preserving the crumb structure of your snickerdoodle bread.
Directions
Follow these step-by-step directions to create the perfect snickerdoodle bread. Each step is crucial to achieving that delightful cinnamon-sugar flavor and moist, buttery texture.
Prep
- Preheat your oven to 350°F (175°C).
- Line a loaf pan with parchment paper or lightly grease it with butter to prevent sticking.
- Gather all your ingredients and equipment.
Mixing the Batter
- In a large mixing bowl, cream together 1 cup (2 sticks) of softened butter and 2 cups of sugar using a hand mixer or stand mixer on medium speed until light and fluffy.
- Add 2 large eggs one at a time, beating well after each addition.
- Stir in 2 teaspoons of vanilla extract until fully combined.
- In a separate bowl, whisk together 3 1/2 cups of all-purpose flour, 2 teaspoons of baking powder, and 1/2 teaspoon of salt.
- Gradually add the dry ingredients to the wet mixture, mixing until just combined.
- Gently fold in 1 cup of sour cream and 1 1/2 cups of cinnamon chips until evenly distributed throughout the batter.
Adding the Topping
- In a small bowl, mix together 2 tablespoons of granulated sugar and 1 teaspoon of ground cinnamon.
- Pour half of the batter into the prepared loaf pan, spreading it evenly.
- Sprinkle half of the cinnamon-sugar mixture over the batter.
- Add the remaining batter on top, smoothing it evenly.
- Finish by sprinkling the rest of the cinnamon-sugar mixture on top.
- Place the loaf pan in the oven and bake for 60-70 minutes, or until a toothpick inserted in the center comes out clean.
- Remove the pan from the oven and let the bread cool in the pan for 10 minutes.
- Transfer the bread to a cooling rack to cool completely.
- Once cooled, use a bread knife to slice and enjoy your delicious snickerdoodle bread.
Make sure to enjoy each step of the process and savor the warm, comforting flavors of your homemade snickerdoodle bread.
Tips for Perfect Snickerdoodle Bread
Creating the perfect snickerdoodle bread involves a few secrets and strategies to ensure the best results. Here are my go-to tips to elevate your baking experience and final product.
Ingredient Substitutions
When substituting ingredients in snickerdoodle bread:
- For a healthier twist, replace half the all-purpose flour with whole wheat flour for added fiber.
- Coconut oil can be used instead of butter for a dairy-free version.
- Use coconut sugar or maple syrup as a natural sweetener instead of granulated sugar.
- If you are out of cream of tartar, substitute it with 1 1/2 teaspoons of lemon juice or white vinegar per teaspoon.
Variations
Experimenting with variations can make your snickerdoodle bread unique:
- Mix in 1/2 cup of chopped pecans or walnuts for a nutty crunch.
- Add 1/2 cup of white or dark chocolate chips for a sweet chocolate twist.
- Swirl in 1/4 cup of Nutella or peanut butter before baking for a rich, marbled effect.
- Stir in 1/4 teaspoon of ground nutmeg or cloves with the cinnamon for an extra spiced flavor.
Make-Ahead Instructions
To make snickerdoodle bread ahead of time:
- Prepare the batter and store it in an airtight container in the refrigerator for up to 24 hours. Bring it to room temperature before baking.
- Bake the bread as instructed, let it cool completely, then wrap it tightly in plastic wrap and aluminum foil. Freeze for up to three months.
- To thaw, leave the wrapped bread at room temperature for 6-8 hours or overnight. Reheat in the oven at 350°F for 10-15 minutes to freshen up the bread.
By following these tips and tricks, you’ll perfect the art of making snickerdoodle bread and enjoy consistent success with every bake.
Storing Instructions
Keeping your snickerdoodle bread fresh ensures you can enjoy its delightful flavors even after the initial bake. Here’s how you can store your leftover snickerdoodle bread and whether you can freeze it for longer preservation.
How to Store Leftovers
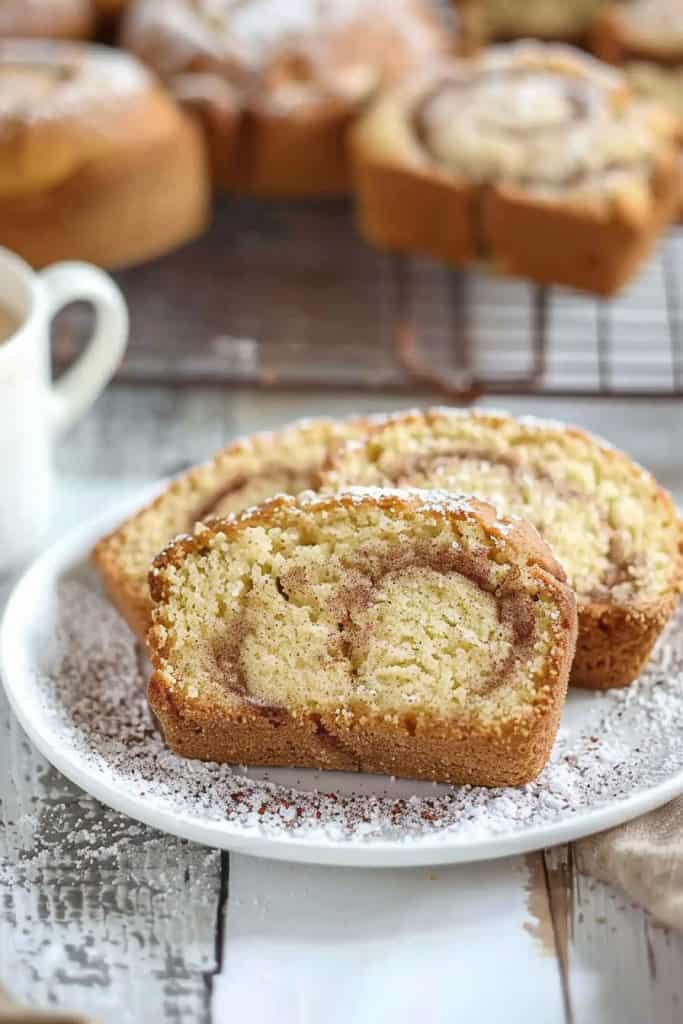
To store snickerdoodle bread, allow it to cool completely. Once cool, wrap the bread tightly in plastic wrap or aluminum foil. I recommend storing the wrapped bread in an airtight container to maintain its moisture and prevent drying out. Keep the container at room temperature and your snickerdoodle bread will stay fresh for up to 3 days.
Can You Freeze Snickerdoodle Bread?
Yes, you can freeze snickerdoodle bread to extend its shelf life. After the bread has cooled completely, wrap it tightly in plastic wrap and then in aluminum foil to protect it from freezer burn. Place the wrapped bread in a freezer-safe bag or container. Frozen snickerdoodle bread can be stored for up to 3 months.
When ready to enjoy, thaw the bread at room temperature while still wrapped to avoid condensation forming on the bread. For a freshly baked taste, you can reheat individual slices in a toaster or the entire loaf in an oven preheated to 350°F for about 10 minutes.
Conclusion
Snickerdoodle bread combines the best of both worlds with its soft, buttery texture and irresistible cinnamon-sugar flavor. Whether you’re baking for a special occasion or just to satisfy a sweet craving this bread is sure to impress. With the right ingredients and equipment plus a few helpful tips you’ll consistently achieve delicious results. Don’t forget to experiment with variations and make-ahead options to suit your preferences. Happy baking!
