 Recipes")
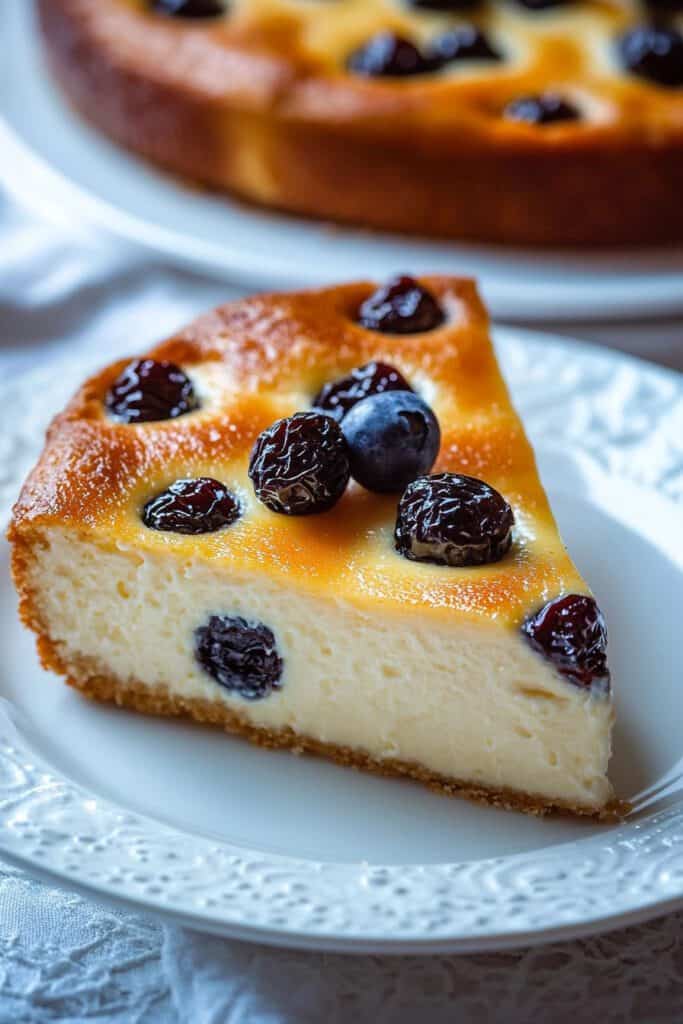
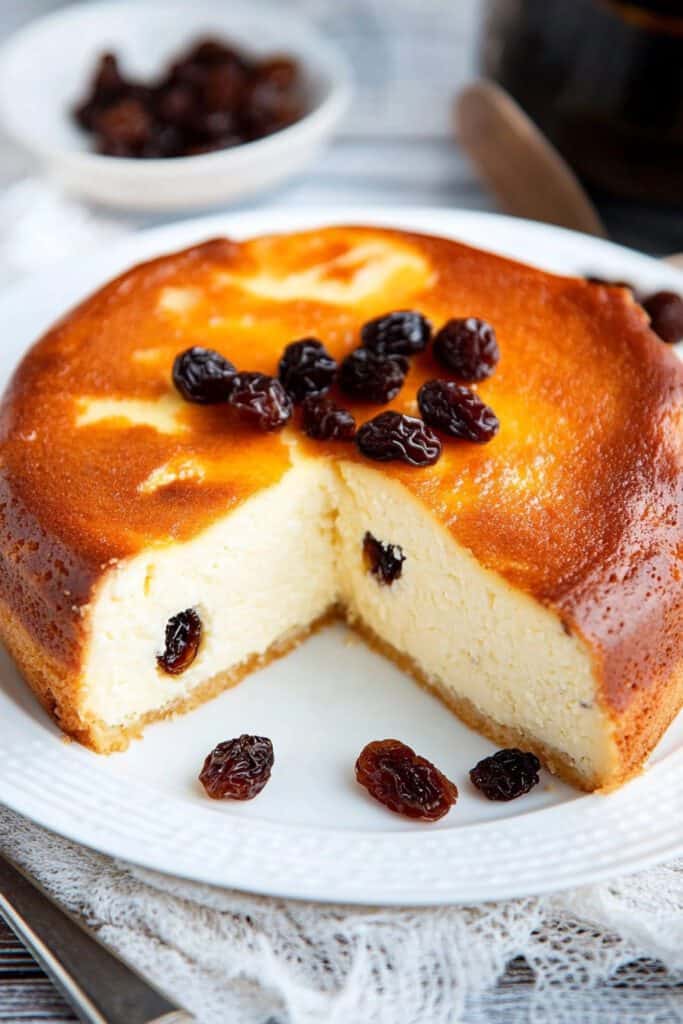
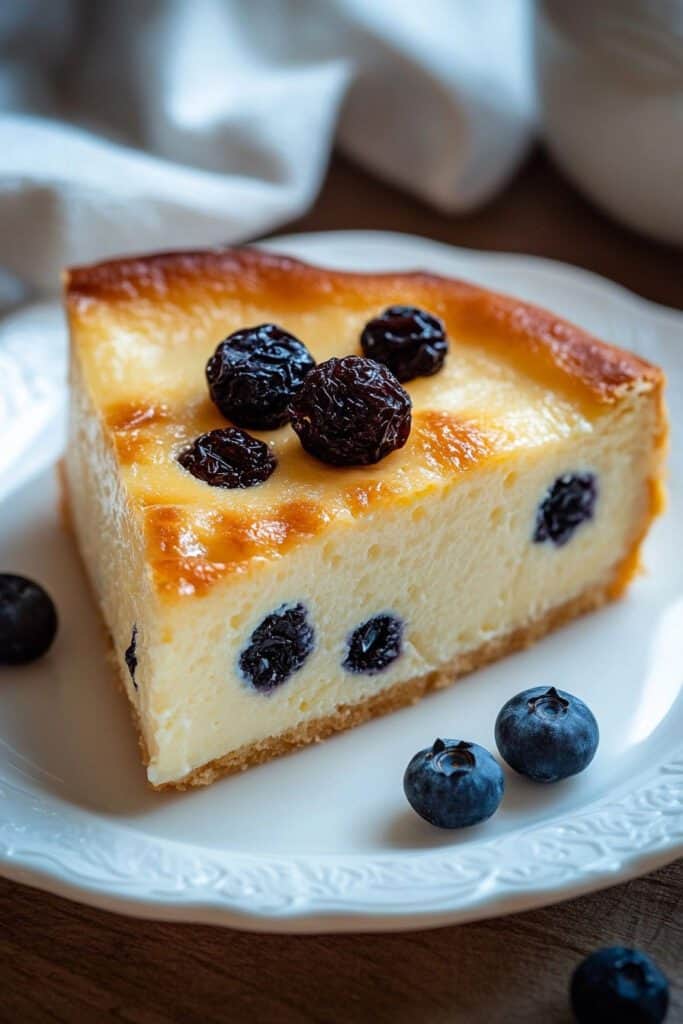
Craving a taste of Russia? Look no further than this delightful Russian Cheesecake recipe, a traditional dessert that captures the essence of simplicity and rich flavor. Known as “Zapekanka” in Russian, this baked cheesecake made with farmer’s cheese delivers a creamy texture and subtle sweetness in each bite. The addition of golden raisins and a hint of yogurt adds a unique charm, making this delicious treat unforgettable. Whether you’re looking to try something new or craving a cheesecake that’s not too sweet, this Russian Cheesecake is perfect for any occasion.

Ingredients List
Let’s gather all the ingredients needed to prepare this luscious cheesecake. If you’re looking for a gluten-free option, feel free to omit the cream of wheat as it’s optional and won’t drastically affect the overall result!
Cheesecake Ingredients
- Farmer’s Cheese (Tvorog) – 650 g : The star of this cheesecake that creates the base of the rich, creamy texture.
- Sugar – 1/2 cup : To add just the right amount of sweetness to the mix.
- Cream of Wheat – 4 tablespoons : Helps with the texture of the cheesecake, but you can omit this for a gluten-free version.
- Baking Powder – 3/4 teaspoons : To give the cheesecake a slight lift during baking.
- Eggs – 4 extra-large : Adds richness and helps bind the ingredients together.
- Plain Greek Yogurt – 1/4 cup : Adds creaminess and a hint of tang, enhancing the flavor profile.
- Golden Raisins – 1/2 cup (optional) : Adds a sweet and fruity element for those who love additional texture and flavor.
For Preparing the Pan:
- Butter : To grease the pan and ensure the cake doesn’t stick.
- Cream of Wheat (extra for dusting the pan) : The dusting ensures a non-stick surface while adding a light crust to the cheesecake’s base.
Required Kitchen Tools
To ensure your baking process runs smoothly, having the right kitchen tools on hand is key. Though this recipe is rather simple, these tools will help you achieve that perfect texture and final result.
- Mixing Bowl : A large mixing bowl is essential for combining all the ingredients with ease.
- Spatula : For mixing the farmer’s cheese, sugar, and other ingredients. A spatula is gentle on the dough and helps avoid overmixing.
- Food Processor or Blender (optional) : If you prefer a smoother texture for the cheesecake, using a food processor or blender to puree the farmer’s cheese is a great option.
- Whisk or Hand Mixer : While you can mix the ingredients with a spatula, a hand mixer or whisk may come in handy for smoother mixing, especially for integrating the eggs and yogurt.
- 9-inch Round Baking Pan : This will serve as the perfect vessel for baking your cheesecake. Make sure to butter and dust it with cream of wheat to avoid sticking.
- Wooden Toothpick : Essential for testing whether the cheesecake is done baking. When inserted in the center, the toothpick should come out clean.
- Cooling Rack : Once the cheesecake is out of the oven, you’ll need a cooling rack to help it cool down evenly before serving.
With these tools on hand, you’ll be fully prepared to create a delicious Russian cheesecake with minimal fuss and maximum flavor.
Preparation Instructions
Getting everything mixed together for the Russian cheesecake is simple. Follow these steps to ensure the final product comes out as smooth, creamy, and flavorful as possible.
Preheating and Pan Preparation
- Preheat your oven to 350°F (180°C) . This will give the oven enough time to reach the right temperature by the time your batter is ready.
- Grease your baking pan generously with butter , making sure every part of the surface is well-coated. After buttering, sprinkle an extra layer of cream of wheat into the pan, tilting it to ensure the cream of wheat sticks and covers the bottom and sides. This step prevents the cheesecake from sticking and also adds a subtle crispy texture at the base.
Preparing the Farmer’s Cheese
For a seamless and smooth consistency, I recommend processing the farmer’s cheese in a food processor or blender for about a minute before adding it to the mixing bowl. This step helps break down any larger curds, resulting in an incredibly creamy and silky cheesecake texture. Of course, if you’d prefer a more rustic texture, you can skip the blending.
Mixing the Ingredients
Now it’s time to bring all the ingredients together for the most delicious Russian Cheesecake. Grab your prepared farmer’s cheese and follow these steps for the perfect batter:
- Combine the Dry Ingredients : In a large mixing bowl, place the smoothened farmer’s cheese (or the unprocessed version if you skipped the food processor step earlier). Add the sugar, 4 tablespoons of cream of wheat , and baking powder . Mix together with a spatula until everything is fully incorporated. Don’t worry if it looks a bit grainy—you’ll smooth it out when the wet ingredients are added.
- Add the Wet Ingredients : Next, add the 4 extra-large eggs and Greek yogurt into the cheese mixture. Stir well until you have a smooth, uniform batter. At this point, the batter should be creamy and pourable but not too runny.
- Optional Add-In : If you’d like to add a little extra sweetness and texture, now’s the time to fold in the 1/2 cup of golden raisins . Golden raisins add a lovely burst of sweetness without being too overpowering. Gently fold them into the batter using your spatula. Be careful not to overmix.
Pour the Batter into the Pan
Once your batter is mixed to perfection, it’s time to pour it into your prepared baking pan:
- Transfer the Batter : Pour the cheesecake batter into your buttered and cream-of-wheat dusted pan. Use your spatula to level the top for an even bake.
- Smooth the Top : Gently smooth the surface of the batter so that it bakes evenly. You don’t need to worry about it being perfect—small imperfections will disappear as the batter puffs up in the oven.
Baking the Cheesecake
Now you’re ready for the final step before enjoying this Russian treat—the baking process:
- Bake the Cheesecake : Place the pan in your preheated oven and bake for 1 hour to 1 hour and 15 minutes . The cheesecake will start to puff up, and the top should turn a beautiful golden brown. You’ll know it’s done when a wooden toothpick inserted into the center comes out clean, or with just a few moist crumbs (not liquid).
- Cool : Once the cheesecake has baked to perfection, remove it from the oven. Let it cool for about 10-15 minutes in the pan on a cooling rack. This time allows the cake to settle and makes it easier to slice without falling apart.
Serving Suggestions and Storage
Now that your Russian Cheesecake is baked to perfection, it’s time to serve and savor every delicious bite. Here are some tips on how to serve it for the best experience, along with storage instructions for any leftovers (if there are any!).
Serving the Cheesecake
- Let the Cheesecake Set : After your cheesecake has cooled slightly in the pan, carefully transfer it to a serving dish. This cake can be enjoyed warm or cooled, depending on your preference. If you serve it while still warm, you’ll get that wonderfully creamy, custard-like center.
- Slicing and Plating : For the cleanest slices, use a sharp knife. Dip the knife in hot water and wipe it clean between each slice. This will make the cheesecake look incredibly professional—ideal if you’re serving it to guests!
- Topping Ideas : While this cheesecake is amazing on its own, you can also get creative with toppings:
- Fresh Berries : A handful of fresh berries, such as raspberries or blueberries, adds a burst of tartness that pairs beautifully with the cheesecake’s rich flavor.
- Honey Drizzle : For an additional touch of sweetness, drizzle a bit of honey on top before serving.
- Powdered Sugar : Dust a light layer of powdered sugar for a classic, elegant presentation.
How to Store Russian Cheesecake
If you have leftovers (which is hard to believe once you taste this!), proper storage will ensure your cheesecake stays fresh and delicious.
- Refrigeration : Place any leftover cheesecake in an airtight container and store it in the refrigerator for up to 3 days . As this cheesecake is made with dairy ingredients like farmer’s cheese and yogurt, refrigeration is necessary to maintain its flavor and texture.
- Freezing : Need to store it for a longer period? No problem! Russian cheesecake freezes well. Simply wrap individual slices with plastic wrap and place them into a sealed, freezer-safe container. The cheesecake will keep in the freezer for up to 1 month . For serving, thaw the slices in the fridge or at room temperature.
Conclusion
There you have it! A delightful and easy-to-make Russian Cheesecake that’s rich in flavor, creamy in texture, and bound to impress your taste buds. Whether you make it gluten-free by skipping the cream of wheat or toss in golden raisins to add a sweet surprise, this recipe offers flexibility and flavor in one delicious bite.
Why you’ll love it :
- It’s a perfect blend of tangy farmer’s cheese and just the right amount of sweetness.
- The addition of yogurt creates a creamy, luscious texture that sets this cheesecake apart.
- And if you’re a fan of simpler, rustic desserts, this traditional Russian treat will become a cherished addition to your recipe repertoire!
Make it for a special occasion or enjoy it as a sweet weekend treat—either way, you won’t be disappointed. Be sure to experiment with flavors and toppings to make this cheesecake truly your own. Enjoy this slice of Russian culinary tradition!