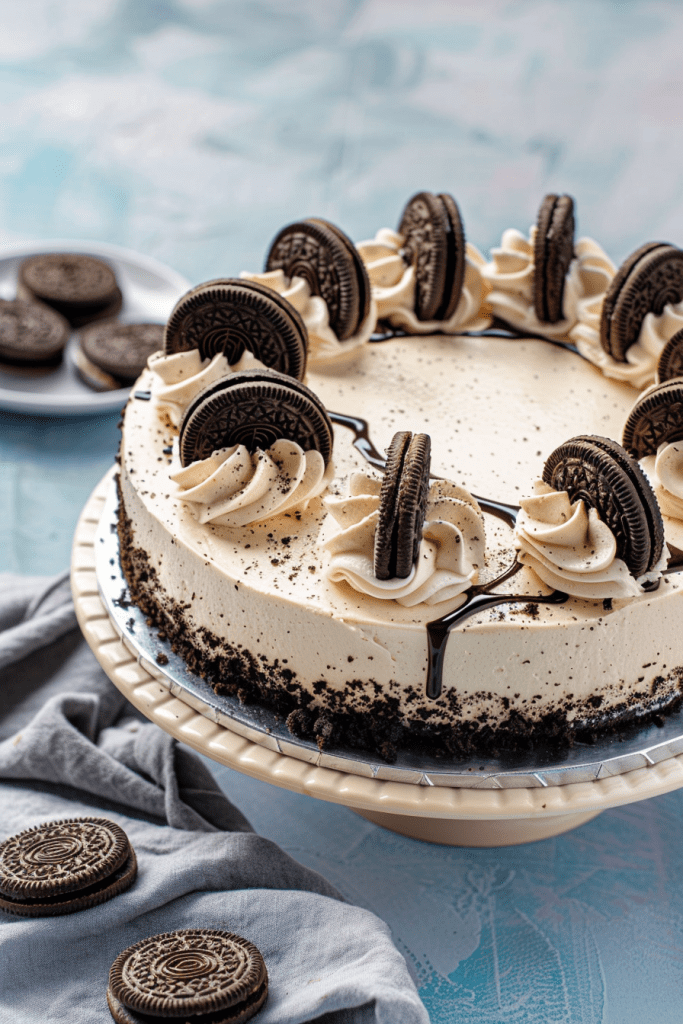
Craving a decadent treat that combines the best of both worlds? Look no further than this Oreo Chocolate Cheesecake Cake recipe. Picture a rich chocolate bundt cake embracing a luscious Oreo cheesecake filling, topped with a creamy cream cheese glaze and a sprinkle of Oreos. This dessert is a true indulgence for any sweet tooth out there.
I must admit, my standards for cakes are quite high, but this Oreo Chocolate Cheesecake Cake surpassed all expectations. The fusion of chocolate cake and Oreo cheesecake in one bite is a flavor explosion you won’t soon forget. Warning: resisting a slice of this irresistible cake is nearly impossible. Before you dive into baking, know that this recipe cleverly starts with a cake mix, ensuring a convenient yet heavenly outcome.
Ingredients List
Creating an Oreo Cheesecake Cake requires a harmonious blend of ingredients that bring out the best in each layer. Whether it’s the creamy cheesecake layer, the delicate cake layers, or the indulgent Oreo frosting, each component plays a vital role in crafting this decadent dessert.
For the Cheesecake Layer
- Oreo Cookies (regular, not double stuffed)
- Unsalted Butter
- Cream Cheese
- Sour Cream
- Vanilla Extract
- Eggs
For the Cake Layers
- White Cake Mix
- Eggs
- Vegetable Oil
- Water
- Oreo Cookies (crumbled)
- Cream Cheese
- Butter
- Powdered Sugar
- Vanilla Extract
- Heavy Cream
- Oreo Cookies (crumbled)
Required Tools and Equipment
When preparing this indulgent Oreo Cheesecake Cake recipe, having the right tools and equipment at hand is essential for a smooth and successful baking experience. Here are the recommended tools you will need to create this decadent treat:
Kitchen Tools:
- Springform Pan: A 9-inch springform pan is ideal for baking the cheesecake layer, ensuring easy release and presentation.
- Mixing Bowls: Having a few mixing bowls in different sizes allows for efficient preparation of various components of the dessert.
- Electric Mixer: A stand mixer or handheld electric mixer is recommended for mixing the cheesecake filling to a smooth and creamy consistency.
- Food Processor: This will be handy for crushing the Oreos to create the crust and incorporate them into the cheesecake filling.
- Spatula: A spatula is essential for scraping down the sides of the mixing bowl and evenly spreading the batter.
- Measuring Cups and Spoons: Accurate measurements are crucial in baking, so having a set of measuring cups and spoons is a must.
- Oven: A preheated oven is, of course, necessary for baking the Oreo Cheesecake Cake to perfection.
- Piping Bag and Tip: If you want to add decorative whipped cream swirls or frosting, a piping bag with a star tip can be useful.
- Offset Spatula: This tool is handy for smoothing the top of the cheesecake layer for a professional finish.
- Cake Stand: While not essential, a cake stand can elevate the presentation of your Oreo Cheesecake Cake when serving.
Having these tools and equipment ready will make the process of creating this Oreo Cheesecake Cake smooth and enjoyable.
Preparations
Preparing the Cake Pans
- Preheat the oven to 350°F.
- Grease and flour two 9-inch round pans. For easy cake removal, consider lining the pans with parchment paper.
- Ensure the pans are well-prepped to prevent sticking during baking.
- Get all your ingredients organized and measured out according to the recipe.
- Soften the cream cheese by leaving it out at room temperature or microwaving it gently.
- Crush the Oreos for the crust and filling.
- Have all components ready for a smooth and efficient baking process.
Directions
Making the Cheesecake Layer
- Blend the Ingredients: In a large mixing bowl, combine softened cream cheese, sugar, sour cream, eggs, and vanilla extract. Beat until smooth and creamy.
- Incorporate Oreos: Gently fold in crushed Oreo cookie pieces into the cheesecake batter for that cookies and cream goodness.
- Prepare the Crust: Press the Oreo crust mixture into a springform pan, creating a sturdy base for the cheesecake layer.
- Layering: Spread the cheesecake batter over the prepared crust evenly, creating a smooth layer to set the foundation for your cake.
Baking the Cake Layers
- Preheat the Oven: Get the oven ready at 325°F and prepare your cake pans.
- Mix the Batter: Use the Oreo-infused cake batter to create delightful layers that will complement the creamy cheesecake.
- Bake to Perfection: Place the cake pans in the oven and bake until the layers are set and spring back lightly to the touch.
- Cooling: Once baked, allow the cake layers to cool completely before assembling the final cake.
- Whip Up the Frosting: Create a decadent cream cheese frosting with crushed Oreos folded in for that signature cookies and cream taste.
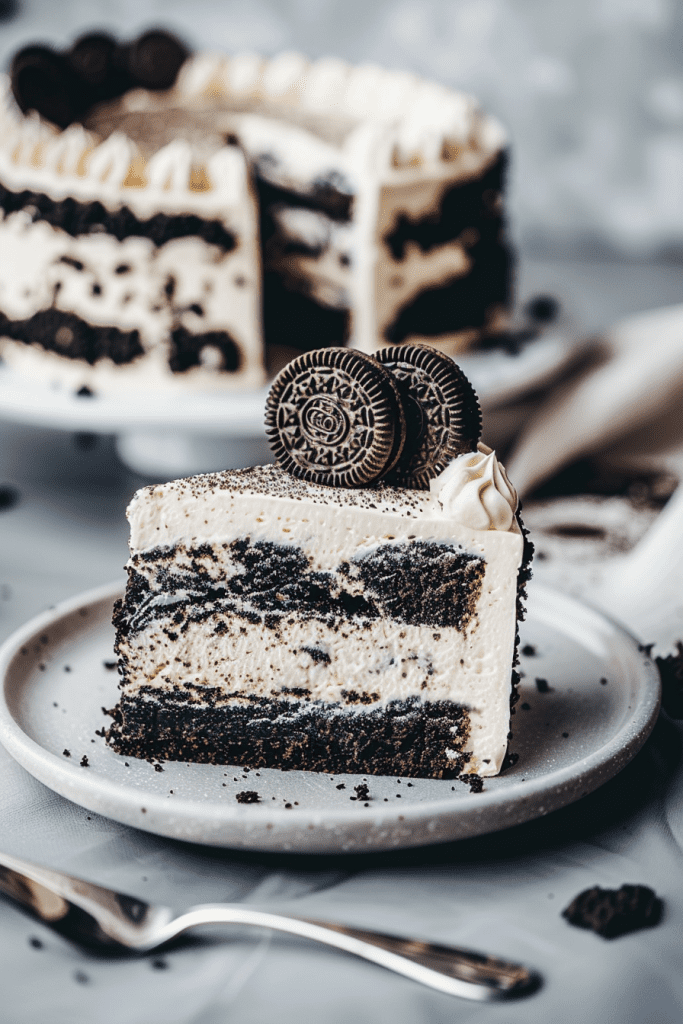
- Layering: Spread the frosting between the cake layers and on the outer surface, ensuring each bite is filled with the perfect balance of sweetness and richness.
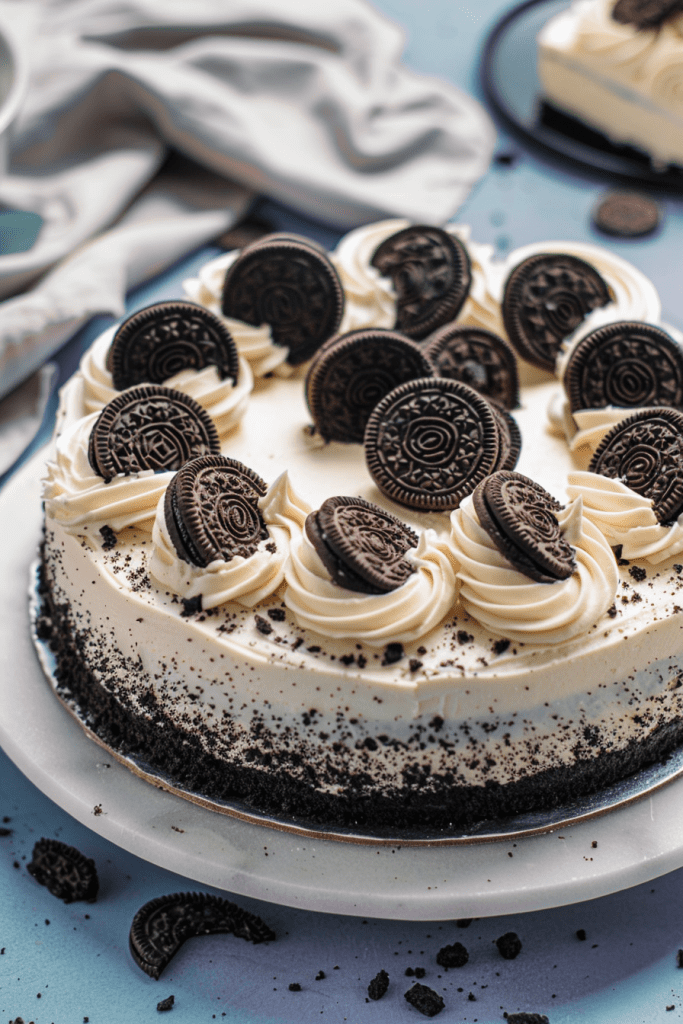
- Garnishing: Decorate the top of the cake with extra Oreo crumbs or cookie halves for a visually appealing finish.
- Chilling: Let the cake chill in the fridge to allow the flavors to meld together before serving this irresistible Oreo Cheesecake Cake.
Assembly
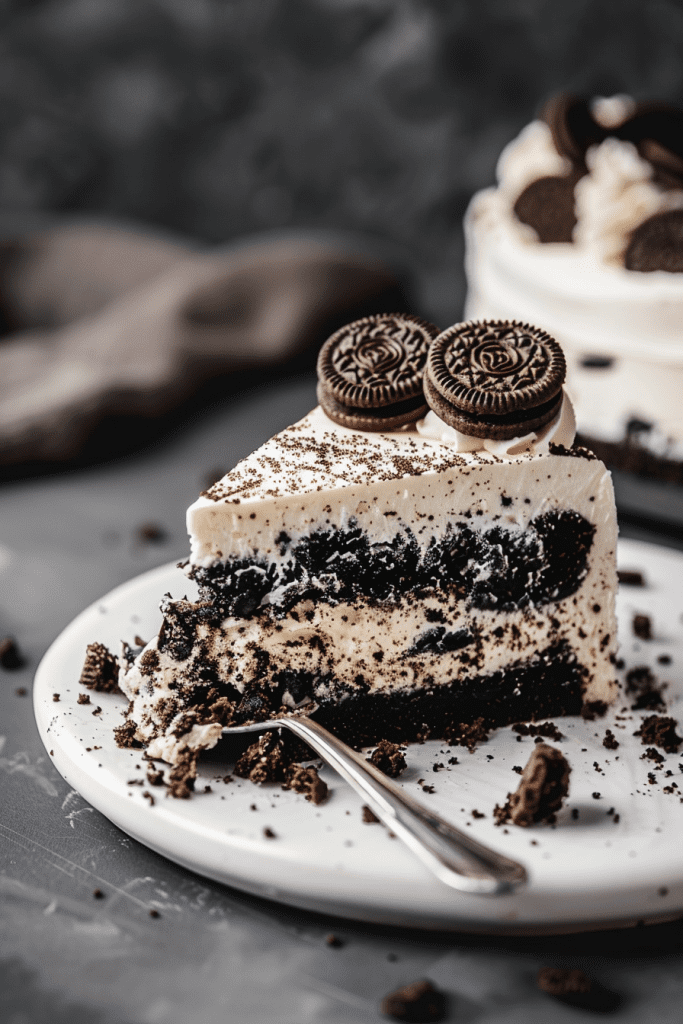
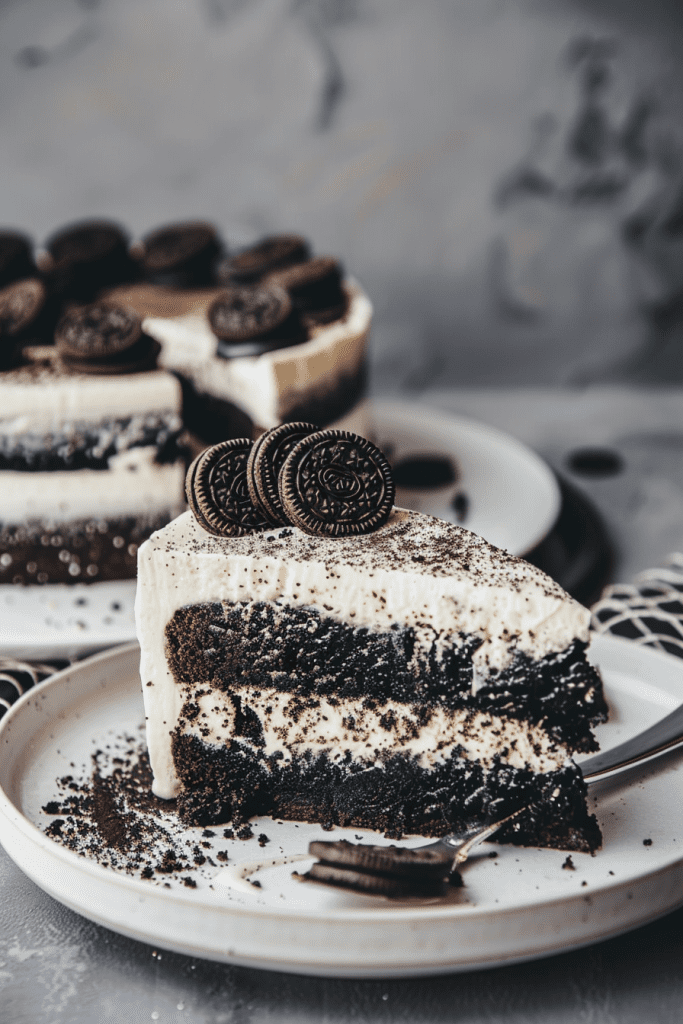
Assembling the Oreo Cheesecake Cake is a delightful process that brings together the decadent chocolate cake, luscious Oreo cheesecake filling, and creamy frosting for a flavor-packed experience. Follow these steps to layer your cake and cheesecake, and expertly frost the cake for a beautiful finish.
Layering Cake and Cheesecake
- Place one chocolate cake layer on a cake plate and spread a thin layer of frosting on top.
- Carefully remove the cheesecake from the pan, trim if needed to match the cake size, and place it on top of the frosted cake layer.
- Add another thin layer of frosting on the cheesecake layer.
- Gently place the second chocolate cake layer on top of the cheesecake.
- Prepare the frosting according to the recipe instructions.
- Carefully transfer the assembled cake to a serving platter and layer the top with a thin coating of frosting.
- Frost the entire cake, covering it generously with frosting.
- Use your hands to press cookie crumbs on the sides of the cake and sprinkle some over the top for decoration.
- Optionally, decorate the top with additional frosting using a large closed-star tip for an elegant finish.
Decoration and Final Touches
Adding Oreo Toppings
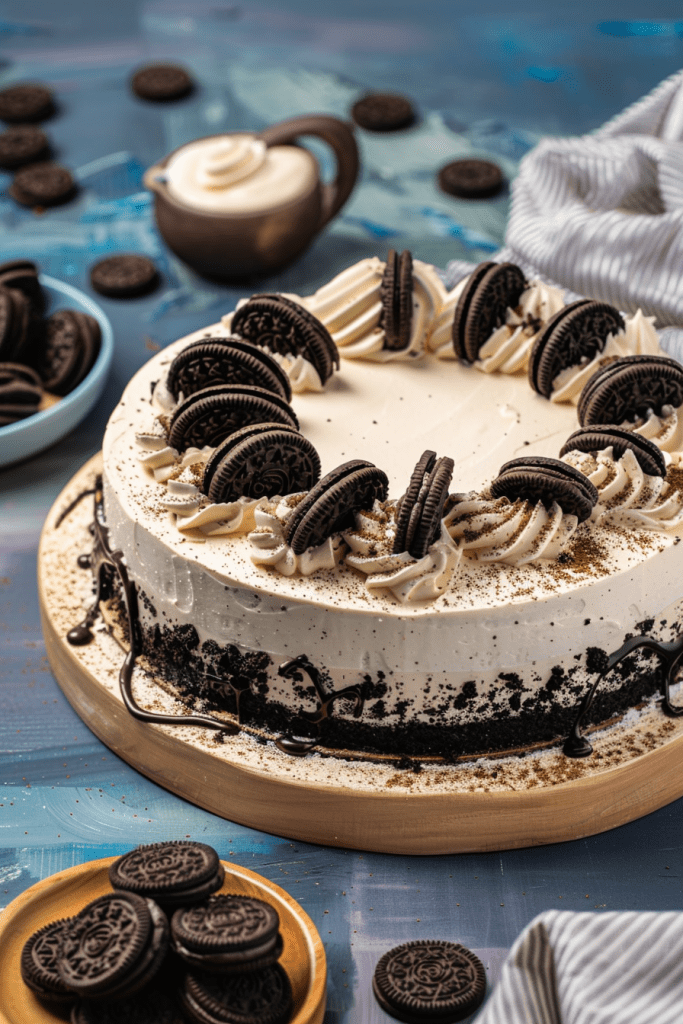
With a few final touches, we can elevate the presentation of our decadent Oreo Chocolate Cheesecake Cake. The addition of Oreo toppings not only adds a delightful crunch but also enhances the overall Oreo experience in every bite.
To start, garnish the top of the cake with crushed Oreos to create a visually appealing finish. This step not only adds texture but also hints at the delicious Oreo flavor awaiting inside the cake.
Next, consider placing halved Oreos strategically around the edges of the cake for a decorative touch. This simple yet effective decoration adds a pop of contrast and flavor that delights both the eyes and the taste buds.
By adding these Oreo toppings, we not only enhance the aesthetic appeal of our Oreo Cheesecake Cake but also ensure that every slice promises a delightful Oreo experience from the first to the last bite.
Make-Ahead Tips
If you’d like to plan ahead for making this scrumptious Oreo Cheesecake Cake, here are some helpful tips to streamline your baking process:
- Prepare the Oreo Crust in Advance: You can make the Oreo crust a day or two before assembling the cake. Simply press the crumb mixture into the springform pan and refrigerate it until you’re ready to pour in the cheesecake batter.
- Freeze the Cake Layers: To save time, bake the cake layers ahead of time and freeze them. Wrap each layer tightly in plastic wrap and store them in the freezer. Thaw them in the refrigerator overnight before assembling the cake.
- Make the Cheesecake Filling Early: The creamy Oreo cheesecake filling can be made a day in advance. Once prepared, cover the bowl with plastic wrap and refrigerate until you’re ready to layer it with the cake.
- Chill the Cake Overnight: For the best flavor melding, assemble the cake, frost it, and then refrigerate it overnight. This allows the flavors to intensify and the cake layers to set, resulting in a decadent and perfectly balanced dessert.
By following these make-ahead tips, you can simplify the baking process and enjoy a delicious Oreo Cheesecake Cake with minimum stress and maximum flavor impact.
How to Store
To maintain the freshness and deliciousness of your Oreo Cheesecake Cake, proper storage is key. Follow these guidelines to ensure your cake stays perfect for future indulgence.
Storing the Whole Cake
- Airtight Container: Once the Oreo Cheesecake Cake is prepared, let it cool completely before storing.
- Refrigeration: Cover the cake with an airtight cake carrier or double layer of plastic wrap and refrigerate for up to 5 days.
- Freezing: If you wish to freeze the cake, firm it up in the freezer for a couple of hours. Then, wrap it in a double layer of plastic wrap and store it in the freezer for up to 3 months.
- Thawing: When ready to enjoy a frozen cake, allow it to thaw in the refrigerator before serving.
Storing Sliced Cake
- Airtight Container: If the Oreo Cheesecake Cake is already sliced, arrange the pieces in a single layer in an airtight container.
- Refrigeration: Seal the container and store in the refrigerator for up to 5 days.
- Seal Properly: Ensure to seal any leftover cake in an airtight cake carrier or wrap it in plastic wrap.
- Refrigerate: Store the cheesecake in the refrigerator for up to 5 days.
- Freezing: If freezing, wrap the cake in plastic wrap and freeze for up to 3 months. Thaw in the refrigerator before serving.
By following these storage tips, you can enjoy the delightful flavors of your Oreo Cheesecake Cake for several days or even months, ensuring that each bite remains as delicious as the first.
Conclusion
I hope this article has inspired you to try out this mouthwatering Oreo Cheesecake Cake recipe. The blend of rich chocolate cake and creamy Oreo cheesecake filling is sure to satisfy your sweet cravings. With simple ingredients and easy-to-follow steps, this dessert is a delightful treat for any occasion. Remember to store it properly to enjoy its delicious flavors for days to come. Happy baking!

