
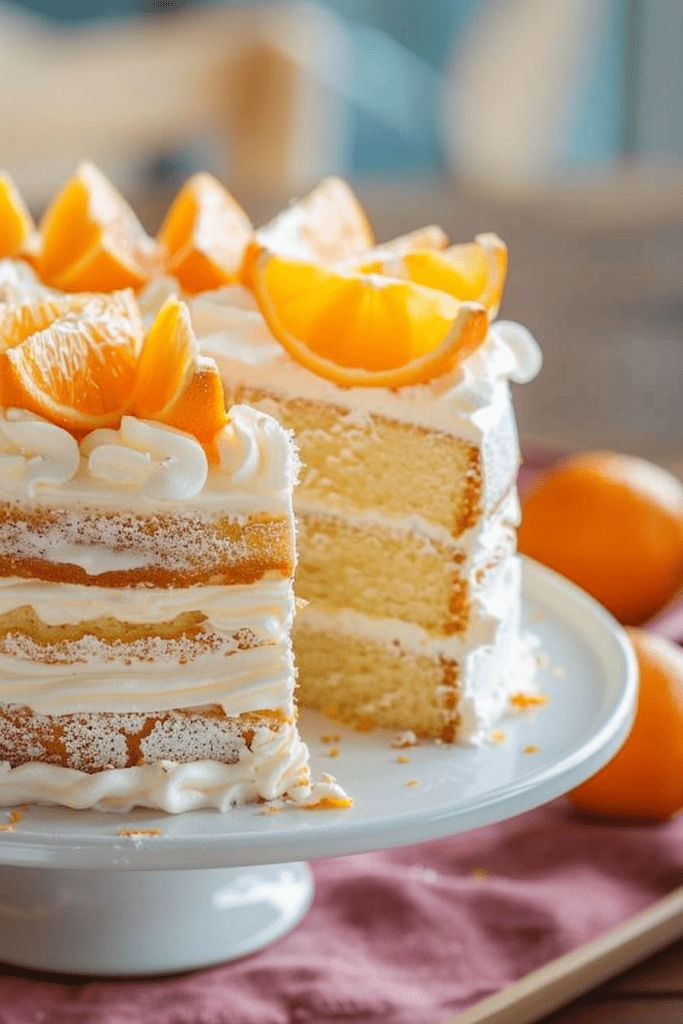
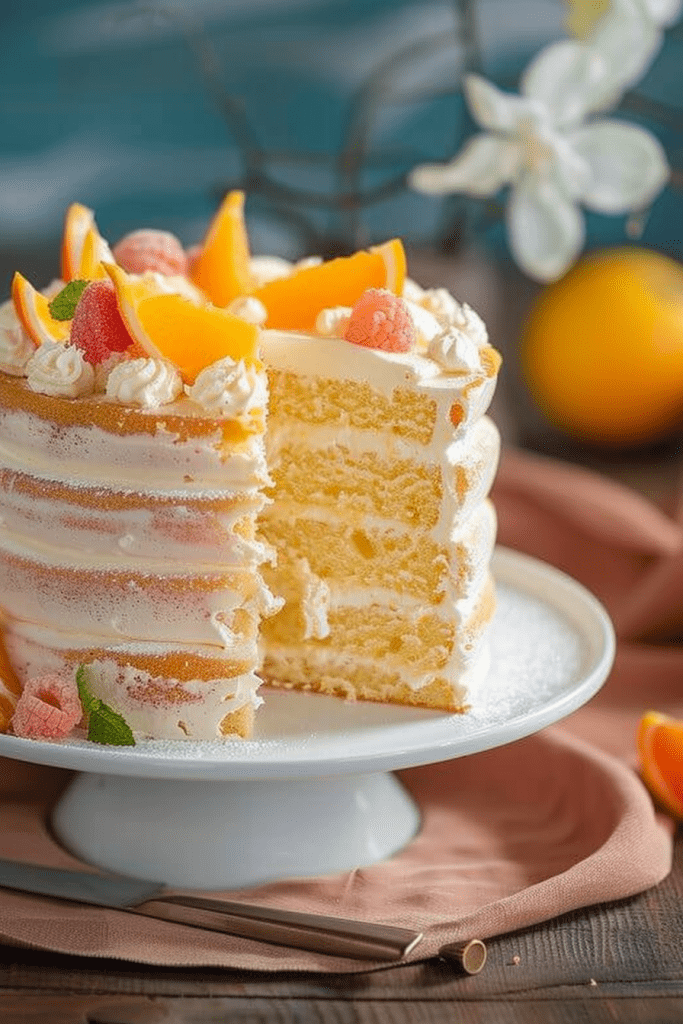
If you’re a fan of citrusy desserts, get ready to indulge in the delightful world of orange dreamsicle cakes. This easy-to-make treat is a perfect blend of moist, fluffy texture and a burst of bright citrus flavors. Whether you have a sweet tooth for Orange Dreamsicles or simply adore orange desserts, this Orange Dreamsicle Cake Mix Recipe is a must-try.
What makes this cake stand out is its simplicity paired with its from-scratch taste and texture. Starting with a cake mix, the add-ins elevate it to a whole new level, making it a go-to recipe for birthdays, potlucks, picnics, and more. The heavenly combination of orange layers with a luscious orange cream filling will have you coming back for seconds. Stay tuned for a cake that truly lives up to its name, delivering the exact taste of a classic Dreamsicle in every bite.
Ingredients List
Cake Components
- Duncan Hines Orange Supreme Cake Mix
- Milk
- Eggs
- Vegetable Oil or Canola Oil
- Orange Extract
- Sour Cream
- Powdered Sugar
- Cool Whip
Orange Cream Filling
- Sugar
- Flour
- Cornstarch
- Orange juice
- Eggs
- Baking powder
- Unsalted Butter
- Cream Cheese
- Clear Vanilla Extract
- Orange Extract
- Salt
- Powdered Sugar
- Orange Coloring Gel (optional)
Equipment Needed
When preparing the delightful Orange Dreamsicle Cake, it’s important to have the right tools on hand to ensure a smooth baking experience. Here are the essential pieces of equipment you’ll need:
Baking Equipment:
- Two 9-inch round cake pans
- Mixing bowls
- Electric mixer (hand or stand mixer)
- Wire cooling rack
- Cake leveler (optional for even cake layers)
Cooking Utensils:
- Whisk
- Rubber spatula
- Measuring cups and spoons
- Offset spatula (for frosting)
- Parchment paper
- Cake lifter (helpful for transferring cake layers)
- Cake stand or serving platter
Having these equipment items ready before starting your Orange Dreamsicle Cake recipe will make the baking process efficient and enjoyable.
Prep Work
Before diving into the delicious preparation of the orange dreamsicle cake, it’s vital to ensure everything is set up for a smooth baking experience.
Preparing the Cake Pans
- Position 2 oven racks towards the center of the oven.
- Preheat the oven to 350F.
- Butter and flour 3 8-inch round cake pans or spray them with baking spray.
- Assemble all the necessary ingredients as listed in the recipe.
- Measure out the ingredients precisely to streamline the baking process.
Cake Batter Preparation
In this section, I will guide you through preparing the scrumptious cake batter for the Orange Dreamsicle Cake.
Mixing Technique
For this Orange Dreamsicle Cake recipe, we will be using the Reverse Creaming Method. This method involves a unique order of adding ingredients to create a moist cake with a tight crumb. If you prefer a denser texture, this method is perfect for you. The Reverse Creaming Method is known for yielding a slightly denser cake compared to the traditional mixing method, resulting in a delicious treat that you’ll love.
Baking the Cake
Baking a delicious Orange Dreamsicle Cake is a delightful process that brings together the vibrant flavors of orange and creamy goodness. Here’s how to achieve the perfect cake through precise oven settings and cooling techniques.
Oven Settings
Preheat your oven to 350°F (177°C) for optimal baking conditions. Ensure even heat distribution by placing the rack in the center position. Use an oven thermometer to confirm the accuracy of the temperature for perfectly baked cake layers.
Cooling the Layers
After baking, allow the cake layers to cool in the pans for 10 minutes before transferring them to the freezer for 30 minutes. This rapid cooling step helps set the cakes and facilitates easier assembly. Once fully cooled, level the layers with a serrated knife for uniform stacking and a polished finish.
Making the Orange Cream Filling
To make the creamy and zesty orange cream filling for your Dreamsicle Cake, follow these simple steps:
Ingredients:
- 1 cup of heavy cream
- 1 package of instant vanilla pudding mix
- 1 cup of milk
- 1 tablespoon of orange zest
- 1 teaspoon of vanilla extract
- In a mixing bowl, combine the heavy cream and instant vanilla pudding mix.
- Gradually add the milk while whisking to create a smooth and creamy consistency.
- Mix in the fresh orange zest to infuse the filling with a burst of citrus flavor.
- Add the vanilla extract for an extra hint of sweetness and depth of flavor.
- Refrigerate the orange cream filling for about 30 minutes to allow it to set and thicken slightly.
- Once the filling has chilled and thickened, it is ready to be used to assemble your delicious Dreamsicle Cake.
This tangy and luscious orange cream filling will perfectly complement the moist orange cake layers, creating a decadent dessert that is sure to impress your family and friends.
Preparing the Frosting
To begin making the delicious orange dreamsicle cake frosting, follow these simple steps:
- Start by ensuring that the unsalted butter has softened slightly. It should be at room temperature for optimal mixing.
- In a mixing bowl, combine the softened butter with the full-fat cream cheese. It’s crucial not to soften the cream cheese to maintain the right consistency of the frosting.
- Add clear vanilla extract and orange extract to the bowl. The clear vanilla extract keeps the frosting’s color lighter, while the orange extract enhances the citrus flavor.
- Optionally, sprinkle in a pinch of salt to balance the sweetness of the frosting. Popcorn salt is recommended for its fine texture that dissolves quickly.
- Gradually add powdered sugar to the mixture, aiming for a total of 6 to 6 ½ cups. This will give the frosting its sweetness and thickness.
- If desired, incorporate a small amount of orange coloring gel to tint the frosting to a pleasing orange hue.
- Use an electric hand or stand mixer to blend all the ingredients until smooth and creamy. The consistency should be spreadable and hold its shape.
- Once the frosting is ready, set it aside until the cakes are completely cooled before assembling the orange dreamsicle cake.
Assembling the Orange Dreamsicle Cake
Assembling the Orange Dreamsicle Cake is a delightful and creative process that brings together the vibrant citrus flavors and creamy textures of this nostalgic dessert. Follow these steps to layer the cake and filling before applying the luscious frosting.
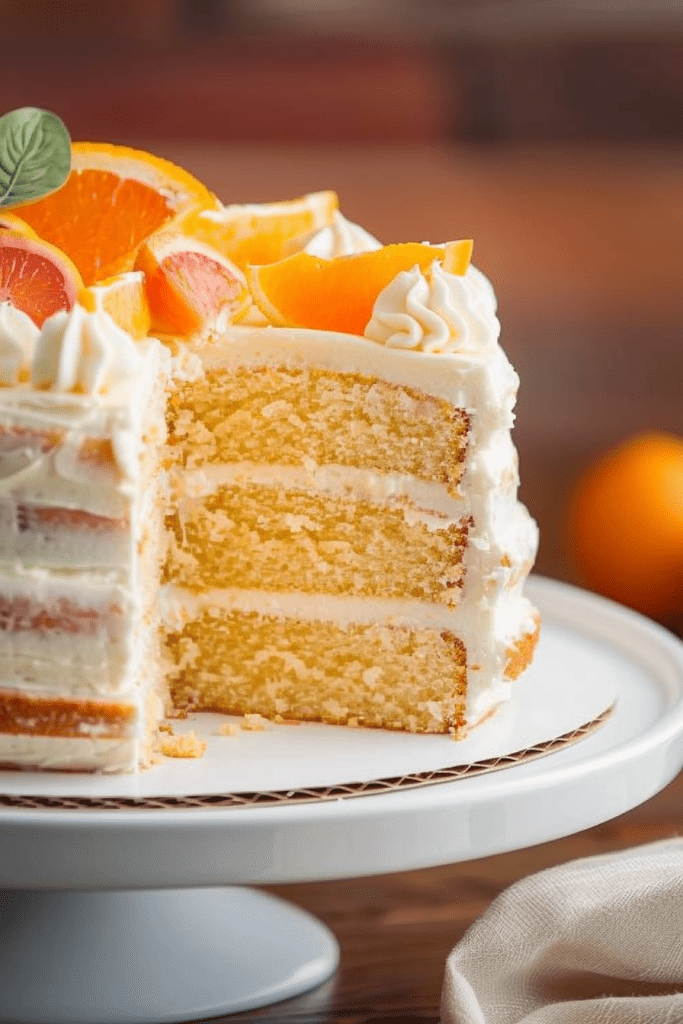
Layering Cake and Filling
- Start by placing one cooled cake layer on a cake stand or plate. Using a piping bag without a tip, pipe a single ring of frosting around the top edge of the cake to create a barrier.
- Spread half of the prepared orange cream filling over the cake within the frosting barrier. Top it with another cake layer and repeat the process with more frosting and the remaining filling.
- Finally, place the last cake layer on top, ensuring a sturdy and even stack of layers.
- Once the cake layers and filling are assembled, spread the remaining orange cream cheese frosting on the outside of the cake in your desired pattern.
- Use a decorative piping tip to add frosting designs on top of the cake for a visually appealing finish.
- Refrigerate the assembled cake for at least 30 minutes to set the frosting before slicing. This chilling time helps the frosting to firm up for a clean cut through the layers.
Decorating Techniques
Decorating a cake is where you can let your creativity shine. Here are some ideas for a decorative finish to make your Orange Dreamsicle Cake truly stand out:
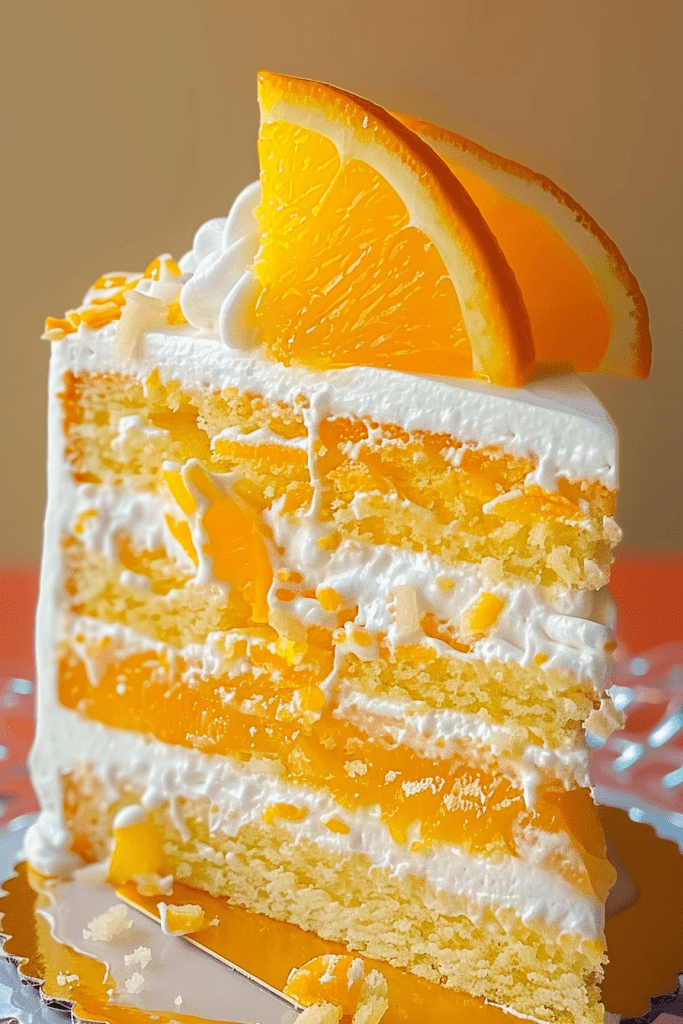
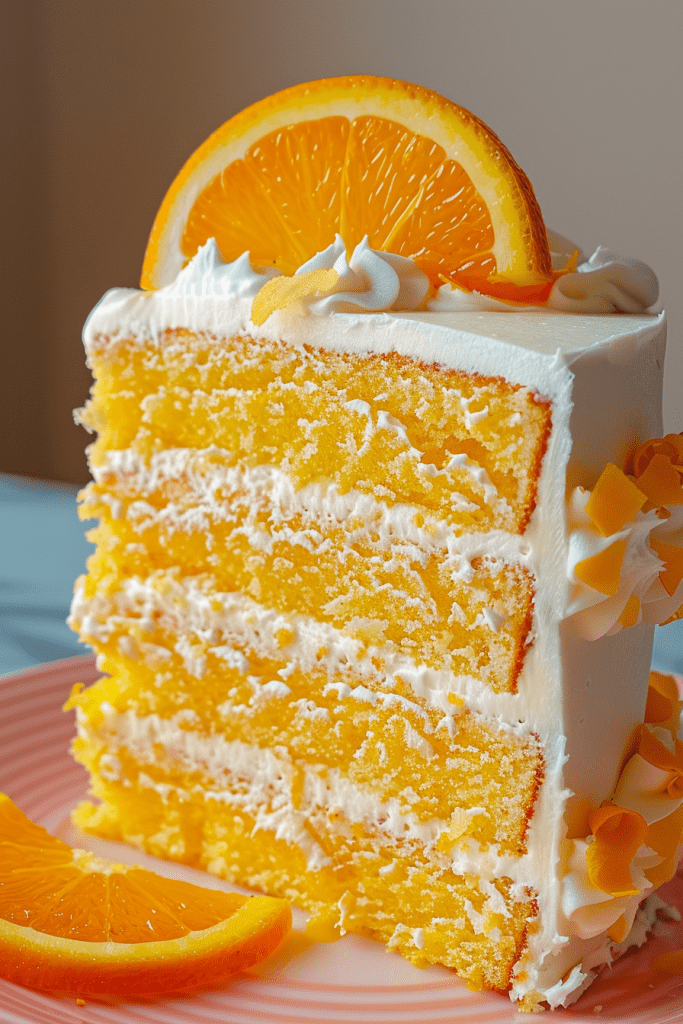
Ideas for a Decorative Finish
To give your cake a vibrant and eye-catching look, consider topping it with fresh orange slices or zest curls. You can also use edible flowers like marigolds or pansies for a pop of color and elegance. Another option is to sprinkle orange-colored sugar crystals or edible glitter for a touch of sparkle. Get creative with piping techniques using the orange frosting to add swirls, rosettes, or a fun border around the cake. Don’t forget to add a sprinkle of orange zest on top for a final burst of citrus flavor. These decorating ideas will elevate the presentation of your Orange Dreamsicle Cake for any special occasion.
Serving and Storage Tips
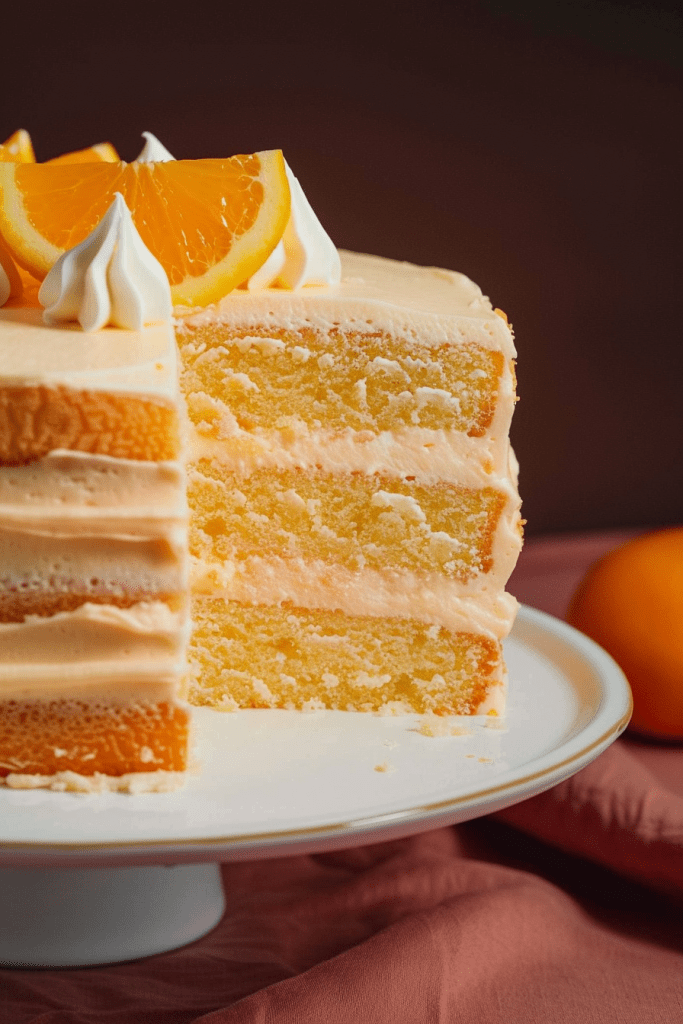
Best Practices for Serving
When it’s time to serve your delicious orange dreamsicle cake, I recommend letting it sit at room temperature for about 30 minutes before slicing. This allows the flavors to develop fully and the cake to reach the ideal texture for a delightful eating experience. I suggest using a sharp knife to cut clean slices and serving them on chilled dessert plates for a professional touch.
How to Store
To preserve the freshness and flavor of your orange dreamsicle cake, store any leftovers in an airtight container in the refrigerator. The cake can last up to a week in the fridge, maintaining its delicious taste and moist texture. If you prefer to freeze the cake for later enjoyment, wrap it tightly in plastic wrap or aluminum foil before placing it in the freezer. Properly stored, your orange dreamsicle cake can stay fresh in the freezer for up to a month. Just be sure to thaw it in the refrigerator before serving for the best results.
Conclusion
I’ve shared the ins and outs of creating delightful orange dreamsicle cakes. From the simplicity of the Orange Dreamsicle Cake Mix Recipe to the creamy zesty filling, assembling, and decorating, this dessert is a winner. Remember to refrigerate the cake for the perfect set frosting. When serving, let it sit at room temperature for a bit and use chilled plates for that extra touch. For storage, keep leftovers in the fridge or freeze for later enjoyment. With these tips, your orange dreamsicle cake will stay fresh and delicious for up to a month. Enjoy creating and savoring this citrusy treat!