There’s something magical about the aroma of a freshly baked maple spice cake wafting through the kitchen. This delightful treat combines the rich, warm flavors of maple syrup with a medley of spices like cinnamon, nutmeg, and cloves. It’s the perfect dessert for cozy autumn evenings or festive holiday gatherings.
Maple spice cake has roots in traditional North American baking, where maple syrup has long been a cherished ingredient. This cake not only satisfies your sweet tooth but also brings a sense of nostalgia with every bite. Whether you’re a seasoned baker or a beginner, this recipe promises to be a crowd-pleaser that’s both simple and rewarding to make.
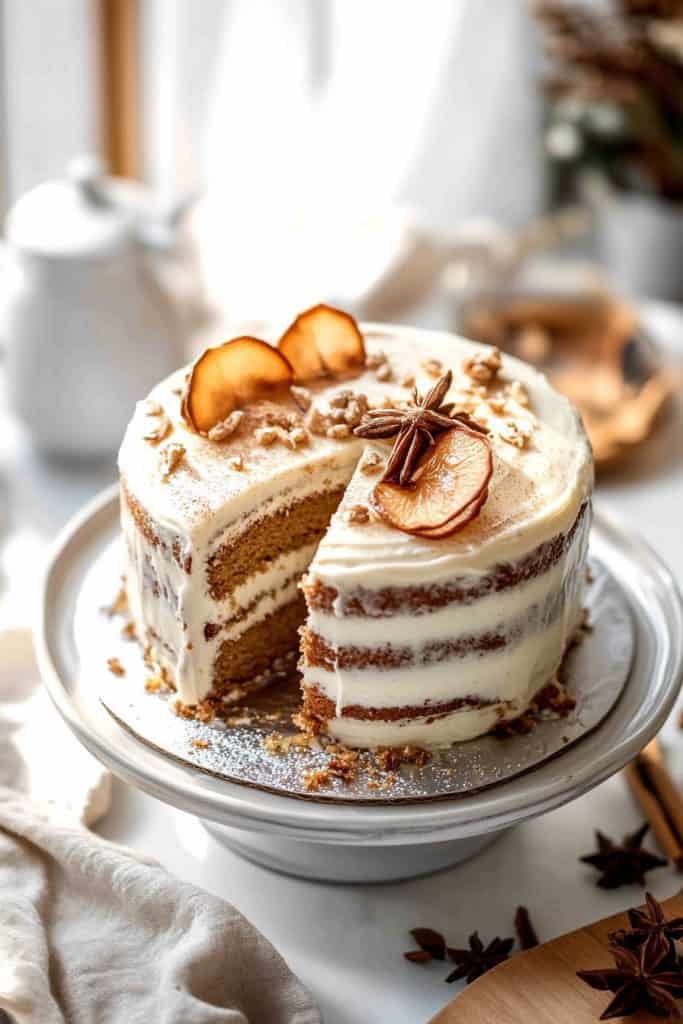
Ingredients
For The Cake
- 2 1/2 cups all-purpose flour – Make sure to sift the flour to avoid lumps.
- 1 1/2 teaspoons baking powder – This will help the cake rise beautifully.
- 1/2 teaspoon baking soda – Assists in the cake’s leavening for a light texture.
- 1 teaspoon ground cinnamon – Adds that warm, nostalgic aroma.
- 1/2 teaspoon ground nutmeg – A bit of spice for depth.
- 1/4 teaspoon ground cloves – Enhances the complexity of the flavors.
- 1/2 teaspoon salt – Balances the overall sweetness.
- 1 cup unsalted butter, room temperature – Ensure the butter is softened for easy mixing.
- 1 cup packed light brown sugar – Provides a rich, caramel-like sweetness.
- 1/2 cup pure maple syrup – The star ingredient for that distinct maple flavor.
- 2 large eggs – Should be at room temperature for better incorporation.
- 1 teaspoon vanilla extract – A pleasant undertone to the spices.
- 1 cup buttermilk – Adds moisture and a slight tang to the cake.
- 1 1/2 cups powdered sugar – Gives the glaze its sweetness and texture.
- 1/4 cup pure maple syrup – Infuses the glaze with maple flavor.
- 2-3 tablespoons milk – Adjust the consistency of the glaze as needed.
Tools and Equipment
To prepare your maple spice cake efficiently, you’ll need a variety of tools and equipment. Each item plays a crucial role in creating the perfect textured and flavorful cake. Here’s a detailed list of the tools and their specific uses:
Bakeware
- 9-Inch Round Cake Pans (2): Use these to create perfectly shaped cake layers.
- Parchment Paper: Line your cake pans to prevent the cake from sticking.
Mixing Equipment
- Stand Mixer or Hand Mixer: Essential for creaming butter and sugar and for mixing the batter evenly.
- Mixing Bowls (Various Sizes): You’ll need several bowls for combining dry and wet ingredients separately.
Measuring Tools
- Measuring Cups: For accurate measurements of both dry and liquid ingredients.
- Measuring Spoons: For precise amounts of smaller ingredients like spices and salt.
- Kitchen Scale: Helpful for weighing ingredients, especially if you prefer baking by weight for precision.
Preparation Tools
- Sifter or Fine Mesh Strainer: Ensures flour and spices are clump-free and well-incorporated.
- Whisk: Useful for blending smaller quantities of ingredients.
- Spatula: Ideal for folding ingredients and scraping batter from bowls.
Baking and Cooling Tools
- Oven Thermometer: Ensures your oven is at the perfect temperature for baking.
- Cooling Rack: Allows cakes to cool evenly and prevents them from becoming soggy on the bottom.
- Offset Spatula: Great for spreading the maple glaze smoothly over the cake.
- Pastry Brush: Handy for applying syrup or glaze evenly.
Having all these tools ready before you start baking will make the process smooth and enjoyable. Now that you’re equipped with everything you need, you’re one step closer to baking your delicious maple spice cake.
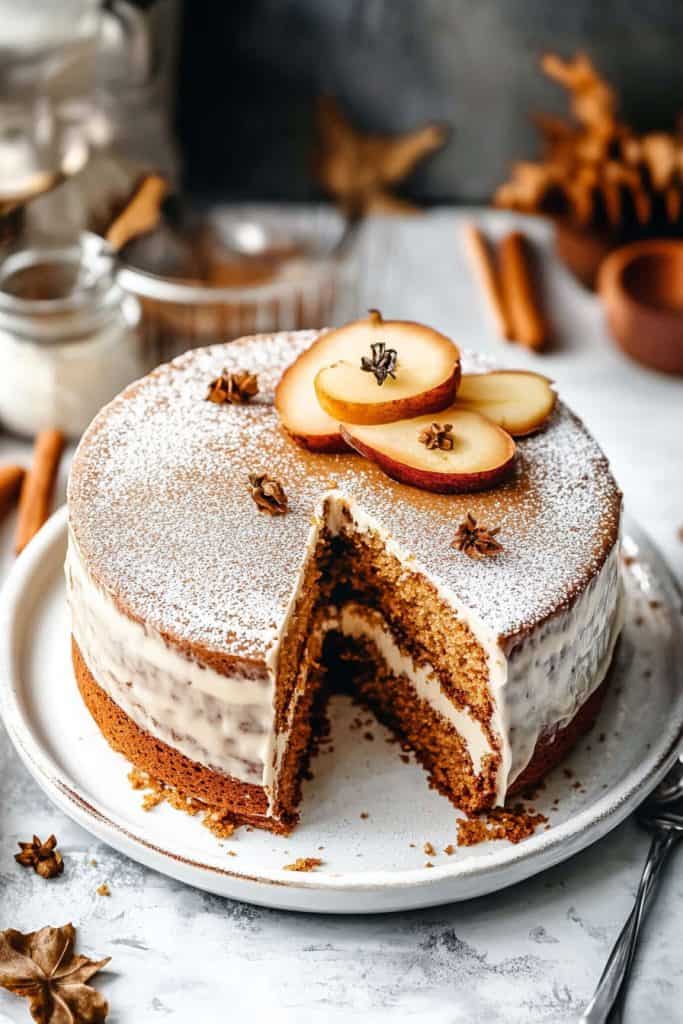
Directions
Follow these step-by-step directions to make a delicious maple spice cake. Ensure you have all ingredients prepped and ready for a smooth baking experience.
Prep
- Preheat oven to 350°F (175°C).
- Grease and flour two 9-inch round cake pans. Line the bottom with parchment paper for easy removal.
- Gather all ingredients and tools required.
Cake
- In a large mixing bowl, whisk together:
- 3 cups all-purpose flour
- 1 tablespoon baking powder
- 1 teaspoon baking soda
- 1 teaspoon ground cinnamon
- 1 teaspoon ground nutmeg
- 1/2 teaspoon ground ginger
- 1/2 teaspoon ground cloves
- 1/2 teaspoon salt
- In a separate bowl, beat together until creamy:
- 1 cup unsalted butter (room temperature)
- 1 1/2 cups brown sugar
- Add 4 large eggs, one at a time, mixing well after each addition.
- Mix in 1 teaspoon vanilla extract.
- Add 1 cup pure maple syrup, blending until smooth.
- 1 cup whole milk (starting and ending with dry ingredients)
- Divide the batter evenly between the prepared pans.
- Bake for 30-35 minutes, or until a toothpick inserted in the center comes out clean.
- Cool cakes in pans for 10 minutes, then remove and transfer to a wire rack to cool completely.
Maple Buttercream
- In a large bowl, beat together:
- 1 cup unsalted butter (room temperature)
- 4 cups powdered sugar (gradually added)
- Mix in:
- 1/3 cup pure maple syrup
- 1 teaspoon vanilla extract
- 2 tablespoons heavy cream (adjust for desired consistency)
- Beat until light and fluffy.
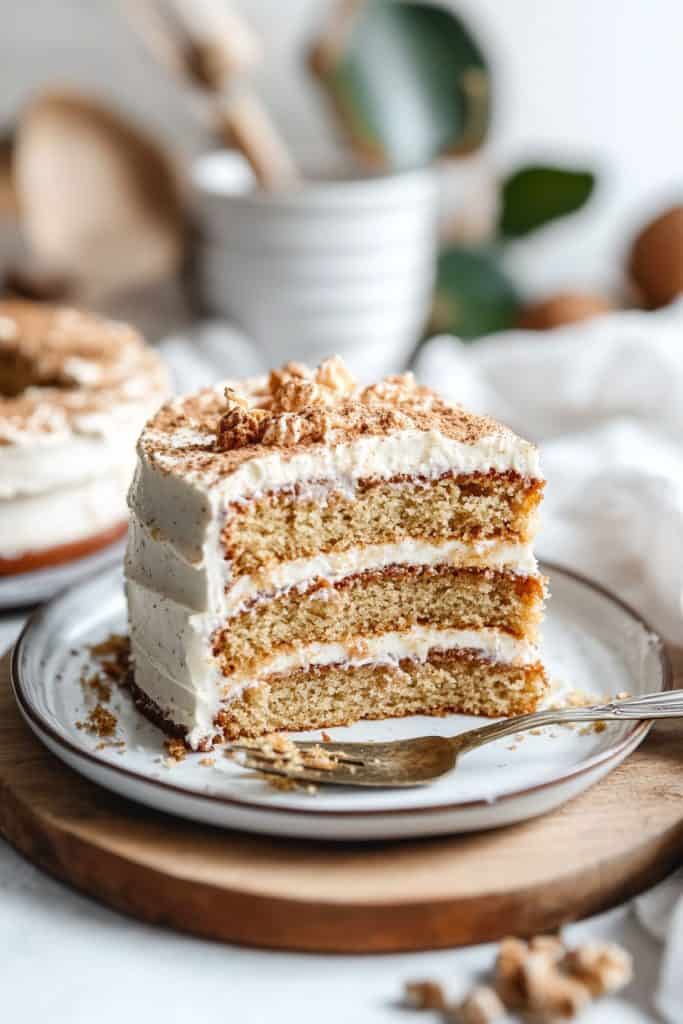
- Once the cakes are completely cool, spread a layer of buttercream on top of one cake layer.
- Place the second cake layer on top, then frost the entire cake with the remaining buttercream.
- In a small saucepan over medium heat, combine:
- 1/2 cup pure maple syrup
- 2 tablespoons unsalted butter
- Bring to a boil, reduce heat, and simmer for 2-3 minutes until slightly thickened.
- Remove from heat and let cool slightly.
- Drizzle the glaze over the frosted cake, allowing it to drip down the sides.
Assembly
Layering The Cake
- Cooling The Cake:
- Once the cake layers are baked and have cooled in the pans for about 10 minutes, I gently turn them out onto wire racks. Allow the cake layers to cool completely, which takes about 30 minutes.
- Leveling The Layers:
- Using a serrated knife, I level the tops of the cakes to remove any domes. This ensures even stacking.
- First Layer:
- On a cake stand, I place the first cake layer. I spread a generous amount of maple buttercream frosting over the top, ensuring an even layer about 1/4 inch thick.
- Adding The Next Layer:
- Carefully place the second cake layer on top of the frosting. Repeat the frosting process with another 1/4 inch layer of buttercream.
- Top Layer:
- Place the final cake layer on top, pressing down lightly to secure it in place. Add a thin layer of buttercream as a crumb coat over the entire cake to seal in any loose crumbs.
Frosting The Cake
- Final Frosting Layer:
- After chilling the cake for about 20 minutes to set the crumb coat, I apply the final, thicker layer of maple buttercream, spreading it smoothly over the top and sides.
Glazing The Cake
- Preparing The Glaze:
- I slowly reheat the maple glaze until it’s pourable but not too hot, ensuring a smooth, glossy finish.
- Drizzling The Glaze:
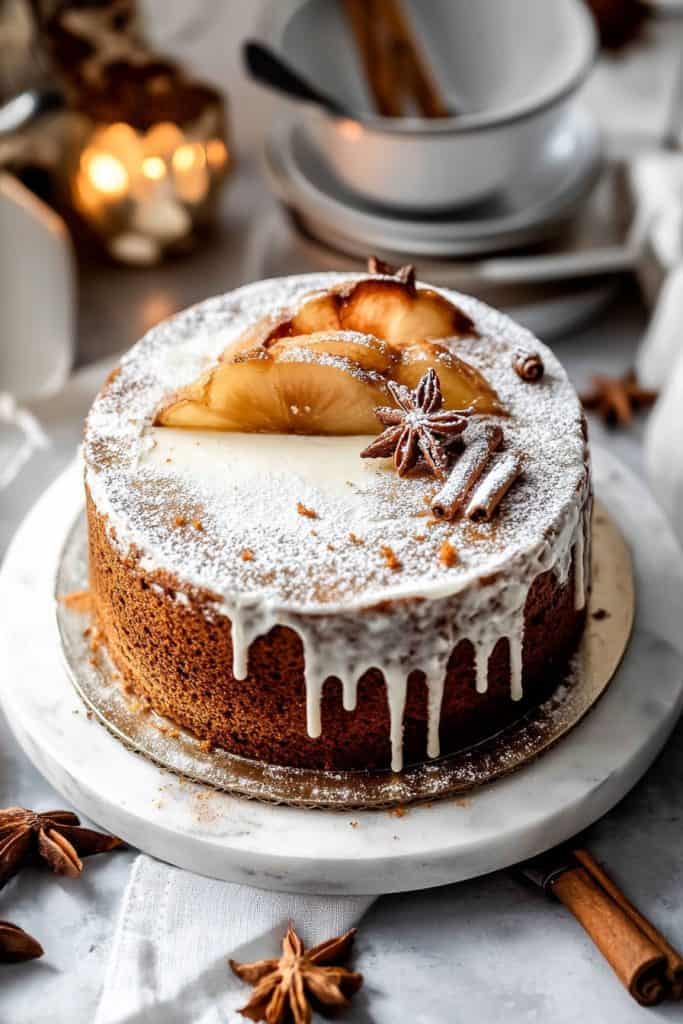
- Starting at the center of the cake, I pour the glaze gradually, letting it naturally flow to the edges and slightly drip down the sides.
- Finishing Touches:
- For an elegant look, I garnish with a few maple sugar pieces or a sprinkle of ground cinnamon on top.
- Serving Slices:
- Cut the cake into neat slices using a clean, sharp knife. Between cuts, wipe the blade to maintain clean edges.
- Enjoying A Slice:
- Enjoy the rich, spiced flavors with every bite, complemented beautifully by the sweetness of the maple frosting and glaze.
Tips for a Perfect Maple Spice Cake
Use Quality Maple Syrup
For optimal flavor, always use real maple syrup. Grade A dark is perfect as it has a robust flavor that enhances the spices in the cake.
Measure Spices Accurately
Accurate measuring of spices is crucial. A slight overdose or underdose can throw off the balance. Use measuring spoons to ensure precision, and level them off with a knife for exact amounts.
Room Temperature Ingredients
Ensure all ingredients like butter, eggs, and milk are at room temperature before mixing. This helps the batter mix more evenly and results in a tender crumb.
Do Not Overmix
Once the dry ingredients are combined with the wet ingredients, mix just until incorporated. Overmixing can cause the cake to be dense and tough.
Prepare The Cake Pan Properly
Grease and flour the cake pans well to prevent sticking. Additionally, line the bottom with parchment paper for easy cake removal.
Bake At The Right Temperature
Preheat your oven to the correct temperature before putting the cake in. A common mistake is placing the cake in before the oven is fully heated, which can lead to uneven baking.
Check For Doneness
Use a toothpick or cake tester to check for doneness. Insert it into the center; it should come out clean or with just a few moist crumbs. Avoid opening the oven door multiple times as it causes temperature fluctuations.
Let Cakes Cool Completely
Let the cakes cool in their pans for about 10 minutes before transferring them to a wire rack. Let them cool completely before frosting to prevent the buttercream from melting.
Enhance With A Glaze
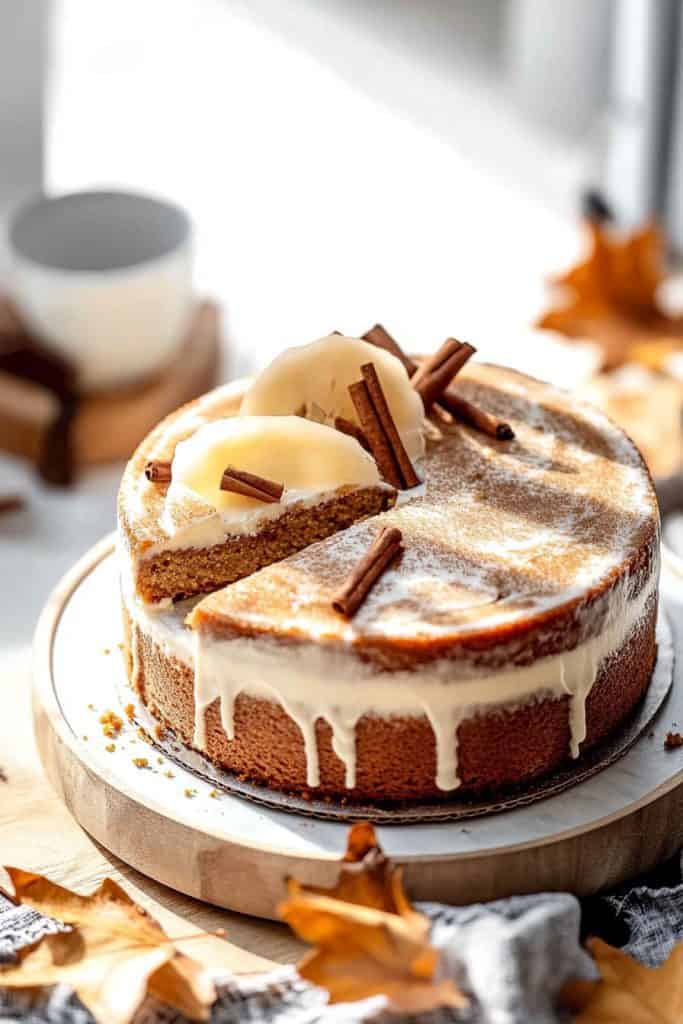
For an extra layer of flavor, add a maple glaze. Drizzle it gently over the top and let it cascade down the sides. Ensure the glaze is not too thick or thin – adjust with a little milk or maple syrup as needed.
By following these tips, you will achieve a perfectly spiced cake with a rich maple flavor, delightful texture, and beautiful appearance.
How to Make Ahead
Making a Maple Spice Cake ahead of time is a great way to save effort on the day you plan to serve it. Here’s how you can do it effectively:
Preparing the Cake In Advance
- Bake the Cake: Follow the recipe instructions to bake the maple spice cake. Once done, allow the cake to cool completely on a wire rack. Make sure it is completely cool before proceeding to prevent condensation and sogginess.
- Wrap the Cake: Once cooled, tightly wrap the cake layers in plastic wrap. For extra protection, wrap a layer of aluminum foil around each wrapped cake. This will prevent freezer burn and keep the cake fresh.
- Freeze the Cake: Place the wrapped cake layers in the freezer. They can be frozen for up to 2 months. Label the packages with the date to keep track of storage time.
- Thaw the Cake: To thaw, move the wrapped cake layers from the freezer to the refrigerator. Allow them to thaw overnight for best results. This slow thawing helps maintain the cake’s moisture and texture.
- Prepare the Glaze: While the cake thaws, you can prepare the maple glaze. Store it in an airtight container at room temperature if you plan to use it within a day or two. For longer storage, refrigerate the glaze and bring it to room temperature before using.
- Assemble and Serve: Once the cake layers are thawed, unwrap them and allow them to come to room temperature. Spread the maple glaze generously over the top and sides of the cake. Add any additional garnishes like chopped nuts or a drizzle of extra maple syrup.
By following these steps, you can easily make your Maple Spice Cake ahead of time, ensuring a stress-free and delicious dessert experience.
Storage Instructions
To keep your maple spice cake fresh and flavorful for longer periods, proper storage is key. Here are the steps you should follow:
Cool the Cake Completely
First, make sure the cake has cooled completely. This ensures that no excess moisture gets trapped which can lead to sogginess and spoilage.
Wrap the Cake
Once the cake is cool, wrap it tightly in plastic wrap. This prevents it from absorbing odors from other foods in the refrigerator or freezer. Follow this by wrapping it in aluminum foil for an added layer of protection.
Refrigeration for Short-Term Storage
For short-term storage, refrigerate the wrapped cake. It will stay fresh for up to 5 days. This is ideal if you plan to consume the cake within a week.
Freezing for Long-Term Storage
For longer storage, you can freeze the cake. Place the wrapped cake in an airtight container or a heavy-duty freezer bag to prevent freezer burn. The cake can be frozen for up to 3 months. When you’re ready to enjoy it, thaw the cake in the refrigerator overnight.
Storing Glaze Separately
If you’ve prepared a maple glaze, it’s best to store it separately in an airtight container in the refrigerator. This will keep for up to a week. Wait to glaze the cake until it has completely thawed to ensure the best texture and flavor.
Reheating Instructions
To bring back the cake’s moist and tender texture after refrigeration or freezing, you can gently warm slices in the microwave for about 10-15 seconds. For a whole cake, preheat your oven to 300°F and warm it for about 10 minutes, checking frequently to avoid drying it out.
By adhering to these storage instructions, you can maintain the delightful taste and texture of your maple spice cake, ensuring every slice remains as delectable as when it was first baked.
Conclusion
Creating a maple spice cake is a delightful experience that rewards you with rich flavors and a moist texture. By using quality ingredients and following proper baking techniques, you can achieve a cake that’s truly memorable. Don’t forget the maple glaze for that extra touch of sweetness.
Storing your cake correctly ensures it stays fresh, whether you’re enjoying it immediately or saving it for later. With these tips, you’ll have a stress-free, delicious dessert ready to impress.
