Craving the irresistible flavors of a classic Italian dessert with a twist? Dive into the world of homemade cannoli cake recipes. As a food enthusiast, I’ve always been captivated by the fusion of traditional and modern culinary creations. This delightful dessert combines the rich, creamy essence of cannoli filling with the moist, fluffy layers of cake, offering a decadent treat for any occasion.
In this recipe article, I’ll guide you through the steps to create your own indulgent cannoli cake masterpiece. From whisking together the perfect batter to piping the luscious cannoli cream, each step is a celebration of flavors and textures. Whether you’re a baking novice or a seasoned pro, this recipe is sure to impress your taste buds and leave your guests asking for more. Let’s embark on this delicious journey together and savor the sweet satisfaction of homemade cannoli cake.
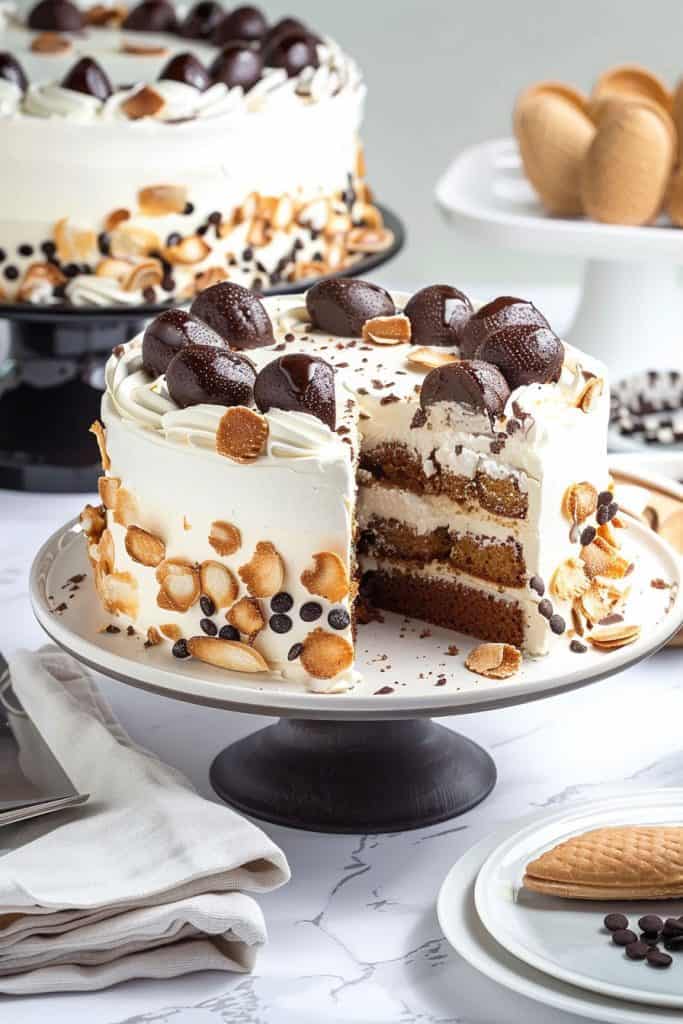
Ingredients for Cannoli Cake
Creating a delectable cannoli cake requires assembling the perfect set of ingredients that will marry the flavors of classic cannoli with the indulgent goodness of a cake.
Cake Layers
- 2 cups of all-purpose flour
- 1 1/2 cups of granulated sugar
- 1/2 cup of unsalted butter, softened
- 3/4 cup of whole milk
- 3 large eggs
- 2 teaspoons of baking powder
- 1 teaspoon of vanilla extract
- 1/2 teaspoon of salt
Cannoli Cream Filling
- 16 oz of ricotta cheese, drained
- 1 cup of powdered sugar
- 1 teaspoon of vanilla extract
- 1/2 cup of mini chocolate chips
- Zest of 1 orange
- Zest of 1 lemon
- 2 cups of heavy cream
- 1/2 cup of powdered sugar
- 1 teaspoon of vanilla extract
- Crushed pistachios for sprinkling
- Mini chocolate chips for topping
Equipment Needed
Baking Tools
For this homemade cannoli cake recipe, you will need the following baking tools:
- Two 9-inch round cake pans
- Parchment paper
- Mixing bowls
- Whisk
- Stand or hand mixer
Mixing and Decoration Tools
To prepare and decorate your cannoli cake, make sure to have these tools ready:
- Rubber spatula
- Offset spatula
- Piping bag with a star tip
- Cake turntable (optional but helpful for decorating)
- Refrigerator for chilling the cake
These tools will ensure a smooth baking and decorating process, resulting in a beautifully finished cannoli cake.
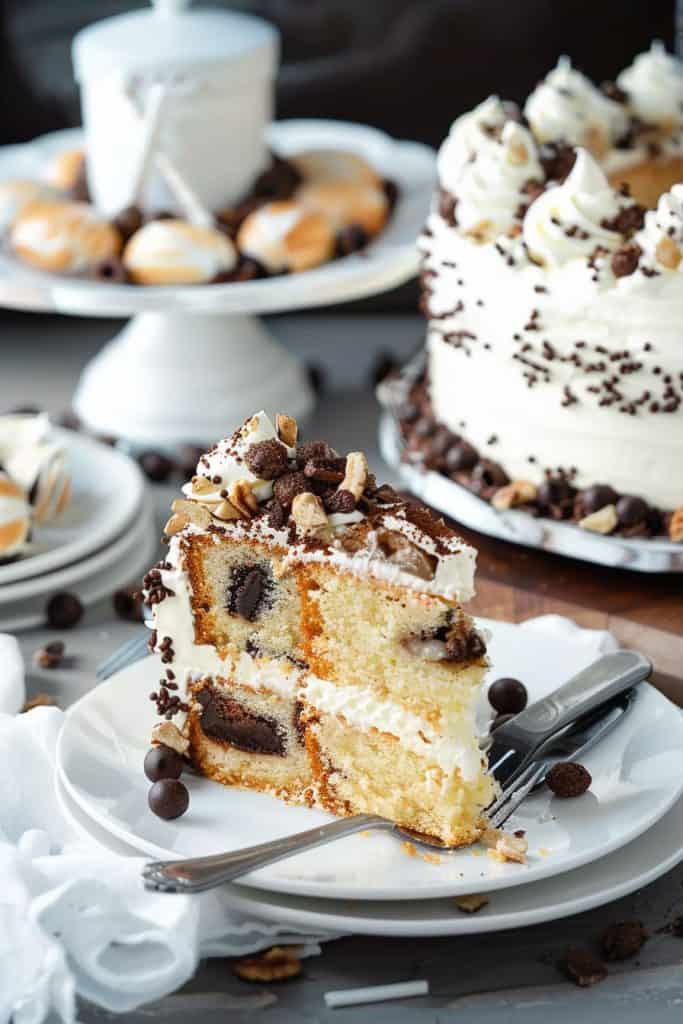
Prepare the Cake Batter
To start creating the delicious cannoli cake, we need to prepare the cake batter. Mixing the ingredients correctly ensures a moist and flavorful cake that complements the creamy cannoli filling perfectly.
Mixing the Ingredients
- In a large mixing bowl, combine 2 cups of all-purpose flour, 1 1/2 cups of granulated sugar, 1 tablespoon of baking powder, and a pinch of salt.
- Add 3/4 cup of whole milk, 1/2 cup of unsalted butter (melted), 3 large eggs, and 1 teaspoon of vanilla extract to the dry ingredients.
- Mix the batter until smooth and well combined, ensuring there are no lumps.
- Fold in 1/2 cup of mini chocolate chips gently to add a hint of chocolate to the cake.
- Preheat your oven to 350°F (180°C) and prepare two 9-inch round cake pans by greasing and lining them with parchment paper.
- Divide the cake batter evenly between the two pans.
- Bake in the preheated oven for 25-30 minutes or until a toothpick inserted in the center comes out clean.
- Once baked, remove the cake layers from the oven and let them cool in the pans for 10 minutes before transferring them to a wire rack to cool completely.
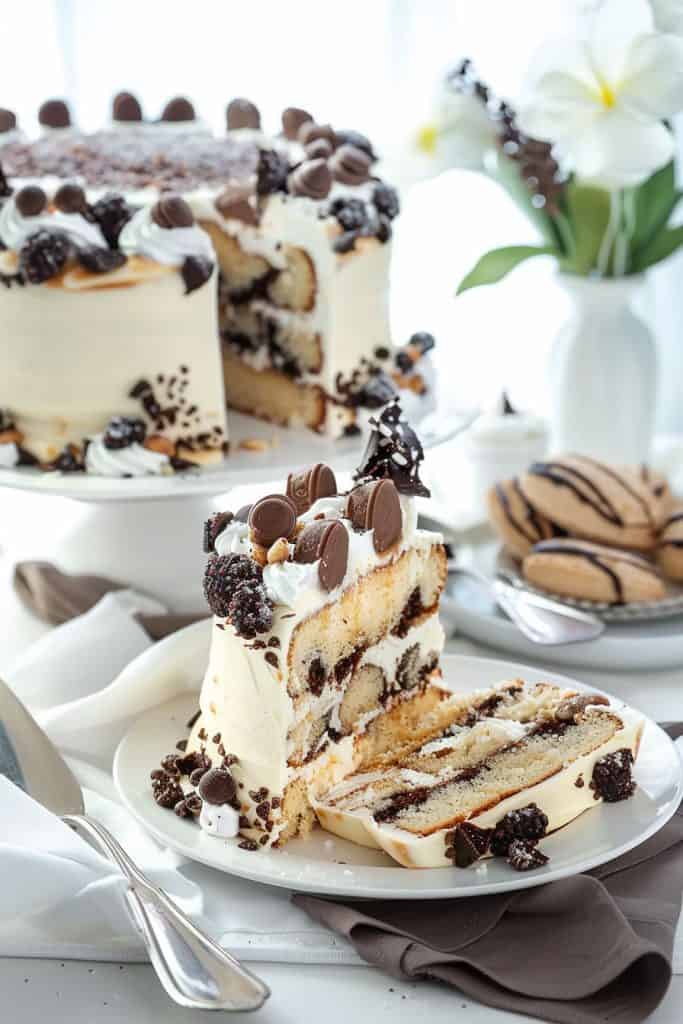
Prepare the Cannoli Cream Filling
Creating the perfect cannoli cream filling is essential for achieving the authentic and delightful taste of cannolis in cake form. The rich and creamy filling adds layers of indulgence to every bite of the cake.
Ingredients for the Filling
- 16 oz ricotta cheese, drained
- 1 cup powdered sugar
- 1 tsp vanilla extract
- 1/2 cup mini chocolate chips
- 1/4 cup candied orange peel, finely chopped
- 1/2 cup heavy cream
- In a large mixing bowl, combine the drained ricotta cheese, powdered sugar, and vanilla extract. Mix until smooth and creamy.
- Gently fold in the mini chocolate chips and chopped candied orange peel into the ricotta mixture until evenly distributed.
- In a separate bowl, whip the heavy cream until stiff peaks form.
- Carefully fold the whipped cream into the ricotta mixture until fully combined, creating a light and airy cannoli cream filling.
- Refrigerate the filling for at least 30 minutes before assembling the cannoli cake to allow the flavors to meld together and the filling to set.
Make the Frosting
When it comes to frosting for a cannoli cake, it’s crucial to get it just right. Choosing the right ingredients and mastering the technique for whipping the frosting are key steps in creating a delicious and decadent finish for your homemade cannoli cake.
Choosing the Right Ingredients
For a velvety and luscious frosting that perfectly complements the cannoli flavors in the cake, opt for high-quality ingredients. Here’s what you’ll need:
- Mascarpone cheese: 8 oz, softened
- Ricotta cheese: 4 oz, drained
- Powdered sugar: 1 cup
- Vanilla extract: 1 tsp
- Ground cinnamon: 1/2 tsp
- Mini chocolate chips: 1/4 cup
- Candied orange peel, finely chopped: 2 tbsp
- Heavy cream: 1 cup
Ensure that the cheeses are at room temperature and well-drained to achieve a smooth and creamy texture for the frosting.
- In a mixing bowl, combine the softened mascarpone cheese, drained ricotta cheese, powdered sugar, vanilla extract, and ground cinnamon. Use a hand mixer to blend the ingredients until smooth and well incorporated.
- Gently fold in the mini chocolate chips and finely chopped candied orange peel into the cheese mixture, ensuring even distribution for bursts of flavor in every bite.
- In a separate bowl, whip the heavy cream until stiff peaks form. This will add lightness and a fluffy consistency to the frosting.
- Gradually fold the whipped cream into the mascarpone and ricotta mixture, taking care not to deflate the cream. The whipped cream will give the frosting a silky texture and airy finish.
- Once the frosting is well combined and has a spreadable consistency, refrigerate it for at least 30 minutes to let the flavors meld together and firm up slightly before assembling the cannoli cake.
With the perfect balance of creamy cheeses, aromatic spices, and decadent chocolate and orange notes, this frosting will elevate your homemade cannoli cake to a delectable dessert that will impress any crowd.
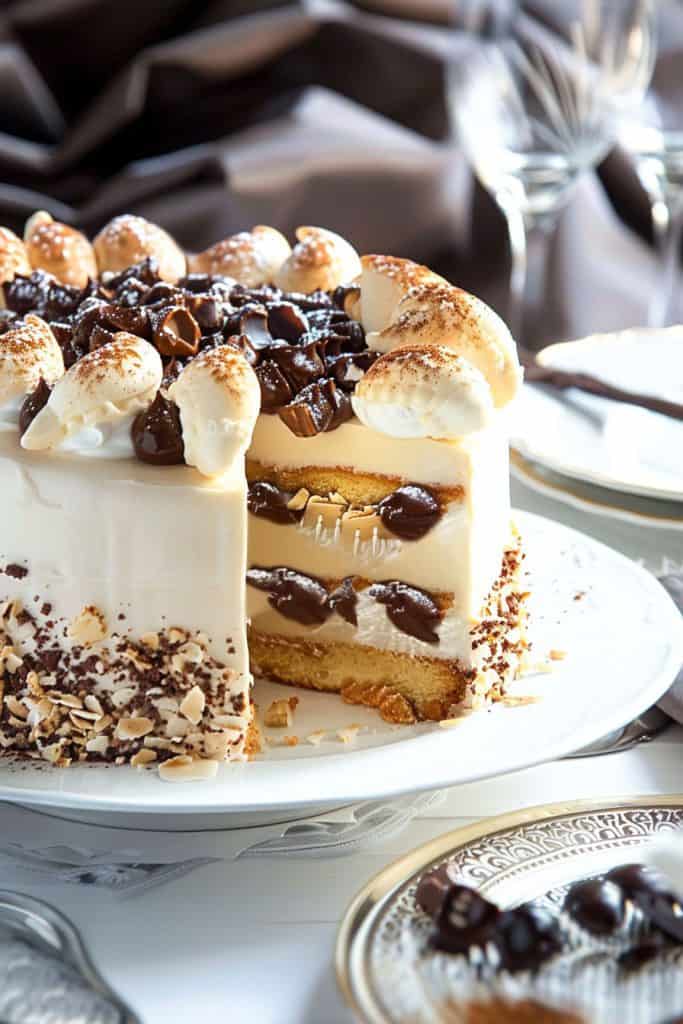
Assemble the Cannoli Cake
Layering the Cake and Filling
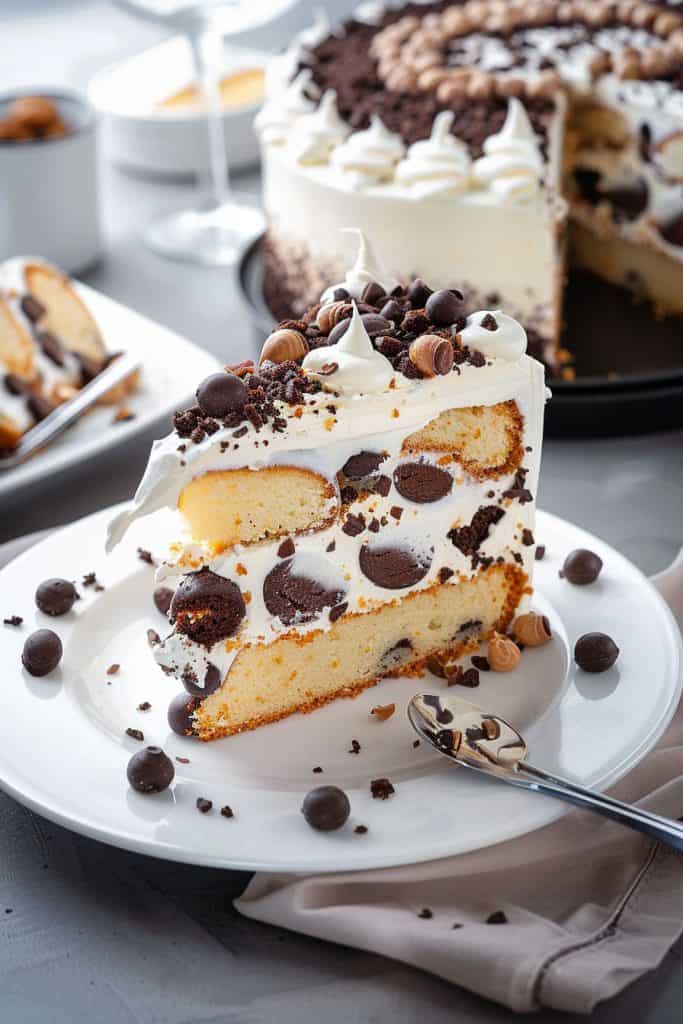
Now comes the exciting part of assembling the homemade cannoli cake. Begin by carefully slicing the cake layers horizontally to create even layers. Place the bottom layer on a serving plate and generously spread a thick layer of the prepared cannoli cream filling over it. Repeat this process with the remaining cake layers, ensuring each layer is evenly coated with the delicious filling.
Additional Tips and Tricks
Tips for Perfect Cake Layers
To ensure your cake layers turn out perfectly every time, make sure to properly prepare your cake pans by greasing and flouring them or using parchment paper. Additionally, leveling the cake layers after baking will help create a stable and even base for stacking.
Best Practices for Cannoli Cream
When making cannoli cream filling, it’s crucial to ensure that the ricotta cheese is well drained to avoid excess moisture, which can affect the consistency of the filling. Adding the powdered sugar gradually and tasting as you go will help achieve the desired level of sweetness without making it too sugary. Another tip is to refrigerate the cannoli cream for a few hours before using it to allow the flavors to meld together and the filling to set properly.
Storage and Serving
How to Store Cannoli Cake
After you’ve crafted your delightful homemade cannoli cake, preserving its freshness is crucial for enjoyment over time. To store your cannoli cake, place it in an airtight container or cover it tightly with plastic wrap. Ensure the container seals securely to prevent drying out and preserve the cake’s moisture. Refrigerating the cannoli cake is advisable, especially if it features a creamy cannoli filling, to maintain its texture and flavors. When stored properly in the refrigerator, your cannoli cake can last for up to 3-4 days, allowing you to savor its deliciousness over multiple servings.
Best Serving Suggestions
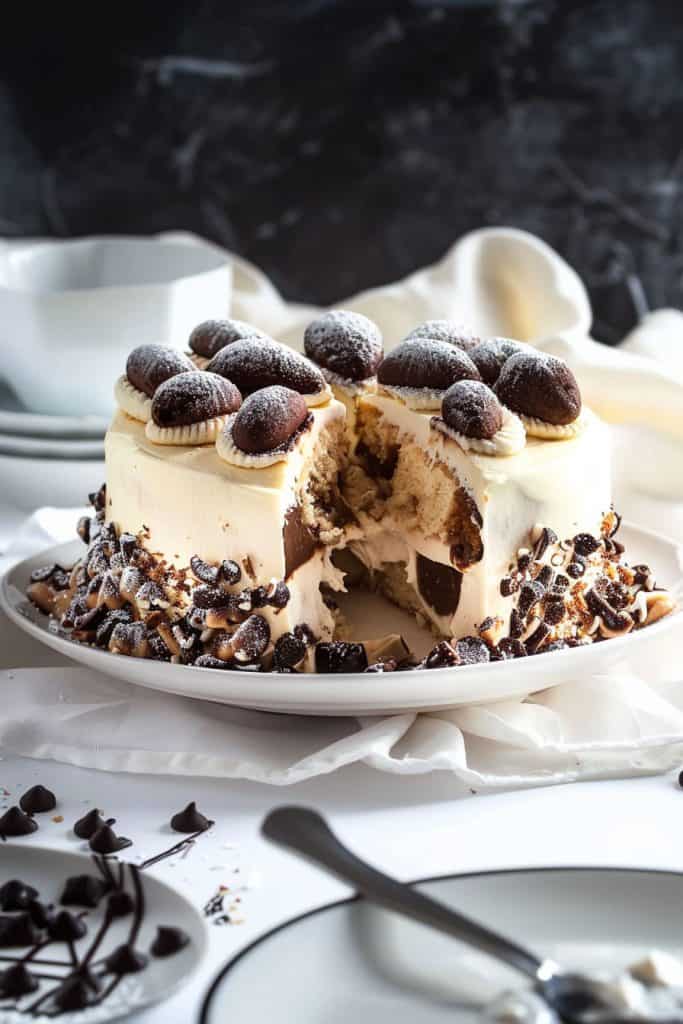
Elevate the experience of indulging in your homemade cannoli cake with these delightful serving suggestions. For a luxurious touch, pair each slice of cannoli cake with a dollop of freshly whipped cream or a scoop of creamy gelato. Enhance the presentation by dusting the cake slices with a sprinkle of cocoa powder, powdered sugar, or grated chocolate. To add a burst of flavor, accompany your cannoli cake with a side of tangy raspberry coulis or a drizzle of rich chocolate ganache. Whether served as a decadent dessert at a formal dinner party or enjoyed casually with coffee during a cozy afternoon, this cannoli cake is sure to impress and delight your guests.
Conclusion
Creating homemade cannoli cake is a delightful way to impress guests or indulge in a sweet treat. By following the steps outlined in this article, you can master the art of making this decadent dessert. Remember to store your cannoli cake properly to preserve its freshness and flavors. Experiment with different serving suggestions to customize your cannoli cake experience. Whether you’re hosting a fancy dinner party or enjoying a laid-back gathering with friends, this cake is sure to be a crowd-pleaser. Embrace the creativity and joy of baking as you embark on your cannoli cake-making journey.

