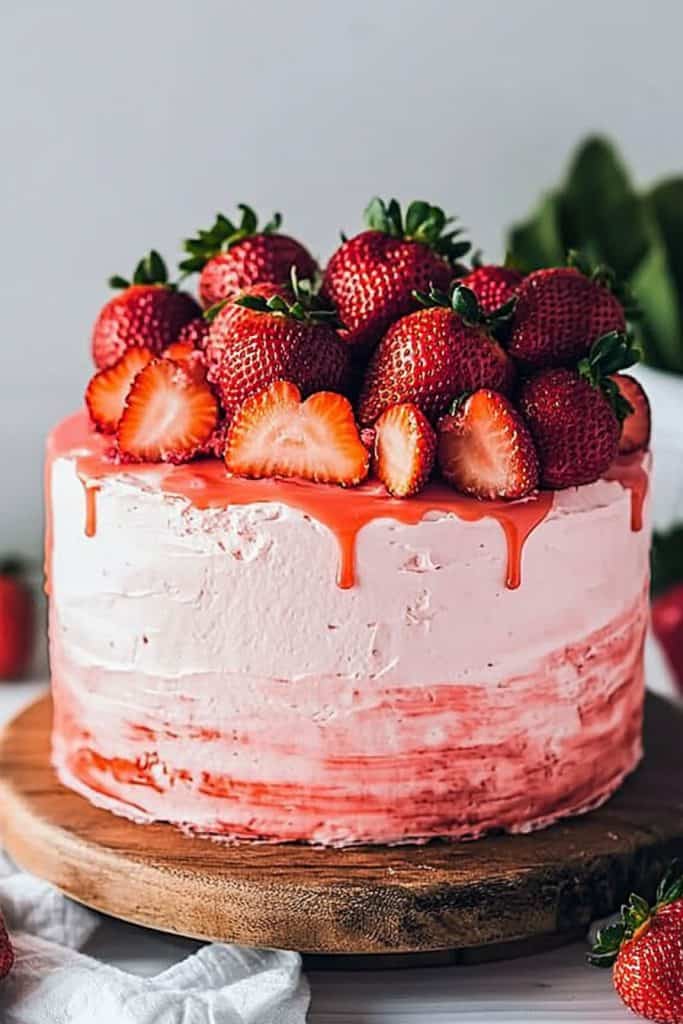
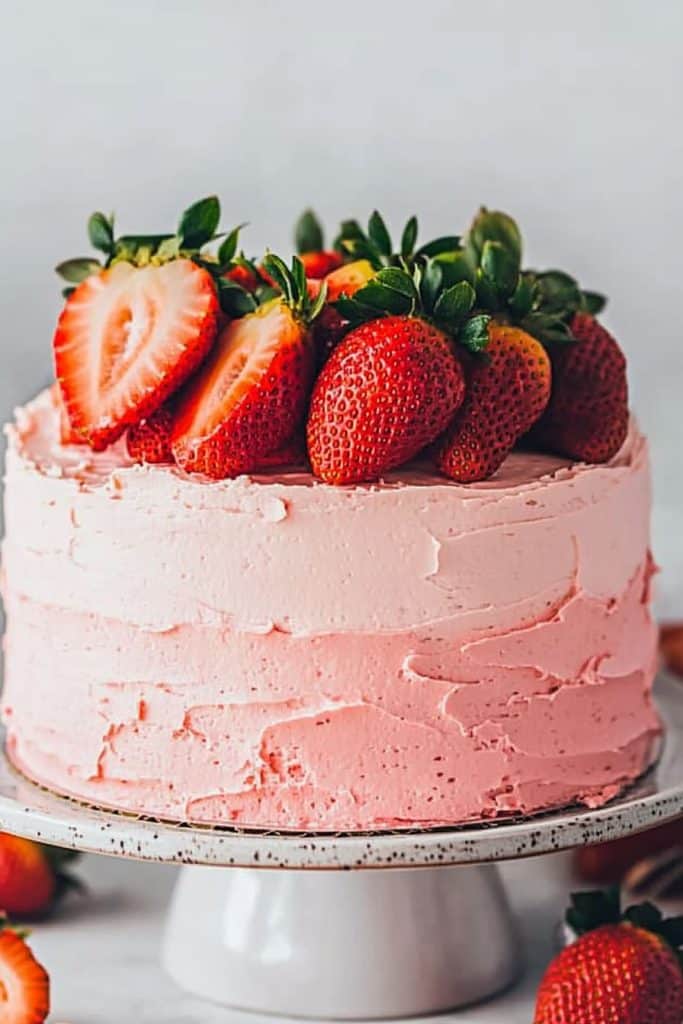
If you’re craving a delightful dessert that’s both gluten-free and vegan, look no further than this strawberry cake recipe. It’s the perfect blend of sweet, juicy strawberries and a moist, tender crumb—without any gluten or animal products. Whether you’re catering to dietary restrictions or simply exploring new culinary horizons, this cake is sure to impress.
Ingredients
To make this delightful gluten-free vegan strawberry cake, you will need the freshest ingredients for both the cake and the frosting. Below are the detailed ingredients lists.
For the Cake
- 2 cups gluten-free all-purpose flour blend (with xanthan gum)
- 1 cup granulated sugar
- 1/2 cup almond milk (or any plant-based milk)
- 1/2 cup coconut oil (melted)
- 1 cup fresh strawberries (pureed)
- 2 teaspoons baking powder
- 1/2 teaspoon baking soda
- 1/2 teaspoon salt
- 1 tablespoon apple cider vinegar
- 1 teaspoon vanilla extract
- 1 cup vegan butter (room temperature)
- 3-4 cups powdered sugar (sifted)
- 2 tablespoons almond milk (or any plant-based milk)
- 1/2 cup fresh strawberries (pureed)
- 1 teaspoon vanilla extract
- A pinch of salt
Equipment Needed
To create my gluten-free vegan strawberry cake, you’ll need a handful of kitchen essentials. Here’s a detailed list of the equipment you’ll need to ensure a smooth baking process:
- Mixing Bowls: Use one large bowl for mixing wet ingredients and another for dry ingredients.
- Measuring Cups and Spoons: Accurate measurements are crucial for a successful cake.
- Hand Mixer or Stand Mixer: A hand mixer or stand mixer will ensure a smooth batter and frosting.
- Spatula: A silicone spatula is perfect for folding ingredients and scraping down the sides of mixing bowls.
- 8-inch Round Cake Pans: You will need two 8-inch cake pans to bake the layers evenly.
- Parchment Paper: Line the bottom of the cake pans with parchment paper to prevent sticking.
- Wire Cooling Rack: Essential for cooling the cakes evenly and preventing them from becoming soggy.
- Blender or Food Processor: A blender or food processor will help puree the strawberries for both the cake batter and frosting.
- Sifter: Sifting the dry ingredients ensures a light and airy cake texture.
- Knife and Cutting Board: For chopping strawberries, if desired, to add more texture to the cake.
- Cake Leveler or Serrated Knife: To create even layers and a professional finish, use a cake leveler or a serrated knife.
- Offset Spatula: This tool is perfect for spreading the frosting smoothly over the cake layers.
Ensure you have all these tools handy before you begin to streamline your baking process and achieve the best results for your gluten-free vegan strawberry cake.
Directions
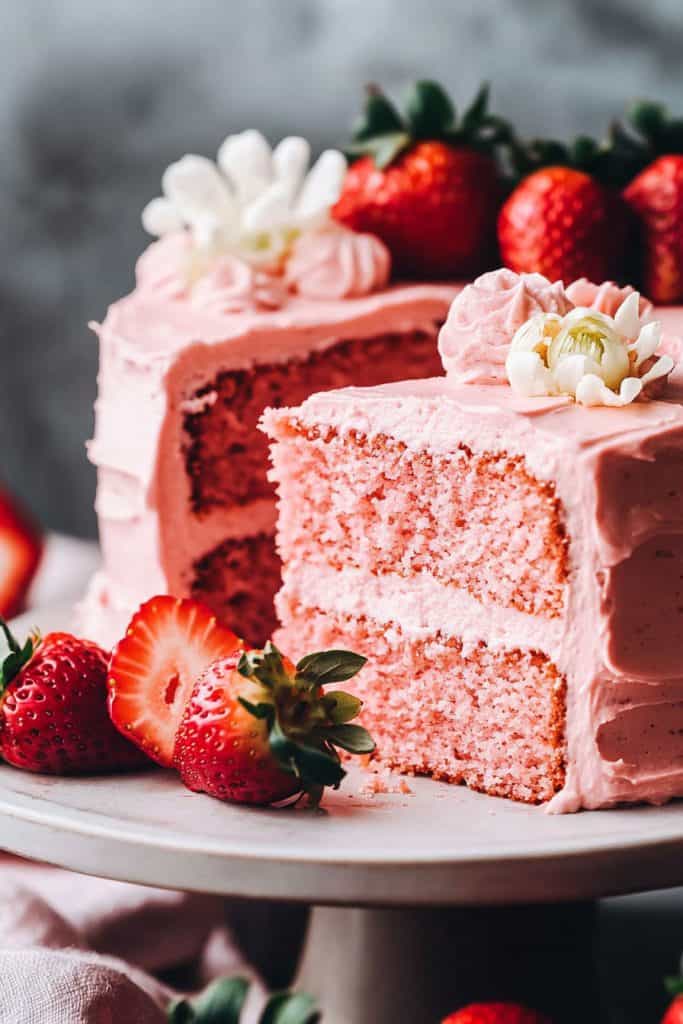
Follow these simple steps to create a delicious gluten-free and vegan strawberry cake that will impress everyone. Gather all your ingredients and kitchen tools to streamline the process.
Prep
- Preheat your oven to 350°F (175°C).
- Grease two 8-inch round cake pans and line the bottoms with parchment paper.
- Set out your measured ingredients on the counter.
Make the Vegan Buttermilk
- Pour 1 cup of almond milk into a bowl.
- Stir in 1 tablespoon of apple cider vinegar.
- Let the mixture sit for about 10 minutes to curdle. This will create your vegan buttermilk.
Prepare the Strawberry Puree
- Wash and hull fresh strawberries until you have 1 cup.
- Blend the strawberries in a blender or food processor until smooth.
- Measure out 1/2 cup of the strawberry puree for the cake.
Make the Cake Batter
- In a large mixing bowl, whisk together the 2 cups of gluten-free flour, 1 1/2 teaspoons of baking powder, 1 teaspoon of baking soda, and 1/2 teaspoon of salt.
- In a separate bowl, mix 1 cup of organic cane sugar, 1/3 cup of melted coconut oil, 1 teaspoon of pure vanilla extract, and the vegan buttermilk.
- Gradually add the wet ingredients to the dry ingredients, stirring until just combined.
- Fold in the 1/2 cup of strawberry puree.
Transfer the Batter and Arrange Strawberries
- Divide the batter evenly between the prepared cake pans.
- Smooth the tops with a spatula.
- Arrange thinly sliced strawberries on top of the batter if desired.
Bake the Cake
- Place the cake pans in the preheated oven.
- Bake for 25-30 minutes, or until a toothpick inserted into the center comes out clean.
- Allow the cakes to cool in the pans for 10 minutes before transferring them to a wire cooling rack to cool completely.
Make the Strawberry Frosting
- In a mixing bowl, beat 1/2 cup of vegan butter until creamy.
- Gradually add 3 cups of powdered sugar, 1/2 cup at a time, beating until smooth.
- Add 2 tablespoons of almond milk and 1/4 cup of strawberry puree. Continue to beat the frosting until light and fluffy.
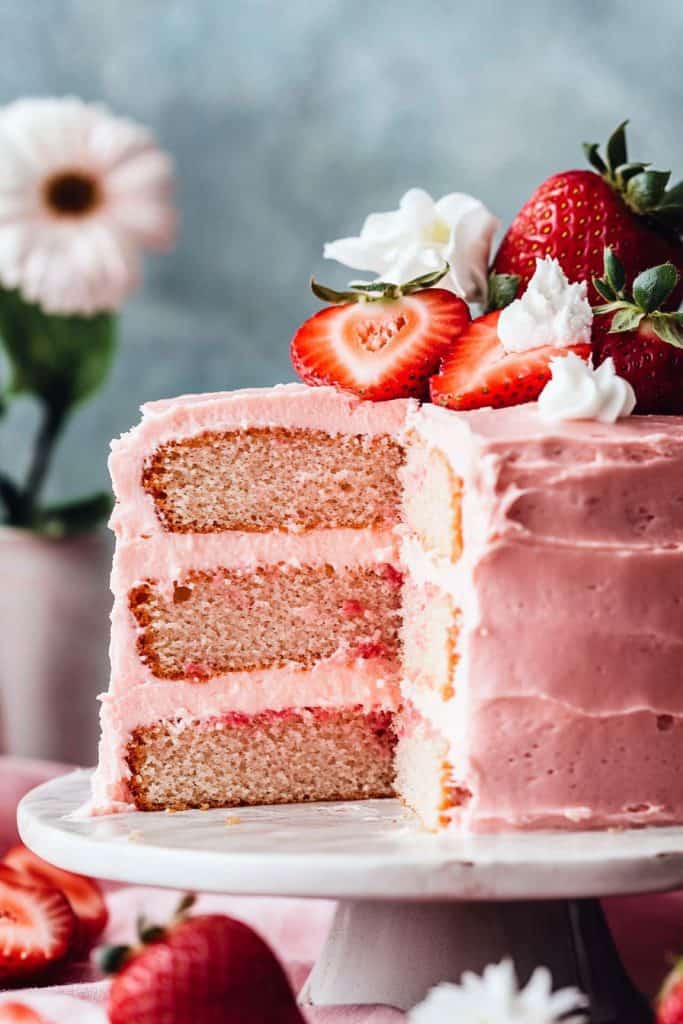
- Place one cake layer on a serving plate.
- Spread a layer of frosting on top.
- Place the second cake layer on top and frost the top and sides of the cake.
- Garnish with fresh strawberries if desired.
Tips & Tricks
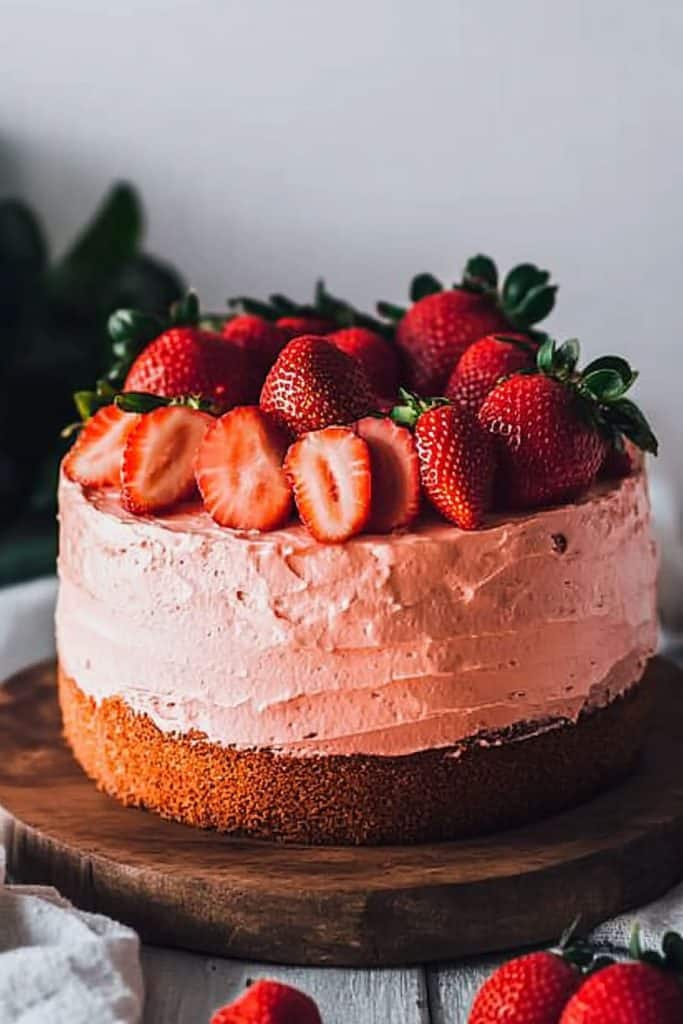
These essential tips and tricks will ensure your gluten-free vegan strawberry cake turns out perfect every time. Follow these techniques to enhance your baking experience and achieve the best results.
Weigh the Flour
Using a kitchen scale to weigh your flour ensures precise measurements. Gluten-free flour can vary in density, so weighing it provides consistency and accuracy in your baking.
Use Room Temperature Ingredients
Ensure that your almond milk, coconut oil, and any other ingredients are at room temperature before mixing. This helps the ingredients combine smoothly and creates a uniform batter, which results in a better cake texture.
Avoid Overmixing the Batter
Mix the ingredients just until combined to avoid overmixing. Overmixing can cause the gluten-free flour to become dense and gummy, which will affect the cake’s final texture.
Testing for Doneness
Test your cake for doneness by inserting a toothpick into the center. If it comes out clean or with a few moist crumbs, your cake is done. This ensures that the cake is baked through without being dry.
Let the Cake Cool Fully
Allow the cake to cool completely before frosting. Cooling helps the cake set and prevents the frosting from melting. Place the cakes on a wire rack to cool evenly and avoid any soggy bottoms.
Storage & Reheating Instructions
Proper storage and reheating are key to maintaining the exquisite taste and texture of your gluten-free vegan strawberry cake.
Storing the Cake
- Cool Completely: Ensure the cake cools completely before storing. Cover loosely with a clean kitchen towel to prevent moisture buildup during cooling.
- Airtight Containers: Place slices in airtight containers. This prevents the cake from drying out and retains its moisture.
- Refrigeration: Store the container in the refrigerator. The cake will stay fresh for up to 5 days.
- Freezing: For longer storage, wrap individual slices in plastic wrap, then place in a freezer-safe bag. Label the bag with the date. Freeze for up to 3 months.
Reheating
- Thawing: If frozen, thaw slices in the refrigerator overnight. This ensures gradual and even thawing without compromising texture.
- Room Temperature: For the best flavor, allow cake slices to come to room temperature before serving. This takes roughly 30 minutes.
- Microwave: To enjoy a warm slice, place the cake on a microwave-safe plate. Heat for 10-15 seconds. Avoid overheating to prevent dryness.
- Oven Warming: Preheat your oven to 300°F (148°C). Place the cake on a baking sheet and cover lightly with foil to retain moisture. Warm for 5-10 minutes.
By following these storage and reheating instructions, you can savor the delightful flavors of your gluten-free vegan strawberry cake anytime.
Conclusion
Creating a gluten-free vegan strawberry cake might seem daunting but with the right ingredients and steps it’s entirely achievable. This recipe ensures that everyone can enjoy a delicious and moist cake regardless of dietary restrictions. By following the tips and tricks provided you can perfect your baking skills and deliver a dessert that’s both beautiful and tasty. Remember proper storage and reheating techniques are key to maintaining the cake’s delightful texture and flavor. So next time you’re in the mood for a sweet treat give this recipe a try and impress your friends and family with your baking prowess.

