

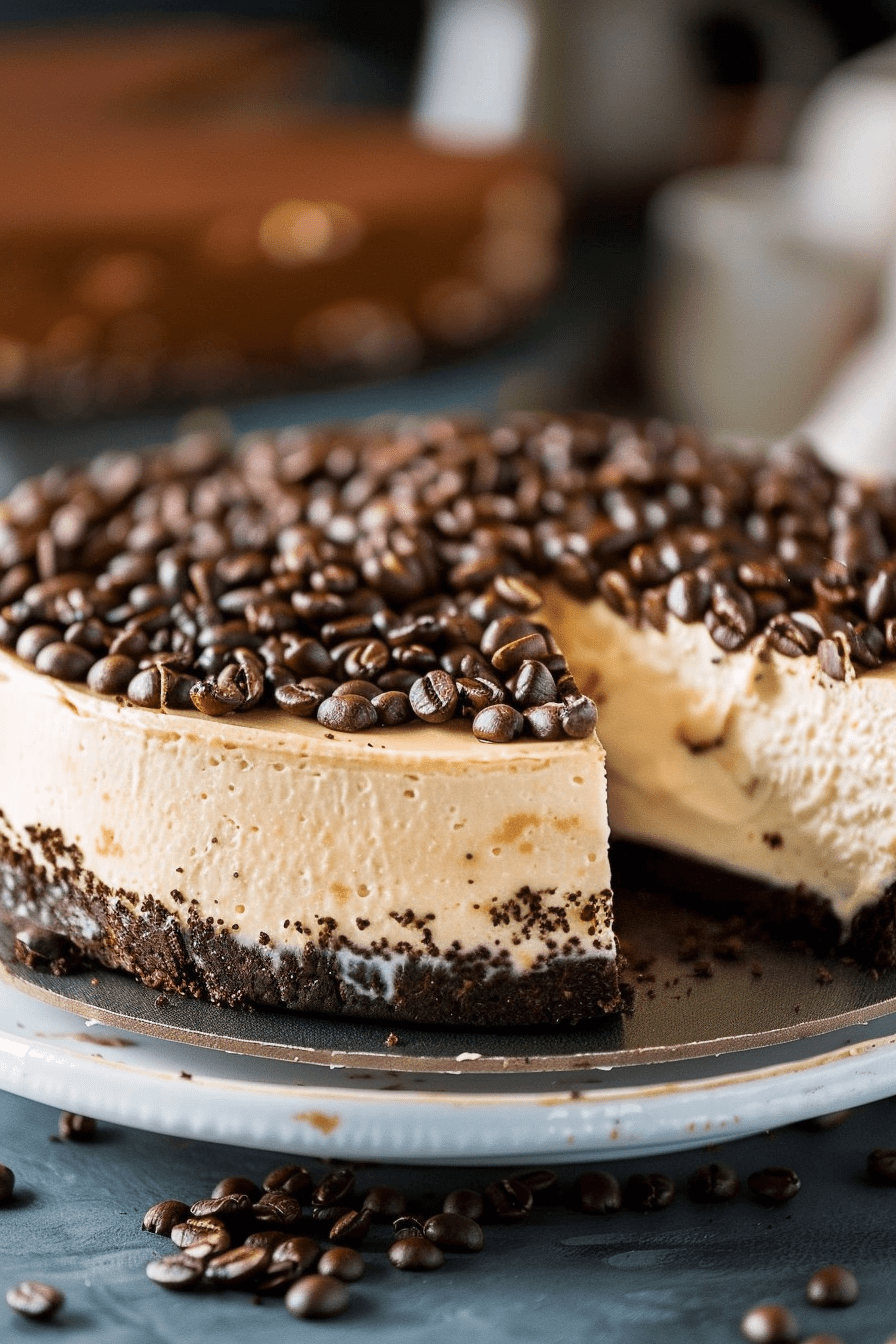
Craving a decadent dessert that combines the rich flavors of coffee and chocolate? Look no further than espresso cheesecake recipes. This delightful treat features a classic cheesecake filling infused with the bold essence of espresso powder, creating a perfect harmony of flavors.
Forget the oven on scorching days and opt for a no-bake Espresso Chocolate Cheesecake that’s as rich and creamy as it is easy to make. The luscious combination of coffee and chocolate in this recipe will have you reaching for seconds.
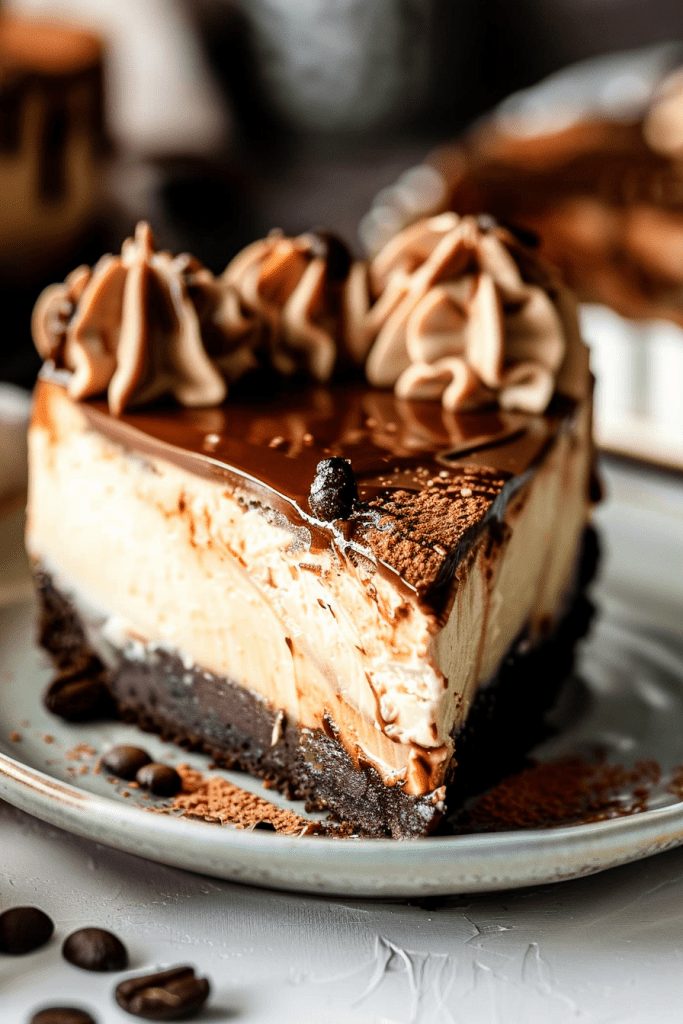
Indulge in the velvety texture of this Espresso Cheesecake, complemented by an irresistible Oreo crust, a luscious chocolate ganache topping, and a dollop of homemade whipped cream sprinkled with crushed espresso beans. This recipe is a must-try for coffee and dessert lovers alike.
Ingredients
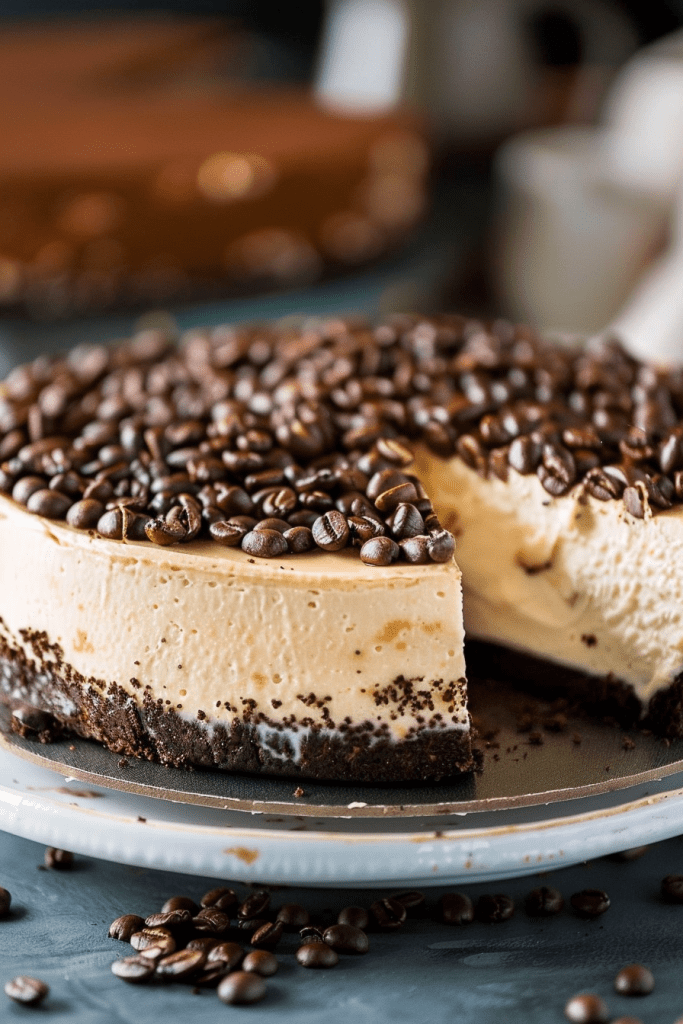
Indulge in the delightful flavors of espresso and chocolate with this espresso cheesecake recipe. Below are the key ingredients you’ll need to create this decadent dessert.
For the Crust
- 2 cups Oreo crumbs
- 4 tablespoons unsalted butter (melted)
For the Espresso Cheesecake Filling
- 3 packages cream cheese (room temperature)
- 1 cup granulated sugar
- 1 teaspoon vanilla extract
- 1/3 cup brewed espresso
- 3 large eggs
- Espresso beans for topping
For the Chocolate Ganache
- 1 cup chocolate chips
- 1/2 cup heavy cream
Directions
Step 1: Making the Crust
- Preheat the Oven: Set your oven to 350 degrees F (175 degrees C).
- Prepare Oreos: Remove the fillings from the Oreo cookies and process them into fine crumbs.
- Mix: Combine the Oreo crumbs with melted butter, mixing thoroughly until the crumbs are evenly moistened.
- Form Crust: Press the mixture firmly into the bottom of a springform pan to create a solid base.
- Pre-Bake and Cool: Pre-bake the crust for about 10 minutes, then allow it to cool to room temperature. Lower the oven temperature to 325 degrees F (160 degrees C).
Step 2: Preparing the Filling
- Beat Cream Cheese: In a large mixing bowl, beat the room-temperature cream cheese until smooth and creamy.
- Add Ingredients: Gradually add the granulated sugar, vanilla extract, and brewed espresso, mixing well until fully incorporated.
- Incorporate Eggs: Add the eggs one at a time, whisking gently to incorporate each before adding the next.
- Fill Crust: Pour the cheesecake mixture over the cooled crust in the springform pan.
- Bake: Place the springform pan in a larger baking tray, add water around the outside, and bake at 325 degrees F (160 degrees C) for 65 to 85 minutes, or until the cheesecake is set with a slight jiggle in the center.
Step 3: Making the Chocolate Ganache
- Cool Slightly: Allow the ganache to cool for five to seven minutes, making it slightly thick but still pourable.
- Heat Cream: In a saucepan, heat the heavy cream until it just begins to simmer.
- Combine with Chocolate: Pour the hot cream over the chocolate chips in a heatproof bowl. Let sit for a minute before stirring until smooth.
Assembling the Layers
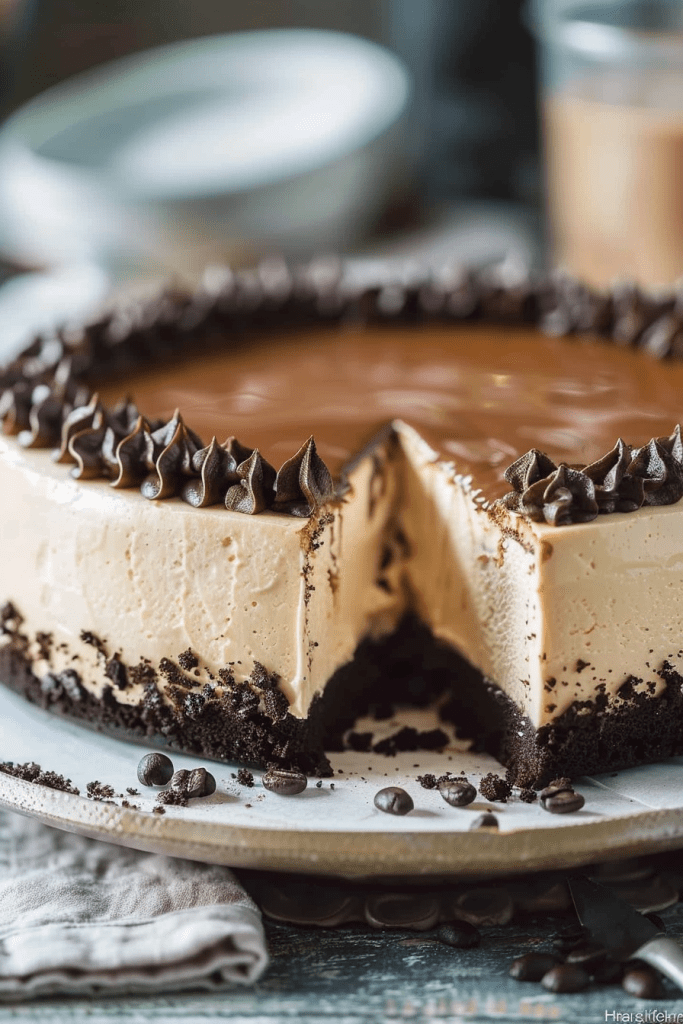
- Pour Ganache: Once the ganache is ready, pour it over the cooled cheesecake, spreading it evenly with a spatula.
- Garnish: Add a sprinkle of crushed espresso beans on top for added texture and flavor.
Cooling the Cheesecake
- Refrigerate: Chill the cheesecake in the refrigerator for at least 4 hours, or overnight for best results.
- Room Temperature: Allow the cheesecake to cool at room temperature before refrigerating.
Serving the Espresso Cheesecake
When it comes to serving this decadent espresso cheesecake, presentation and preparation are key to making it as inviting and irresistible as its taste.
- Unmolding the Cheesecake: To serve the cheesecake, carefully remove the springform pan’s sides. To ensure clean edges, run a thin knife around the edges of the cheesecake before releasing the pan. If lined with parchment, gently peel it away for a polished look.
- Perfect Slices: For clean, professional-looking slices:
- Use a sharp, non-serrated knife.
- Dip the knife in hot water before slicing and wipe it clean between cuts.
- Garnishing:
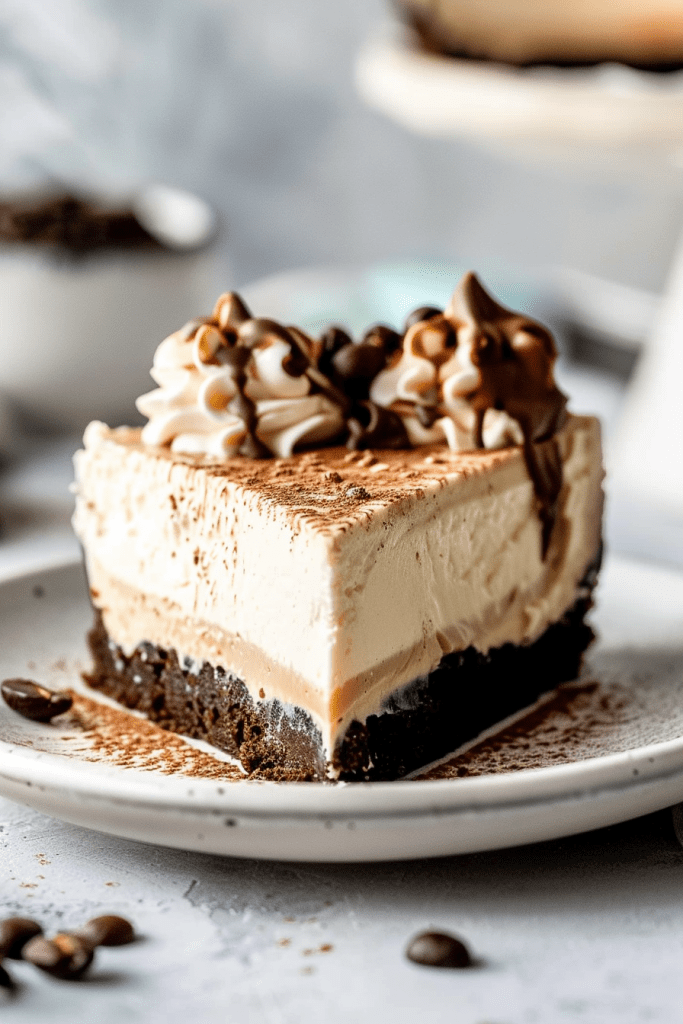
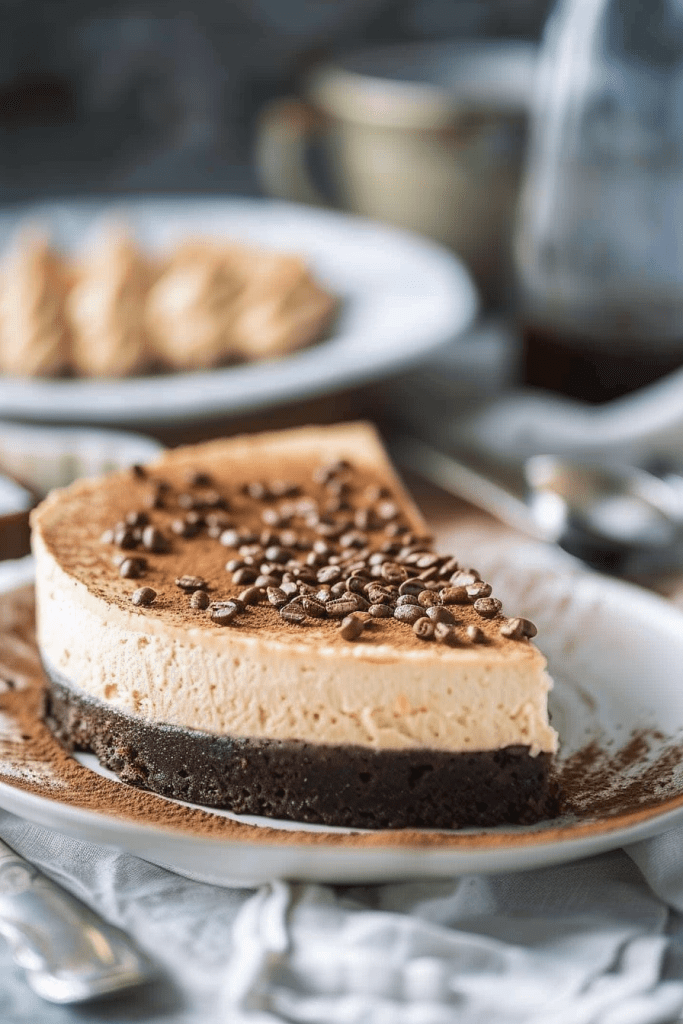
- Dust a light layer of unsweetened cocoa powder over the ganache for an extra touch of elegance.
- Arrange a few whole or crushed espresso beans on top for a coffee-inspired aesthetic.
- Add a dollop of freshly whipped cream to each slice for creaminess that complements the bold coffee and chocolate flavors.
- Serving Temperature: Serve the cheesecake chilled. The flavors are at their peak and the texture is perfectly creamy when it’s served directly from the refrigerator.
- Pairings: Pair the cheesecake with a warm cup of espresso or a latte for a truly indulgent experience. Alternatively, a glass of dessert wine or port can elevate the richness of the cheesecake.
Storage Instructions
Proper storage ensures that your espresso cheesecake maintains its delicious flavor and creamy texture. Whether you’re saving leftovers or preparing the cheesecake in advance, these tips will help preserve its quality.
Refrigerating
- Short-Term Storage:
- Once the cheesecake has been sliced and served, cover it tightly with plastic wrap or store it in an airtight container.
- If the cheesecake is still whole, cover the top with plastic wrap, ensuring it clings closely to prevent air exposure. For added protection, place it in a cake carrier or wrap the pan in foil.
- Stored this way, the cheesecake will stay fresh for up to 4-5 days in the refrigerator.
- Preventing Odor Absorption:
- Cheesecake can easily absorb odors from other foods in the refrigerator. To avoid this, ensure it’s well-wrapped or stored in an airtight container.
Freezing
Freezing the cheesecake is an excellent option if you want to keep it for a longer period or prepare it far in advance of an event.
- Freezing the Whole Cheesecake:
- Place the completely cooled cheesecake (without ganache topping) on a sturdy plate or cardboard round.
- Wrap the cheesecake tightly in plastic wrap, ensuring there are no gaps.
- Add a second layer of aluminum foil for extra protection against freezer burn.
- Label with the date and store in the freezer for up to 2 months.
- Slicing for Convenience:
- For easier serving later, pre-slice the cheesecake before freezing.
- Place parchment paper between the slices to prevent them from sticking.
- Individually wrap each slice in plastic wrap and foil, then store all slices in a freezer-safe container.
- Thawing:
- Transfer the frozen cheesecake or slices to the refrigerator to thaw slowly overnight. Avoid thawing at room temperature, as this can affect the texture and cause condensation on the ganache.
- Adding the Ganache After Freezing:
- For optimal freshness, prepare and pour the ganache only after thawing. This keeps the topping from moistening or separating during freezer storage.
Tips for Best Results
- If freezing, avoid adding toppings such as whipped cream, cocoa powder, or espresso beans beforehand, as they can lose texture or color during thawing. Add them fresh before serving.
- For a just-made taste, let the cheesecake sit at room temperature for 15-20 minutes after thawing in the refrigerator. This softens it slightly and enhances the flavor.
Planning Ahead: Make-Ahead Tips
If you’re preparing the cheesecake for a special occasion, here’s a timeline to ensure stress-free preparation:
- Day of Serving: Add any final garnishes like whipped cream or chocolate shavings just before serving for the freshest presentation.
- 3-5 Days Ahead: Bake the cheesecake and refrigerate it without adding the ganache or garnishes. Cover it tightly so it remains fresh.
- 1 Day Ahead: Prepare the ganache and pour it over the cheesecake once chilled. Garnish with espresso beans or cocoa powder, and refrigerate overnight.
Conclusion
I’ve shared some tantalizing espresso cheesecake recipes that are sure to impress both coffee and chocolate lovers alike. From the luscious Espresso Chocolate Cheesecake to the indulgent Espresso Cheesecake with a chocolate ganache topping, these desserts are bound to become favorites. By following the tips on cooling, setting, and storage, you can ensure that your cheesecakes maintain their exquisite texture and flavor. Whether you choose to enjoy them immediately or save some for later, these espresso cheesecakes are a delightful treat for any occasion. Experiment with different variations and make these recipes your own for a truly unforgettable dessert experience.
PrintEspresso Cheesecake Recipe
Indulge in this rich and creamy espresso cheesecake that perfectly combines bold coffee flavors with decadent chocolate. Featuring a buttery Oreo crust, velvety cheesecake filling, and a luscious chocolate ganache topping, this dessert is a must-try for coffee and chocolate lovers alike! Whether for celebrations or just because, this dessert will undoubtedly impress.
- Prep Time: 25 minutes
- Cook Time: 75 minutes (includes crust pre-bake)
- Total Time: 5 hours 40 minutes (includes overnight chilling)
- Yield: 8–10 slices 1x
- Category: Dessert
- Cuisine: American
Ingredients
For the Crust
- 2 cups Oreo crumbs (about 24 Oreos, filling removed)
- 4 tablespoons unsalted butter, melted
For the Cheesecake Filling
- 3 packages (8 oz each) cream cheese, softened to room temperature
- 1 cup granulated sugar
- 1 teaspoon vanilla extract
- 1/3 cup brewed espresso (strong coffee)
- 3 large eggs
- Optional: Whole espresso beans for topping
For the Chocolate Ganache
- 1/2 cup heavy cream
- 1 cup semi-sweet chocolate chips
Instructions
Step 1: Prepare the Crust
- Preheat the oven to 350°F (175°C).
- Crush the Oreo cookies into fine crumbs using a food processor or by sealing them in a bag and smashing with a rolling pin.
- In a bowl, combine the Oreo crumbs with melted butter and mix until evenly moistened.
- Press this mixture firmly into the bottom of a 9-inch springform pan.
- Bake the crust for 10 minutes, remove from the oven, and let it cool. Turn the oven’s temperature down to 325°F (160°C).
Pro Tip: Use the back of a measuring cup to press the crust evenly into the pan for a firm base.
Step 2: Make the Cheesecake Filling
- In a large mixing bowl, beat the softened cream cheese with an electric mixer until smooth and lump-free.
- Add sugar and vanilla extract, continuing to mix until well blended.
- Gradually add the brewed espresso and mix until fully incorporated.
- Add the eggs one at a time, mixing gently after each addition to avoid incorporating air (prevents cracking).
- Pour the cheesecake filling over the cooled crust, smoothing the top with a spatula.
Common Mistake to Avoid: Overbeating the batter can introduce air bubbles, leading to cracks during baking.
Step 3: Bake the Cheesecake
- Place the springform pan in a larger baking dish and fill the outer dish with hot water, creating a water bath. This keeps the temperature even and prevents cracks.
- Bake at 325°F (160°C) for 65–85 minutes or until the edges are set, and the center is slightly jiggly.
- Turn off the oven, crack the door open slightly, and let the cheesecake cool slowly for 1 hour to prevent sudden temperature changes.
Step 4: Make the Ganache
- In a heatproof bowl, pour hot heavy cream over the chocolate chips. Let it sit for 1–2 minutes, then stir until the chocolate is melted and the ganache is smooth.
- Cool the ganache slightly for 5–7 minutes before pouring it over the cooled cheesecake. Use a spatula to spread it evenly over the surface.
Pro Tip: For a glossy finish, avoid over-stirring the ganache once it has combined.
Step 5: Chill and Serve
- Refrigerate the cheesecake for at least 4 hours, or preferably overnight, to allow it to set completely.
- Once ready, carefully remove the springform pan, garnish with whole espresso beans, and serve chilled.
Serving Suggestion: Dust the top with cocoa powder and serve slices with fresh whipped cream or a drizzle of espresso syrup for an elevated touch.
Notes
Storage & Reheating
- Refrigerator: Store leftover cheesecake tightly covered in the fridge for up to 5 days.
- Freezer: To freeze, wrap the cheesecake (whole or in slices) in plastic wrap, then aluminum foil, and store for up to 2 months. Thaw overnight in the fridge.
- Reheating: Cheesecake is best served cold; no reheating is needed.
Tips & Tricks
- Ensure cream cheese is fully softened to prevent lumps in the filling.
- For sharper espresso flavor, increase the espresso to 1/2 cup, but note this may slightly soften the texture.
- Always add eggs last and mix minimally to avoid overworking the batter.
This Espresso Cheesecake recipe is guaranteed to be a crowd-pleaser. Its luxurious layers, balanced flavors, and elegant presentation make it perfect for any occasion. Pair with a fresh espresso for the ultimate dessert experience!
