
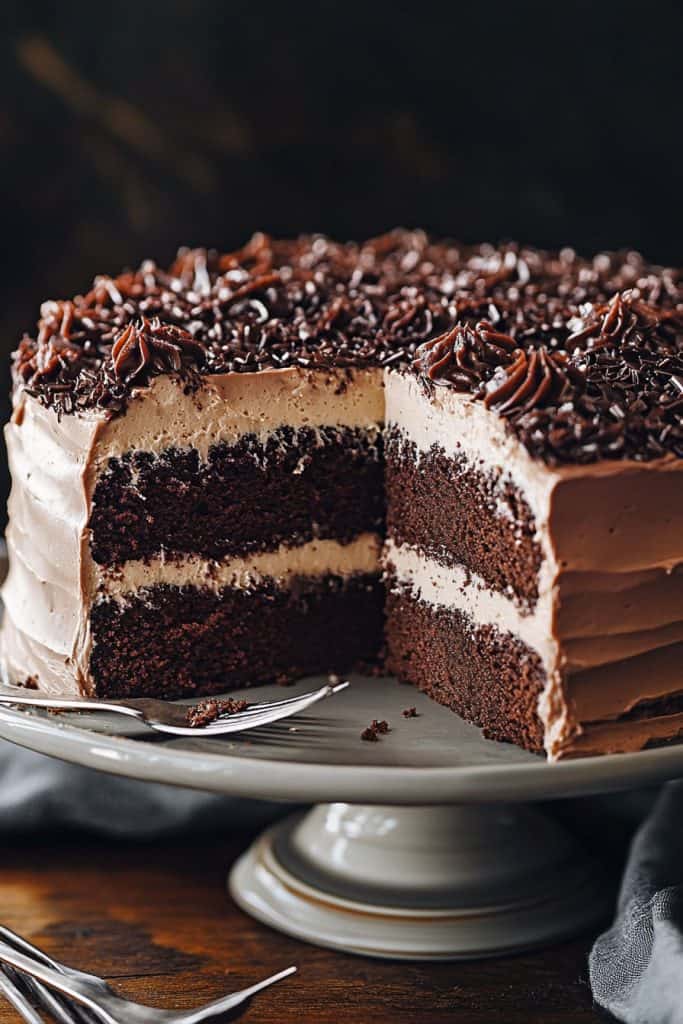
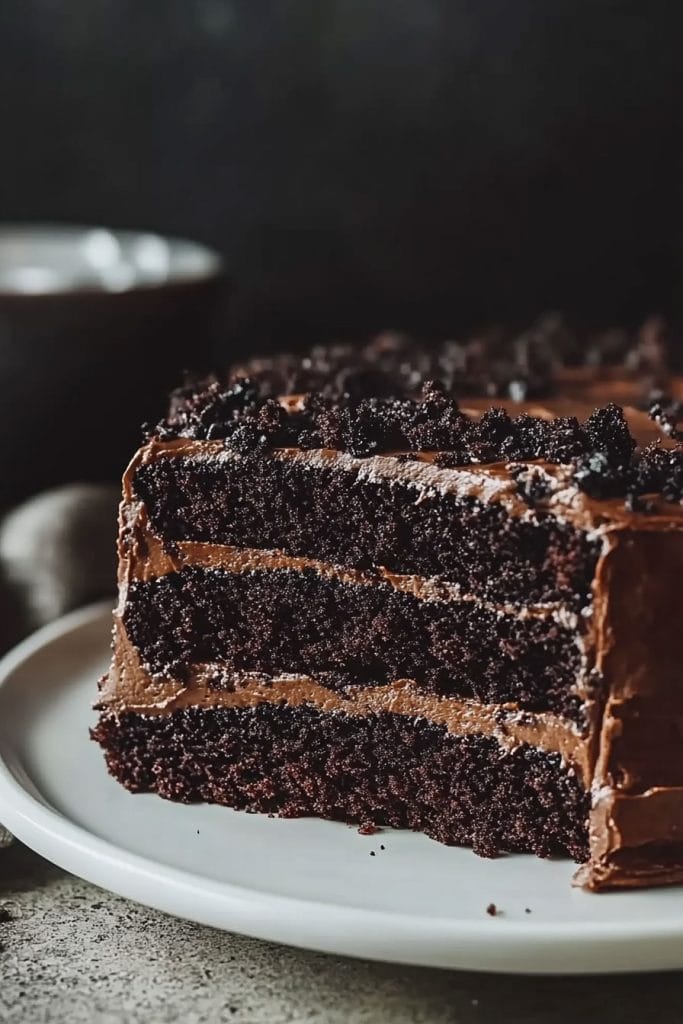
If you’re a chocolate lover like me, then you’re in for a treat with this blackout cake recipe. Originating from Brooklyn, New York, this decadent dessert is a chocolate lover’s dream come true. The cake gets its name from its dark, rich color and intense chocolate flavor that can make any day feel like a special occasion.
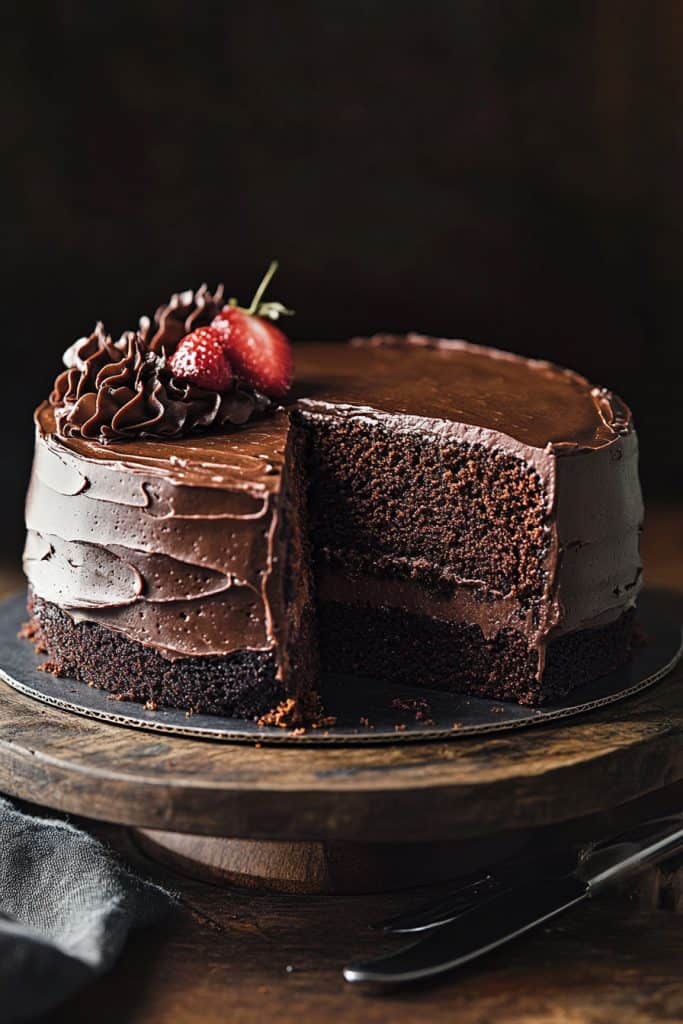
The magic of blackout cake lies in its layers of moist chocolate cake, creamy pudding, and a crumbly topping that adds the perfect texture. It’s a dessert that’s indulgent yet surprisingly easy to make at home. Whether you’re celebrating a birthday or just craving something sweet, this blackout cake will surely satisfy your chocolate cravings.
Blackout Cake Ingredients
Creating a blackout cake requires careful selection of ingredients to achieve its iconic richness and depth. Here’s what you need:
For the Cake
- 1 ¾ cups all-purpose flour
- 2 cups granulated sugar
- ¾ cup unsweetened cocoa powder
- 1 ½ teaspoons baking powder
- 1 ½ teaspoons baking soda
- 1 teaspoon salt
- 2 large eggs (room temperature)
- 1 cup whole milk (room temperature)
- ½ cup vegetable oil
- 2 teaspoons vanilla extract
- 1 cup boiling water
For the Pudding
- ¾ cup granulated sugar
- ¼ cup cornstarch
- ½ teaspoon salt
- 3 cups whole milk
- 4 large egg yolks
- 8 ounces semisweet chocolate (finely chopped)
- 2 teaspoons vanilla extract
- 1 cup unsalted butter (room temperature)
- 1 ½ cups powdered sugar
- ½ cup unsweetened cocoa powder
- 1 teaspoon vanilla extract
- 2-3 tablespoons whole milk
Make sure to measure your ingredients accurately and have everything ready before you start the baking process.
Tools and Equipment
To create a perfectly decadent blackout cake, having the right tools and equipment is crucial. Here’s a detailed list of what you’ll need:
Measuring Tools
- Measuring Cups And Spoons: Precise measurements are key to baking success.
- Digital Scale: For accurate ingredient weights.
Mixing Tools
- Stand Mixer Or Hand Mixer: Essential for mixing cake batter and frosting smoothly.
- Mixing Bowls: Multiple bowls of varying sizes for different components.
Baking Tools
- 8-Inch Round Cake Pans: To bake the cake layers evenly (you’ll need at least two).
- Parchment Paper: To line the cake pans for easy removal.
- Wire Cooling Rack: To cool the cakes without making them soggy.
- Offset Spatula: For spreading frosting effortlessly.
Cooking Tools
- Saucepan: Needed to prepare the chocolate pudding filling.
- Whisk: For stirring the pudding to achieve a creamy texture.
- Cake Leveler Or Serrated Knife: To level the cake layers for even stacking.
- Cake Turntable (Optional): Easier for frosting and decorating the cake evenly.
Each of these tools helps ensure the various components of the blackout cake come together to form a cohesive, delicious dessert. Having the right equipment not only simplifies the process but also contributes to a seamless baking experience, resulting in a cake that’s as stunning as it is scrumptious.
Directions
Follow these simple steps to create a decadent blackout cake that’s sure to impress.
Step 1: Make the Pudding
- In a medium saucepan, combine 1 cup of granulated sugar, 1/4 cup of unsweetened cocoa powder, 1/4 cup of cornstarch, and a pinch of salt.
- Slowly whisk in 3 cups of whole milk until smooth.
- Place the saucepan over medium heat, continuously whisking until the mixture thickens and comes to a boil. This should take about 5-7 minutes.
- Once boiling, reduce heat to low and continue to cook for another 2 minutes.
- Remove from heat and stir in 1 teaspoon of vanilla extract and 2 tablespoons of unsalted butter until fully combined.
- Pour the pudding into a bowl, cover with plastic wrap touching the surface to prevent a skin from forming, and refrigerate for at least 2 hours or until set.
Step 2: Prepare the Cake Batter
- Preheat your oven to 350°F (175°C). Grease and flour two 9-inch round cake pans.
- In a large bowl, whisk together 1 3/4 cups of all-purpose flour, 2 cups of granulated sugar, 3/4 cup of unsweetened cocoa powder, 1 1/2 teaspoons of baking powder, 1 1/2 teaspoons of baking soda, and 1 teaspoon of salt.
- Add 2 large eggs, 1 cup of whole milk, 1/2 cup of vegetable oil, and 2 teaspoons of vanilla extract. Beat on medium speed with an electric mixer until smooth, about 2 minutes.
- Carefully stir in 1 cup of boiling water. The batter will be thin.
Step 3: Bake the Cakes
- Divide the batter evenly between the prepared pans.
- Bake for 30-35 minutes, or until a toothpick inserted into the center comes out clean.
- Allow the cakes to cool in the pans for 10 minutes, then remove from pans and cool completely on wire racks.
Step 4: Make the Frosting
- In a medium bowl, beat 1 cup of unsalted butter until creamy.
- Gradually add 3 1/2 cups of powdered sugar, 1/2 cup at a time, beating on low speed. After the first 1 1/2 cups, add 1/4 cup of unsweetened cocoa powder.
- Add 1/4 cup of heavy cream and 1 teaspoon of vanilla extract. Beat on high speed for 3 minutes until light and fluffy. If the frosting is too thick, add a little more cream, 1 tablespoon at a time.
Step 5: Assemble the Cake
- Trim the tops of the cakes to make them level if necessary. Crumble the trimmings for later use.
- Place one cake layer on a serving plate. Spread an even layer of the chilled pudding over the top.
- Place the second cake layer on top of the pudding. Frost the top and sides of the cake with the prepared frosting.
- Take the reserved cake trimmings and crumble them finely.
- Press the crumbs onto the frosted cake, covering the top and sides completely. This adds texture and a classic look to the blackout cake.
Tips for Making the Perfect Blackout Cake
Blackout cakes are beloved for their rich chocolatey layers and luscious textures. Here are some of my top tips to ensure your blackout cake turns out perfectly every time.
Use High-Quality Ingredients
Using premium ingredients is crucial. Opt for high-quality cocoa powder, real unsalted butter, and pure vanilla extract. These will enhance the flavor and depth of your cake.
Measure with Precision
Accurate measurements are essential for baking. Use a kitchen scale for the dry ingredients to ensure your cake turns out light and fluffy.
Room Temperature Ingredients
Make sure all your ingredients are at room temperature before you start. This helps in better mixing and a smoother batter. Take the butter and eggs out of the fridge at least an hour before you begin.
Do Not Overmix
Once you add the dry ingredients to the wet ingredients, mix just until combined. Overmixing can lead to a dense, tough cake.
Properly Prepare Pans
Grease your pans thoroughly and line them with parchment paper to prevent sticking. This will make it easier to remove the cake layers without breaking them.
Bake Evenly
Place your cake pans on the middle rack of the oven for even heat distribution. Rotate the pans halfway through the baking time to ensure they bake evenly.
Cool Completely
Allow the cake layers to cool in the pans for about 10 minutes before turning them out onto a wire rack. Let them cool completely before frosting to avoid melting the frosting.
Make Ahead
For best results, make the pudding and the cake layers a day ahead. This allows the flavors to meld together and makes the cake easier to assemble.
Frosting Consistency
Your frosting should be smooth and spreadable. If it’s too thick, add a bit of milk, one teaspoon at a time, until you reach the desired consistency.
Assemble with Care
When assembling your blackout cake, spread an even layer of pudding between each cake layer. Take your time to ensure the layers are straight and the cake is stable.
How to Store Blackout Cake
Storing your blackout cake properly ensures it stays moist and delicious for days. Follow these tips to keep your cake fresh.
Can You Freeze Blackout Cake?
Yes, you can freeze blackout cake. Here’s how:
- Cool Completely: Allow the cake to cool fully before freezing. This prevents ice crystals from forming.
- Wrap Tightly: Wrap the cake layers individually in plastic wrap. Then, wrap them again in aluminum foil to prevent freezer burn.
- Label and Date: Label each package with the date so you can keep track of how long it has been in the freezer.
- Freeze Flat: Place the wrapped cake layers on a flat surface in the freezer to maintain their shape.
To thaw, move the cake to the refrigerator for several hours or overnight. Allow it to come to room temperature before serving or decorating.
Conclusion
Blackout cake is a decadent treat that’s sure to impress. By following the detailed guidance on ingredients and techniques, you can create a cake that’s both delicious and visually stunning. Remember to use high-quality ingredients and measure accurately for the best results. Proper storage and thawing will ensure your cake stays fresh and maintains its shape. Whether you’re serving it for a special occasion or just indulging in a sweet treat, mastering the blackout cake will undoubtedly elevate your baking skills. Happy baking!