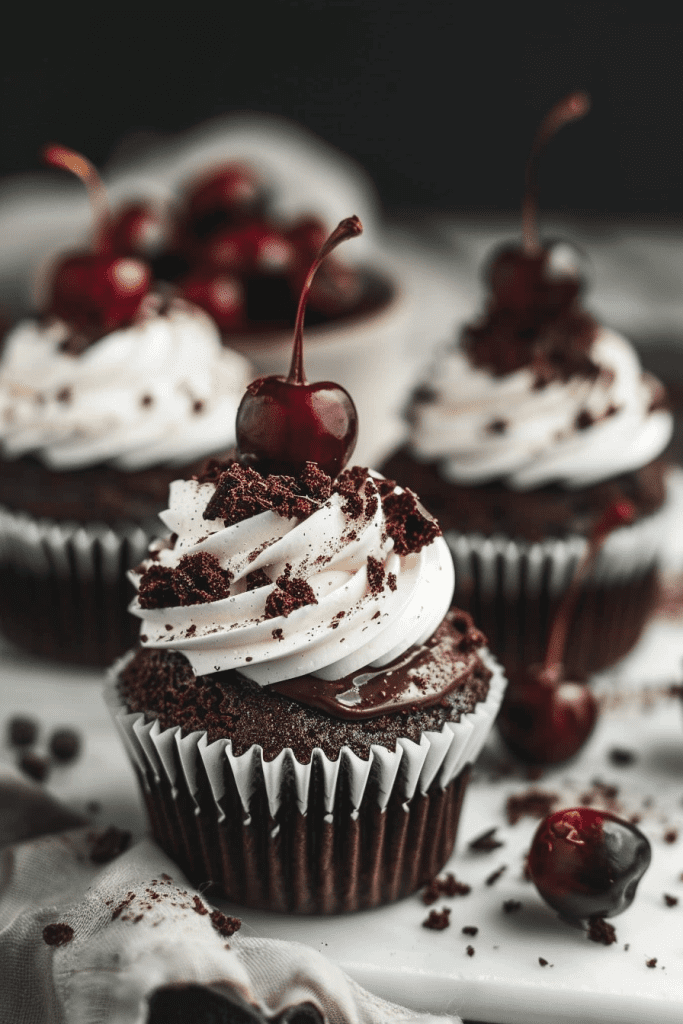
Indulge in the decadent charm of Black Forest Cupcakes, a delightful twist on the classic cake. These treats start with a doctored chocolate cake mix, embracing the rich flavors of chocolate and sweet cherries. Topped with luscious whipped vanilla cream frosting, they are a sweet sensation perfect for any occasion.
Sink your teeth into a bite of nostalgia with these cupcakes, reminiscent of the beloved Black Forest Cake. The hidden surprise of a cherry filling adds a burst of fruity sweetness to each moist and chocolatey bite. These cupcakes are sure to be a crowd-pleaser, offering a perfect balance of flavors that will leave everyone craving more.
Whether you’re hosting a gathering or simply satisfying a craving, these Black Forest Cupcakes are a must-try. Remember, like all good things, they are best enjoyed fresh on the day they are made.
Ingredients
Creating these indulgent Black Forest Cupcakes doesn’t require fancy ingredients. In fact, you probably have most of them in your pantry already. Let’s gather everything we need to whip up these delightful treats.
For the Chocolate Cupcakes
- 1/2 cup unsalted butter, room temperature
- 1 cup sugar
- 2 eggs
- 1/2 teaspoon vanilla extract
- 6 tablespoons water
- 6 tablespoons natural unsweetened cocoa powder
- 1 cup all-purpose flour
- 1/2 teaspoon baking soda
- 1/4 teaspoon salt
- 6 tablespoons milk
For the Cherry Filling
- 1/4 cup sugar
- 2 tablespoons cornstarch
- 2 tablespoons water
- 1 2/3 cups pitted and quartered cherries
- 1 1/2 cups heavy whipping cream, cold
- 3/4 cup powdered sugar
- 2 teaspoons vanilla extract
- Chocolate for grating
- Fresh cherries for topping
Equipment Needed
When preparing Black Forest Cupcakes, having the right equipment on hand makes the process smooth and efficient. Here’s a list of essential kitchen tools you’ll need to create these decadent treats:
- Muffin Tin: To bake the cupcakes in a uniform shape and size.
- Cupcake Liners: For easy release and a decorative touch.
- Mixing Bowls: For combining and whisking ingredients.
- Saucepan: To prepare the cherry filling for the cupcakes.
- Whisk: For mixing the cupcake batter and frosting.
- Electric Mixer: To whip up the fluffy vanilla cream frosting.
- Piping Bag and Tips: For beautifully decorating the cupcakes.
- Cherry Pitter: To easily pit and quarter fresh cherries.
- Measuring Cups and Spoons: For precise measurements of ingredients.
- Spatula: For scraping the bowl and folding in ingredients.
- Cooling Rack: To cool the cupcakes before frosting.
- Grater: For garnishing the cupcakes with grated chocolate.
- Kitchen Timer: To keep track of baking and cooling times.
Having these essential tools ready will streamline the cupcake-making process, ensuring that your Black Forest Cupcakes turn out perfectly every time.
Preparation
Now that we have gathered all the necessary tools and ingredients, it’s time to dive into the preparation process for these delectable Black Forest Cupcakes. Let’s start by preparing the cupcake batter, making the cherry filling, and whipping up the delightful cream topping.
Prep the Cupcake Batter
I lighten up the Duncan Hines Dark Chocolate Fudge Cake Mix by adding unprepared Jell-O Instant Chocolate Fudge Pudding, eggs, sour cream, vegetable oil, whole milk, vanilla extract, and a pinch of salt. This combination creates a rich and moist chocolatey base for our Black Forest Cupcakes.
Make the Cherry Filling
For the cherry filling, I combine sugar, cornstarch, water, and fresh pitted cherries to create a luscious and flavorful filling with just the right amount of sweetness and tanginess. The homemade cherry filling adds a burst of cherry goodness to each bite, complementing the chocolatey notes of the cupcakes perfectly.
Whip the Cream
To prepare the whipped cream topping, I whip together cold heavy whipping cream, powdered sugar, and vanilla extract until soft peaks form. This airy and creamy topping adds a light and indulgent finish to our Black Forest Cupcakes, enhancing the overall flavor and texture of these delightful treats.
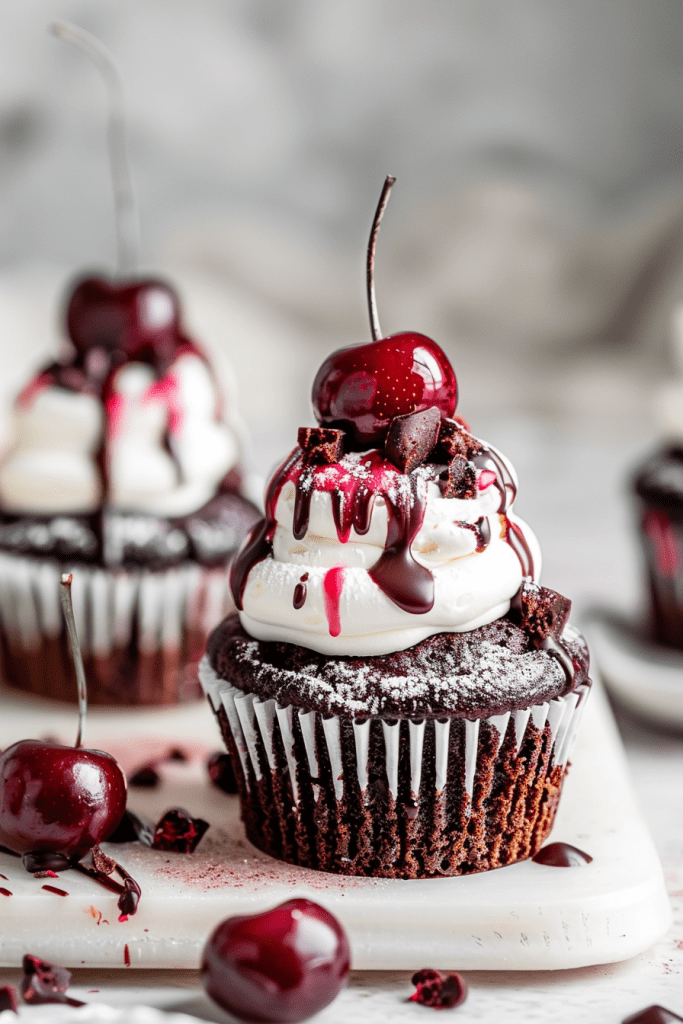
Baking the Cupcakes
To bake the Black Forest Cupcakes, it’s essential to start with the right ingredients and preparation. Ensure that your butter, baking spread, and eggs are all at room temperature before beginning the baking process. For these cupcakes, I recommend using a baking spread like Stork for optimal results, but butter can also be used as an alternative.
In a medium-sized bowl, combine the baking spread, caster sugar, and dark brown soft sugar. Using an electric mixer, beat the mixture for about 5 minutes until it becomes smooth and fluffy. This step is crucial for achieving the perfect cupcake texture.
Next, add the eggs and milk to the mixture, whisking them in thoroughly. For the dry ingredients, gently fold in the self-raising flour, cocoa powder, and baking powder. Be careful not to overmix the batter at this stage to maintain the cupcake’s light and airy texture.
Once the cupcake batter is well combined, divide it evenly between the lined cupcake cases. Bake the cupcakes in a preheated oven at 140C Fan/160C/325F/Gas Mark 3 for 25-30 minutes or until a skewer inserted into the center comes out clean. After baking, transfer the cupcakes to a rack to cool completely.
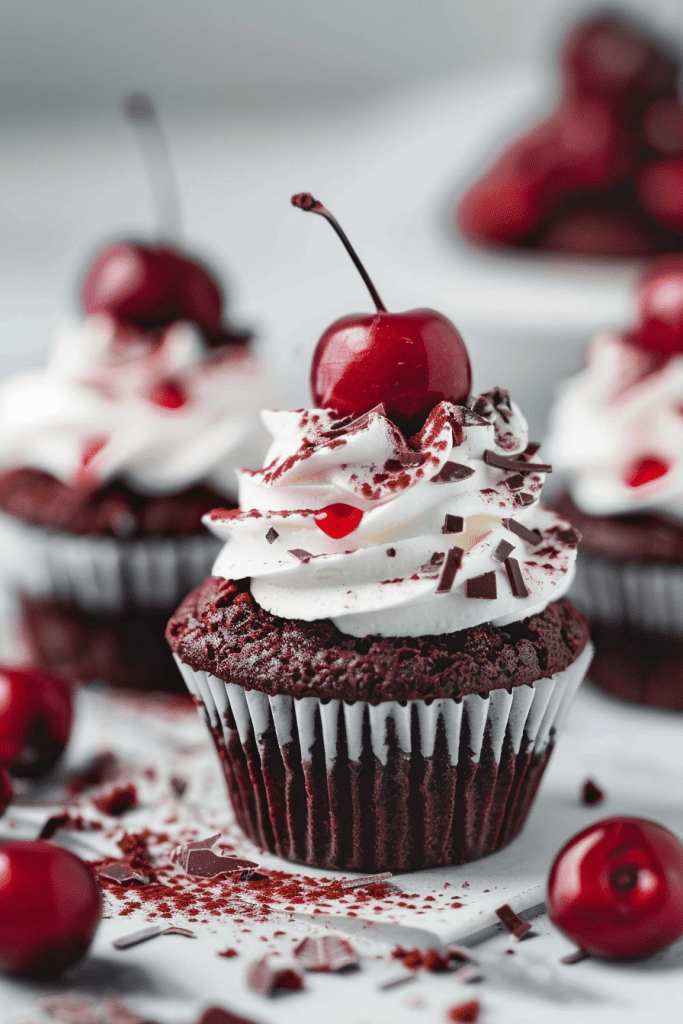
When the cupcakes have cooled, use a cupcake corer or a knife to create a hole in the center of each cupcake. If desired, mix kirsch into the cherry jam and fill the holes in the cupcakes with the jam, adding a burst of cherry flavor to each bite.
To prepare the final touch, whip the double cream with icing sugar and vanilla extract until thick. Transfer the whipped cream into a piping bag and pipe swirls onto each cupcake or simply dollop it on with a spoon. Finish off the cupcakes by sprinkling dark chocolate shavings on top for an extra indulgent touch.
By following these steps and tips, you’ll be able to bake irresistible Black Forest Cupcakes that are sure to be a hit with your family and friends.
Assembling the Cupcakes
Filling the Cupcakes
- Use a cupcake corer to create a hole in the center of each cupcake.
- Fill each cavity with about 1 tablespoon of the delicious cherry filling you prepared earlier.
Adding Whipped Cream Topping
- Prepare your whipped cream frosting using the creamy mixture you set aside.
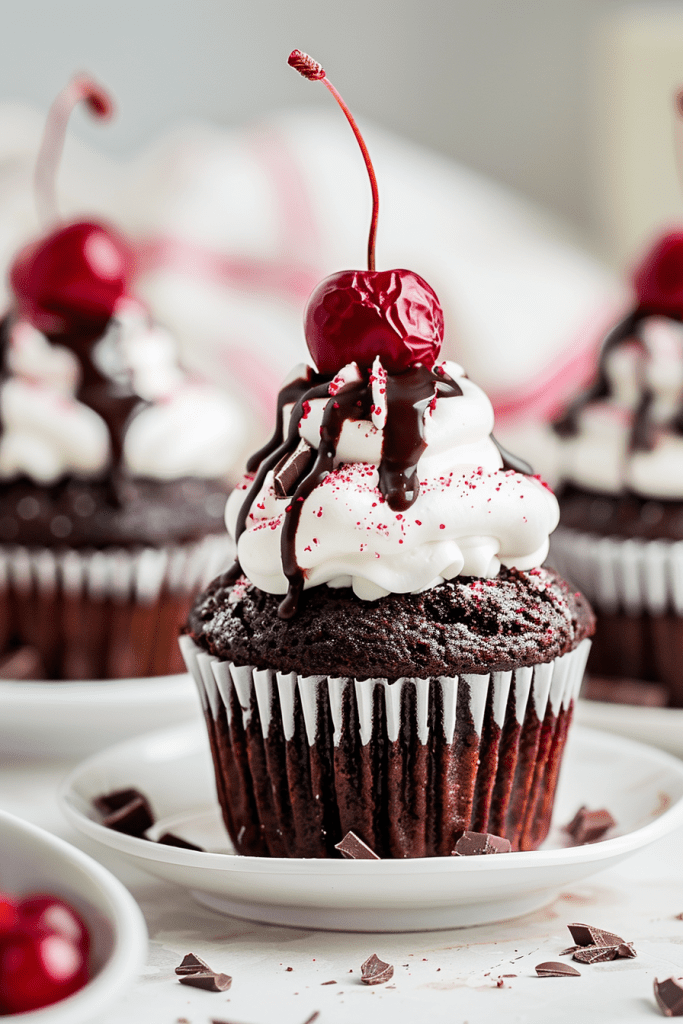
- Use a 1M decorating tip to frost each cupcake generously with the whipped cream.
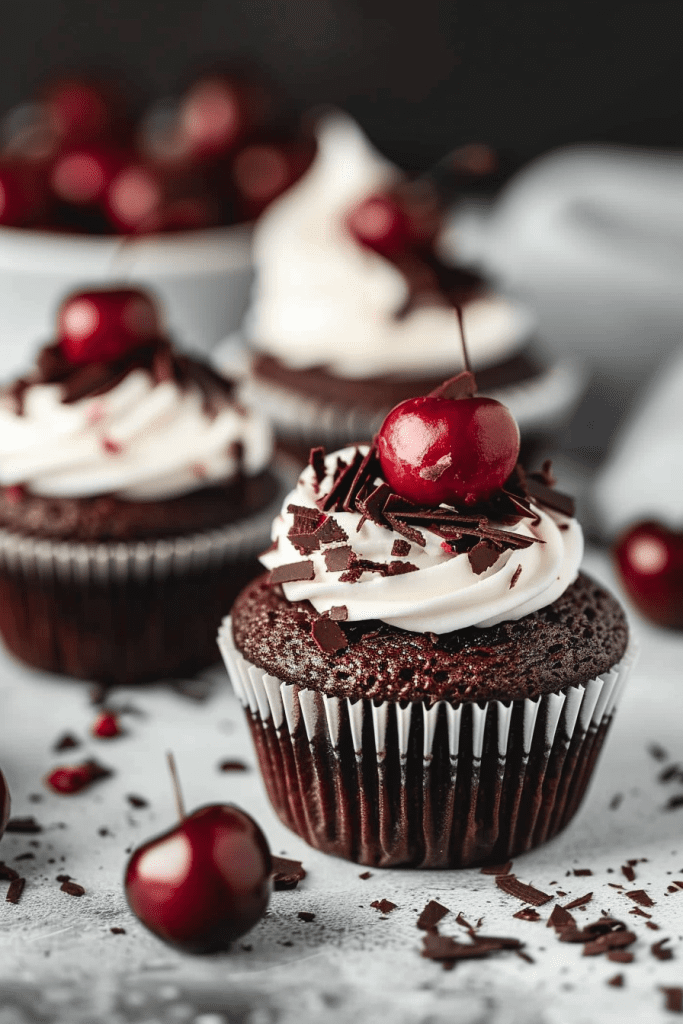
- Top off each beautifully frosted cupcake with chocolate shavings for an extra touch of indulgence.
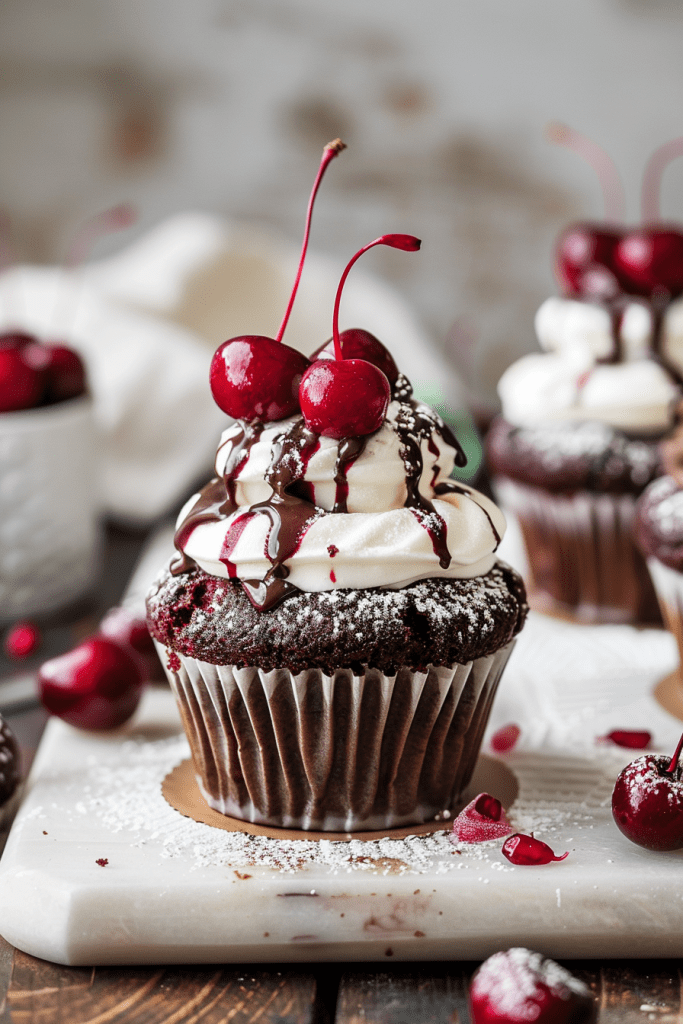
- Finish by placing a fresh cherry on top of each cupcake for a delightful and visually appealing garnish.
Serving and Storage Tips
When it comes to serving these delightful Black Forest Cupcakes, I recommend presenting them on a beautiful platter to showcase their inviting appearance. These cupcakes are best enjoyed chilled, so if the weather is warm, consider placing them in the refrigerator for a bit before serving. The contrast of the cool, creamy frosting with the rich chocolate and fruity cherry filling is simply divine.
For storage, these cupcakes can be kept in an airtight container in the refrigerator. However, I suggest consuming them within 2-3 days to ensure they are at their freshest. If you need to store them longer, you can freeze the unfrosted cupcakes in a freezer-safe container for up to a month. Just remember to thaw them in the refrigerator overnight before adding the frosting and serving.
By following these serving and storage tips, you can ensure that your Black Forest Cupcakes retain their flavors and textures for a delightful treat anytime you crave a taste of this classic dessert in cupcake form.
Conclusion
Black Forest Cupcakes are a delightful treat that combines the rich flavors of chocolate, cherry, and vanilla. By using fresh ingredients and following the detailed baking process outlined in this article, you can create these decadent cupcakes with ease. Remember to chill the cupcakes before serving for the best taste experience. Whether you choose to enjoy them immediately or store them for later, these cupcakes are sure to satisfy your cravings for a delicious dessert. Experiment with different presentation styles to make your Black Forest Cupcakes stand out at any gathering. With these tips in mind, you can confidently whip up a batch of these mouthwatering treats and impress your family and friends with your baking skills.

