When you’re in the mood for something rich, creamy, and totally indulgent, nothing beats a homemade Vanilla Cheesecake. This classic dessert is perfect for almost any occasion. Made with a buttery graham cracker crust and a smooth, vanilla-scented cream cheese filling, this cheesecake is the stuff dessert dreams are made of. With a few simple ingredients and proper technique, you’ll achieve the perfect dessert every time.
Let’s start with the essential ingredients and tools you’ll need.
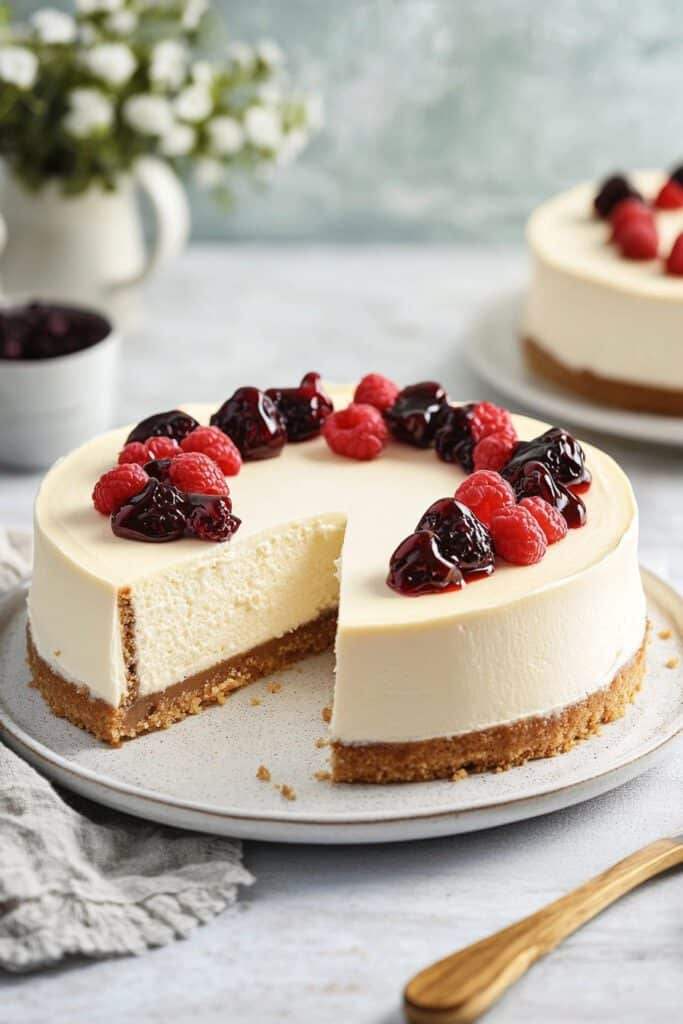
Ingredients List
For the Crust
- 1 ⅓ cups (170g) graham cracker crumbs
- 4 tablespoons (56g) unsalted butter, melted
- 2 tablespoons (30g) packed light brown sugar
For the Filling
- 2x 250g blocks (500g) cream cheese, at room temperature
- ⅔ cup (135g) granulated sugar
- 2 tablespoons (30ml) water
- 2 large eggs, at room temperature
- ⅓ cup (80ml) full-fat sour cream
- 1 teaspoon (5ml) pure vanilla extract
Required Kitchen Tools
To ensure your Vanilla Cheesecake turns out perfect, here’s a list of key kitchen tools you’ll need:
- Springform Pan : An 8-inch springform pan is ideal for cheesecakes. The removable sides make it easy to release the cheesecake once baked.
- Mixing Bowls : A set of different-sized bowls will help you efficiently prepare the crust and filling.
- Electric Mixer : Helpful for attaining a smooth cheesecake batter and beating the cream cheese with ease.
- Spatula : To spread the crust evenly and to fold ingredients into the batter.
- Ramekin or Small Oven-Safe Dish : A small dish filled with steaming water will help create a moist environment in the oven for the cheesecake’s perfect texture.
- Parchment Paper : Line the bottom of the pan to prevent sticking.
Now that you’ve gathered the ingredients and tools, let’s move on to the preparation.
Step 1: Preparing the Crust
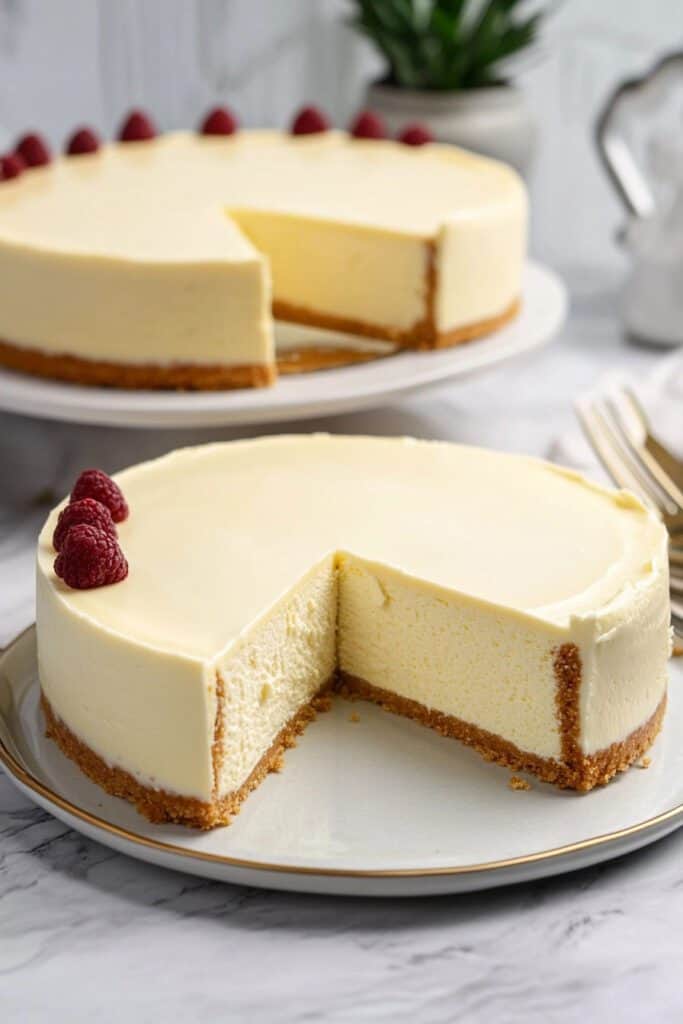
A buttery, slightly sweet graham cracker crust is the perfect base for any cheesecake, and this recipe is no exception. Follow these simple steps for a crunchy, golden crust:
Instructions for the Crust
- Preheat the Oven:
Start by preheating your oven to 350°F (175°C). This step ensures that your oven is hot and ready when it’s time to bake the crust. - Line the Bottom of Your Pan:
Line the bottom of an 8-inch round springform pan with parchment paper. This will make it much easier to remove the cheesecake once it’s cooled and ready to be served. - Mix the Crust Ingredients:
In a medium-sized bowl, combine:- 1 ⅓ cups (170g) graham cracker crumbs,
- 4 tablespoons (56g) melted unsalted butter,
- and 2 tablespoons (30g) packed light brown sugar.
- Press the Crumbs into the Pan:
Pour the graham cracker mixture into the lined springform pan. Using your fingers or the back of a spoon, press the crumbs firmly into the bottom and about ¾ inch up the sides of the pan. Make sure the crust is even and compact for that perfect base layer. - Bake the Crust:
Place the pan on the center rack of your preheated oven. Bake the crust for 10-12 minutes , or until it’s lightly golden and feels dry when touched. Be careful not to overbake it. - Cool the Crust:
Once the crust is baked, reduce your oven temperature to 300°F (150°C). Set the crust aside to cool while you mix the filling.
By now, your kitchen should be filled with the cozy scent of baked graham crackers. It’s a great base for the star of the show—the cheesecake filling!
Step 2: Making the Cheesecake Filling
A vanilla-scented, velvety cream cheese filling is what makes this cheesecake irresistible. We’ll use cream cheese, sour cream, and vanilla to get that perfect balance of smoothness and flavor. Follow these steps to get that dreamy texture without any cracks!
Instructions for the Filling
- Soften the Cream Cheese:
Make sure your cream cheese is at room temperature. This is essential to avoid lumps in the batter. If your cream cheese is too cold, it won’t mix properly, and the texture won’t be as smooth. - Beat the Cream Cheese:
In a large mixing bowl, beat 500g cream cheese (that’s 2 blocks, each 250g) with a hand mixer or stand mixer on medium speed until it’s completely smooth. Scrape down the sides and bottom of the bowl to ensure no lumps remain. This should take about 2 minutes . - Gradually Add the Sugar:
Slowly add ⅔ cup (135g) granulated sugar to the cream cheese, continuing to beat on medium speed. Beat for about 30 seconds until the mixture looks smooth and creamy. - Add the Water:
Next, pour in 2 tablespoons (30ml) water and give the mixture a stir. Let it sit for 5 minutes . This step allows the sugar to dissolve and helps prevent any grittiness in your final cheesecake. - Add the Eggs One at a Time:
Now let’s add the eggs, one at a time. Start by cracking one large egg into the batter and beat on medium speed until it’s fully incorporated. Scrape down the sides of the bowl and then add the second egg. Beat until it’s just combined. At this point, you don’t want to overmix, as this can lead to too much air in the batter, which can cause cracks in your cheesecake. - Add Sour Cream and Vanilla :
Now, add ⅓ cup (80ml) full-fat sour cream and 1 teaspoon (5ml) pure vanilla extract . Beat just until the ingredients are combined and smooth. Don’t overmix once you add the sour cream, as it can make the cheesecake too loose. The filling should appear thick, creamy, and slightly glossy. - Pop Air Bubbles:
Once your filling is done, pour the mixture over the pre-baked, cooled crust. Spread it out evenly with a spatula and give the pan a gentle tap on the countertop to pop any air bubbles.
Your filling is now ready for baking! The next phase is all about ensuring the texture is creamy and the top remains smooth without cracks.
Step 3: Baking the Cheesecake
Baking a cheesecake requires a gentle and mindful approach. By keeping the oven at a lower temperature and adding moisture into the baking environment, we can prevent the cheesecake from drying out or cracking on top. Let’s get baking!
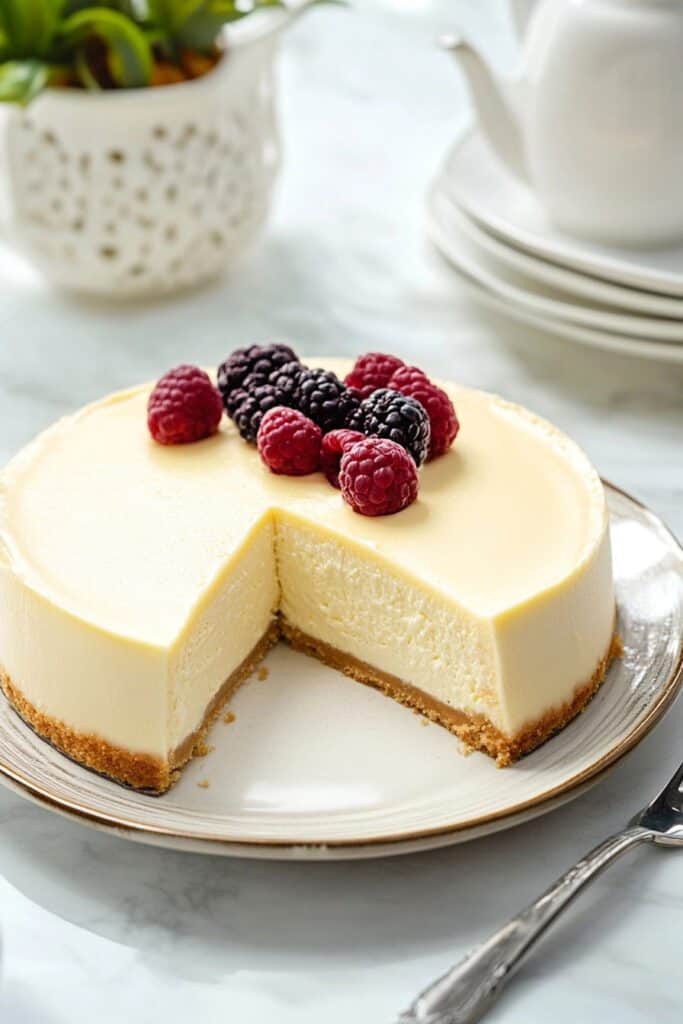
Instructions for Baking
- Lower the Oven Temperature:
By now, you’ve already reduced your oven temperature to 300°F (150°C) after prebaking the crust. If you haven’t, go ahead and do so before baking the cheesecake. - Water Bath Alternative:
Cheesecakes usually benefit from some moisture in the oven to prevent cracking. Instead of creating a complicated water bath with foil wrapping, we’ll use a simpler trick:\- Fill a ramekin or an oven-safe small bowl with hot boiling water.
- Place it on the rack next to your cheesecake . This adds humidity into the oven and helps the cheesecake set with a nice, creamy texture.
- Bake the Cheesecake:
Place the springform pan with the cheesecake filling on the center oven rack. Bake for approximately 25 minutes . You will know it’s ready when the edges are set, but the center of the cheesecake is slightly wobbly or jiggles gently when you shake the pan. Don’t worry—this will set up as the cheesecake cools. - Turn Off the Oven:
After 25 minutes, turn off the oven, but do not open the oven door just yet! Leave the cheesecake in the oven with the door closed for an additional 15 minutes . This allows the cheesecake to start cooling gradually, reducing the risk of cracks. - Cool on the Counter:
Once the cheesecake has had its slow cool-down in the oven, transfer it to a wire rack to cool completely at room temperature. This will take about 1-2 hours . - Loosen the Sides:
After about 10 minutes of cooling , run a sharp knife carefully around the edge between the cheesecake and the pan. This will loosen the cheesecake from the sides without tearing the surface. - Refrigerate for 2 Hours:
Once the cheesecake is completely cool, transfer it to the refrigerator where it needs to chill for at least 2 hours before serving. This allows the flavors to meld and the texture to firm up nicely.
Step 4: Serving and Decoration
After all your hard work, it’s time to serve your cheesecake and make it look as good as it tastes. Whether you prefer a classic clean look or want to add extra toppings, here’s how you can finish the cheesecake like a pro.
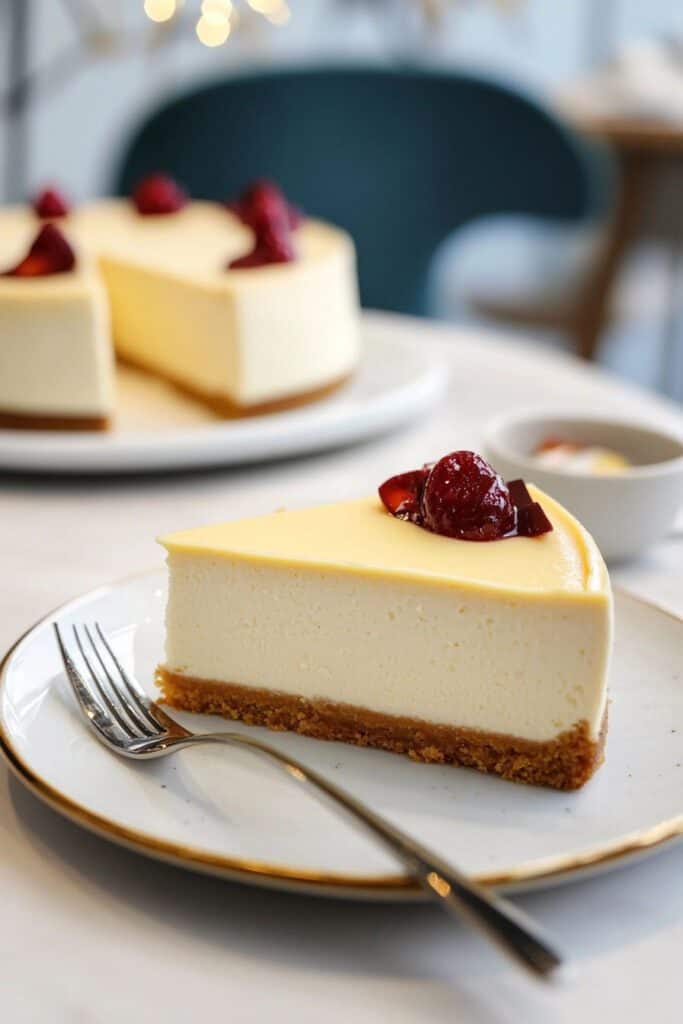
Releasing the Cheesecake from the Pan
- Remove the Springform Sides:
Once the cheesecake has chilled for a minimum of 2 hours (or overnight for maximum flavor and stability), carefully release and remove the sides of the springform pan. The cheesecake should come away with smooth edges, thanks to the step where you loosened it while cooling. - Transfer to a Serving Plate (Optional):
If you want to transfer the cheesecake from the springform base to a serving plate, carefully slide it onto a plate with the help of a large flat spatula. If you’ve used parchment paper at the bottom, lifting the cheesecake becomes much easier.
Suggested Serving & Toppings (Optional)
While this Vanilla Cheesecake is delicious in its classic, creamy form, you can also get creative with toppings for added flavor and flair. Here are some ideas:
- Fresh Berries :
Add a handful of fresh berries like raspberries, strawberries, or blueberries. Their tartness pairs perfectly with the sweetness of the cheesecake. - Berry Compote :
Want a little more sauce? Warm some mixed berry compote or jam and drizzle it over each slice before serving. - Whipped Cream :
Add a dollop of freshly whipped cream on top of each slice for an elegant touch. - Chocolate or Caramel Drizzle :
Fancy something a little more indulgent? Heat up some chocolate or caramel sauce and drizzle it over the cheesecake just before serving. - Shaved Chocolate or Cookie Crumbs :
For a simple yet impressive touch, sprinkle some grated chocolate or cookie crumbs (like Oreos or graham crackers) over the top.
Slicing the Cheesecake
- Use a Clean Knife for Every Slice:
When slicing your cheesecake, it’s best to use a sharp knife that’s been warmed in hot water. Wipe the knife clean between each cut to get nice, smooth slices. - Serve & Enjoy:
Carefully lift each slice onto your plates, add your toppings of choice, and serve. The slightly wobbly center should now be perfectly set, giving you a creamy, luscious texture in every bite. Enjoy the fruits of your labor!
Storage Instructions
If you have any leftovers (which is rare!), here’s how you can keep your cheesecake fresh:
- In the Refrigerator :
Store the cheesecake in an airtight container or cover it tightly with plastic wrap. It’ll stay fresh for up to 4 days in the refrigerator. - In the Freezer :
Cheesecake freezes beautifully! Slice the cheesecake into individual servings and wrap each slice in plastic wrap, then place them in an airtight container or a freezer-safe bag. The cheesecake can be frozen for up to 1 month . When you’re ready to enjoy it, simply thaw the slice in the fridge overnight.
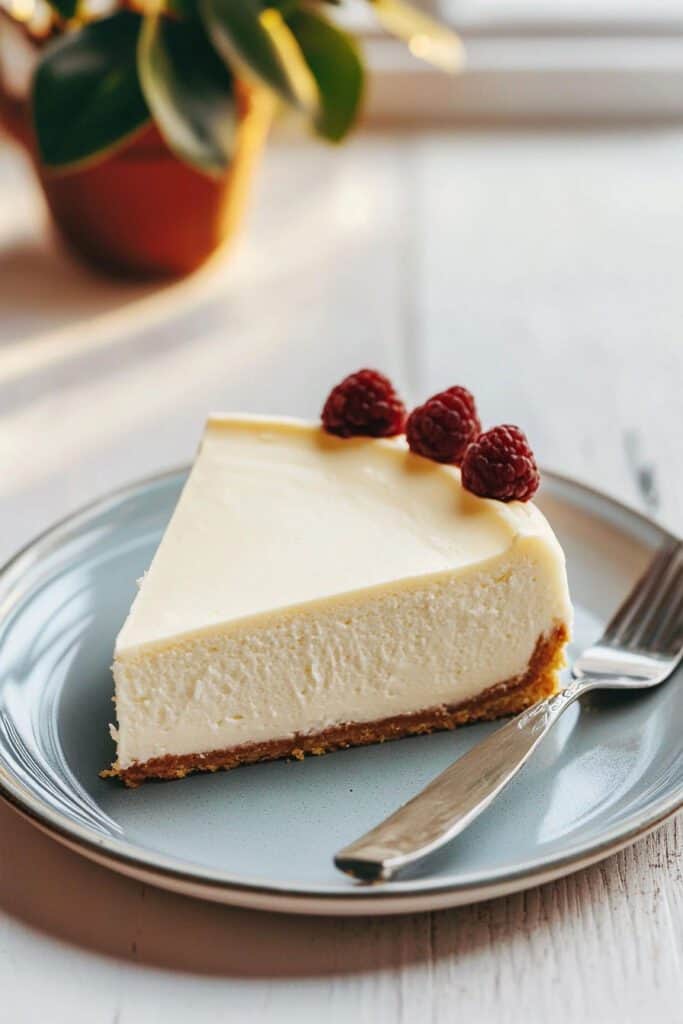
Conclusion
You did it! You successfully made a silky, rich Vanilla Cheesecake from scratch. Whether served plain or with your favorite toppings, this cheesecake is sure to be a hit at any gathering, or the perfect treat for yourself. Just remember: the key to a perfect cheesecake is patience, from preparing the crust to allowing the cheesecake to cool and set.
Thank you for following along on this cheesecake adventure! Now, dive in and savor every creamy bite.
