
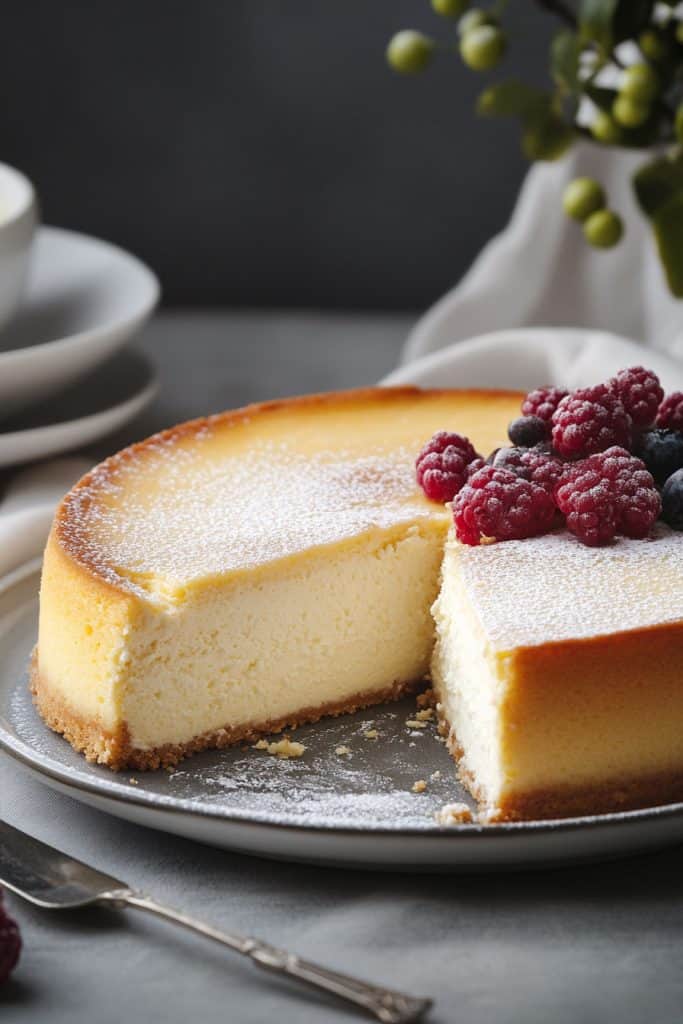
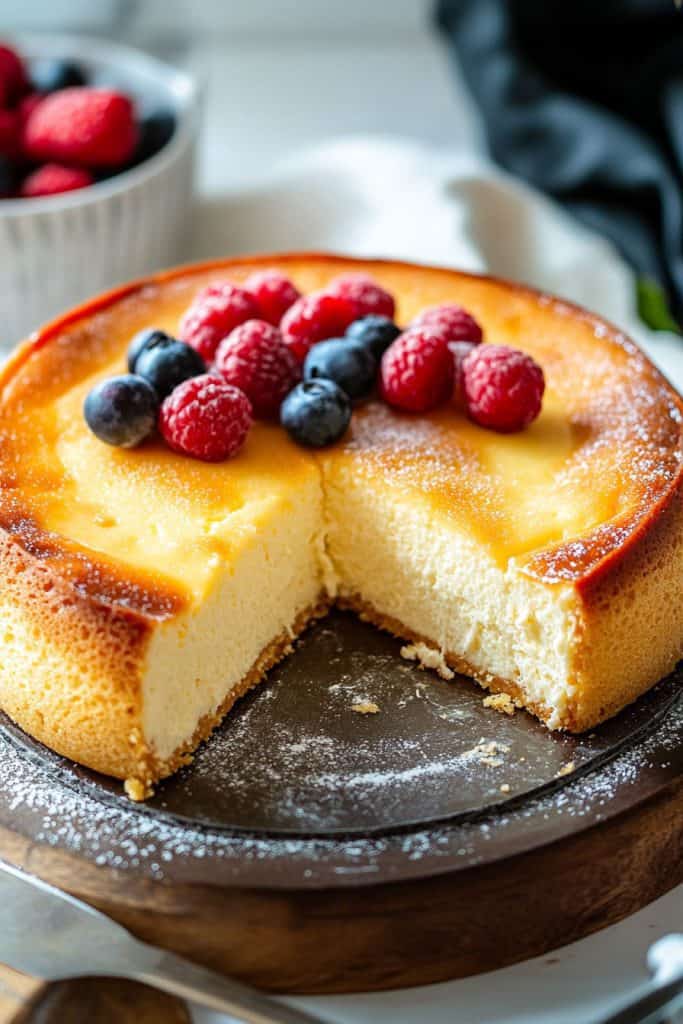
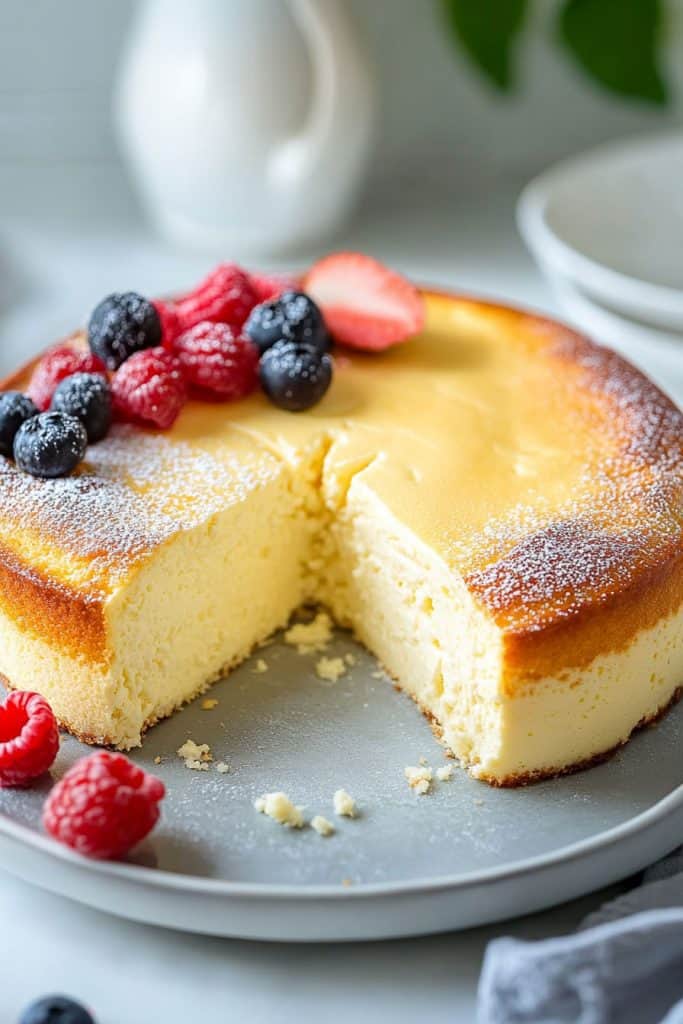
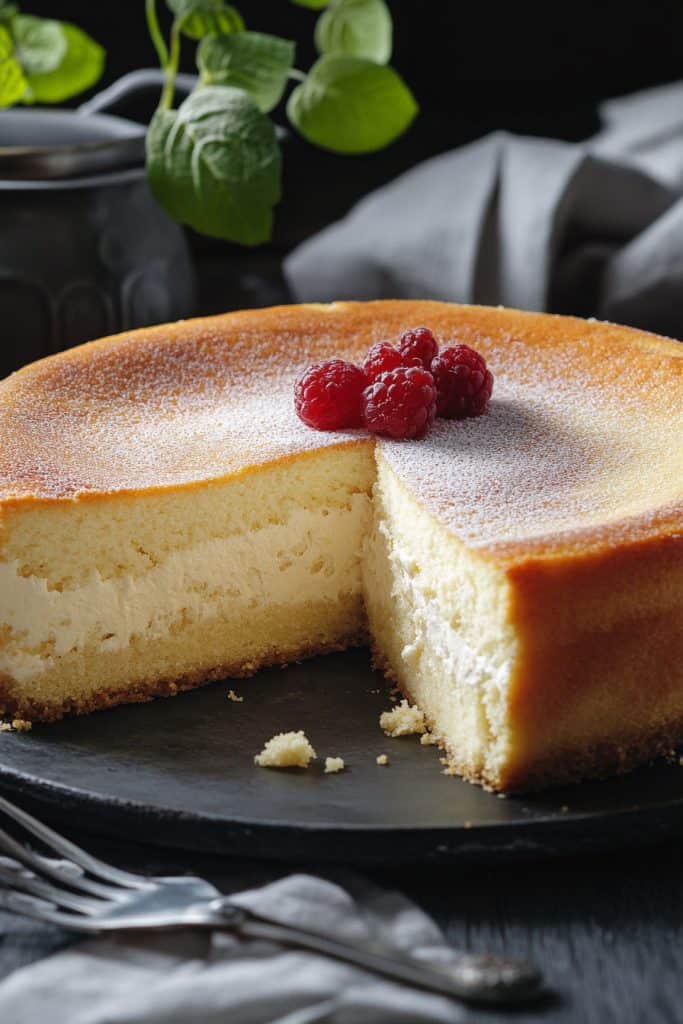
When it comes to desserts, Italian ricotta cheesecake holds a special place in my heart. Unlike its dense New York cousin, this Italian classic is lighter, fluffier, and boasts a delicate texture that melts in your mouth. Originating from the heart of Italy, this cheesecake is a testament to the simplicity and elegance of Italian cuisine.
The secret lies in the ricotta cheese, which gives the cake its unique, creamy consistency. Paired with a hint of citrus zest, this cheesecake offers a refreshing twist that’s perfect for any occasion. Whether you’re planning a family gathering or a quiet night in, this Italian ricotta cheesecake will undoubtedly impress your guests and leave them craving more.
Ingredients
For this delicious Italian ricotta cheesecake, you will need the following ingredients. Make sure to prepare everything beforehand to ensure a smooth baking process:
For The Crust:
- 2 cups graham cracker crumbs (about 15 whole crackers)
- 4 tablespoons sugar
- 7 tablespoons unsalted butter, melted
For The Filling:
- 4 cups ricotta cheese (whole milk or impastata)
- 1 cup mascarpone cheese
- 1½ cups sugar
- 1 tablespoon corn starch
- 1 tablespoon orange zest
- 1 tablespoon lemon zest
- 1 teaspoon almond extract
- 1 teaspoon vanilla extract
- 6 large eggs
I recommend using fresh, high-quality ingredients to achieve the best flavor in your cheesecake. Before starting, ensure that the ricotta cheese is properly drained to avoid excess moisture in the cake.
Equipment Needed
To create a perfect Italian ricotta cheesecake, you need a few essential tools that ensure every step of the recipe is executed flawlessly. Here’s what you’ll need:
- Springform Pan (9″ or 10″): Essential for easily removing the cheesecake without damaging its delicate crust.
- Large Roasting Pan: For the water bath.
- Food Processor or Large Mixing Bowl with Hand Mixer: This will help you combine the ingredients until the mixture is smooth and creamy.
- Spatula: Great for scraping down the sides of the bowl and ensuring all ingredients are thoroughly mixed.
- Fine Mesh Sieve: For draining the ricotta cheese, ensuring there is no excess moisture in the cheesecake.
- Zester or Microplane Grater: To zest the citrus, adding vibrant, fresh flavor to your cheesecake.
- Measuring Cups and Spoons: Precise measurements are crucial in baking to get the perfect texture and taste.
- Large Mixing Bowls: Multiple bowls may be needed for different components, such as mixing wet and dry ingredients separately.
- Oven and Oven Thermometer: Ensuring your oven is at the right temperature is key for baking a cheesecake evenly.
- Cooling Rack: To let the cheesecake cool gradually, preventing cracks on the surface.
Prepare these tools before you start baking, as having everything ready and accessible will make your cooking process smoother and more enjoyable.
Directions
Prepare the Crust
- Preheat the Oven: Set your oven to 325°F (163°C) to ensure it’s ready for baking.
- Wrap the Pan: Take a 9-inch or 10-inch springform pan and wrap it securely with two large sheets of aluminum foil. This step is crucial to prevent water from seeping into the pan during the water bath.
- Mix Ingredients: In a medium-sized bowl, combine 2 cups of graham cracker crumbs and 4 tablespoons of sugar. Melt 7 tablespoons of unsalted butter and add it to the mixture. Stir until the mixture resembles wet sand.
- Form the Crust: Pour the crumb mixture into the prepared springform pan. Use a flat-bottomed glass or measuring cup to press the crumbs evenly across the bottom and about an inch up the sides of the pan, ensuring a compact crust.
- Set Aside: Once formed, set the crust aside while you prepare the filling.
Make the Cheesecake Batter
- Beat Cheeses: In a large mixing bowl, combine 4 cups of ricotta cheese (well-drained) and 1 cup of mascarpone cheese. Using an electric mixer or stand mixer, beat on medium speed until smooth and creamy.
- Add Dry Ingredients: Gradually add 1½ cups of sugar and 1 tablespoon of corn starch to the cheese mixture. Mix until fully incorporated.
- Zest and Extracts: Add 1 tablespoon each of orange zest and lemon zest, along with 1 teaspoon each of almond extract and vanilla extract. Beat for another minute to blend flavors thoroughly.
- Incorporate Eggs: Add 6 large eggs, one at a time, beating on low speed after each addition until fully blended. Scrape down the sides of the bowl with a spatula as needed to ensure even mixing.
Baking in a Water Bath
- Prepare Water Bath: Place the springform pan in a large roasting pan.
- Pour Batter: Carefully pour the cheesecake batter into the prepared crust in the springform pan.
- Add Hot Water: Boil water separately, then carefully pour it into the roasting pan until it reaches halfway up the sides of the springform pan. This water bath will help bake the cheesecake evenly and prevent cracks.
- Bake: Transfer carefully to your preheated oven and bake for 90–100 minutes, or until only a small area in the center jiggles slightly when tapped.
Cooling and Resting
- Initial Cooling: Once baked, turn off the oven but leave the cheesecake inside with the door closed for one hour to cool gradually.
- Remove from Oven: After an hour, take out the cheesecake from both oven and water bath; place on a wire rack.
- Loosen Edges: Run a sharp knife around edge of cheesecake to loosen it from sides of springform pan; release rim but do not remove completely yet.
Refrigerate and Chill
- Final Cooling: Allow cheesecake to cool completely at room temperature on wire rack.
- Cover and Refrigerate: Once cooled, tighten rim back onto springform pan, cover with foil or plastic wrap, and refrigerate for at least 8 hours or overnight.
These detailed steps should guide you through making an exquisite Italian ricotta cheesecake with confidence!
Tips and Tricks
Here are some tips and tricks to ensure your Italian ricotta cheesecake turns out perfectly:
- Use Room Temperature Ingredients: Allow your ricotta, mascarpone, eggs, and other ingredients to come to room temperature before starting. This helps create a smoother batter and ensures even mixing, which is crucial for achieving a creamy texture without lumps.
- Strain the Ricotta Cheese Well: To avoid a watery cheesecake, ensure your ricotta is well-drained. Place it in a fine mesh sieve lined with cheesecloth over a bowl and let it drain overnight in the refrigerator. This step is essential for achieving the desired creamy consistency.
- Avoid Overmixing: When combining ingredients, mix only until smooth. Overmixing can incorporate too much air into the batter, leading to cracks during baking or causing the cheesecake to rise excessively and then collapse as it cools.
- Incorporate Eggs Carefully: Add eggs one at a time and mix just until combined. Over-beating can introduce too much air, which may cause cracking during baking.
- Monitor Baking Time: The cheesecake is done when the edges are set but the center still has a slight jiggle. Avoid baking until the center is completely firm, as it will continue to set as it cools. Overbaking can result in a dry texture.
- Use a Water Bath: Baking your cheesecake in a water bath creates a moist environment that helps prevent cracking and ensures even baking. Wrap the springform pan in foil to prevent water from seeping in, and fill the roasting pan with hot water halfway up the sides of the springform pan.
- Cool Gradually: After baking, turn off the oven and let the cheesecake sit inside with the door closed for an hour. This gradual cooling process helps prevent cracks by avoiding sudden temperature changes.
- Chill Thoroughly: For best flavor and texture, refrigerate the cheesecake for at least 8 hours or overnight before serving. This allows the flavors to meld and ensures a firm set.
By following these tips, you’ll be able to create a beautifully smooth and flavorful Italian ricotta cheesecake that delights everyone who tries it!
Notes
If you can’t find ricotta impastata (which is very low moisture ricotta cheese), then you will need to remove as much liquid as possible from whole milk ricotta by placing it in a fine mesh sieve lined with a tea towel over a bowl overnight in refrigerator; press out additional liquid before use.
Ricotta cheesecake batter is looser than traditional cream cheese-based cheesecakes; requires longer baking time. If top browns too much, cover loosely with foil.
A hot water bath maintains low baking temperature/moist environment; prevents cracking/ensures even baking—highly recommended for crack-free top.
Cooling slowly ensures crack-free/sink-free center—avoid sudden temperature changes after baking by cooling gradually per instructions above.
When removing cake from oven/run butter knife along edge/release rim/allow set completely refrigerated at least 8 hours before serving ensures perfect set texture/flavor melded beautifully together over time!
Conclusion
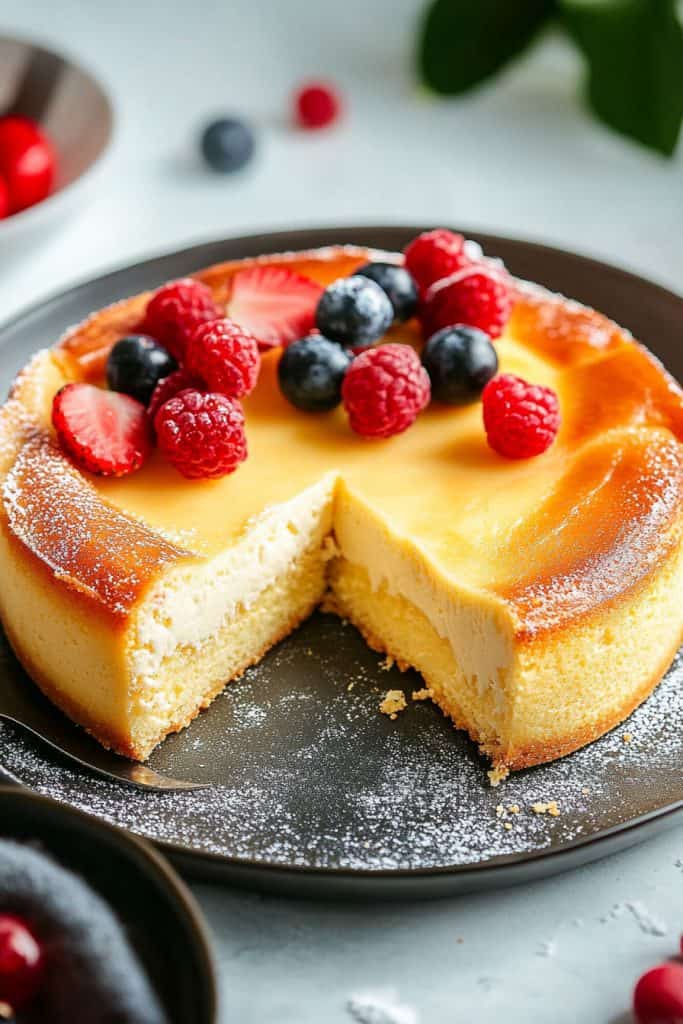
Exploring the world of Italian ricotta cheesecake has been a delightful journey. From mastering the creamy texture to experimenting with flavors like lemon, chocolate, and berries, there’s something for everyone. Fresh ricotta and a perfect crust are key to achieving that authentic Italian taste. Don’t forget the importance of proper preparation and storage to enjoy your cheesecake at its best. Whether you’re a seasoned baker or a novice, these recipes offer a satisfying and delicious experience. Happy baking!
PrintItalian Ricotta Cheesecake Recipe
This Italian Ricotta Cheesecake is a delightful dessert that combines the creamy texture of ricotta and mascarpone cheeses with a hint of citrus zest. It’s lighter and fluffier than traditional cheesecakes, making it a perfect treat for any occasion.
- Prep Time: 20
- Cook Time: 90-100
- Total Time: Approximately 3 hours (including cooling)
- Yield: 12 1x
- Category: Dessert
- Cuisine: Italian
Ingredients
Crust
- 2 cups graham cracker crumbs (about 15 whole crackers)
- 4 tablespoons sugar
- 7 tablespoons unsalted butter, melted
Filling
- 4 cups ricotta cheese (whole milk or impastata, well-drained)
- 1 cup mascarpone cheese
- 1½ cups sugar
- 1 tablespoon corn starch
- 1 tablespoon orange zest
- 1 tablespoon lemon zest
- 1 teaspoon almond extract
- 1 teaspoon vanilla extract
- 6 large eggs
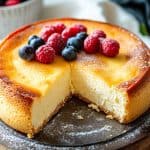
Optional Toppings
- Fresh berries or fruit slices
- Powdered sugar for dusting
Instructions
Prepare the Crust
- Preheat Oven: Preheat your oven to 325°F (163°C).
- Wrap Pan: Wrap a 9-inch or 10-inch springform pan with two large sheets of aluminum foil to prevent water from seeping in during the water bath.
- Mix Ingredients: In a bowl, combine graham cracker crumbs, sugar, and melted butter until the mixture resembles wet sand.
- Form Crust: Press the mixture firmly into the bottom and slightly up the sides of the prepared springform pan using a flat-bottomed glass or measuring cup.
Make the Filling
- Beat Cheeses: In a large mixing bowl, beat ricotta and mascarpone cheeses until creamy using an electric mixer.
- Add Dry Ingredients: Add sugar, corn starch, orange zest, lemon zest, almond extract, and vanilla extract. Beat on medium speed until well combined.
- Incorporate Eggs: Add eggs one at a time, beating on low speed after each addition until fully blended. Scrape down the sides of the bowl as needed.
Baking in a Water Bath
- Prepare Water Bath: Place the springform pan in a large roasting pan.
- Pour Batter: Pour the cheesecake batter into the prepared crust.
- Add Hot Water: Carefully pour hot water into the roasting pan until it reaches halfway up the sides of the springform pan.
- Bake: Bake for 90–100 minutes, or until only the center jiggles slightly when tapped.
Cooling and Resting
- Initial Cooling: Turn off the oven and leave the cheesecake inside with the door closed for one hour to cool gradually.
- Remove from Oven: Remove cheesecake from oven and water bath; place on a wire rack.
- Loosen Edges: Run a knife around edge of cheesecake to loosen it from sides; release rim but do not remove completely yet.
Refrigerate and Chill
- Final Cooling: Allow cheesecake to cool completely at room temperature.
- Cover and Chill: Once cooled, tighten rim back onto springform pan, cover with foil or plastic wrap, and refrigerate for at least 8 hours or overnight.
Notes
Serving Suggestions
- Serve with fresh berries or fruit slices for added flavor and color.
- Dust with powdered sugar for an elegant finish.
Tips & Tricks
- Ensure ricotta is well-drained to avoid excess moisture in your cheesecake.
- Avoid overmixing to prevent incorporating too much air, which can cause cracks.
Storage & Reheating Instructions
- Store in an airtight container in the refrigerator for up to 5 days.
- For longer storage, freeze wrapped in plastic wrap and foil for up to 2 months; thaw in refrigerator before serving.
By following these steps and tips, you’ll create an exquisite Italian Ricotta Cheesecake that’s sure to impress!