
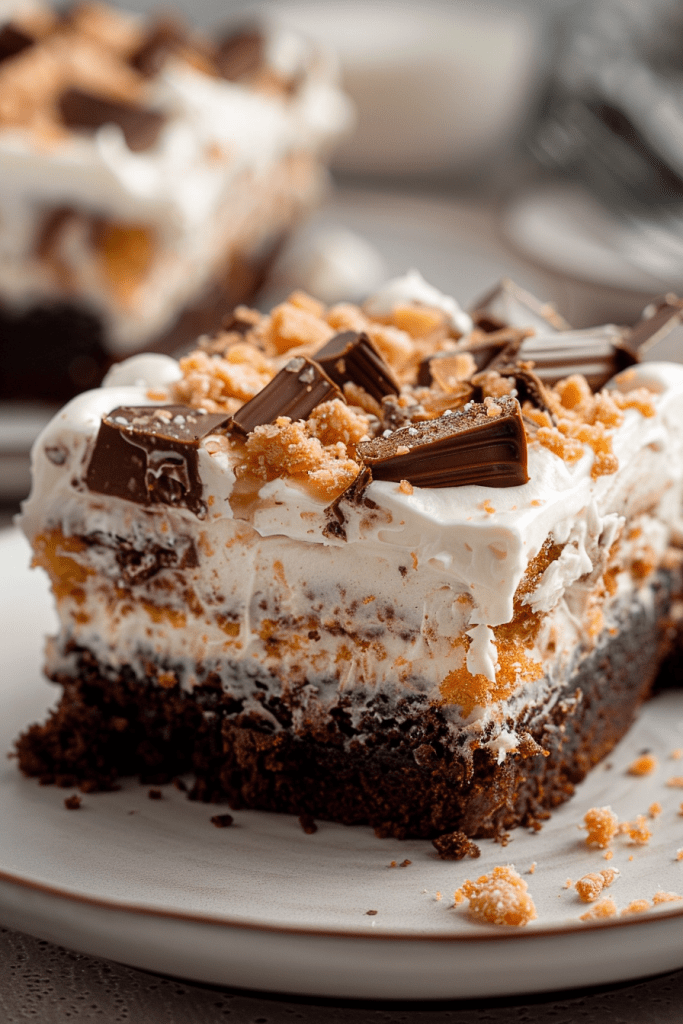
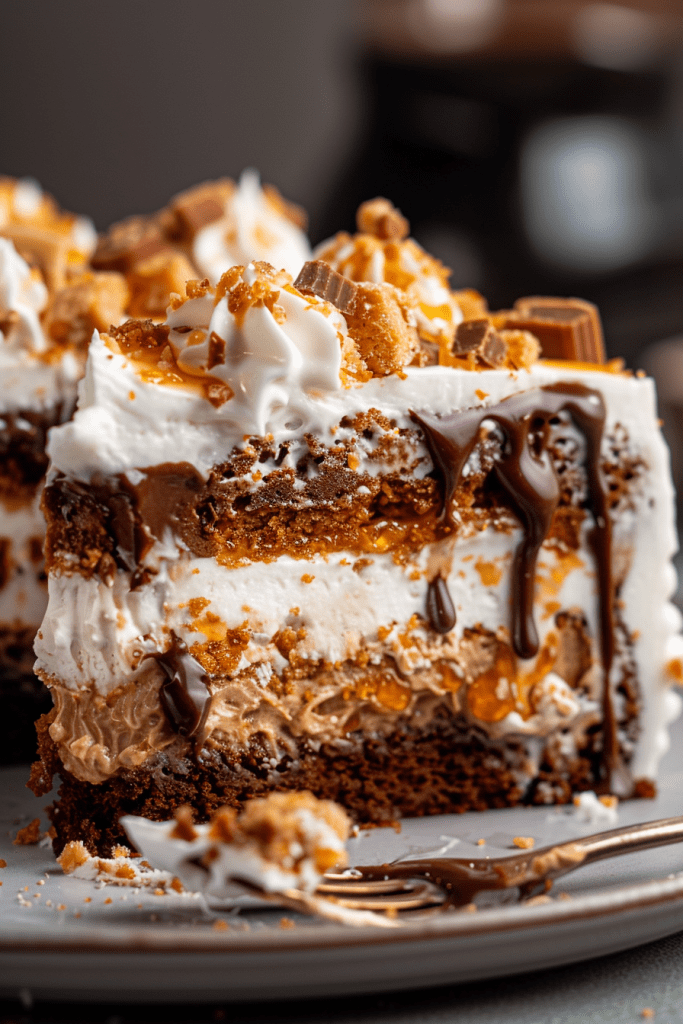
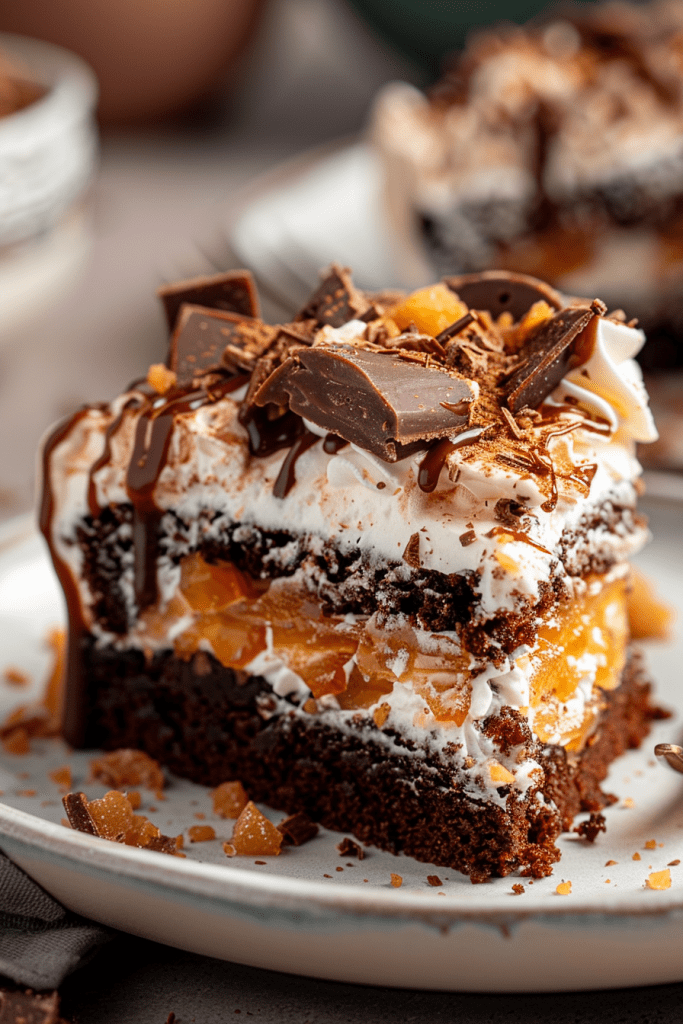
Let me introduce you to a decadent delight that will have your taste buds dancing – the Chocolate Butterfinger Poke Cake. This easy-to-make dessert is a crowd-pleaser, perfect for potlucks and gatherings. Starting with a simple box cake mix, this recipe transforms into a luscious treat soaked in caramel and topped with chopped Butterfinger candy bars and fluffy whipped cream.
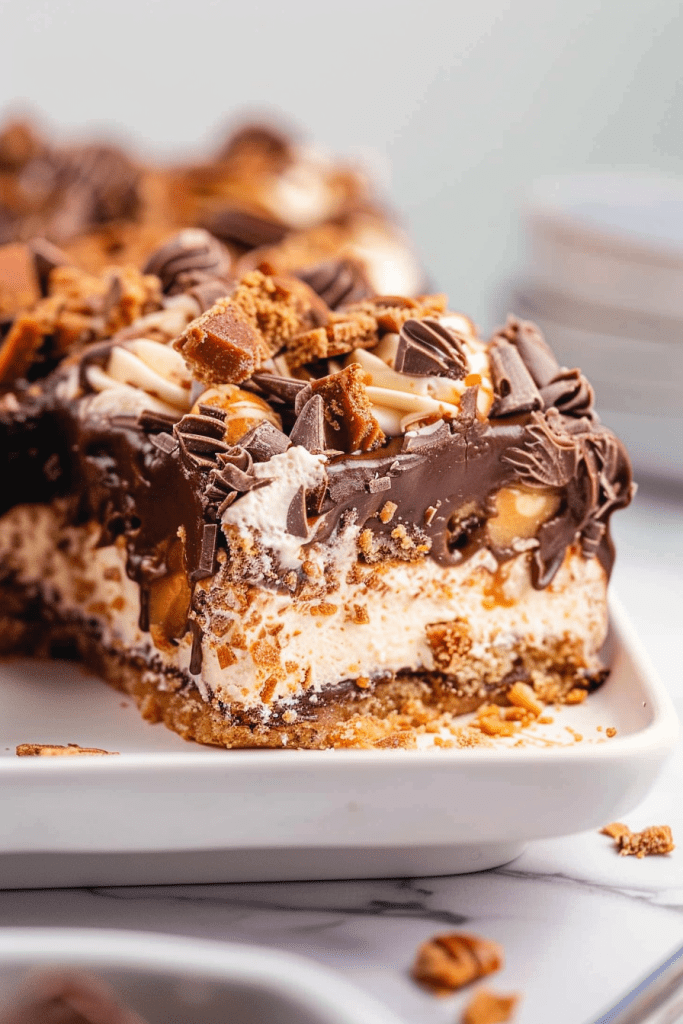
Indulge in the rich flavors of chocolate, caramel, and Butterfinger goodness all in one bite. This poke cake is a true winner, whether you’re a seasoned baker or a novice in the kitchen. With its simplicity and irresistible taste, this Chocolate Butterfinger Poke Cake is sure to become a staple in your dessert repertoire. Treat yourself to this decadent creation and savor every moment of its deliciousness.
Ingredients
To create this irresistible Chocolate Butterfinger Poke Cake, you’ll need a few key ingredients for the cake base, soaking mixture, and whipped topping & garnish. Let’s gather everything we need to make this delightful dessert!
Cake Base
- 1 box of vanilla or yellow cake mix
- Ingredients required by the cake mix (eggs, oil, water)
Soaking Mixture
- 1 can of sweetened condensed milk
- 1 cup of salted caramel sauce
- 2 cups of whipped cream or Cool Whip
- 6 Butterfinger candy bars, chopped
Equipment Required
To make the delicious Chocolate Butterfinger Poke Cake, you’ll need a few essential kitchen tools to ensure the process goes smoothly. Here is a list of the equipment required to create this decadent dessert:
- 9 x 13 baking dish
- Mixing bowls
- Wooden spoon or spatula
- Medium-size bowl or large glass measuring cup with a spout
- Handle of a wooden spoon or spatula for poking holes in the cake
- Whisk or spoon for mixing the soaking mixture
- Chopping board and knife for chopping Butterfinger candy bars
- Electric mixer or whisk for whipping the cream
- Measuring cups and spoons
- Nonstick cooking spray or homemade cake release
- Oven for baking the cake
Directions
Preparation
To get started, spray a 9 x 13 baking dish with cooking spray or homemade cake release. Then, prepare the cake batter according to the instructions on the yellow cake mix box. Pour the batter into the pan and bake as directed.
Bake the Cake
Bake the prepared cake batter in the 9 x 13 pan according to the packaging directions until it’s fully cooked. Once baked, remove from the oven.
Create Poke Holes and Add Soaking Mixture
While the cake is still hot, use the handle of a wooden spoon or spatula to poke holes in it. Prepare the soaking mixture by mixing the sweetened condensed milk and caramel sauce in a bowl until well blended. Pour this mixture over the cake, allowing it to seep into the holes. Let the cake cool completely.
Add Whipped Topping and Butterfinger Garnish
Sprinkle crushed Butterfinger candy bars over the cake, ensuring an even distribution. After that, spread the Cool Whip topping generously over the cake. Finish by sprinkling the remaining crushed candy bars on top. Chill the cake in the refrigerator to set and enhance the flavors before serving.
Variations
When it comes to modifying the Chocolate Butterfinger Poke Cake recipe, the options are endless. Here are some creative ways to customize this delectable dessert to suit your preferences:
Alternate Toppings and Mix-Ins
Don’t limit yourself to just Butterfinger candy bars! Experiment with different toppings and mix-ins to add your twist to this cake. Try using Snickers bars, Twix, or chopped Heath bars for a unique flavor. Feel free to swap out the caramel sauce for butterscotch or dark chocolate topping for a different taste experience.
Dietary Adjustments
If you have dietary restrictions or preferences, you can easily adapt the recipe to suit your needs. Consider using a gluten-free cake mix for a gluten-free version of the cake. You can also opt for a yellow cake mix or a chocolate cake mix instead of marble. For a dairy-free option, swap the whipped cream for a dairy-free alternative. Remember, this recipe is versatile, so feel free to make adjustments according to what suits you best.
Serving and Presentation Tips
When it comes to serving and presenting your Chocolate Butterfinger Poke Cake, there are a few tips to ensure a delightful experience for yourself and your guests. Here are some suggestions to make your dessert even more appealing:
1. Chilled Delight
For the ultimate indulgence, refrigerate your cake for at least a couple of hours before serving. A chilled cake enhances the flavors and textures, making each bite a refreshing delight.
2. Garnish with Style
Before serving, top your cake with an extra sprinkle of crushed Butterfinger candy bars. This not only adds a crunchy texture but also enhances the visual appeal, making your dessert look even more enticing.
3. Elegant Presentation
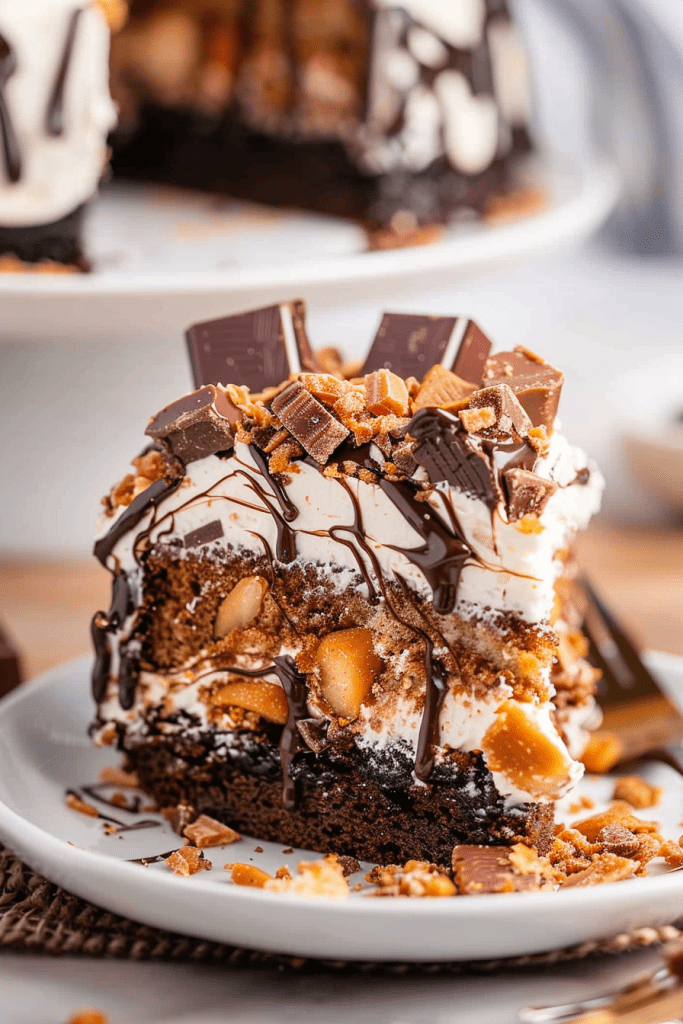
To elevate the presentation, consider serving each slice on a decorative dessert plate. You can also drizzle some extra caramel or butterscotch sauce on the plate for a sophisticated touch.
4. Personal Touch
Feel free to add a dollop of whipped cream on top of each slice just before serving for a creamy finish. You can also dust some cocoa powder lightly for an extra pop of flavor.
5. Make Ahead
Prepare the cake a day in advance and refrigerate overnight. This allows the flavors to meld together, resulting in a more decadent and flavorful dessert the next day.
6. Customizable Options
Don’t hesitate to customize your cake further by adding additional toppings like chopped nuts, mini chocolate chips, or even a drizzle of hot fudge sauce for a unique twist.
Make-Ahead Tips
As I prepare my Chocolate Butterfinger Poke Cake, I often like to plan ahead to ensure a stress-free dessert experience. Here are some handy make-ahead tips to streamline the process and enhance the flavors:
- Prep the Ingredients Early:
Before you start baking, gather all the necessary ingredients and prepare them in advance. This will save you time during the actual baking process and ensure a smooth workflow. - Bake the Cake in Advance:
If you have a busy schedule, consider baking the cake a day ahead. Once cooled, cover it tightly with plastic wrap and store it at room temperature until you’re ready to proceed with the poking and soaking steps. - Soaking Mixture Preparation:
You can also prepare the soaking mixture with sweetened condensed milk and caramel sauce a day in advance. This allows the flavors to meld together, creating a richer taste when poured over the cake. - Whipped Topping Readiness:
Similarly, the whipped cream topping can be made ahead of time and stored in the refrigerator. Ensure it is covered well to prevent any flavor transfer in the fridge. - Chilling Time Consideration:
Remember that the Chocolate Butterfinger Poke Cake benefits from some chilling time before serving. Plan accordingly so that the dessert has ample time to set and the flavors can meld together beautifully.
By following these make-ahead tips, you’ll not only save time but also allow the flavors of the Chocolate Butterfinger Poke Cake to develop further, resulting in a more decadent and delicious dessert for your enjoyment.
Storage Recommendations
After indulging in the delightful Chocolate Butterfinger Poke Cake, you may find yourself with leftovers or wanting to prep ahead. Here are some storage recommendations to keep your cake fresh and flavorsome:
Storing Unfinished Cake:
- If you have leftovers of the Chocolate Butterfinger Poke Cake, cover the baking dish with plastic wrap or aluminum foil.
- Ensure the wrap is airtight to prevent the cake from drying out.
- Store the cake in the refrigerator for up to 3-4 days.
Freezing Instructions:
- For longer storage, you can freeze individual slices of the Chocolate Butterfinger Poke Cake for later enjoyment.
- Wrap each slice tightly in plastic wrap or aluminum foil before placing them in a freezer-safe container or resealable bag.
- Label the container with the date to keep track of freshness.
- The cake slices can be frozen for up to 2-3 months.
- When ready to enjoy the frozen cake slices, remove them from the freezer and let them thaw in the refrigerator overnight.
- Before serving, allow the cake slices to come to room temperature for the best texture and flavor.
By following these storage recommendations, you can savor the decadent Chocolate Butterfinger Poke Cake whenever the craving strikes, whether freshly made or from the freezer.
Conclusion
After exploring the delightful world of Chocolate Butterfinger Poke Cake recipes, it’s clear that this dessert offers a perfect blend of chocolatey goodness and Butterfinger crunch. With its versatility in toppings and mix-ins, as well as accommodating dietary preferences, this cake is a crowd-pleaser for any occasion. By following the provided tips for preparation, chilling, and storage, you can ensure that every slice maintains its irresistible flavors. Whether enjoyed fresh or frozen, this decadent treat is sure to satisfy any sweet tooth. So, next time you’re in the mood for a dessert that combines rich chocolate, caramel, and Butterfinger flavors, don’t hesitate to whip up this indulgent creation.