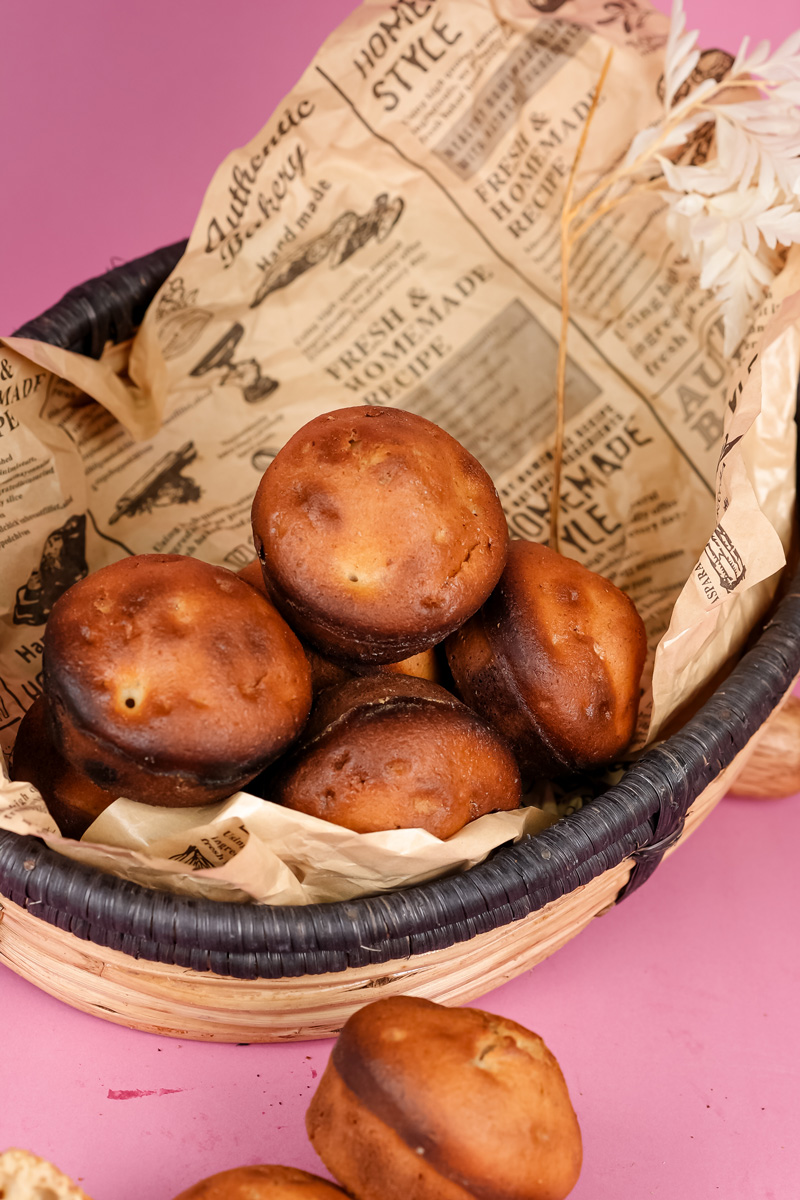
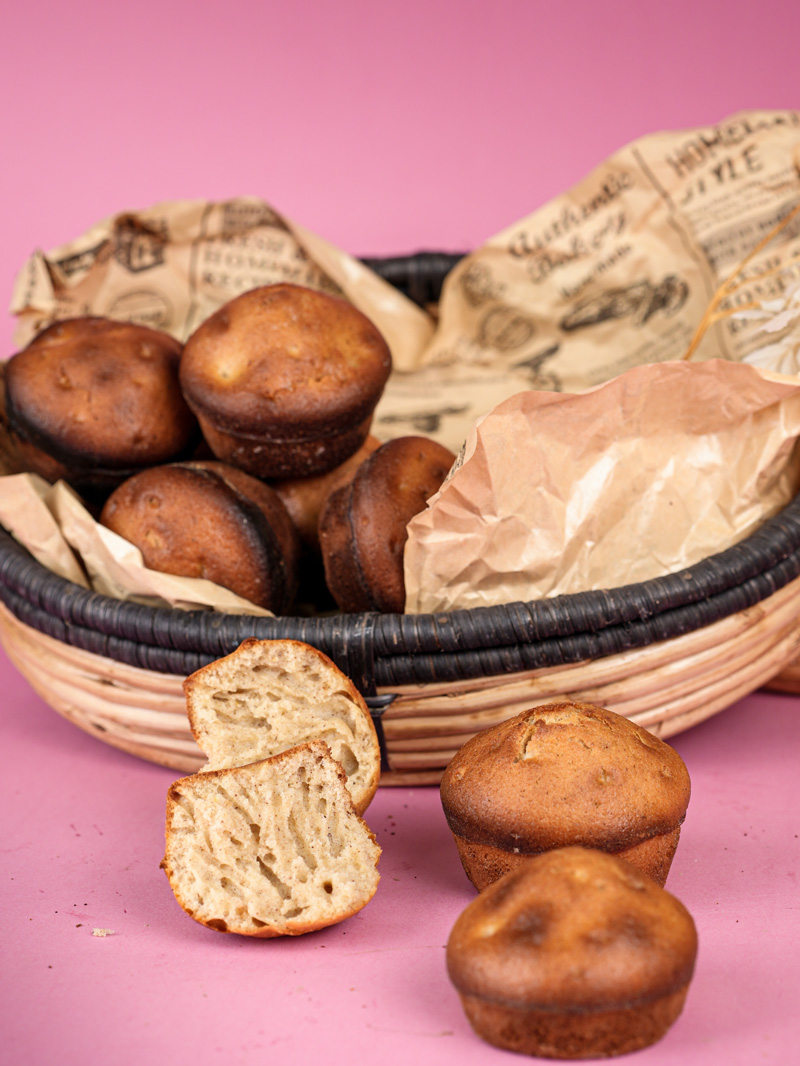
Seriously, is there anything better than the smell of easy cinnamon muffins baking in the oven? That warm, cinnamony hug wafting through the kitchen? Nope, I don’t think so! It’s the kind of scent that just screams comfort and promises a little sweet something to make any day brighter. These muffins? They’re a classic for a super good reason: they’re a breeze to whip up, you can tweak them in so many ways, and everyone loves them.
You know, cinnamon’s got this amazing history. People have loved it for ages, all over the world, for its incredible smell and taste. And muffins – those cute, single-serving breads – well, they became a big deal in America because they were quick and oh-so-satisfying. This Moist cinnamon muffins recipe I’m sharing today? It’s all about that classic, simple goodness. We’re talking straightforward ingredients, a method that’s totally no-fuss, and that heart-warming cinnamon flavor. I’ve made this recipe countless times, and it always gives me fluffy, tender muffins. Always. They’re perfect for a cozy breakfast, a yummy snack, or even a little treat after dinner. It’s my go-to Simple cinnamon muffins recipe, and I’m so pumped to share it with you!

Recipe Sneak Peek: Your Quick Guide to Cinnamon Heaven
Before we get our hands floury, let’s take a quick look at what this baking adventure is all about. These cinnamon muffins are designed to be super fun to make, even if you’re a baking newbie!
How Long Will This Take?
- Prep Time: Just about 10 minutes! Seriously, that’s all you need to grab your stuff and mix it.
- Cook Time: A quick 13-15 minutes in the oven. Blink and you’ll miss it! (Okay, not really, but it’s fast!)
- Total Time: You’ll be munching on warm, fragrant muffins in about 25 minutes. How awesome is that?
Just a little baker-to-baker tip: When you’re changing recipe sizes, especially with things like baking powder, try to be accurate. Sometimes just doubling everything isn’t quite perfect, but muffin recipes like this one are usually pretty forgiving. So, don’t sweat it too much!

How Hard Is It?
I’d say this recipe is Easy / Great for Beginners. The steps are simple, and there’s no fancy stuff involved. It’s a fantastic recipe to make you feel like a baking rockstar! Trust me, you got this!
What Gear Do I Need?
Chances are, you’ve got most of this stuff hanging out in your kitchen already!
- Muffin Tin(s): Enough for 16-18 muffins. So, a 12-cup and a 6-cup tin will do, or just bake in batches.
- Muffin Liners (Paper Cups): These are optional, but oh boy, do I recommend them! Makes cleanup a dream and they look cute too. If you’re going liner-free, make sure to grease those muffin cups really well.
- Mixing Bowls:
- One big one for the dry stuff.
- One medium one (or a big measuring cup – my little shortcut!) for the wet stuff.
- A little bowl for that yummy cinnamon-sugar topping.
- Whisk: For mixing dry ingredients and beating the wet ones.
- Spatula or Wooden Spoon: For folding everything together.
- Measuring Cups and Spoons: Baking is a bit like science – gotta measure!
- Toothpick or Cake Tester: The magic wand to see if they’re done.
- Wire Cooling Rack: Super important for cooling your awesome muffins.
No fancy mixer? No problem at all! You really don’t need one for this recipe. A good old whisk and spatula will work perfectly. Sometimes simple is best, right?
Can I Make These Ahead? (Spoiler: Yes!)
These easy cinnamon muffins are fantastic for planning ahead!
- Already Baked Muffins: Bake a batch over the weekend. Boom! Breakfast or snacks sorted for a few days.
- Dry Mix Shortcut: You can totally mix the dry ingredients (flour, sugar, baking powder, cinnamon, salt) ahead of time. Just store them in an airtight container. When you’re ready to bake, just add the wet stuff! How cool is that?
- The Batter: Now, some muffin batters are fine chilling in the fridge overnight. But for this one, because it has baking powder, it’s best to bake it pretty soon after mixing. That baking powder starts doing its fizzy magic as soon as it gets wet, and we want all that lift in our muffins!
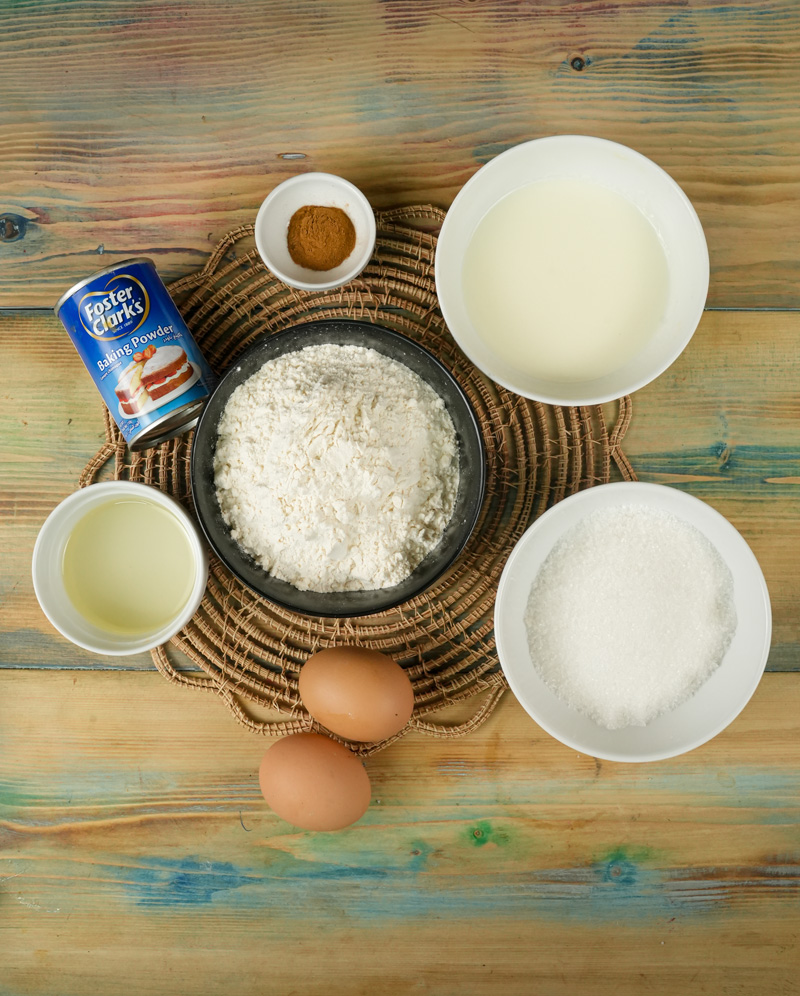
The Good Stuff: What Goes Into These Muffins
Let’s chat about the ingredients. Even simple ones, when they’re good quality, can make a huge difference in your baking.
For the Muffins Themselves:
- 2 cups all-purpose flour: This is what gives our muffins their body. I usually just grab the unbleached all-purpose stuff. If you’re feeling fancy and want a super light texture, you could swap a couple of tablespoons for cake flour, but honestly, they’re great without it.
- 1 cup granulated sugar: For that lovely sweetness! This amount is pretty balanced. If you like things less sweet, you could try cutting back a tiny bit, but sugar also helps with texture, so don’t go too wild.
- 1 tablespoon baking powder: This is what makes our muffins all light and fluffy. Super important tip: Make sure your baking powder is fresh! Test it: drop a little into hot water. If it bubbles up like crazy, you’re golden. Old baking powder means sad, flat muffins. And nobody wants that.
- 1 tablespoon cinnamon: Ah, the star of our show! Use a good quality ground cinnamon. The smell alone is worth it. Did you know there are different kinds? Ceylon is milder, Cassia is stronger (and what you usually find). Either works great, but if you’re a cinnamon aficionado, you might have a favorite!
- 1/2 teaspoon salt: Don’t skip the salt! It’s a flavor superhero. It balances the sweetness and makes all the other flavors pop.
- 1 cup milk: I usually go for whole milk or 2% for extra richness. But hey, skim milk works, or even plant-based milks like almond, soy, or oat milk. If you can, let it sit out and come to room temperature. It just helps everything mix together better. I always forget this step until the last minute, but it does make a difference!
- 1/2 cup vegetable oil (or another neutral one): Oil is the secret to making these muffins super moist. Vegetable oil, canola oil, or sunflower oil are perfect because they don’t have a strong taste. You could use melted butter, and it would add a buttery flavor (yum!), but oil generally makes for a moister muffin that stays soft longer.
- 2 large eggs: Eggs hold everything together, add richness, and help with the structure. Best if these are at room temperature too. Quick trick: pop them in a bowl of warm (not hot!) water for 5-10 minutes if you forget to take them out.
For That Irresistible Cinnamon-Sugar Topping:
- 2 tablespoons sugar (granulated): For that lovely sweet crunch on top.
- 1 teaspoon cinnamon: More of that cinnamony goodness!
A little note on getting your ingredients ready: Having your milk and eggs at room temperature isn’t a total dealbreaker for this Simple cinnamon muffins recipe, but I’ve found it can give you a slightly smoother batter and an even more tender muffin. I always try to remember to pull them out of the fridge about 30 minutes before I start baking. Key word: try.
Okay, deep breath! Let’s get into the nitty-gritty of making these amazing cinnamon muffins. I’ll be right here with you, every step of the way!
Step-by-Step: Let’s Bake These Beauties!
Alright, are you ready to turn these simple bits and pieces into something truly special? Grab your apron, crank up some tunes, and let’s get baking!
1. Oven On, Tins Prepped: Setting the Stage!
First things first! Let’s get that oven heating up. Go ahead and preheat it to 375ºF (190ºC). Think of it like warming up the dance floor before the party starts! Getting the oven to the right temp before your batter is ready is super important. It means your muffins start baking right away, which helps them get that lovely, fluffy rise.
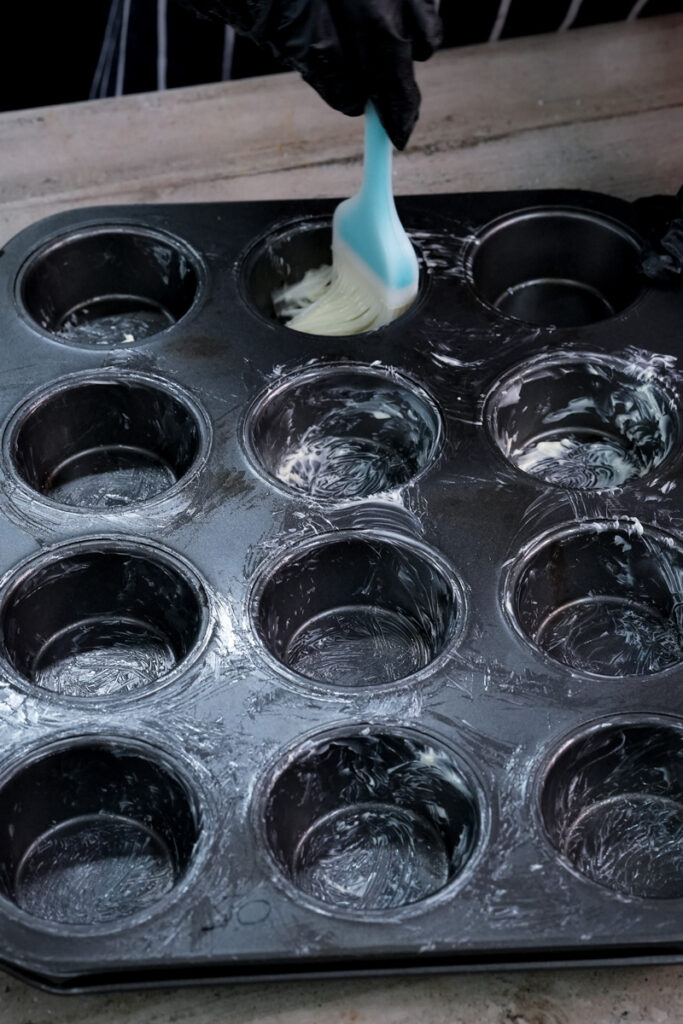
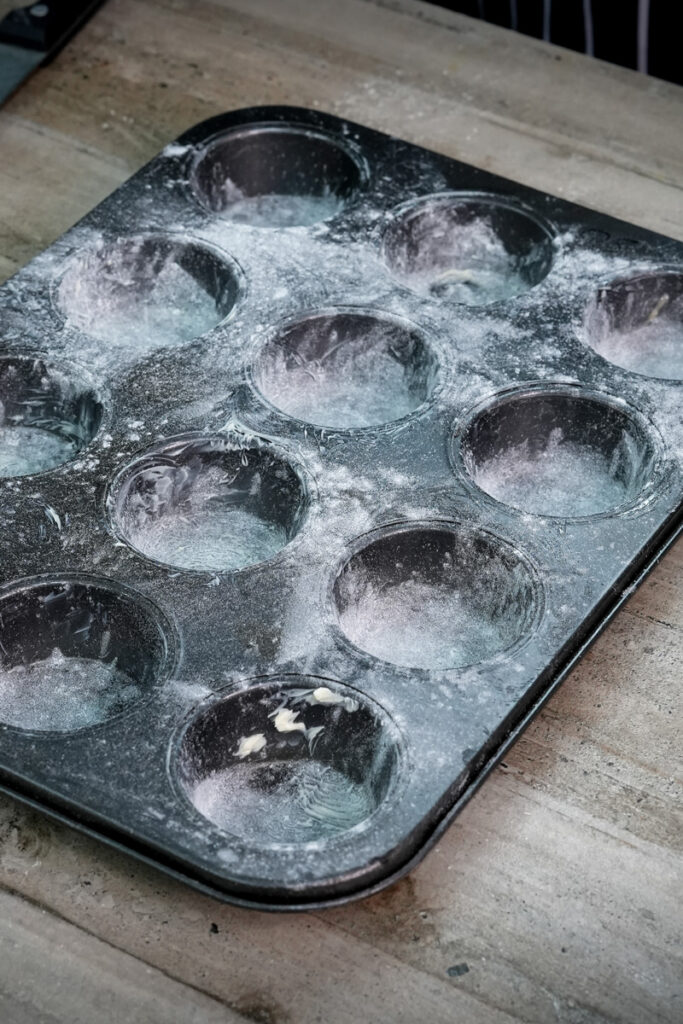
While the oven’s doing its thing, let’s get our muffin tin ready. We’re aiming for about 16-18 muffins. If you’re using paper liners (my personal fave – cleanup is a breeze, and they look so darn cute!), pop one into each muffin cup. If you’re going liner-less, no worries! Just make sure to grease each cup really, really well. You can use softened butter (get in there with your fingers or a pastry brush!), a good cooking spray (hit all the corners!), or even a little veggie oil. We want those muffins to slide out nice and easy. Nobody wants to leave half a muffin behind! It’s a tragedy, really.
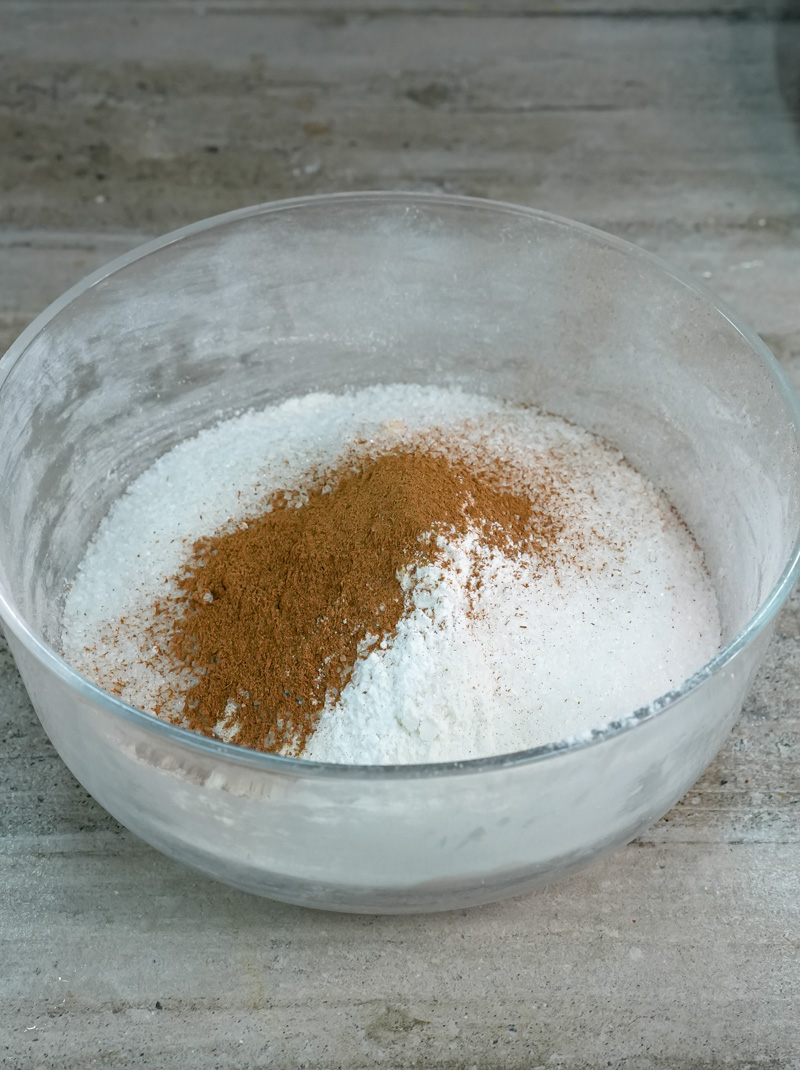
2. Mix the Dry Stuff: Building the Foundation
Okay, grab your biggest mixing bowl. This is where the heart of our Moist cinnamon muffins recipe begins.
- Measure in your 2 cups of all-purpose flour.
- Add 1 cup of granulated sugar – this gives them that perfect touch of sweetness.
- Then, the magic ingredient: 1 tablespoon of baking powder. Remember that freshness test? Now’s a good time if you haven’t already!
- Next up, the reason we’re all here: 1 tablespoon of glorious ground cinnamon. Take a big whiff – isn’t that just the best smell?
- Finally, add 1/2 teaspoon of salt. Don’t forget this little guy; it makes everything else taste even better!
Once all those are in the bowl, grab your whisk and give them a good stir. You’re not just mixing; you’re also getting some air into the flour and making sure that baking powder and cinnamon are spread out perfectly. You don’t want one super-cinnamony muffin and another one that’s feeling left out!
What you’re looking for: Keep whisking until it all looks the same – like a light, fragrant, sandy mixture. No streaks of cinnamon, no little white clumps of baking powder. It should look all fluffy and happy.
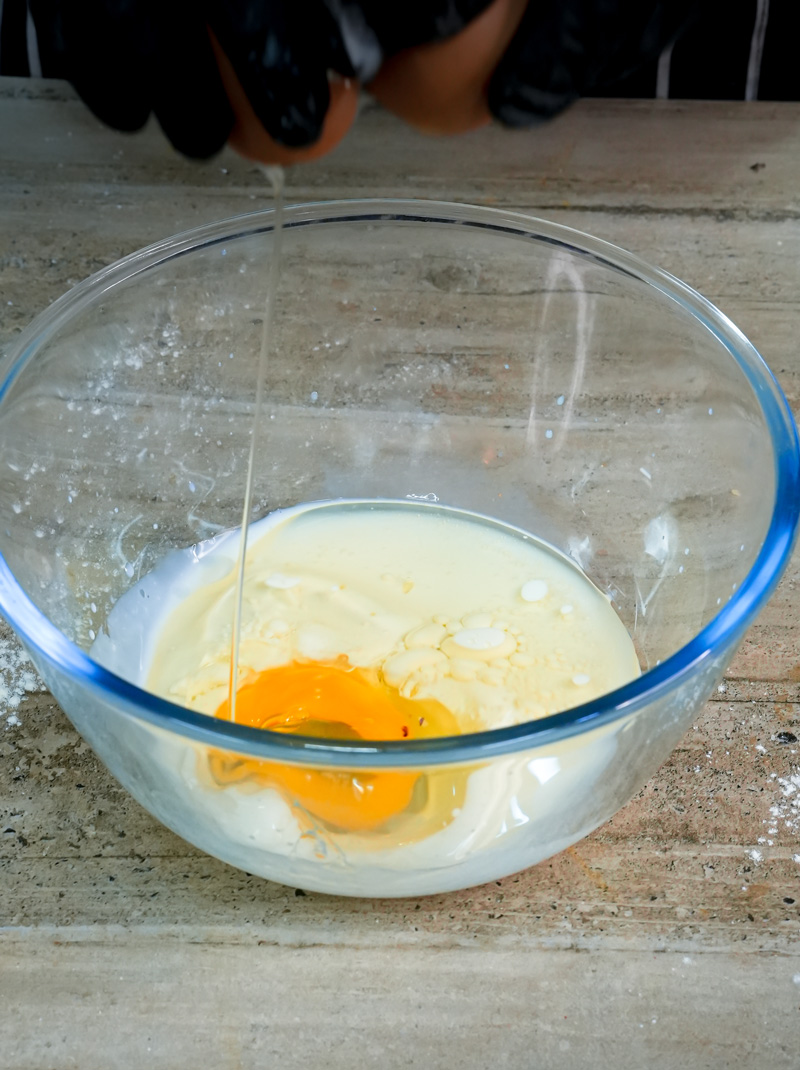
3. Whisk the Wet Ingredients: The Liquid Gold
Set your bowl of dry stuff aside for a sec. Grab your medium-sized bowl. Or, my little trick for less washing up: use a big liquid measuring cup with a spout! It makes pouring so much easier.
- Pour in your 1 cup of milk. Whole milk makes them extra yummy, but 2% or even a plant-based milk is totally fine. If you remembered to let it warm up a bit, high five!
- Next, add the 1/2 cup of vegetable oil. This is our secret weapon for super moist muffins that stay soft for ages.
- Now, crack in your 2 large eggs.
Get your whisk ready again! Beat these wet ingredients together until they’re really well combined. You want those eggs to be completely mixed in with the milk and oil. Whisk like you mean it – but not for too long, just until it’s smooth.
What you’re looking for: The mixture should be a pale, creamy yellow color, all smooth and blended. No eggy streaks or oil slicks floating on top!
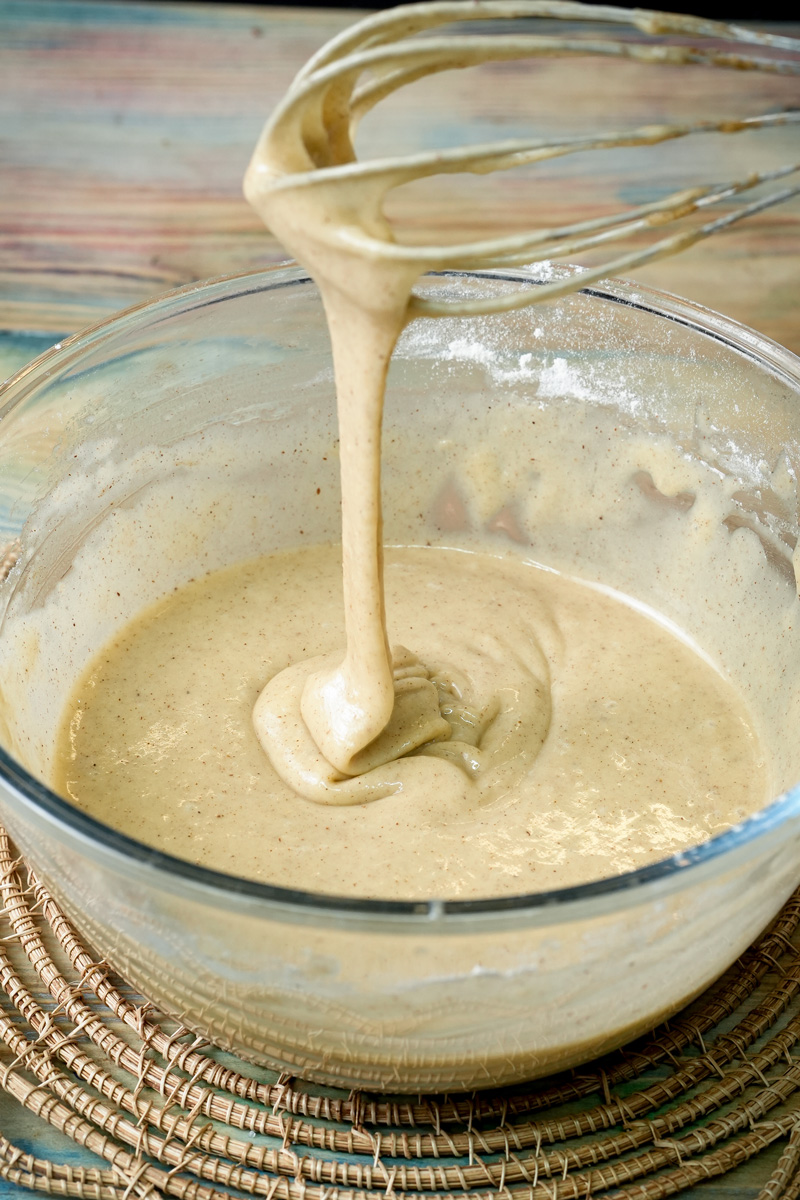
4. Wet Meets Dry – Gently Does It!
Okay, this is a big one! How you mix now makes all the difference for that perfect, tender, fluffy muffin. So, let’s be gentle.
Grab your bowl of dry ingredients. Using your spatula or a wooden spoon, make a little dip, or a “well,” right in the middle of the dry stuff. It’s like making a little swimming pool for the wet ingredients. Now, pour your beautifully whisked wet mixture right into that well.
Here’s the muffin-making mantra: Do. Not. Overmix. I really can’t say this enough! Use your spatula or wooden spoon and gently fold and stir the wet ingredients into the dry. You want to mix them just until you don’t see big dry patches of flour anymore. A few lumps in the batter? That’s not just okay – it’s actually good! It means tender muffins! If you mix and mix until it’s perfectly smooth, you’ll make the gluten in the flour angry, and you’ll end up with tough, chewy muffins. We want light and airy, remember? So, embrace those lumps!
What you’re looking for: The batter should be pretty thick, a bit lumpy, and maybe even look a little messy. As soon as you don’t see major dry streaks of flour, stop stirring. Seriously. Put the spoon down. A few tiny floury bits hiding underneath are totally fine.
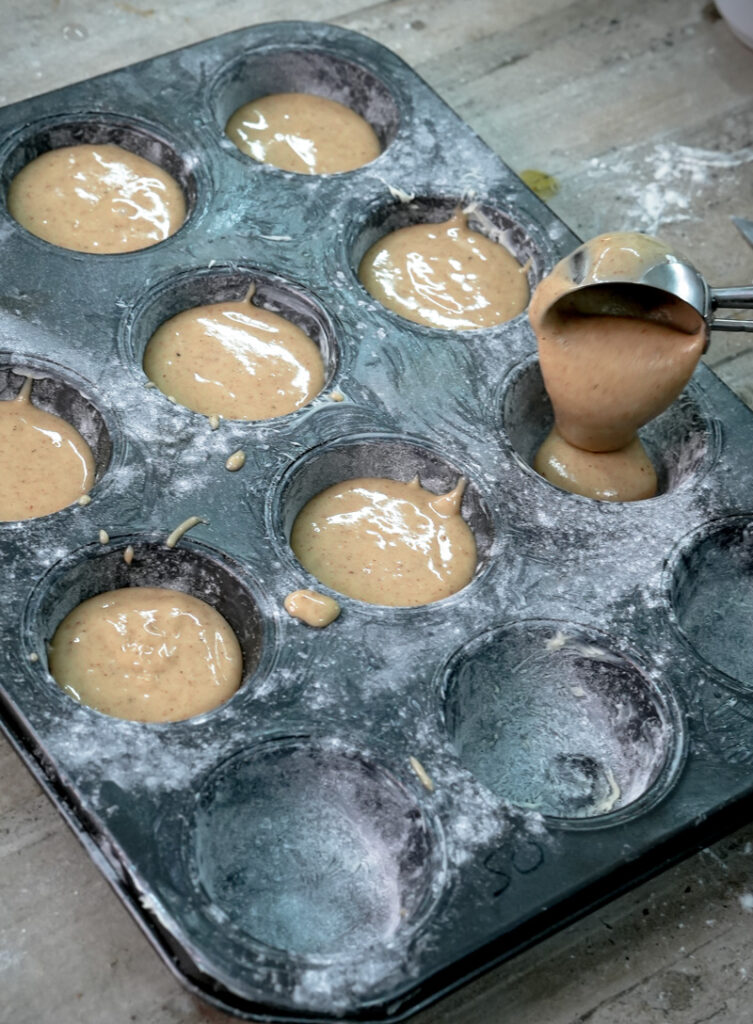
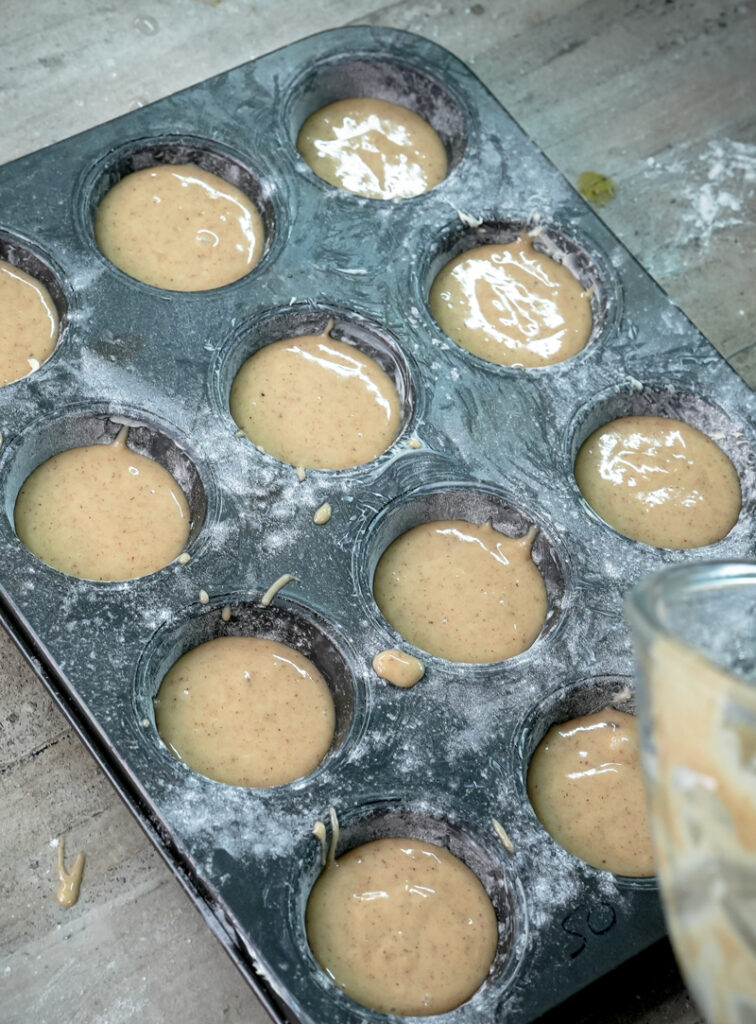
5. Fill Those Cups: Let’s Be Fair!
Now for the really fun part – getting that gorgeous, lumpy batter into your prepared muffin cups! Try to share it out as evenly as you can among your 16-18 cups. I find that filling each cup about two-thirds to three-quarters full is perfect. This gives the muffins room to rise up all big and beautiful without spilling over and making a mess (though, let’s be real, even messy muffin tops are delicious!).
Psst! Want a pro tip? If you have an ice cream scoop (a regular-sized one, about ¼ cup, sometimes called a #16 or #20 scoop), it’s a total game-changer for putting batter in muffin cups. It’s fast, clean, and makes all your muffins the same size. That means they’ll bake evenly, and nobody can complain their muffin is smaller! If you don’t have one, no worries – two spoons work great. One to scoop, one to scrape.

6. Sprinkle on the Sparkle: The Cinnamon-Sugar Crown!
Before these little beauties go into the oven, let’s give them their signature crunchy, sweet, cinnamony top! Find that little bowl you set aside. Add the 2 tablespoons of granulated sugar and the 1 teaspoon of ground cinnamon that you saved for the topping. Give them a good mix with a spoon or fork until the sugar and cinnamon are best friends.
Now, sprinkle this amazing cinnamon-sugar mix generously over the batter in every single muffin cup. Don’t be shy! This topping isn’t just for looks; it adds a fantastic burst of flavor and a lovely, slightly crispy texture that’s so good with the soft muffin underneath. Make sure every muffin gets a good sprinkle.
7. Bake ‘Em Up: The Best Smelling Wait Ever!
This is it! The moment we’ve been waiting for! Carefully put your filled muffin tin (or tins) into your preheated 375ºF (190ºC) oven. Try to put them on the middle rack so they bake nice and evenly.
Now, set your timer for 13-15 minutes. I always like to check on the early side, because ovens can be a bit quirky, and we definitely don’t want to overbake our easy cinnamon muffins.
What to look, listen (not really!), and smell for while they’re baking:
- Smell: Oh. My. Goodness. After about 10 minutes, your kitchen is going to smell like pure heaven. Warm, cinnamony, cozy… it’s the best!
- Look: You’ll see them puff up and get those nice rounded tops. Towards the end, the tops should be a lovely golden brown.
- Touch: When you think they might be done, gently press the top of one of the muffins (one in the middle of the tin is a good test subject). If it springs back lightly when you touch it, that’s a great sign!
- The Toothpick Test (The Ultimate Test!): This is the most reliable way to know for sure. Carefully (it’s hot in there!) stick a wooden toothpick or a thin skewer right into the center of a muffin. Pull it out. If it comes out clean – no wet batter clinging to it – they’re perfect! A few moist crumbs are totally fine, but you don’t want any sticky, uncooked batter.
Watch out! Try not to open the oven door too much, especially in the first 10 minutes. It can make the oven temperature drop and your muffins might sink. Also, overbaking is the enemy of moist muffins, so keep an eye on them in those last few minutes!
8. Cool ‘Em Down: Patience, My Friend!
You did it! Woohoo! Using oven mitts (safety first!), carefully take the muffin tin out of the oven and put it on a heatproof surface or a wire cooling rack. Now, I know you want to grab a warm muffin right this second (and honestly, I wouldn’t blame you if you did!), but for the very best muffins, let them hang out in the tin for about 5 minutes. This little rest helps them set up a bit more, so they’re less likely to fall apart when you try to move them.
After those 5 minutes are up, gently take the muffins out of the tin and put them on a wire cooling rack to cool completely. Why a wire rack, you ask? Great question! It lets air get all around the muffins, even underneath. This stops the bottoms from getting damp and soggy from steam. If you leave them to cool all the way in the tin, the trapped heat and steam can make them a bit… meh.
While they are amazing warm (oh, they really are!), letting them cool also lets all those yummy flavors get to know each other even better. Plus, they’re easier to store once they’re at room temperature.
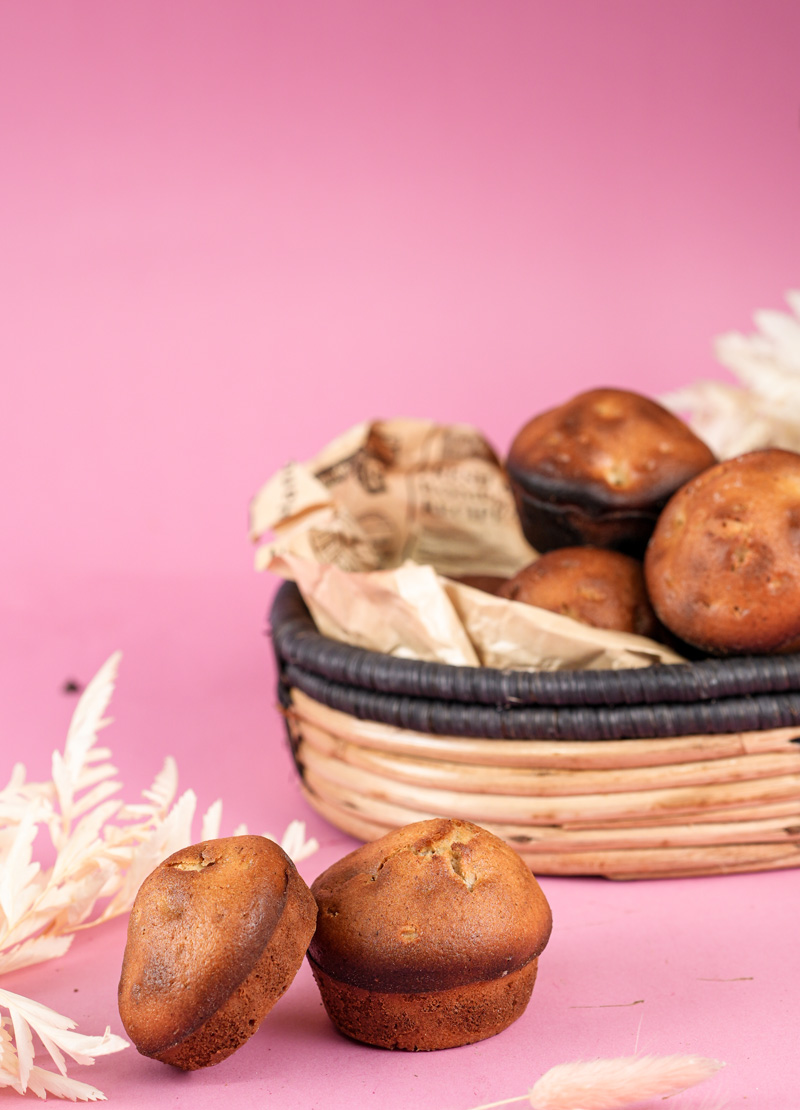
And just like that, you’ve baked a batch of totally irresistible, perfectly spiced, wonderfully Moist cinnamon muffins recipe! Give yourself a pat on the back, take a deep breath of that incredible smell, and get ready to enjoy your handiwork. Well done, baker!
Mix It Up: Make These Muffins Your Own!
One of the absolute best things about this Simple cinnamon muffins recipe is how easy it is to change things up. Here are a few ideas to get your creative baking brain buzzing:
Got Special Diets? No Problem!
- Gluten-Free Cinnamon Muffins: You can usually swap the all-purpose flour for a good quality 1-to-1 gluten-free baking flour blend (make sure it has xanthan gum). Just follow the instructions on the package, as some blends might need tiny tweaks. The texture might be a little different, but they’ll still be super tasty!
- Vegan Cinnamon Muffins: Totally doable!
- Eggs: Instead of 2 eggs, use 2 flax eggs (mix 2 tbsp ground flaxseed with 6 tbsp water, then let it sit for 5-10 minutes to get all thick and gloopy) or ½ cup of unsweetened applesauce.
- Milk: Use your favorite plant-based milk – almond, soy, oat, or coconut milk all work great.
- Just double-check your sugar is vegan (some white sugar is processed with bone char, believe it or not!).
- Less Sugar? You can try cutting down the sugar in the batter by a tablespoon or two. But remember, sugar does more than just make things sweet – it also helps with moisture and texture. So, if you reduce it a lot, your muffins might turn out a bit different.
Spice is Nice!
- More Cinnamon, Please! If you’re a true cinnamon fiend like me, feel free to add a little extra cinnamon to the batter (maybe up to 1 ½ tablespoons). Go wild!
- Spice Party: Don’t just stop at cinnamon! Add a little pinch (about ¼ to ½ teaspoon) of other warm, cozy spices like:
- Nutmeg (cinnamon’s best friend!)
- Cardamom (for a bit of an exotic feel – so good!)
- Allspice
- Ground ginger
Just remember, a little of these spices goes a long way!
Fancy or Everyday? You Choose!
- Perfectly Simple: The recipe just as it is? It’s chef’s kiss for your daily muffin fix.
- Level Up with Streusel: Want that bakery-style vibe? Try adding a simple streusel topping before baking instead of just the cinnamon sugar. I’ve seen some gorgeous streusel-topped muffins out there! For a basic streusel, just mix about ½ cup flour, ¼ cup brown sugar, ½ teaspoon cinnamon, and ¼ cup cold butter (cut it into little pieces and then smoosh it into the dry stuff with your fingers until it’s crumbly).
- Drizzle Me This: Once the muffins are cool, you can drizzle them with a simple glaze. Just whisk together about ½ cup of powdered sugar with 1-2 teaspoons of milk or lemon juice until it’s pourable. I once saw a recipe from Mel’s Kitchen Cafe for cinnamon roll muffins with a cream cheese glaze that sounded to die for!
Seasonal Fun & Yummy Add-Ins!
This recipe is like a blank canvas for delicious extras! Gently fold in about ¾ to 1 cup of your favorite mix-ins after you’ve combined the wet and dry ingredients.
- Fall Vibes: Add ½ cup of finely chopped apples (peeled or not, your call!) tossed with a bit more cinnamon. Or, try adding ¼ cup of pumpkin puree (if you do, maybe use a tiny bit less milk). Those apple cinnamon muffins you see everywhere in autumn? So good.
- Winter Warmers: Stir in ½ cup of chopped cranberries (fresh or frozen work) and maybe the zest of an orange for a festive touch.
- Nutty Goodness: Add ½ cup of chopped walnuts or pecans for a lovely crunch.
- Sweet Little Surprises: Mix in ½ cup of chocolate chips (milk, semi-sweet, or even white choccy!), butterscotch chips, or raisins. Imagine biting into one of these and finding a melty chocolate chip. Yes, please!
Serving & Storing Your Awesome Muffins
You did it! You baked a batch of incredible Moist cinnamon muffins recipe! Now, let’s talk about the best ways to eat them and keep them fresh.
How to Serve ‘Em Up
Honestly, these muffins are so good they don’t need much dressing up!
- Keep it Simple: Enjoy them warm, right off the cooling rack. Maybe with a little pat of butter melting on top? Heaven.
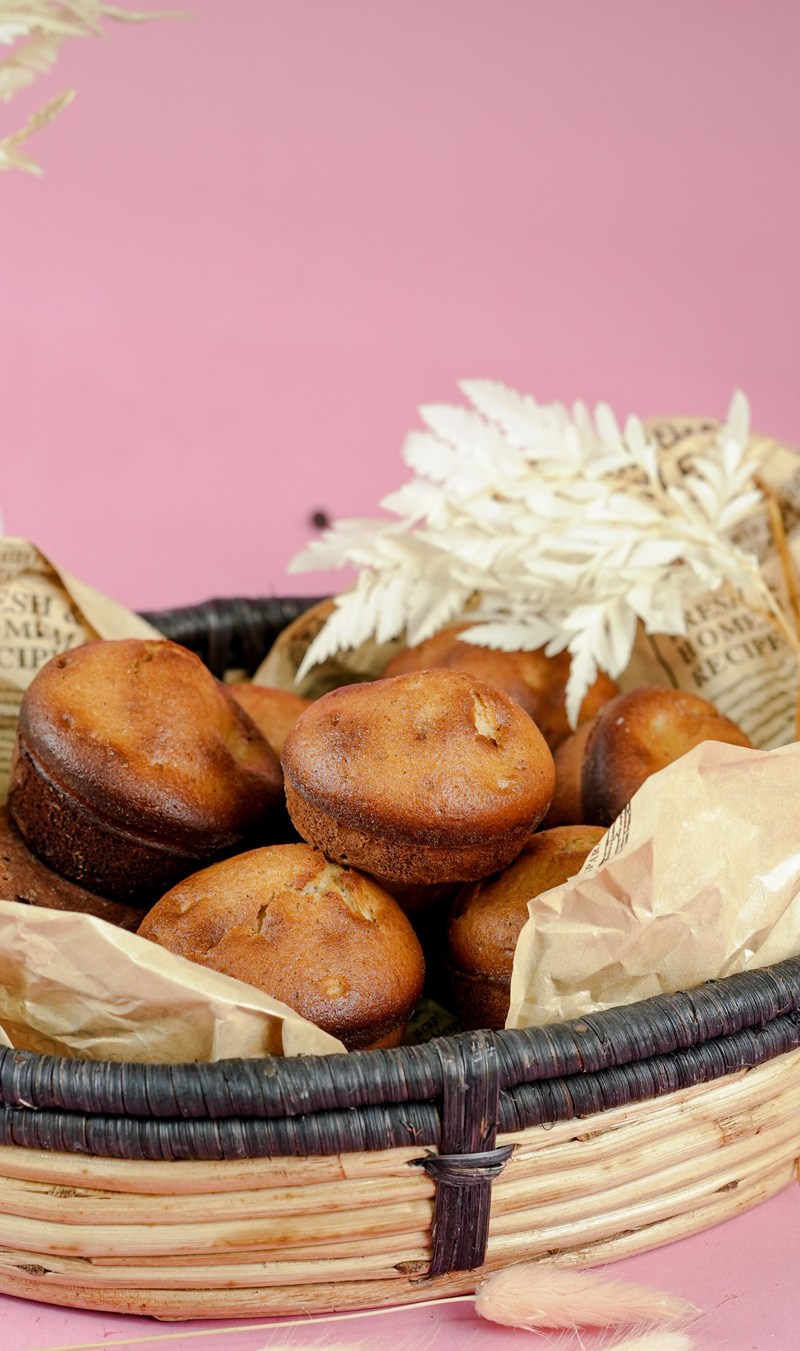
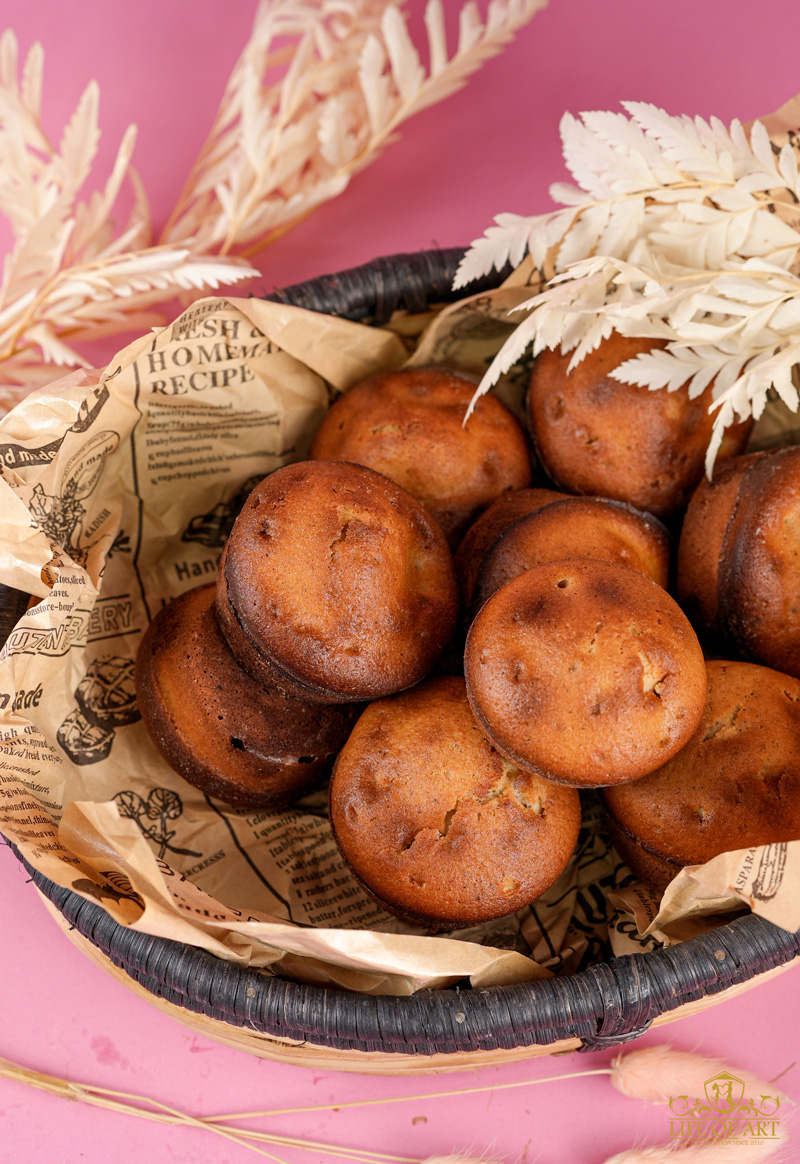
- Breakfast Star: Pile them onto a pretty plate or into a bread basket. They’re perfect for a big breakfast or brunch spread.
- Coffee Shop Style: Serve one on a small plate with a napkin, next to a steaming mug of coffee or tea. So cozy!
What Goes Well With Them?
These muffins are pretty satisfying all by themselves, but they also play nicely with:
- Drinks: Coffee (a classic!), tea (black tea, chai, or a nice herbal one), a cold glass of milk, or even hot chocolate for an extra treat.
- Fruit: A side of fresh berries, a colorful fruit salad, or a sliced banana really complements the warm spices.
- A Bit More Substance: For a heartier breakfast, pair a muffin with some yogurt or a scrambled egg.
How to Store Your Treasures
Storing them right will keep your muffins tasting fresh and yummy.
- On the Counter: Once they’re totally cool, pop the muffins into an airtight container and keep them at room temperature. They’re best eaten within 2-3 days. Little tip: Putting a paper towel in the container can help soak up any extra moisture and keep them from getting sticky.
- In the Fridge: If you need them to last a bit longer, you can store them in an airtight container in the fridge for up to a week. Just a heads up, though: sometimes the fridge can dry out baked goods a little. So, room temp is usually best if you think you’ll eat them pretty quickly.
Getting That “Fresh-Baked” Warmth Back
Want to make them taste like they just came out of the oven again? Easy!
- Microwave: Put a muffin on a microwave-safe plate and zap it for about 10-20 seconds. Don’t overdo it, or they can get a bit tough.
- Oven or Toaster Oven: For a slightly crispy top (my favorite way!), preheat your oven or toaster oven to about 300-350°F (150-175°C). Warm the muffins for 5-7 minutes.
Making Ahead & Freezing (Your Future Self Will Thank You!)
These muffins freeze like a dream! This makes them perfect for a quick breakfast on those super busy mornings.
- Cool Them Completely: This is super important! If you freeze them while they’re still warm, you’ll get ice crystals.
- Wrap ‘Em Up Tight: Wrap each muffin individually in plastic wrap. Then, put them all into a freezer-safe zip-top bag or an airtight container. This double layer of protection helps stop freezer burn.
- Label & Date: Don’t forget to write what’s in the bag/container and the date you froze them. Trust me, “mystery frozen blob” is never fun.
- Freeze ‘Em: They’ll stay good in the freezer for up to 3 months.
- Thawing Them Out:
- Room Temp: Unwrap them and let them thaw on the counter for a few hours.
- Microwave: Unwrap and microwave for 20-30 seconds, or until they’re warmed through.
- Oven: Unwrap, put them on a baking sheet, and reheat in a 300°F (150°C) oven for about 10-15 minutes if they’re frozen, or 5-7 minutes if they’re already thawed.
I really hope you have the best time baking and, more importantly, eating these easy cinnamon muffins! They’re such a great reminder of how simple ingredients can turn into something truly special and delicious. Happy baking, friend!
PrintCinnamon Muffins

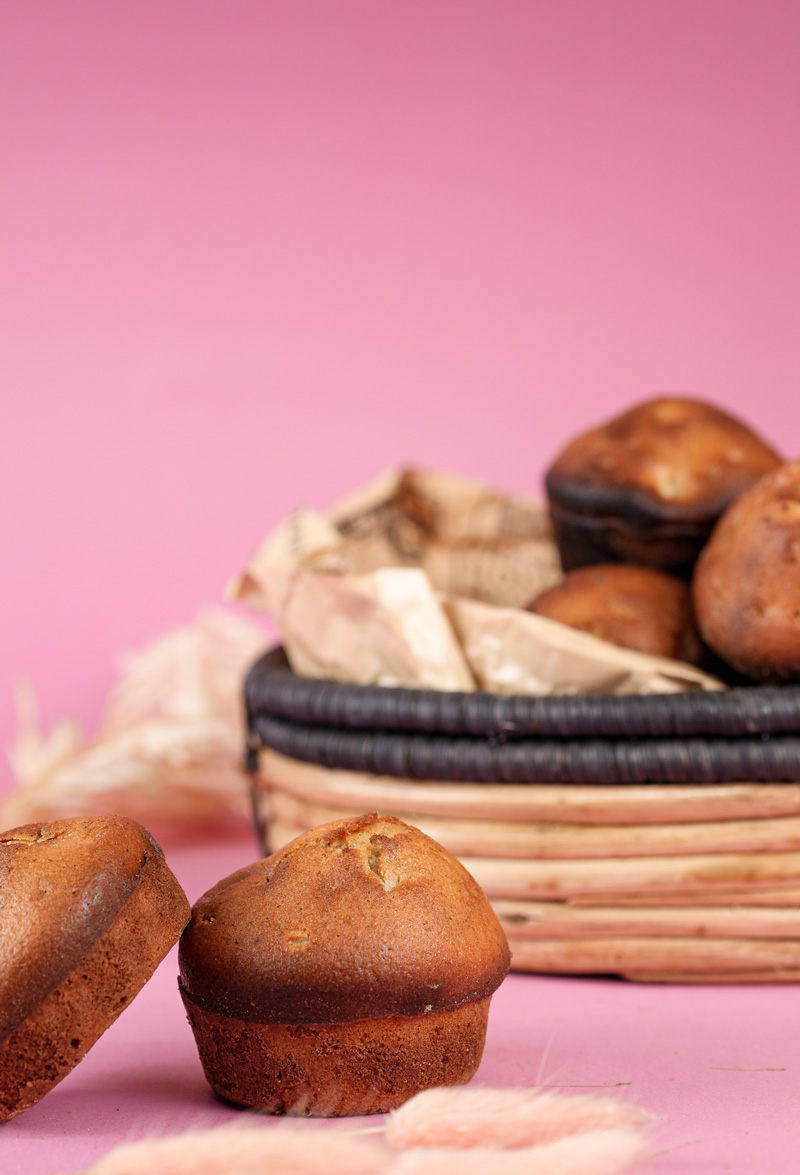
There’s nothing like the smell of warm cinnamon muffins baking! This super simple recipe gives you fluffy, wonderfully moist muffins with a sweet cinnamon sparkle on top. They’re a breeze to make and perfect for breakfast, a cozy snack, or a little treat anytime. Get ready for your kitchen to smell amazing!
- Prep Time: About 10 minutes
- Cook Time: 13-15 minutes
- Total Time: Roughly 25 minutes
- Yield: Makes 16–18 muffins 1x
- Category: Breakfast, Snack, Dessert
- Cuisine: American
Ingredients
For the Muffins:
- 2 cups all-purpose flour
- 1 cup granulated sugar
- 1 tablespoon baking powder (make sure it’s fresh!)
- 1 tablespoon ground cinnamon
- ½ teaspoon salt
- 1 cup milk (whole or 2% recommended; room temperature is great!)
- ½ cup vegetable oil (or other neutral oil)
- 2 large eggs (room temperature is a plus!)
For the Cinnamon-Sugar Topping:
- 2 tablespoons granulated sugar
- 1 teaspoon ground cinnamon
Instructions
- Warm Up & Prep: First, get your oven preheating to 375°F (190°C). Line a 12-cup muffin tin (and a 6-cup, or plan to bake in batches) with paper liners. If you’re not using liners, grease those cups really well!
- Dry Mix Magic: In a big bowl, whisk together the flour, sugar, baking powder, cinnamon, and salt. Make sure it’s all nicely combined – no streaks!
- Wet Wonders: In a separate, medium bowl (or a large measuring cup!), beat the milk, oil, and eggs together until smooth.
- Combine Gently! Pour the wet ingredients into the dry ingredients. Now, this is important: fold them together with a spatula just until you don’t see big streaks of dry flour. A few lumps are perfectly okay and actually good for tender muffins! Do not overmix! Seriously, stop as soon as it’s just combined.
- Fill ‘Em Up: Carefully divide the batter among your 16-18 prepared muffin cups. Fill each one about two-thirds to three-quarters full. An ice cream scoop works great for this!
- Sparkle Time: In a small bowl, mix the 2 tablespoons sugar and 1 teaspoon cinnamon for the topping. Sprinkle this generously over the batter in each muffin cup.
- Bake to Perfection: Pop the muffins into your hot oven and bake for 13-15 minutes. They’re done when the tops are golden brown and a toothpick poked into the center of a muffin comes out clean (a few moist crumbs are fine).
- Cool Down: Let the muffins cool in the tin for about 5 minutes – this helps them set. Then, gently move them to a wire rack to cool completely. Or, you know, sneak one while it’s warm!
Notes
- Serving Ideas: These are heavenly served warm, maybe with a little butter. Perfect alongside a cup of coffee, tea, or a cold glass of milk!
- Baker’s Tricks:
- Fresh Baking Powder: Can’t stress this enough! It’s key for that beautiful rise.
- Lumps are Friends: Remember, a lumpy batter means tender muffins. Overmixing = tough muffins.
- Even Steven: Using an ice cream scoop helps make sure all your muffins are the same size and bake evenly.
- Storing Your Muffins:
- Once completely cool, keep them in an airtight container. They’ll be great for 2-3 days at room temperature or up to a week in the fridge.
- Freezer Friendly! These freeze beautifully. Wrap them individually once cool, then pop into a freezer bag. They’ll last for up to 3 months.
- Reheating Magic:
- Microwave: About 10-20 seconds on high for one muffin.
- Oven/Toaster Oven: Warm at 300-350°F (150-175°C) for 5-7 minutes for that fresh-baked feel.
Enjoy your delicious homemade cinnamon muffins!