
Craving a delightful twist on the classic red velvet cake? Dive into the world of yellow velvet cake recipes with me. This vibrant dessert offers a sunny alternative to its crimson counterpart, boasting a rich, buttery flavor that’s sure to captivate your taste buds. Originating from the southern culinary traditions of the United States, yellow velvet cake brings a touch of warmth and nostalgia to any occasion.
Ingredients
Cake Ingredients
- 2 ½ cups all-purpose flour
- 2 cups granulated sugar
- 1 cup unsalted butter, softened
- 3 large eggs
- 1 cup buttermilk
- 2 teaspoons vanilla extract
- 1 teaspoon baking soda
- 1 teaspoon apple cider vinegar
- 1 tablespoon lemon zest
- Yellow gel food coloring
- 1 cup unsalted butter, softened
- 8 oz cream cheese, softened
- 6 cups powdered sugar
- 1 teaspoon vanilla extract
- 1 tablespoon heavy cream
Equipment Needed
To make a delicious yellow velvet cake, you will need the following equipment:
For the Cake:
- Three 9-inch round cake pans
- Parchment paper
- Electric mixer
- Mixing bowls
- Whisk
- Cooling racks
- Offset spatula
- Stand mixer or hand mixer
- Rubber spatula
- Cake decorating turntable (optional)
- Cake decorating comb (optional)
Having these tools on hand will make the baking process smooth and enjoyable, ensuring your yellow velvet cake turns out perfectly fluffy and moist, ready to be frosted to perfection.
Preparation Steps
Preparing the Cake Batter
To start making the yellow velvet cake batter, first, preheat the oven to 350°F (175°C) and prepare the cake pans by greasing and lining them with parchment paper.
Next, in a mixing bowl, cream together the butter and sugar until light and fluffy. Add in the eggs one at a time, making sure to beat well after each addition.
In a separate bowl, whisk together the buttermilk, vanilla extract, and yellow gel food coloring. Gradually add this mixture to the butter-sugar-egg mixture, alternating with the dry ingredients mixture (all-purpose flour, baking soda, and lemon zest) until well combined.
Finally, in a small bowl, mix together the apple cider vinegar and remaining yellow gel food coloring. Add this mixture to the batter and gently fold until just combined. Avoid overmixing the batter.
Preparing the Frosting
For the cream cheese frosting, ensure the butter and cream cheese are at room temperature for easy blending.
In a mixing bowl, cream together the butter and cream cheese until smooth and creamy. Gradually add in the sifted powdered sugar, beating well after each addition.
Once the frosting is smooth and fluffy, stir in the vanilla extract until fully incorporated. Refrigerate the frosting until ready to use, ensuring it’s at a spreadable consistency before frosting the cooled yellow velvet cake.
Baking the Cake
Once the cake batter is ready, it’s time to bake the yellow velvet cake to golden perfection. Here are the steps to follow:
1. Preheat the Oven
I preheat the oven to 350°F (180°C) to ensure it reaches the ideal temperature for baking the cake evenly.
2. Prepare the Cake Pans
I prepare two 9-inch (23 cm) round cake pans by greasing them and lining the bottoms with parchment paper for easy removal.
3. Fill the Cake Pans
I divide the batter evenly between the prepared cake pans, ensuring a uniform spread for even baking.
4. Bake the Cake
Placing the cake pans in the preheated oven, I bake the cakes for about 25-30 minutes, or until a toothpick inserted in the center comes out clean.
5. Cool the Cakes
Once baked, I remove the cakes from the oven and allow them to cool in the pans for 10 minutes before transferring them to a wire rack to cool completely.
6. Frosting the Cake
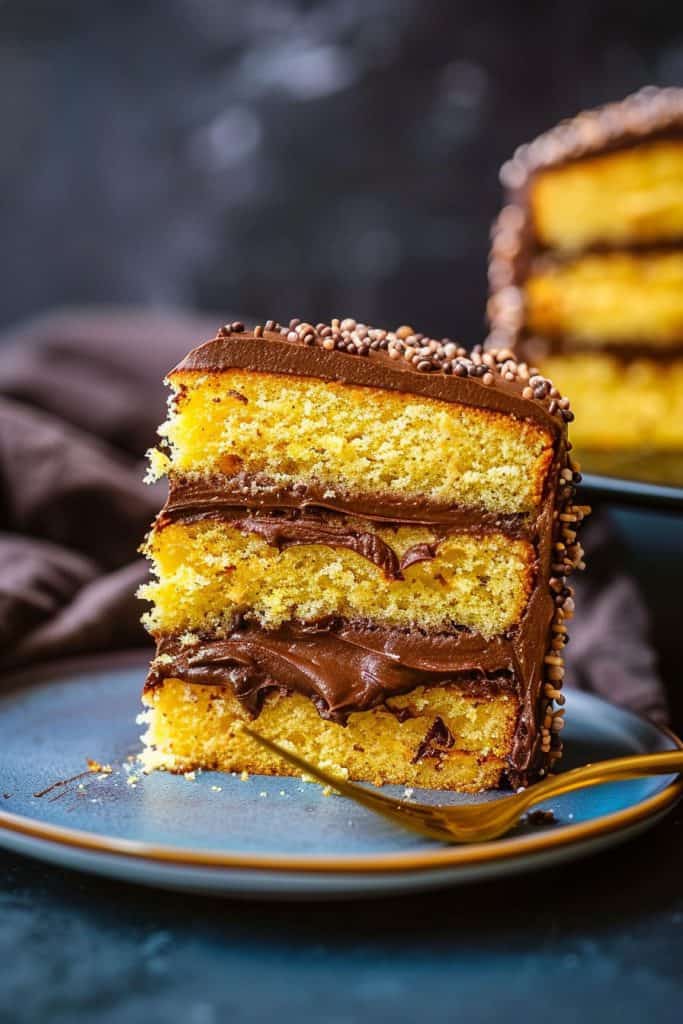
After the cakes have cooled, I frost them with the prepared cream cheese frosting, spreading it generously between the layers and over the top and sides of the cake.
7. Serve and Enjoy
Finally, I slice the yellow velvet cake into decadent portions, serving it and savoring the rich flavors of this delightful dessert.
Now that the cake is baked to perfection and adorned with creamy frosting, it’s ready to be enjoyed by all who indulge in its luscious taste.
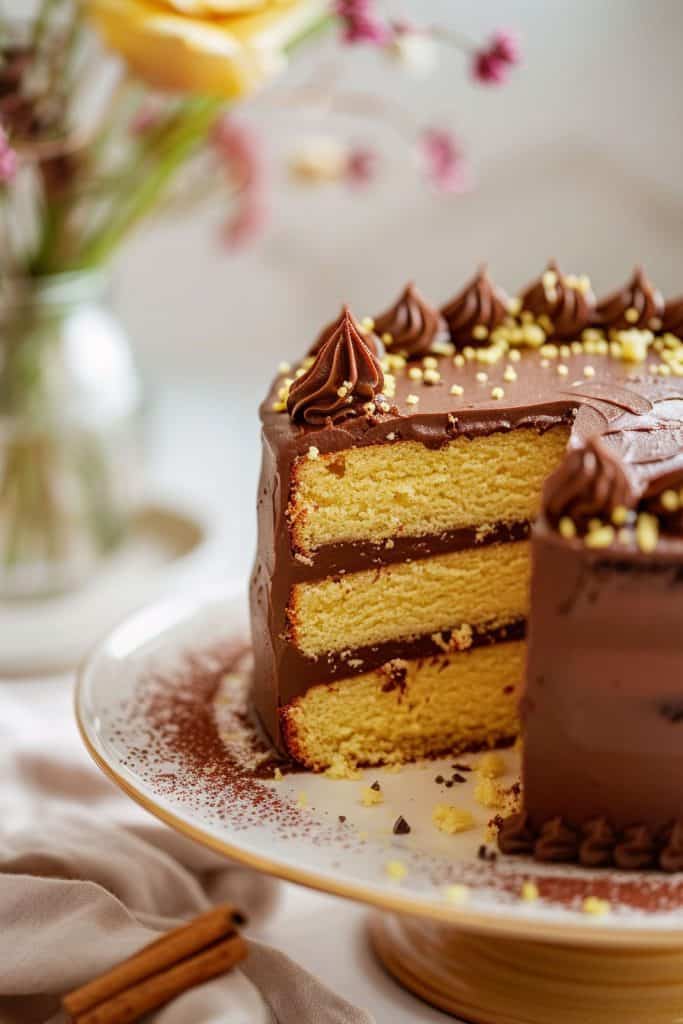
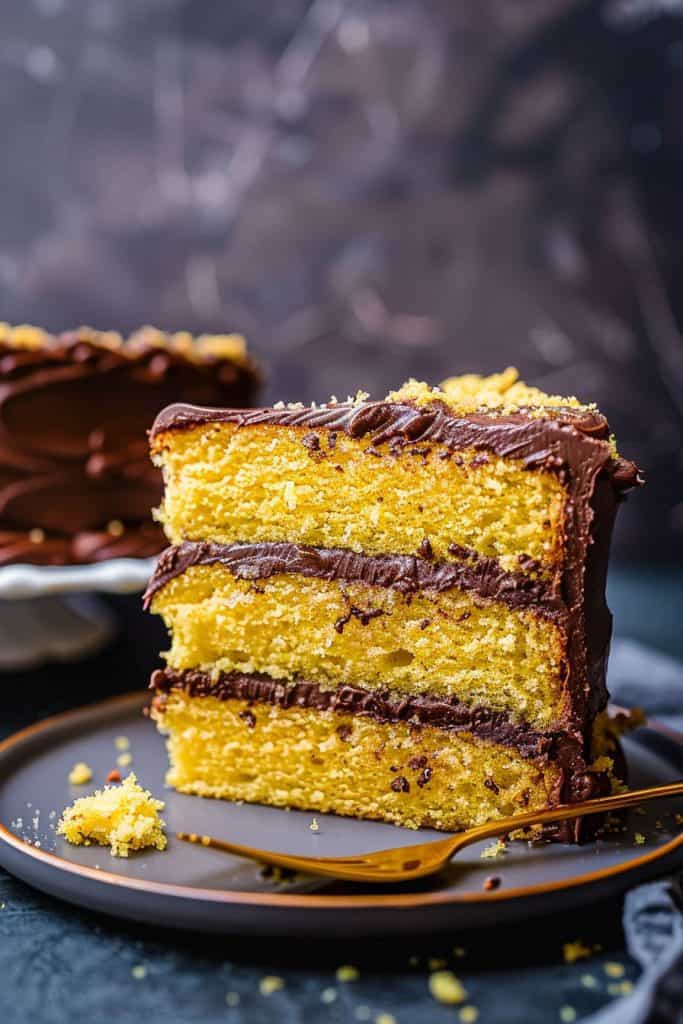
Assembling the Cake
After baking the delicious yellow velvet cakes, it’s time to assemble them into a stunning layered creation. This process involves stacking the cake layers with decadent frosting and adding final touches for a visually appealing dessert.
Layering and Frosting
- Begin by placing one of the cooled yellow velvet cake layers on a serving plate.
- Spread a generous amount of the prepared cream cheese frosting evenly over the top of the first cake layer.
- Carefully place the second cake layer on top of the frosting, creating a sandwich-like structure.
- Repeat the process by spreading frosting on the second cake layer and adding the final cake layer on top.
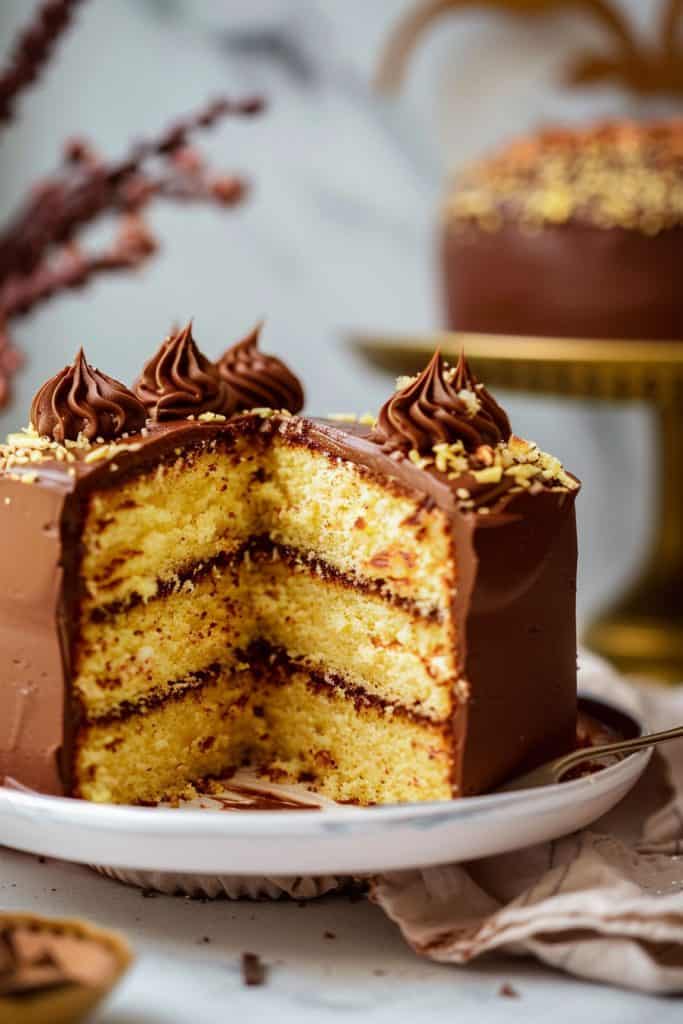
- Use the remaining cream cheese frosting to cover the entire cake generously, ensuring a smooth and even coating around the sides and on the top.
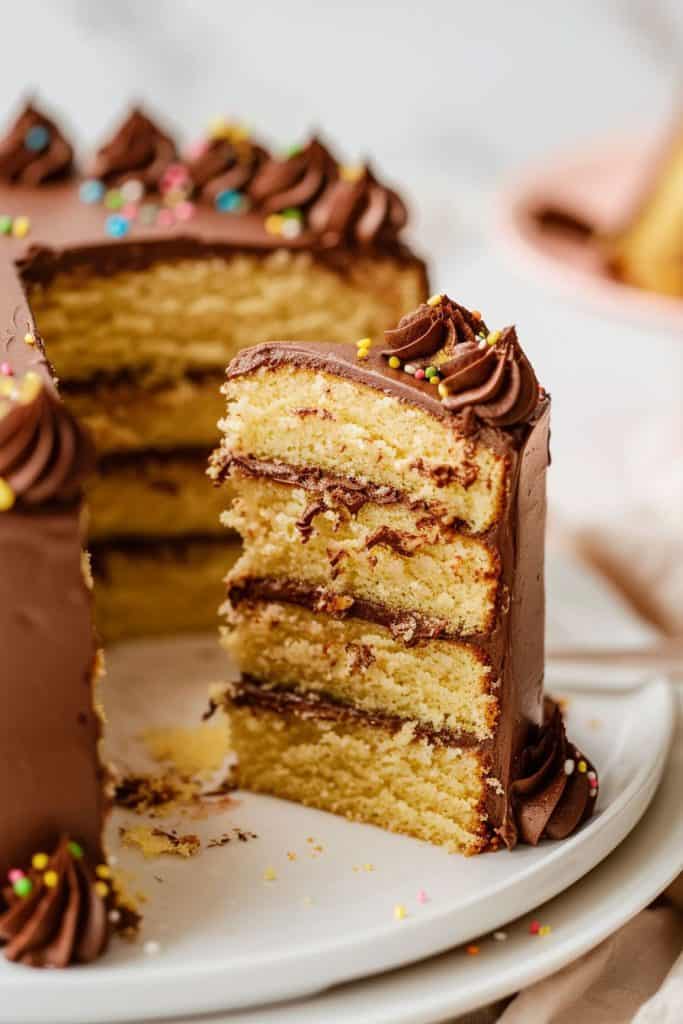
- To add a finishing touch to the yellow velvet cake, consider decorating it with additional toppings such as lemon zest, edible flowers, or sprinkles.
- For a classic look, you can pipe decorative swirls or rosettes on top of the cake using a piping bag and a star-shaped piping tip.
- Experiment with different decorating techniques to create a visually stunning presentation that complements the rich flavors of the yellow velvet cake.
Now that the cake is assembled and beautifully decorated, it’s time to slice and enjoy each luscious bite of this sunny dessert.
Storage and Serving Recommendations
When it comes to storing your delectable yellow velvet cake, proper care is essential to maintain its freshness and flavor. Follow these simple steps to ensure your cake stays scrumptious:
Storage:
- Room Temperature: If you plan to enjoy your cake within 1-2 days, storing it at room temperature in an airtight container or cake dome is ideal. Be sure to keep it away from direct sunlight or heat sources.
- Refrigeration: For longer storage periods of up to 5-7 days, refrigeration is recommended. Wrap the cake in plastic wrap or place it in an airtight container to prevent it from drying out.
- Freezing: To extend the shelf life further, you can freeze your yellow velvet cake. Ensure it is well-wrapped in plastic wrap and aluminum foil or stored in a freezer-safe container. Thaw the cake overnight in the refrigerator before serving.
- Temperature: Before serving, allow the refrigerated or frozen cake to come to room temperature for the best texture and flavor.
- Slice Technique: For clean, beautiful slices, use a sharp knife dipped in hot water and wiped dry between cuts. This helps achieve neat slices without smudging the frosting.
- Plating: Enhance the presentation by serving each slice on a decorative plate or cake stand. Garnish with lemon zest, edible flowers, or a dusting of powdered sugar for an elegant touch.
By following these storage and serving recommendations, you can enjoy your yellow velvet cake at its best, whether savoring it freshly baked or after a few days of storage.
Conclusion
Having explored the vibrant world of yellow velvet cake recipes, I’ve shared valuable insights on creating this delightful treat. From preparing the luscious batter to crafting the perfect cream cheese frosting, every step contributes to a decadent dessert experience. By understanding storage recommendations and serving tips, you can ensure that your yellow velvet cake remains fresh and delicious, ready to impress your guests with its rich flavor and stunning presentation. Embrace the versatility of yellow velvet cake as a unique twist on the classic red velvet, and let your baking skills shine with this indulgent recipe. Enjoy the process of baking and savoring each slice of this sumptuous cake, making every occasion a memorable one with this delightful creation.