
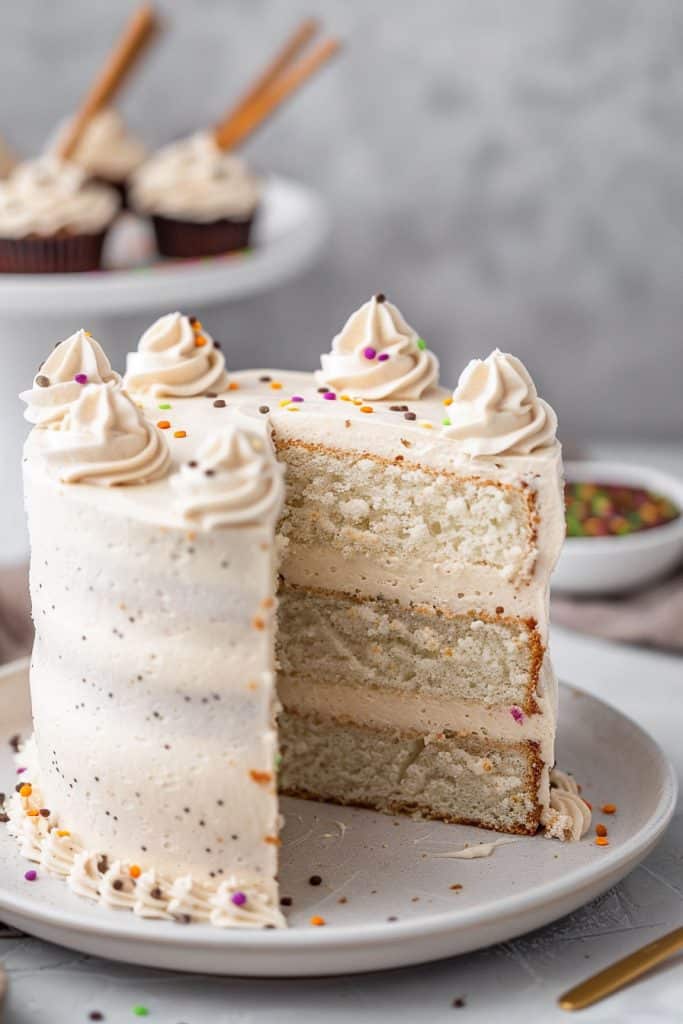
Vanilla bean cake recipes are a timeless classic in the world of baking. The delicate aroma of vanilla paired with the richness of a moist cake is a true indulgence for the senses. In my kitchen, I’ve perfected a vanilla bean cake recipe that never fails to impress both guests and family alike.
Baking a vanilla bean cake is not just about following a recipe; it’s a labor of love that results in a decadent treat. The simplicity of the ingredients allows the pure flavor of the vanilla bean to shine through, making each bite a heavenly experience. Whether it’s for a special celebration or a cozy afternoon tea, this vanilla bean cake recipe is sure to become a staple in your baking repertoire.
Join me as I walk you through the steps to create a vanilla bean cake that is moist, flavorful, and utterly irresistible. Let’s elevate your baking skills and delight your taste buds with this exquisite dessert.
Ingredients
Creating a delectable vanilla bean cake is a delightful journey that begins with assembling the finest ingredients. Below are the essentials needed to bring this exquisite dessert to life.
Vanilla Bean Cake
- 2 cups all-purpose flour, sifted
- 1 ½ cups granulated sugar
- 1 tablespoon baking powder
- ½ teaspoon salt
- ¾ cup unsalted butter, softened
- ½ cup whole milk
- 4 large eggs
- 1 vanilla bean, scraped
- 1 teaspoon vanilla extract
- 1 cup unsalted butter, softened
- 4 cups powdered sugar
- 2 teaspoons vanilla extract
- Seeds from 1 vanilla bean
- 3-4 tablespoons heavy cream, as needed
Equipment Needed
Before diving into the delightful process of making this vanilla bean cake, ensure you have the following essential equipment ready:
Cake Baking Equipment:
- Two 8-inch round cake pans
- Parchment paper
- Mixing bowls
- Hand or stand mixer
- Whisk
- Measuring cups and spoons
- Cooling rack
- Mixing bowl
- Electric mixer
- Offset spatula or icing knife
Preparation Steps
Preparing to bake a vanilla bean cake is an exciting journey that starts with prepping the essential ingredients and equipment. Let’s dive into the detailed steps for a delightful baking experience.
Prepping the Vanilla Beans
- Selecting and Preparing Vanilla Beans:
- Choose high-quality vanilla beans that are plump and aromatic.
- Using a sharp knife, carefully slice each vanilla bean lengthwise.
- Scrape out the small black vanilla seeds from the inside of the bean using the back of the knife.
- Infusing the Vanilla Flavor:
- Add the scraped vanilla seeds to the cake batter for a rich and intense vanilla flavor.
- Mix the seeds thoroughly into the batter to ensure even distribution of the aromatic vanilla essence.
- Organizing Ingredients:
- Measure out the precise amounts of flour, sugar, butter, eggs, vanilla extract, and other ingredients required for the cake.
- Have all the ingredients at room temperature for smooth blending and a consistent batter.
- Setting up Equipment:
- Ensure your cake pans are lined with parchment paper for easy cake removal.
- Place all necessary equipment, such as mixing bowls, a hand or stand mixer, whisk, measuring cups and spoons, electric mixer, cooling rack, and offset spatula, within reach for efficient baking.
By meticulously prepping the vanilla beans, ingredients, and equipment, you set the stage for creating a vanilla bean cake that is bursting with flavor and guaranteed to delight your taste buds.
Directions
After prepping the ingredients and equipment, it’s time to move on to the next steps to create a delightful vanilla bean cake. Let’s dive into the baking and assembling process.
Baking the Cake Layers
- Preheat the oven to 350°F (175°C) and prepare your cake pans by greasing and lining them with parchment paper.
- In a mixing bowl, cream together the butter and sugar until light and fluffy.
- Add in the eggs one at a time, ensuring each is fully incorporated before adding the next.
- Scrape the seeds of a vanilla bean pod and mix them into the batter for an intense vanilla flavor.
- Alternately add the dry ingredients (flour, baking powder, and salt) and buttermilk to the batter, beginning and ending with the dry ingredients.
- Divide the batter evenly between the prepared cake pans and smooth the tops.
- Bake in the preheated oven for 25-30 minutes or until a toothpick inserted into the center comes out clean.
- Let the cakes cool in the pans for 10 minutes before transferring them to a wire rack to cool completely.
- In a bowl, beat softened butter until creamy.
- Gradually add in powdered sugar and continue beating until light and fluffy.
- Scrape the seeds of another vanilla bean pod and mix them into the buttercream for a fragrant vanilla undertone.
- Add a splash of milk or cream to reach your desired consistency for spreading.
- Once the cakes are completely cool, place one layer on a serving plate and spread a generous amount of buttercream over the top.
- Gently place the second layer on top and frost the entire cake with the remaining buttercream, ensuring it’s evenly coated.
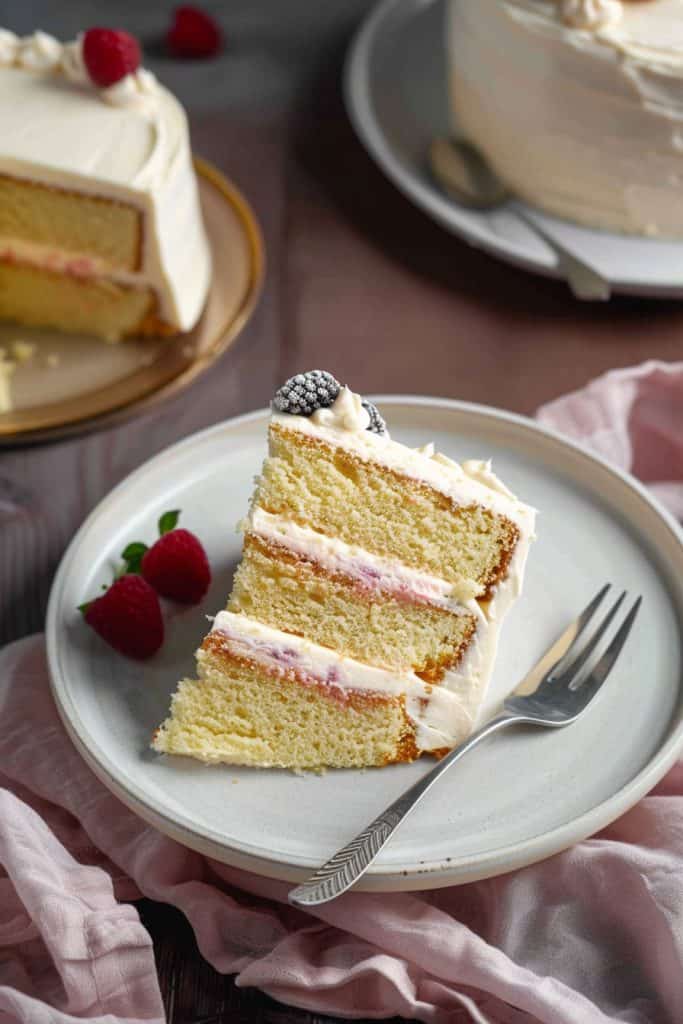
- For a decorative touch, you can garnish the cake with additional vanilla bean seeds or fresh fruit. Enjoy your luxurious vanilla bean cake!
Assembling the Cake
After preparing the vanilla bean cake layers and the fragrant buttercream, it’s time to assemble the cake with care and precision to create a stunning dessert centerpiece that tastes as delightful as it looks.
Layering and Frosting
- Prepare the Cake Layers: Start by ensuring that the vanilla bean cake layers have cooled completely. Level the tops of the cakes if needed to create an even surface for layering.
- Apply the Buttercream: Place one cake layer on a serving plate or cake stand. Spread a generous amount of vanilla bean buttercream over the top of the cake layer, ensuring even coverage.
- Add Another Layer: Gently place the second cake layer on top of the buttercream-covered first layer. Press down lightly to secure it in place.
- Repeat the Process: Continue layering the cake and buttercream until you have used all the cake layers, finishing with a cake layer on top.
- Crumb Coat: To create a smooth finish, apply a thin layer of buttercream around the entire cake. This crumb coat will seal the crumbs in place before adding the final frosting layer.
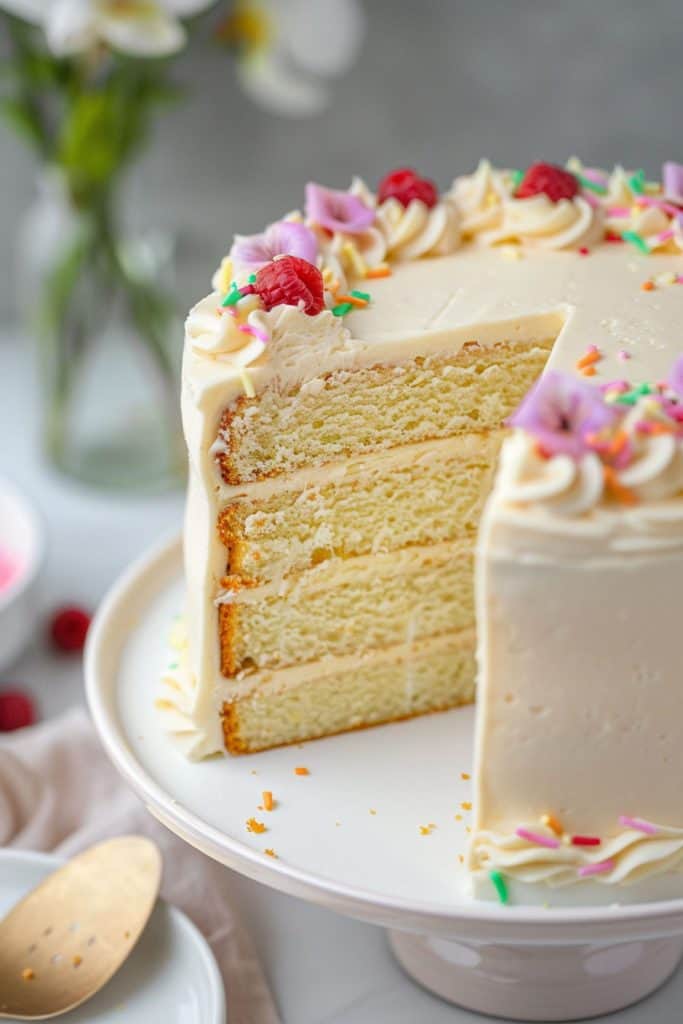
- Final Frosting: Generously frost the entire cake with the remaining vanilla bean buttercream, using a spatula to create swirls or patterns for a decorative touch.
- Garnish with Vanilla Beans: For an elegant touch, consider decorating the top of the cake with split vanilla beans or scraped vanilla bean seeds for a visually appealing presentation.
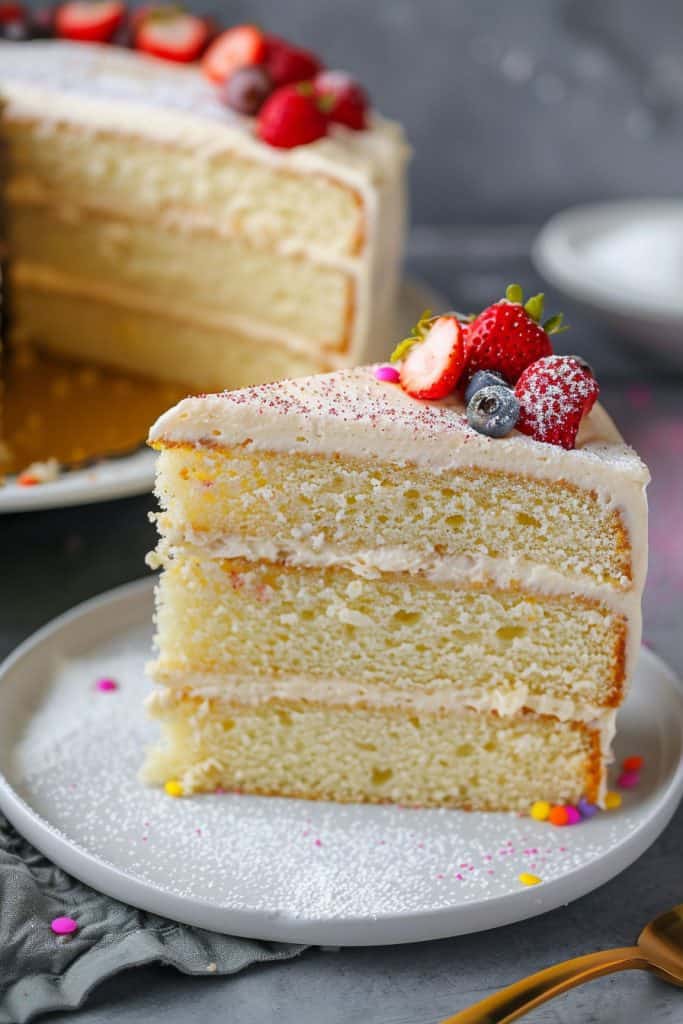
- Add Additional Decorations: Enhance the cake’s appearance by incorporating fresh berries, edible flowers, or chocolate shavings as additional decorations based on your preference.
- Chill and Set: Allow the assembled cake to chill in the refrigerator for at least an hour to set the frosting and flavors, ensuring a firm and delicious slice with each serving.
By following these steps carefully and creatively decorating your vanilla bean cake, you will present a show-stopping dessert that combines the rich flavors of vanilla bean with a beautiful presentation for a memorable dining experience.
Baking Tips
As I’ve honed my vanilla bean cake recipe over the years, I’ve picked up several key baking tips that ensure a perfect outcome every time. Here are some essential guidelines to help you achieve baking success.
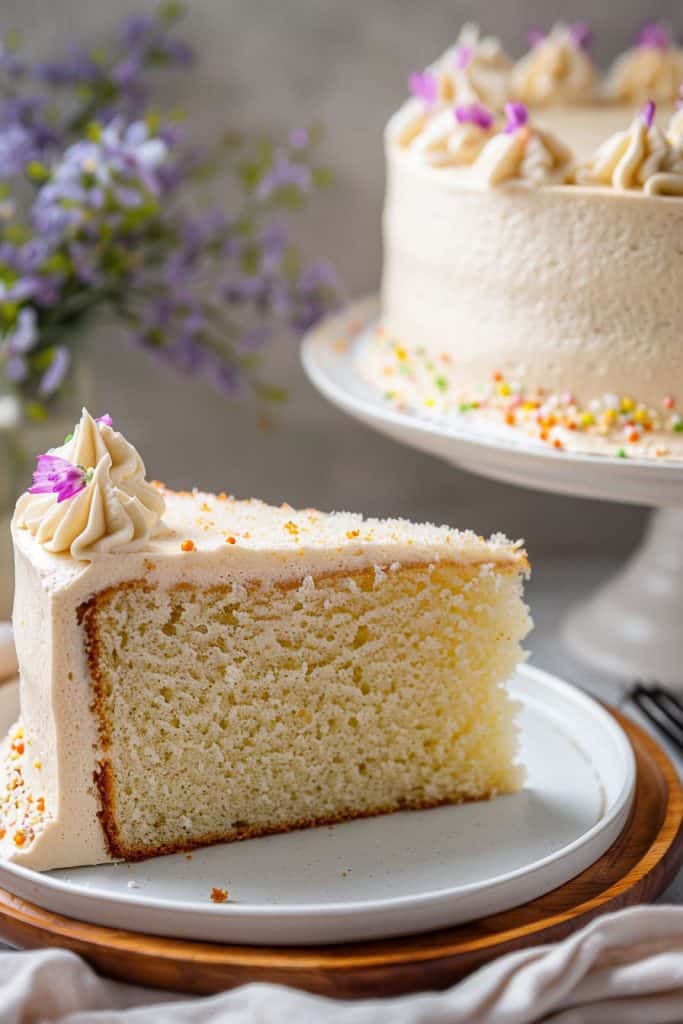
Achieving the Perfect Texture
- Room Temperature Ingredients: To achieve a light and fluffy texture, make sure all your ingredients, especially butter and eggs, are at room temperature before you start baking. This allows for better incorporation and a smoother batter.
- Proper Mixing Technique: When mixing the batter, avoid overmixing as this can lead to a dense cake. Mix until just combined to prevent gluten formation, ensuring a tender crumb.
- Sifting Dry Ingredients: Sift your dry ingredients like flour, baking powder, and salt to aerate them and remove any lumps. This ensures an even distribution of ingredients and a uniform texture in your cake.
- Use Cake Flour: For a delicate and tender cake crumb, opt for cake flour instead of all-purpose flour. Cake flour has a lower protein content, resulting in a softer texture.
- Buttermilk: If you don’t have buttermilk on hand, you can make a quick substitute by adding 1 tablespoon of lemon juice or white vinegar to 1 cup of milk. Let it sit for 5-10 minutes before using.
- Vanilla Beans: If you’re out of vanilla beans, vanilla extract is a suitable substitute. Use 1 tablespoon of vanilla extract for every 1-inch piece of vanilla bean called for in the recipe.
- Butter: In place of butter, you can use an equal amount of neutral vegetable oil like canola or sunflower oil for a slightly different texture in your cake.
Make-Ahead Instructions
When it comes to preparing a vanilla bean cake, efficiency is key. By making certain components ahead of time, you can streamline the baking process and enjoy a stress-free experience. Here’s how I recommend you handle the preparation for your vanilla bean cake:
Vanilla Bean Buttercream:
- Advance Preparation: Whip up a batch of luscious vanilla bean buttercream a day in advance. This not only saves time on the day of baking but also allows the flavors to meld and intensify, enhancing the overall taste of the cake.
- Storage: Store the prepared buttercream in an airtight container in the refrigerator. Before using it, let it come to room temperature and give it a good whisk to restore its creamy consistency.
- Baking in Advance: To further streamline your baking process, consider baking the cake layers ahead of time. Once cooled, wrap them tightly in plastic wrap and store them in the refrigerator.
- Long-Term Storage: If you plan to bake the layers days in advance, you can freeze them instead. Make sure to thaw them in the refrigerator overnight before assembling the cake.
By following these make-ahead instructions, you can break down the baking process into manageable steps, ensuring that your vanilla bean cake comes together effortlessly when the time comes to assemble and enjoy this delectable treat.
Storage and Serving
How to store
After preparing your delightful vanilla bean cake, it’s essential to store it properly to maintain its freshness. Once the cake has cooled completely, I recommend wrapping it tightly in plastic wrap or storing it in an airtight container. Make sure to keep the cake at room temperature or in the refrigerator based on the frosting used.
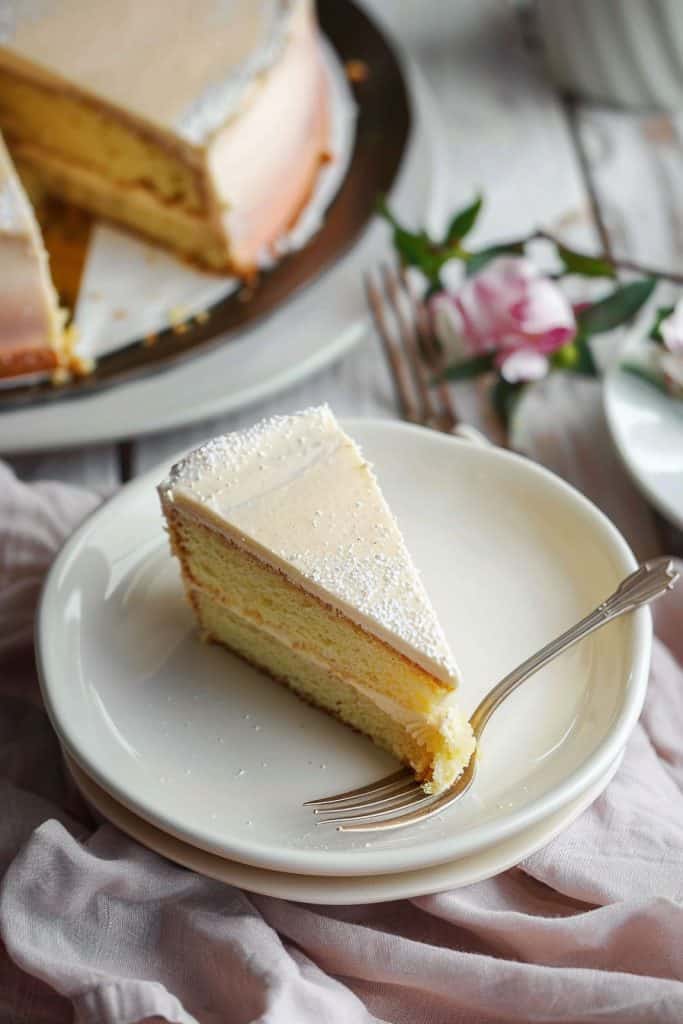
Best Ways to Serve Vanilla Bean Cake
When it comes time to indulge in your scrumptious vanilla bean cake, there are several delightful ways to serve it. For a classic presentation, slice the cake into generous portions and enjoy it on its own or with a dollop of freshly whipped cream. To elevate your dessert experience, pair the cake with a scoop of rich vanilla bean ice cream or a drizzle of warm caramel sauce. Experiment with different serving options to discover your favorite combination and savor every bite.
Conclusion
Vanilla bean cake recipes are a timeless indulgence that never fails to captivate with their rich flavors and delicate aroma. Crafting these delectable treats requires attention to detail and quality ingredients, ensuring a truly luxurious experience. By following the provided recipe and incorporating essential baking tips, anyone can master the art of baking a perfect vanilla bean cake. With make-ahead options to streamline the process and storage tips for lasting freshness, enjoying this exquisite dessert is made even more convenient. Elevate any occasion with a slice of homemade vanilla bean cake, a true symbol of culinary elegance and sophistication.