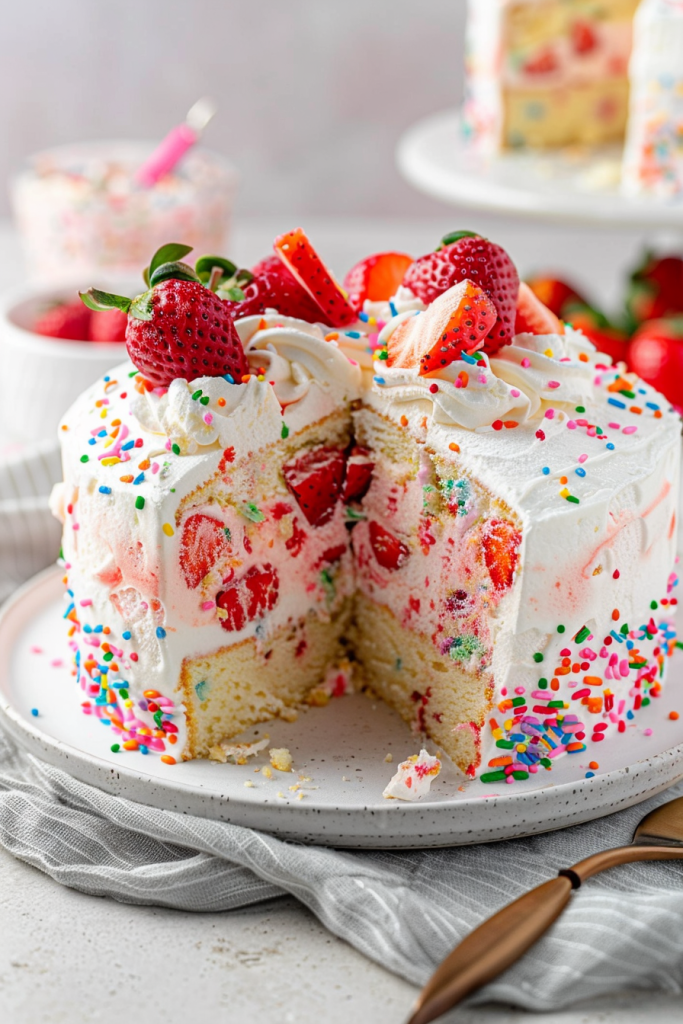
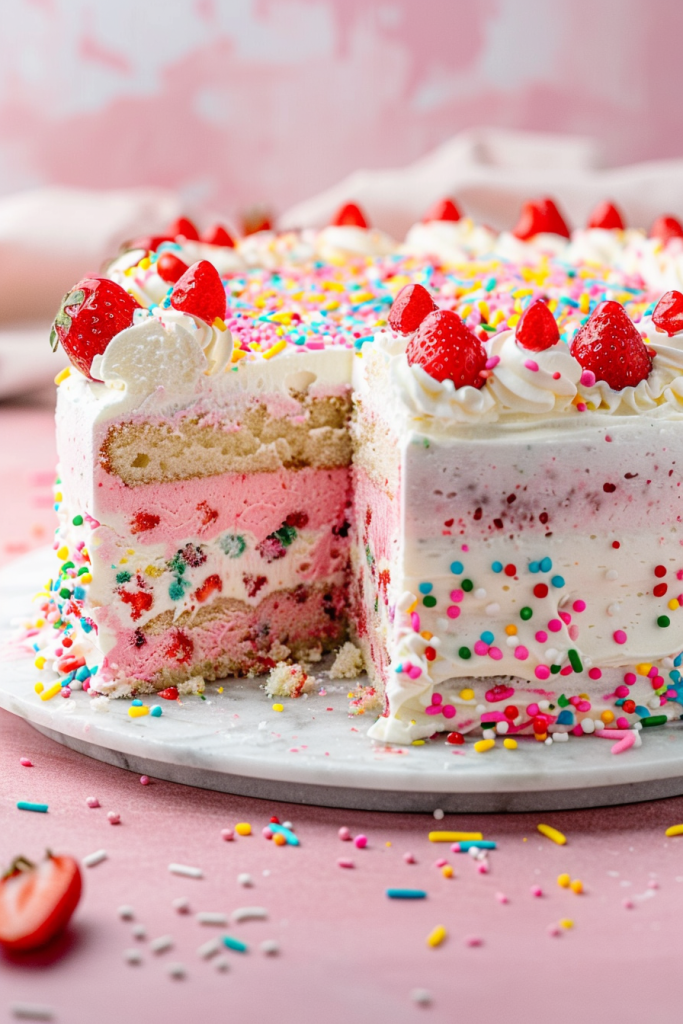
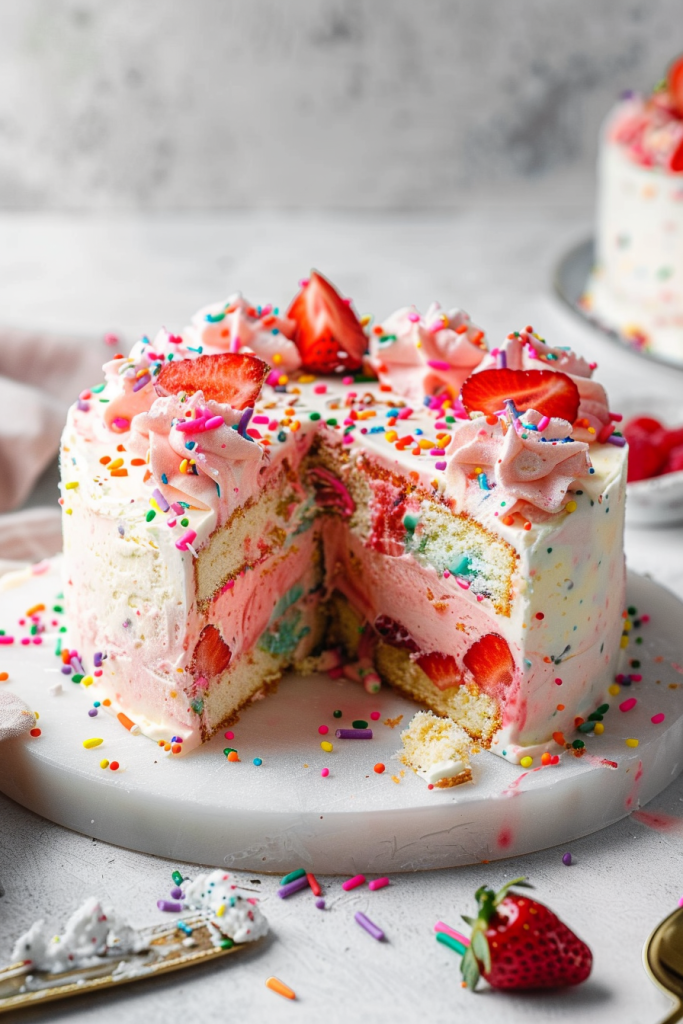
Who can resist the delightful combination of funfetti cake and fresh strawberry ice cream in one glorious dessert? This strawberry funfetti ice cream cake is a burst of bright, fruity flavors that’s bound to bring a smile to your face. The homemade strawberry and buttermilk ice cream, with no eggs or cooking required, is a breeze to whip up. Simply blend the ingredients, pour them into your ice cream maker, and let the magic happen.
For a twist, consider swapping the ice cream flavor with options like vanilla, cookie and cream, or indulgent cookie dough. Whether you opt for homemade ice cream or your favorite store-bought variety, this dessert is a celebration of sweetness. Get ready to indulge in layers of fluffy funfetti cake, creamy ice cream, and a luscious whipped cream frosting. It’s a treat that promises pure joy with every bite.
Ingredients
Creating a strawberry funfetti ice cream cake requires a few key ingredients to bring together the flavors and textures that make this dessert a delightful treat. Below are the ingredients categorized for the funfetti cake, the strawberry ice cream, and additional decor and toppings.
For the Funfetti Cake
- 1 1/2 cups (285g) granulated sugar
- 1/2 cup (118ml) vegetable oil
- 2 tablespoons (28g) unsalted butter, melted
- 2 large eggs
- 2 egg yolks
- 1 tablespoon (15ml) pure vanilla extract
- 1/2 cup (118ml) sour cream or plain Greek yogurt
- 2 1/2 cups (350g) all-purpose flour
- 2 teaspoons (7.5g) baking powder
- 1 teaspoon (4g) baking soda
- 1 teaspoon (5g) salt
- 1 1/3 cups (315ml) buttermilk or milk
- 1/2 cup sprinkles
For the Strawberry Ice Cream
- 1 1/2 quarts (48oz) ice cream of choice
- 1 3/4 cups (413ml) heavy whipping cream
- 1 cup (130g) powdered sugar
- 1/2 cup sprinkles
- 2 cups (480ml) heavy whipping cream, cold
- 1 cup (115g) powdered sugar
- 1 1/2 tsp vanilla extract
- Sliced strawberries (optional)
- Pink/Red gel icing color (optional)
Necessary Tools and Equipment
To prepare this delightful strawberry funfetti ice cream cake, you will need some essential tools and equipment to ensure a smooth baking process. Here are the items you’ll need:
- Two 9-inch cake pans or three 7-inch cake pans
- Vegetable shortening for greasing the cake pans
- Parchment paper for lining the bottoms and sides of the pans
- Mixing bowls for combining ingredients
- Electric mixer for creaming butter and sugar
- Measuring cups and spoons for accurate ingredient proportions
- Whisk for stirring the batter and ice cream mixture
- Spatula for folding in confetti sprinkles
- Cake tester or toothpick to check for doneness
- Cooling racks for allowing the cakes to cool
- Ice cream scoop for layering the strawberry ice cream
- Cake stand or serving plate for assembling the cake
- Optional: piping bag and decorating tips for whipped cream frosting
Having these tools and equipment ready will make the process of creating your strawberry funfetti ice cream cake much more manageable and enjoyable.
Instructions
Preparing the Cake Batter
I start by preheating the oven to 350°F and lining 2 8-inch or 2 9-inch cake pans with parchment rounds, spraying them with oil, and lightly dusting them with flour. In a medium bowl, I combine cake flour, baking powder, and salt, whisking them together. Moving on to the stand mixer, I fit it with a paddle attachment and mix butter, oil, and sugar until light and fluffy for about 5-7 minutes. Then, I add eggs one at a time, ensuring each egg is incorporated before adding the next, followed by the vanilla extract. Alternating between dry ingredients and milk, I mix on medium-low speed, being careful not to overmix. Once the cake batter is ready, I gently fold in rainbow sprinkles.
Baking the Cake
After preparing the cake batter, I evenly distribute it into the prepared cake pans and bake them in the preheated oven for about 28-30 minutes. To check for doneness, I insert a toothpick in the center of the cakes; if it comes out clean or with a few crumbs, the cakes are ready. Keep in mind that baking times may differ depending on the oven, so it’s essential to monitor the cakes towards the end of the baking time.
Making the Strawberry Ice Cream
For the homemade strawberry ice cream, I use fresh or frozen strawberries, heavy cream, granulated sugar, buttermilk, lemon juice, vanilla extract, and a pinch of kosher salt. Combining these ingredients and churning them in an ice cream maker creates a smooth and creamy strawberry ice cream base that will complement the funfetti cake layers perfectly.
Assembly of the Ice Cream Cake
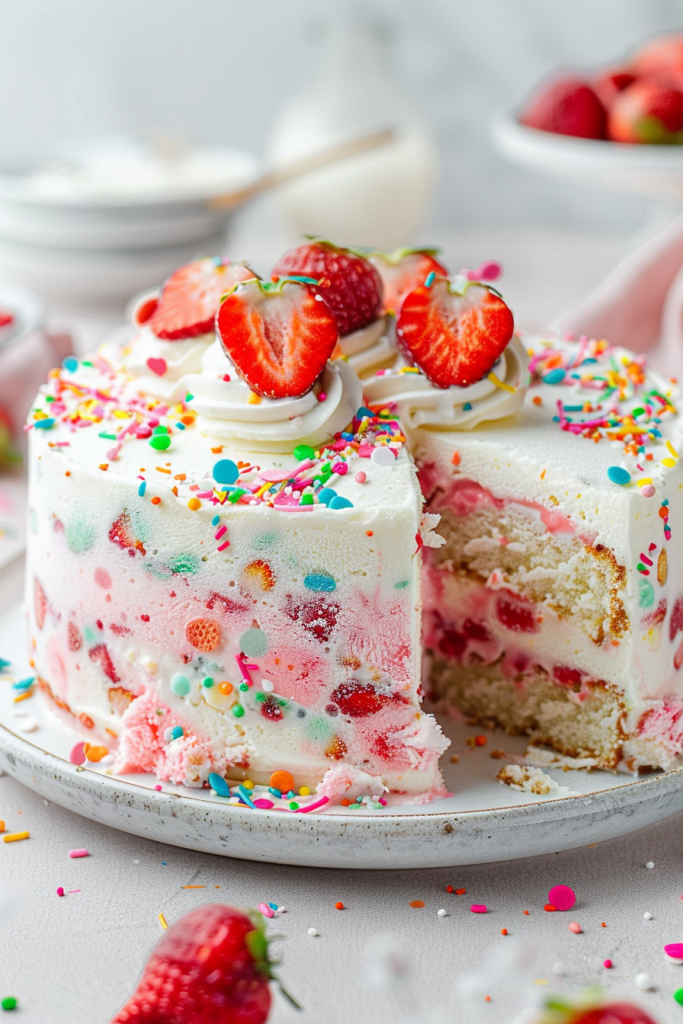
To assemble the ice cream cake, I start by layering the cooled funfetti cake with softened strawberry ice cream. Alternating between cake and ice cream layers, I build the cake to the desired height. Once assembled, I frost the cake with whipped cream frosting, using a piping bag fitted with a large open star tip for a decorative finish. Finally, I can add extra sprinkles or sliced strawberries on top for a delightful presentation.
Decorating Your Ice Cream Cake
After assembling your strawberry funfetti ice cream cake with layers of delicious cake and homemade strawberry ice cream, it’s time to take your dessert to the next level with some beautiful decorations. Here are the steps to decorate your ice cream cake like a pro:
- Unmold the Cake: Carefully remove the ice cream cake from the pan by lifting it with the saran wrap or releasing it from the springform pan. Place it on a serving platter.
- Prepare Whipped Cream: In a mixing bowl, whip heavy cream, powdered sugar, and vanilla extract until stiff peaks form. This fluffy whipped cream will be the perfect topping for your ice cream cake.
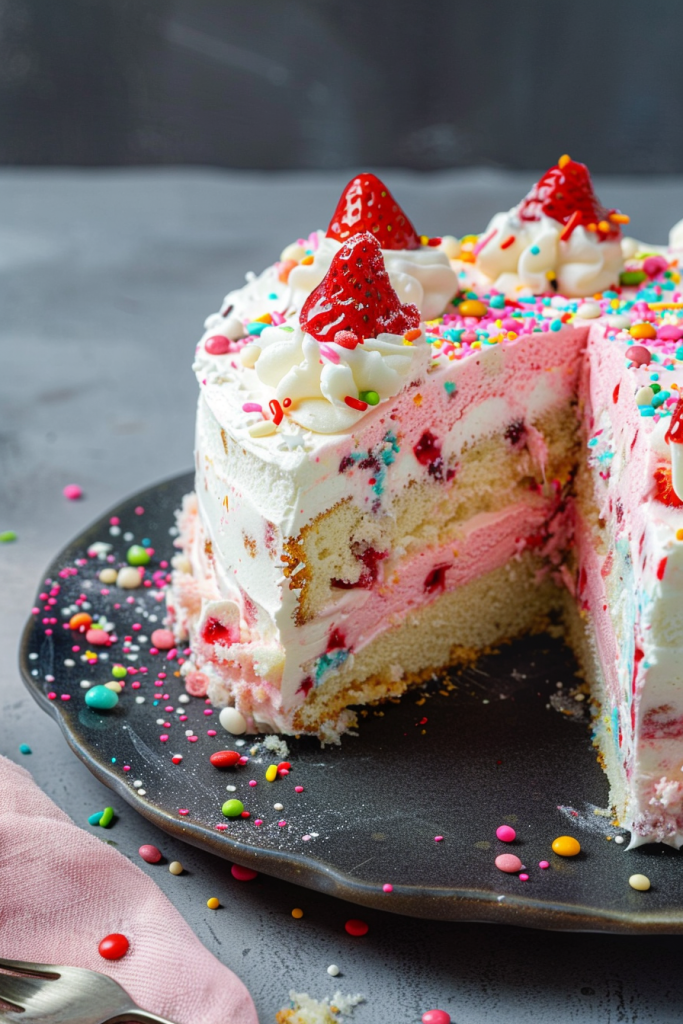
- Decorate with Whipped Cream: Use a piping bag and your favorite decorating tips to pipe the whipped cream on top of the ice cream cake. You can create beautiful swirls, rosettes, or any design you prefer.
- Add Fresh Strawberries: Slice fresh strawberries and arrange them on top of the whipped cream. The vibrant red strawberries not only add color but also a refreshing fruity flavor to each slice of the cake.
- Enhance with Gel Icing Color: For an extra pop of color, you can mix a small amount of gel icing color with the whipped cream to create a colorful drizzle or design on the cake. Get creative with different shades to match the occasion.
- Final Touches: Sprinkle some funfetti sprinkles or edible glitter on top of the cake for a festive touch. These little additions will make your ice cream cake visually appealing and even more enticing.
- Chill and Serve: Place the decorated ice cream cake back in the freezer for a final chill before serving. This will help set the decorations and ensure a perfect slice when it’s time to enjoy your masterpiece.
By following these decorating steps, you can turn your strawberry funfetti ice cream cake into a stunning centerpiece for any celebration. Get creative, have fun, and impress your guests with this delightful and visually appealing dessert.
Tips for the Perfect Ice Cream Cake
1. Choose Quality Ingredients
Selecting high-quality ingredients is key to creating a delicious ice cream cake. Opt for fresh strawberries, premium ice cream, and organic dairy products for the best flavor and texture.
2. Ensure Proper Freezing Times
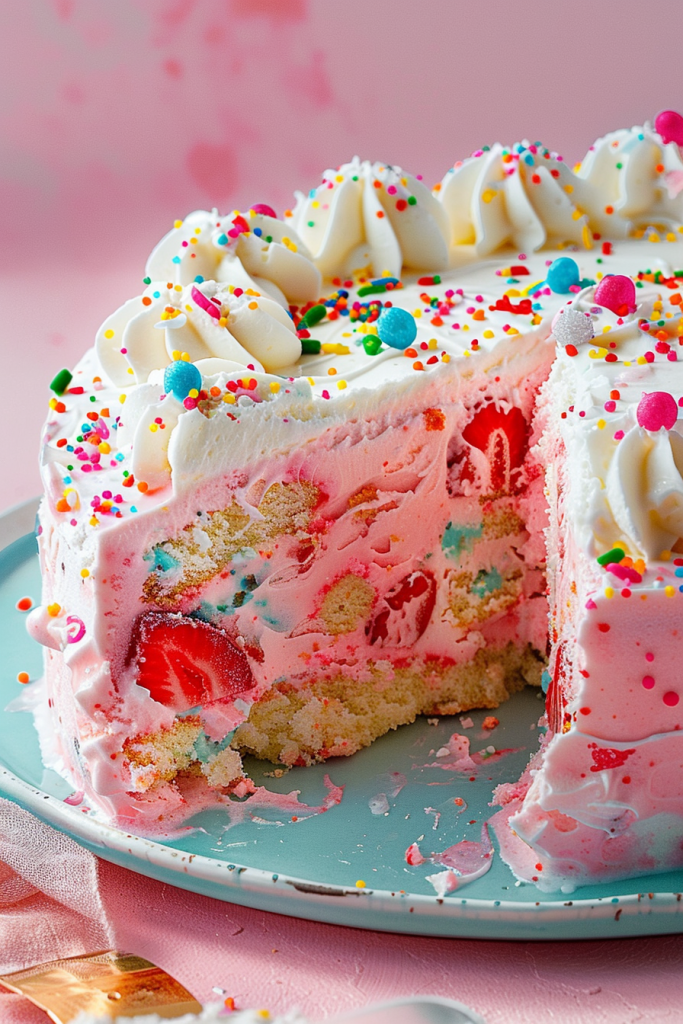
To achieve the ideal consistency, allow each layer of the ice cream cake to freeze properly before adding the next. This helps prevent mixing of flavors and ensures a clean and defined layering effect.
3. Use a Springform Pan for Easy Removal
Consider using a springform pan when assembling your ice cream cake. The removable bottom makes it simple to extract the cake without damaging its structure, resulting in a clean and professional presentation.
4. Plan Ahead for Decoration
Plan your decoration strategy in advance to create a visually appealing ice cream cake. Coordinate colors, textures, and toppings to achieve a cohesive and attractive final look.
5. Practice Patience While Setting
Allow sufficient time for your ice cream cake to set in the freezer before serving. This ensures that the layers are well-defined and the cake is easy to slice and serve neatly.
6. Garnish with Fresh Ingredients
Enhance the presentation of your ice cream cake by garnishing with fresh strawberries, mint leaves, or edible flowers. These fresh elements not only add visual appeal but also complement the flavors of the cake.
7. Experiment with Flavors
Feel free to experiment with different ice cream flavors, cake bases, and mix-ins to customize your ice cream cake. Get creative with flavor combinations to suit your preferences and surprise your guests.
Make-Ahead Instructions
To ensure the best results for your strawberry funfetti ice cream cake, it’s essential to plan ahead and utilize some make-ahead strategies. Here are some simple steps you can follow to prepare parts of the cake in advance:
Preparing the Funfetti Cake Layer:
- Bake the funfetti cake layer according to the recipe instructions. Allow it to cool completely.
- Once cooled, wrap the cake tightly in plastic wrap and then aluminum foil to prevent any freezer burn.
- Store the funfetti cake layer in the freezer for up to one week before assembling the ice cream cake.
- After churning the strawberry ice cream, transfer it to a suitable container with an airtight lid.
- Smooth the top of the ice cream with a spatula to create an even surface.
- Place a piece of parchment paper directly on the surface of the ice cream before sealing the container with the lid.
- Freeze the strawberry ice cream for at least 4 hours or preferably overnight to allow it to set properly before assembling the ice cream cake.
By preparing the funfetti cake layer and strawberry ice cream in advance, you can save time on the day of serving and ensure that your strawberry funfetti ice cream cake turns out perfectly delicious and visually appealing.
Storing the Ice Cream Cake
After creating this delightful strawberry funfetti ice cream cake, it’s essential to store it properly to maintain its freshness and flavor. Here are the steps to follow for storing the ice cream cake:
- Cooling and Covering: Allow the fully assembled ice cream cake to set in the freezer for a couple of hours. This helps the frosting firm up, making it easier to handle.
- Airtight Storage: Once the frosting is firm, place the ice cream cake in an airtight cake carrier. If you don’t have a cake carrier, tightly wrap the entire dessert in a double layer of plastic wrap to prevent freezer burn and odors from affecting the cake’s taste.
- Freezer Placement: Store the ice cream cake in the freezer, ensuring it’s not placed near items with strong odors that could be absorbed by the cake.
- Duration: This strawberry funfetti ice cream cake can be stored in the freezer for up to a week. However, for optimal freshness and flavor, it is best enjoyed within a few days of preparation.
- Thawing: When ready to serve, remove the cake from the freezer and let it thaw in the refrigerator for about 20-30 minutes before slicing. This allows the cake to soften slightly for easier cutting.
By following these simple steps, you can ensure that your strawberry funfetti ice cream cake stays delicious and fresh for days, ready to delight your taste buds whenever you crave a sweet treat.
Conclusion
Creating a strawberry funfetti ice cream cake is a delightful way to indulge in a sweet treat that combines the flavors of funfetti cake with homemade strawberry and buttermilk ice cream. By following the key ingredients, tips for preparation, and make-ahead instructions provided, you can craft a visually stunning and delicious dessert that will impress your guests. Remember to pay attention to proper storage techniques to ensure your ice cream cake stays fresh and flavorful for up to a week. Experiment with different flavors and decorations to make each ice cream cake creation unique and enjoyable. With a little creativity and attention to detail, you can master the art of making this delectable strawberry funfetti ice cream cake for any occasion.
