
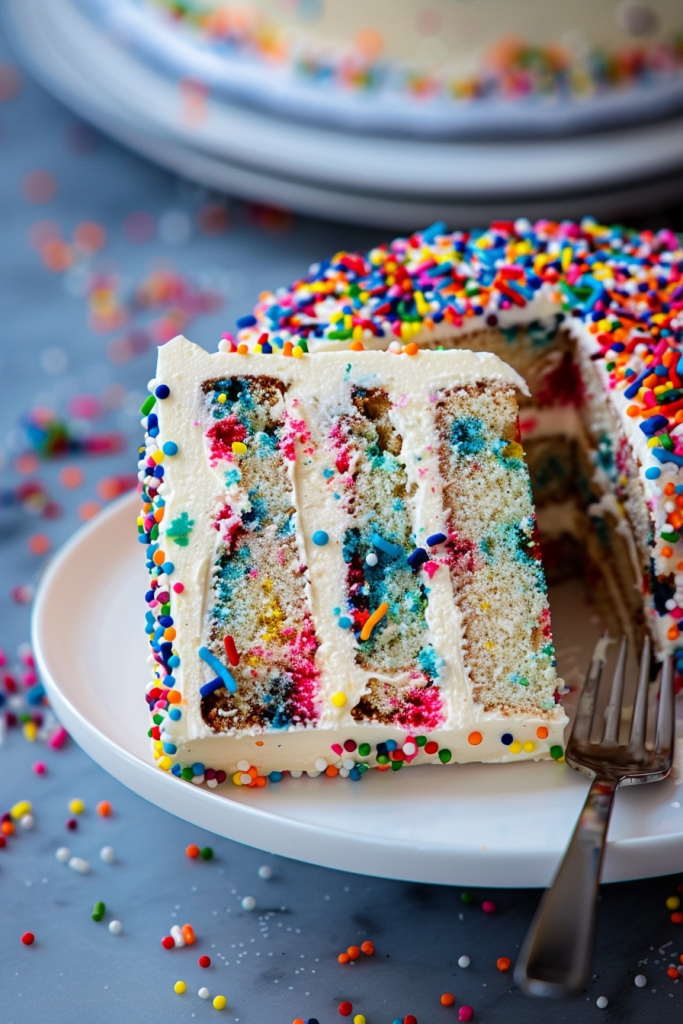
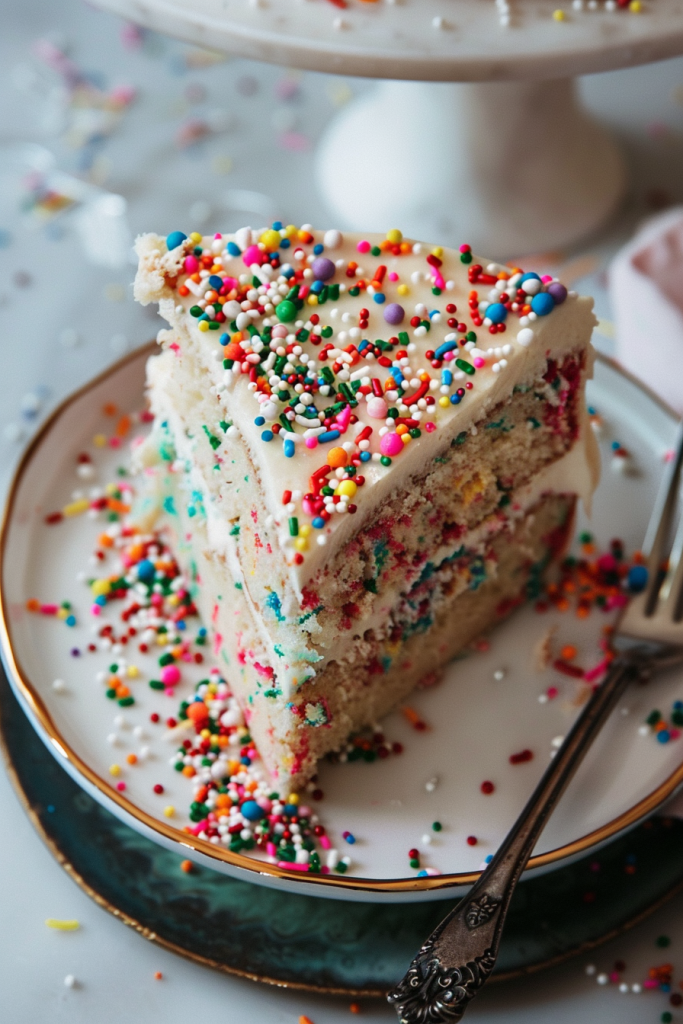
Are you ready to elevate your celebrations with a burst of color and flavor? Dive into the world of sprinkle cake recipes where each bite is a delightful explosion of fun. From birthdays to special occasions, nothing quite captivates the senses like a vibrant and playful funfetti cake. In this article, I’ll guide you through a journey of 9 popular sprinkle cake recipes, helping you discover the perfect one tailored to your taste buds.
Indulge in the joy of baking as we explore the art of creating these moist and sprinkle-filled delights. Whether you’re a seasoned baker or a novice in the kitchen, these recipes are sure to bring a smile to your face. Get ready to unleash your creativity and impress your guests with these colorful confections that are as visually stunning as they are delicious. Let’s dive into the world of sprinkle cakes and make your next celebration truly unforgettable.
Ingredients
In creating these delightful sprinkle cake recipes, it’s crucial to have the perfect ingredients for both the cake and the frosting. Here’s what you’ll need:
For the Cake
- 1 cup of all-purpose flour
- 1 1/2 cups of cake flour
- Butter (more quantity and less oil compared to previous recipes)
- Rainbow sprinkles
- Egg whites (whipped to peaks)
- Cream cheese
- Buttercream
- Confectioners sugar
- Cream
These ingredients will help you achieve a vibrant and flavorful sprinkle cake that is sure to impress at any celebration.
Equipment Needed
When preparing to bake a delightful sprinkles cake, having the right equipment is essential to ensure your cake turns out perfectly. Here are the essential tools you will need to create your colorful and flavorful sprinkle cake:
Kitchen Essentials:
- Mixing Bowl: Use a large mixing bowl to combine all your cake ingredients thoroughly.
- Whisk: A whisk will help you blend the cake batter smoothly, ensuring a consistent texture.
- Measuring Cups and Spoons: Accurate measurements are crucial in baking, so grab your measuring cups and spoons.
- Electric Mixer: An electric mixer will make the process of mixing the batter easier and faster.
- Cake Pans: Prepare two 9-inch round cake pans for baking your sprinkle cake layers.
- Parchment Paper: Line your cake pans with parchment paper for easy release.
- Cooling Rack: You’ll need a cooling rack to cool your cakes after baking.
- Offset Spatula: Use an offset spatula to spread the frosting evenly on your cake layers.
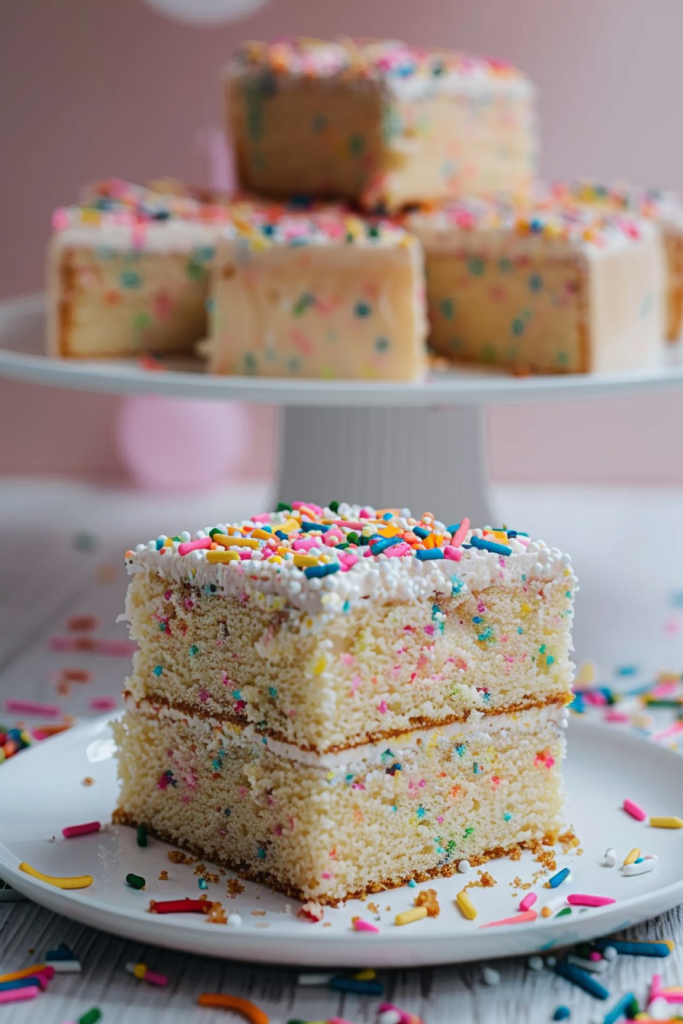
- Cake Stand: Display your beautifully decorated sprinkle cake on a cake stand for a stunning presentation.
- Piping Bags and Tips: If you’re planning to pipe frosting decorations, have piping bags and tips ready.
- Cake Lifter: A cake lifter will help you transfer your cake layers without damaging them.
- Sprinkles: Prepare an extra batch of rainbow sprinkles for decorating your cake.
With these essential tools at hand, you’re all set to create a vibrant and delicious sprinkle cake that will impress your guests and elevate any celebration.
Preparation Steps
Creating a sprinkle cake is a delightful journey that starts with preparing the cake batter and baking it to perfection. Let’s dive into the steps to achieve a beautifully sprinkled cake that will wow your guests.
Preparing the Cake Batter
- Begin by preheating your oven to 350°F (177°C).
- Follow the instructions in the recipe to mix the dry ingredients, including cake flour, baking powder, baking soda, and salt in a large bowl.
- Use an electric mixer with the whip attachment to beat the butter, sugar, and oil until fluffy and well combined.
- Add eggs, egg whites, and vanilla extract to the mixture, beating until fully incorporated.
- Gradually incorporate the dry ingredients and buttermilk into the batter, mixing after each addition until just combined.
- Fold in 2/3 cup of rainbow sprinkles using a rubber spatula, ensuring even distribution throughout the batter.
- Once the batter is ready, divide it evenly between the prepared cake pans. For precision, consider using a kitchen scale to ensure equal distribution.
- Bake the cake layers in the preheated oven for 34-36 minutes or until a toothpick inserted comes out with a few moist crumbs.
- Allow the cake layers to cool in the pans for 15 minutes before transferring them to a cooling rack.
- Preheat your oven to 350°F (177°C). Grease three 8-inch or 9-inch round cake pans and line them with parchment paper.
- Prepare the cake batter according to the recipe instructions detailed above.
- Distribute the batter evenly among the prepared cake pans.
- Bake the cakes in the preheated oven for 30-40 minutes, checking for doneness with a toothpick.
- Once baked, let the cakes cool in the pans for 30 minutes before removing them and allowing them to cool completely on a rack.
- If not assembling the cake immediately, chill the cakes in the fridge before frosting to ensure easier assembly.
Frosting and Decoration
Making the Frosting
To prepare the frosting, start by ensuring your buttercream is at the right consistency for optimal cake decoration. Adjust the thickness by adding more confectioners’ sugar for a thicker texture or more cream for a thinner consistency. Always taste and adjust accordingly to achieve the desired sweetness level.
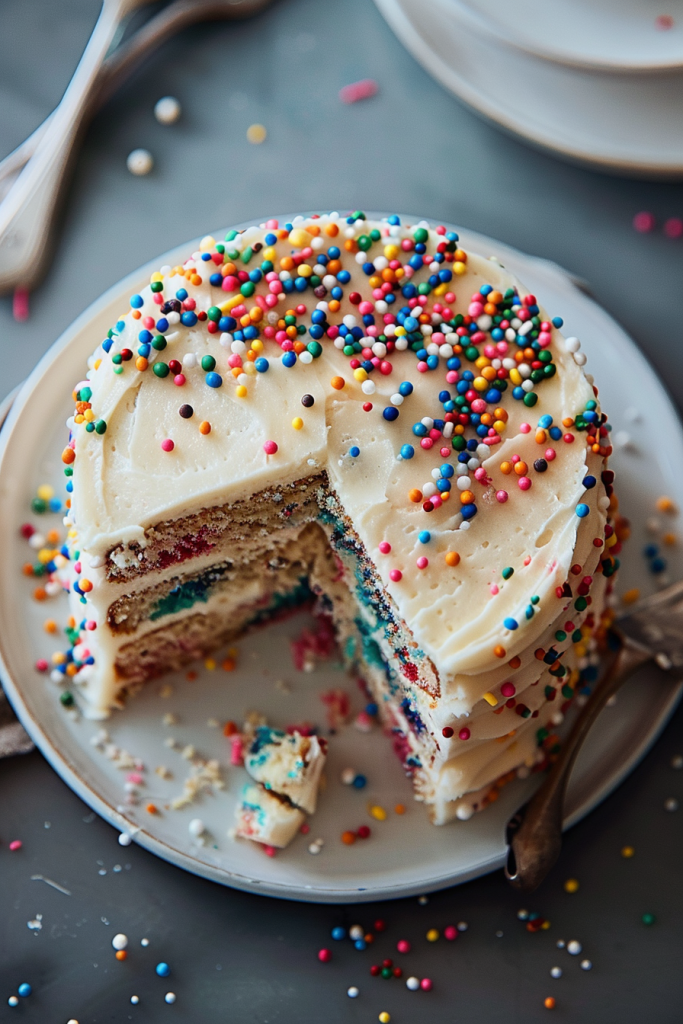
Applying the Frosting
When applying the frosting to the cake, begin by creating a crumb coat. Slice the tops of the cake layers to create a flat surface, then spread a thin layer of frosting to catch crumbs. Chill the cake to set the crumb coat before applying the final frosting layer for a smooth finish. Use a flat icing spatula for even coverage and a bench scraper to smoothen the sides.
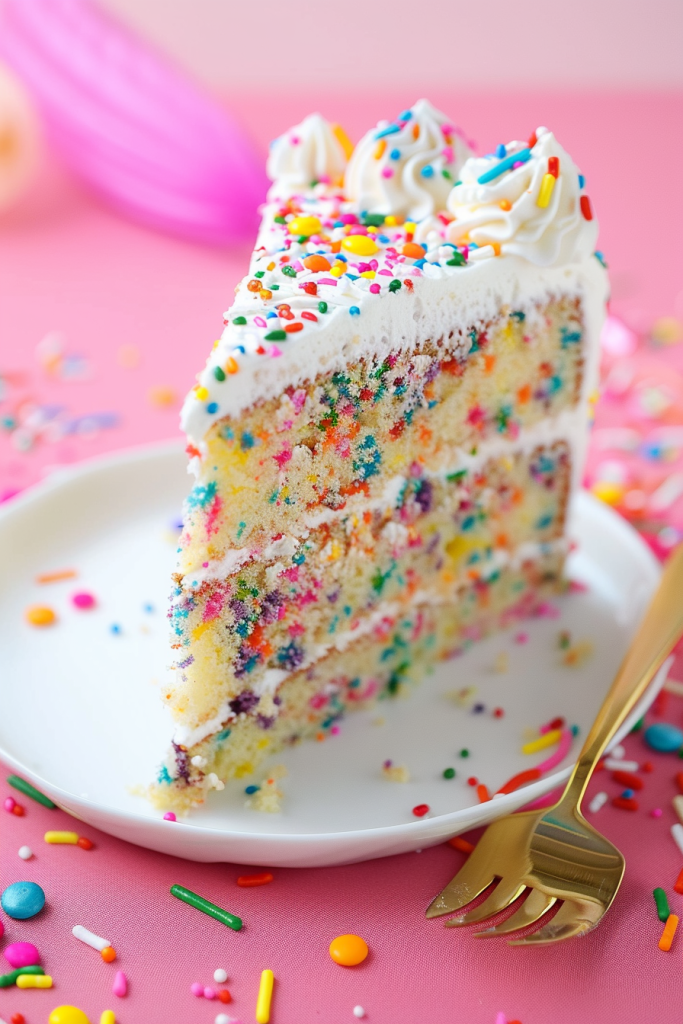
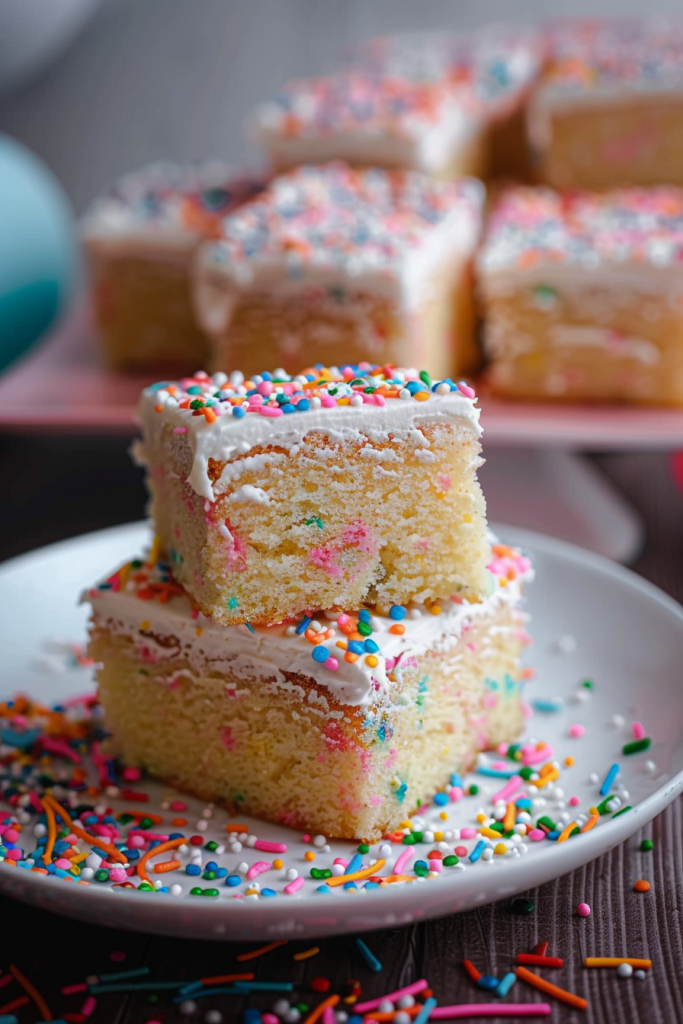
Adding Sprinkles
Once the frosting is applied, it’s time to add the finishing touch with sprinkles. Garnish the top and sides of the cake generously with rainbow sprinkles to create a vibrant and festive look. Feel free to get creative with different sprinkle shapes and sizes for added visual appeal. Serve the cake immediately or store it in the fridge for a few hours before enjoying the colorful treat.
Tips for the Best Sprinkles Cake
Creating a sprinkle cake that’s both visually stunning and delicious requires attention to detail. Here are key tips to elevate your sprinkle cake baking experience:
Choosing the Right Sprinkles
To ensure vibrant colors and minimal bleeding during baking, opt for American-style rainbow sprinkles or confetti quins. These varieties hold up well in the batter and maintain their shape even after baking. Avoid nonpareils, as they tend to bleed color and create an unappetizing appearance in the cake. Remember to experiment with different sprinkle shapes to add an extra touch of creativity.
Frosting Consistency
Achieving the perfect frosting consistency is crucial for a beautifully decorated sprinkle cake. When making your vanilla buttercream frosting, pay attention to the texture. Gradually add heavy cream or milk while mixing to reach a smooth and spreadable consistency. If the frosting feels too thick, add more cream a tablespoon at a time. Conversely, if it’s too thin, incorporate additional powdered sugar gradually until you reach the desired thickness. Remember to wait to add sprinkles until after crumb coating the cake to achieve a flawless finish.
Variations of Sprinkles Cake
When it comes to making sprinkle cakes, there are endless possibilities to cater to different dietary preferences and needs. Below are two variations to consider for your sprinkle cake recipes:
Vegan Option
For a vegan-friendly sprinkle cake, you can make simple swaps to ensure it meets your dietary requirements. Replace traditional ingredients like eggs and dairy with plant-based alternatives. Use ingredients like vegan butter, flaxseed or chia seed eggs, and plant-based milk to achieve a delicious vegan sprinkle cake. Be sure to check that your sprinkles are also vegan-friendly to maintain consistency with your dietary choices.
Gluten-Free Alternative
If you’re looking to enjoy a gluten-free version of sprinkle cake, consider using gluten-free flour blends or almond flour instead of all-purpose flour. Ensure that all your ingredients, including baking powder and sprinkles, are certified gluten-free to avoid any cross-contamination. By making these adjustments, you can create a delightful gluten-free sprinkle cake that everyone can enjoy, regardless of dietary restrictions.
Storage and Serving Suggestions
How to Store
After enjoying your delightful sprinkle cake, store any leftover slices by tightly wrapping them in plastic wrap or placing them in a cake container. For optimal freshness, keep the cake refrigerated for up to 5 days. Before serving refrigerated cake slices, let them sit at room temperature for about 30 minutes to enhance the flavor and texture.
Best Practices for Serving
When serving your sprinkle cake, remember it is best enjoyed at room temperature. Allow the cake to sit out for at least 4 hours if freshly made or for 30 minutes if refrigerated, to ensure the perfect taste and texture. For extended storage over a day, refrigerate the covered cake to preserve its freshness without compromising its deliciousness.
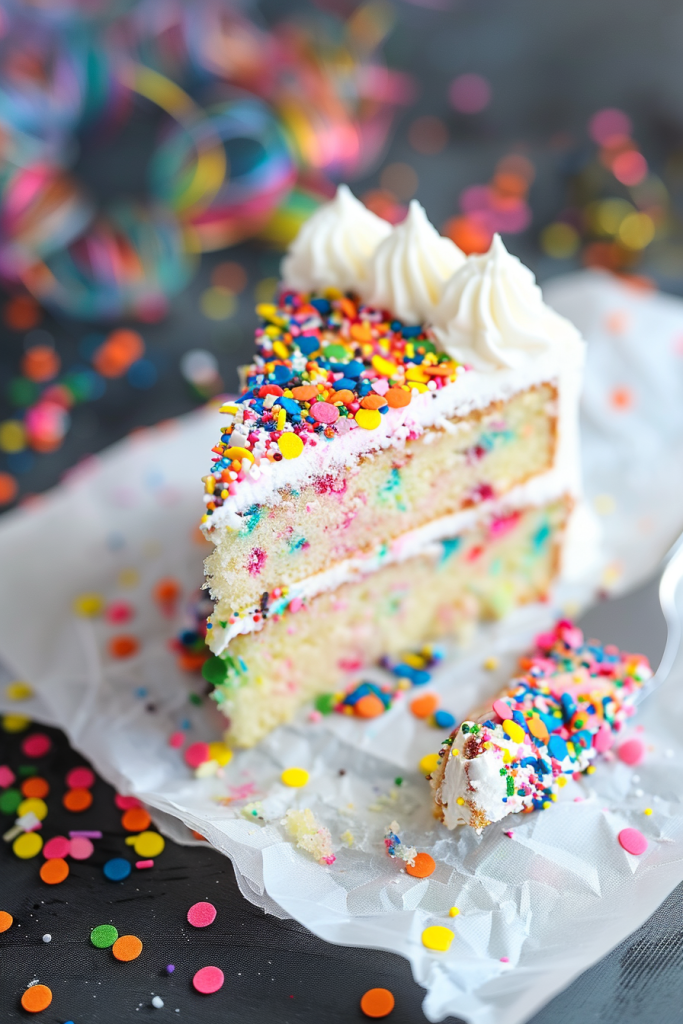
Conclusion
Sprinkle cake recipes are a delightful way to add color and fun to any celebration. From simple to more complex recipes, there’s something for every baking skill level. By choosing the right sprinkles and experimenting with different decorations, you can create a unique and personalized cake every time. Whether you opt for a traditional recipe or explore vegan and gluten-free options, the key is to use high-quality ingredients for the best results. Remember to store your cake slices properly and serve them at room temperature to preserve their freshness and taste. With these tips and recipes at your disposal, you’re all set to impress your guests with a delicious sprinkle cake at your next gathering. Happy baking!