
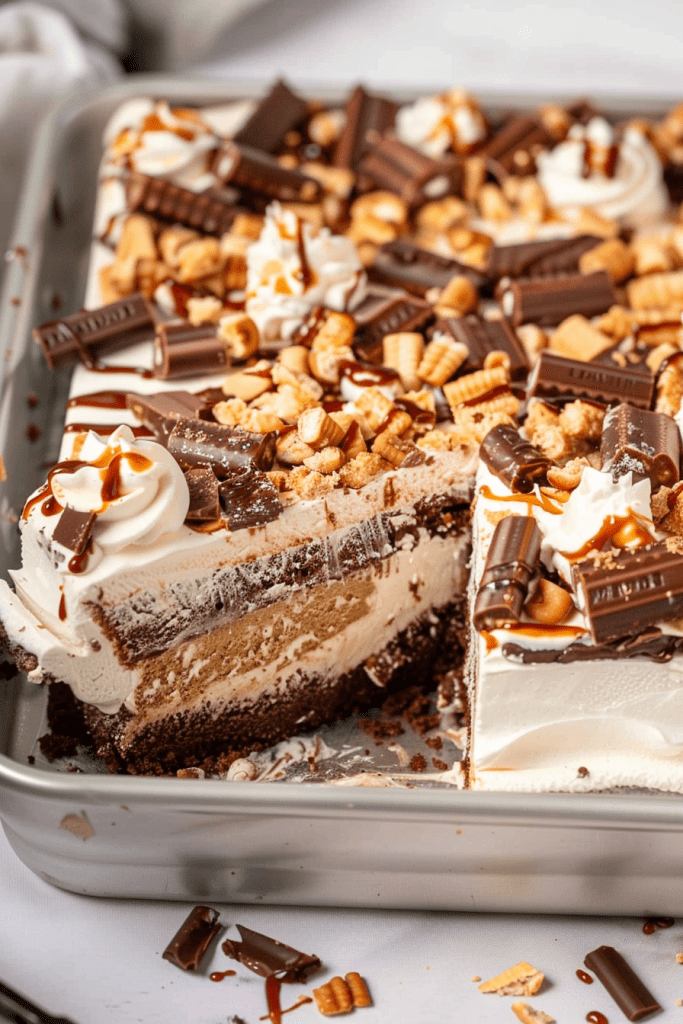
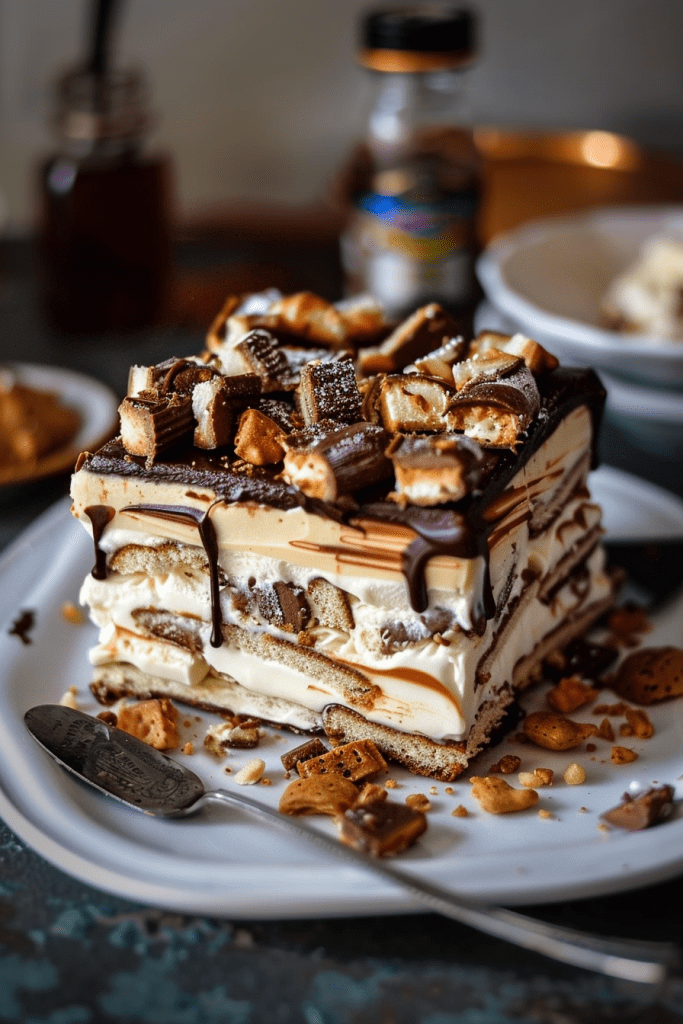
Craving a decadent dessert that’s easy to make and sure to impress? Look no further than this Snickers Ice Cream Cake recipe. This indulgent treat combines the beloved flavors of Snickers bars with the creamy goodness of ice cream in a simple yet stunning dessert.
Forget about the hassle of crafting a homemade ice cream cake; this Lazy Girl’s Snickers Ice Cream Cake is the ultimate solution. With layers of pound cake, chocolate and vanilla ice cream, caramel, and peanuts, this cake packs all the flavor of a Snickers bar without the fuss.
Whether you’re hosting a party or just treating yourself, this Snickers Ice Cream Cake is a crowd-pleaser that will have everyone coming back for seconds. Easy to make and irresistibly delicious, this recipe is a surefire way to be the hero of any gathering.
Ingredients
Creating a delectable Snickers ice cream cake requires a harmonious blend of key components. Let’s break down the ingredients needed for each layer and topping to make this dessert a showstopper.
For the Oreo Crust
- 1 box brownie mix and ingredients required according to the box
- ¼ cup milk
- 8 ounces cream cheese, softened
- ½ cup sugar
- 1 ½ teaspoons vanilla extract
- 8 ounces whipped topping
For the Snickers Ice Cream Layer
- Half and Half
- Peanut butter
- Sugar
- Salt
- Vanilla extract
- Hot fudge
- Salted peanuts, chopped
This comprehensive list of ingredients ensures that every aspect of the Snickers ice cream cake is perfectly balanced and utterly scrumptious.
Equipment Needed
For this Snickers Ice Cream Cake recipe, you won’t need any special equipment. Just gather a few basic kitchen tools to make the process smooth and hassle-free. Here’s what you’ll need:
- 9×13 inch pan
- Microwave-safe bowl
- Handheld mixer
- Mixing bowls
- Spatula
- Knife for chopping
- Freezer for setting the cake
Preparation
When preparing a Snickers ice cream cake, attention to detail ensures a delectable final result. Here’s how to nail the preparation process step by step.
Making the Oreo Crust
- Lightly spray a 9-inch springform pan with cooking spray. Set the pan aside.
- Place Oreo cookies in a food processor and pulse until fine crumbs form. Mix the crumbs with melted butter, then press into the prepared pan.
- Freeze the crust for 30 minutes while you make the filling.
- Ensure a medium mixing bowl and electric mixer beaters are chilled in the refrigerator.
- Measure out the half and half, peanut butter, sugar, salt, and vanilla.
- Add all the ingredients to a blender and blend until smooth.
- Transfer the mixture into an airtight container and chill for 2-3 hours.
- Use the necessary equipment for your ice cream machine and churn until the ice cream reaches a soft-serve consistency.
- Line a 9-inch round pan with plastic wrap, place the ice cream in it, cover, and freeze until set.
Assembly
Assembling the Snickers Ice Cream Cake is where the magic really happens. Follow these simple steps to create a delightful masterpiece that will impress your guests.
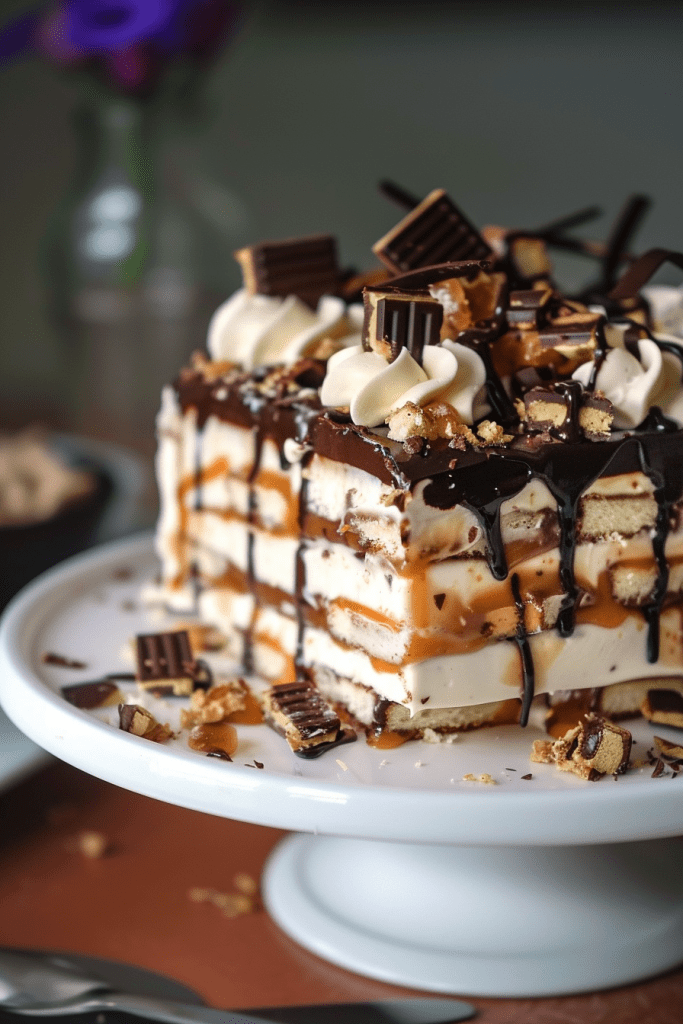
Layering the Cake
- Begin by slicing the pound cake horizontally into three even layers, providing a sturdy base for our ice cream layers.
- Allow the vanilla, chocolate, and caramel ice cream to soften slightly for easy spreading. Layer the pound cake, starting with vanilla ice cream, ensuring it covers the cake evenly.
- Sprinkle chopped Snickers over the vanilla ice cream layer and drizzle caramel sauce on top.
- Repeat the layering process with chocolate ice cream, more Snickers, and caramel sauce, finishing with the final layer of pound cake.
- Cover the top layer with caramel ice cream and sprinkle additional chopped Snickers for the perfect finishing touch.
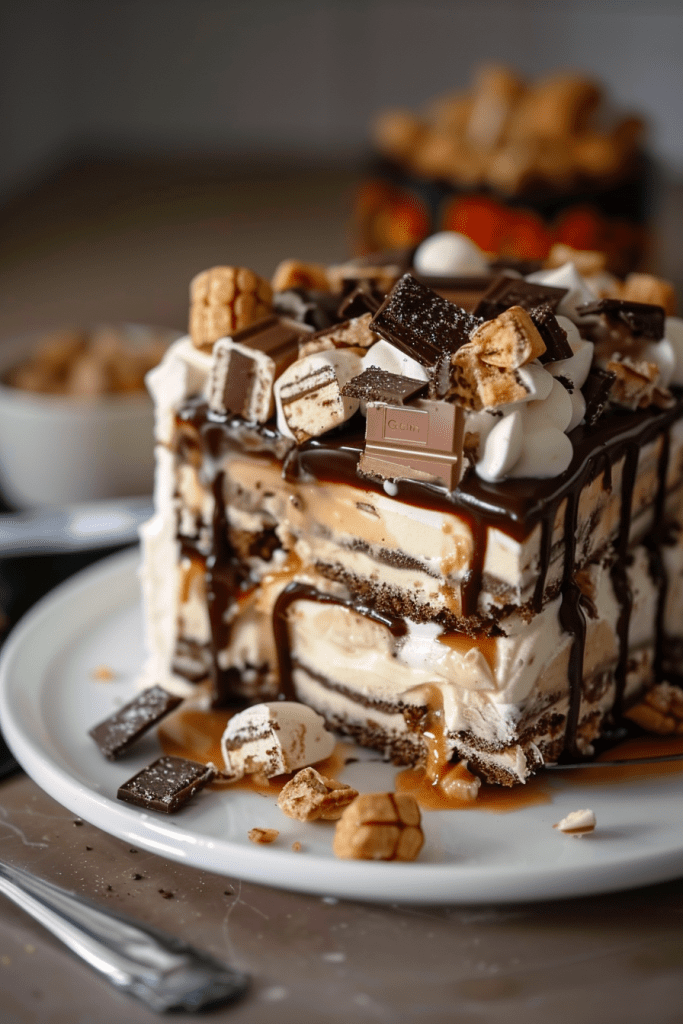
- After layering the cake with ice cream, Snickers, and caramel, it’s time to elevate the flavors even more.
- Add a delightful combination of hot fudge, caramel sauce, chopped peanuts, more Snickers, and toffee bits on the top layer of the cake.
- Ensure the toppings are evenly distributed for a visually appealing presentation that matches the decadent flavors of the cake.
- Allow the assembled cake to freeze until set before serving, ensuring the layers hold together perfectly for a delightful dessert experience.
Freezing the Cake
After assembling the delicious layers of the Snickers Ice Cream Cake, the next crucial step is freezing the cake to set it properly for serving. Freezing allows the flavors to meld together, creating a delectable dessert experience. Here’s how to freeze the cake effectively:
- Covering the Cake: Once you’ve completed layering the cake with pound cake, ice cream, Snickers, caramel sauce, and toppings, you don’t have to cover it when freezing. However, if you have strongly scented items in your freezer, consider loosely covering the cake to prevent any flavor transfer.
- Freezing Time: Place the assembled Snickers Ice Cream Cake in the freezer and let it freeze for a minimum of 6 hours or preferably overnight. This extended freezing time ensures that the cake sets properly, allowing for clean and neat slices when serving.
- Checking for Firmness: Before serving, check the cake for firmness by gently pressing the top layer. It should feel solid and not overly soft. If necessary, let the cake sit in the freezer for a bit longer until it reaches the desired firmness.
Serving and Presentation
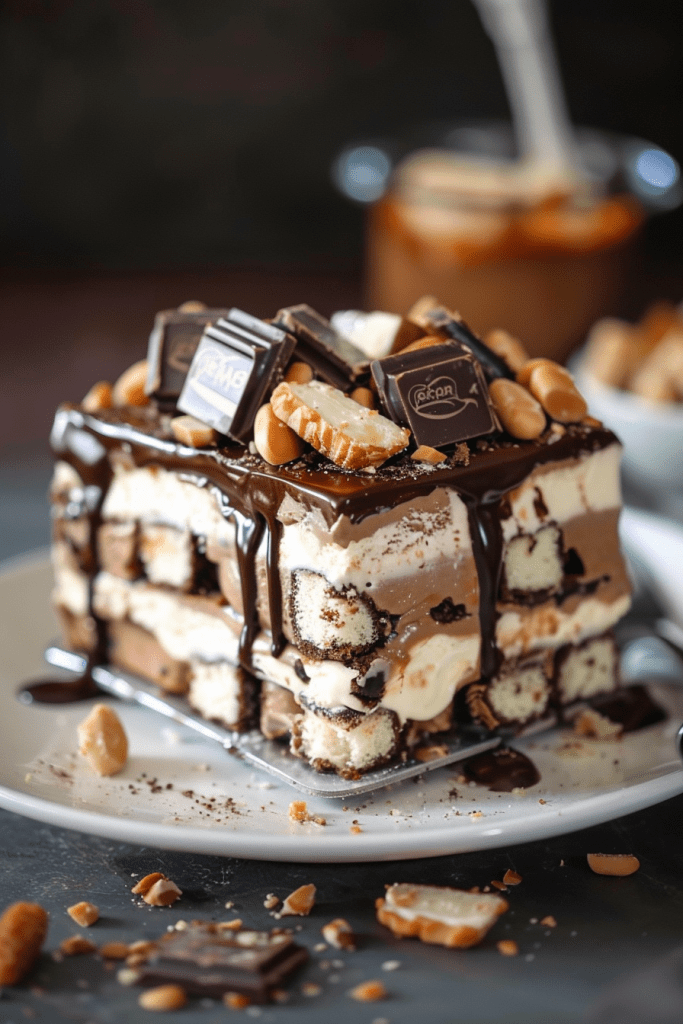
How to Slice and Serve
To serve the Snickers Ice Cream Cake, ensure that it is fully frozen for the best results in slicing. Once frozen, carefully lift the cake out of the pan using the overhang. Allow it to sit at room temperature for a few minutes before slicing. Use a sharp knife to cut the cake into neat squares or slices. Enjoy the delicious layers of ice cream, brownie, caramel, and peanuts in every bite.
Storage Tips
After indulging in the delightful Snickers Ice Cream Cake, you might be wondering about the best ways to store any leftovers for future enjoyment. Here are some practical storage tips to ensure that your Snickers Ice Cream Cake stays fresh and delicious for as long as possible:
- Wrap Carefully: Once you’ve finished serving the cake, cover it tightly with plastic wrap or aluminum foil to prevent freezer burn and maintain the flavors.
- Freeze Properly: Place the covered cake in the freezer promptly to maintain the creamy texture of the ice cream layers. Ensure the freezer temperature is consistent to avoid any melting and refreezing.
- Utilize Airtight Containers: If you prefer using containers over wrapping, make sure they are airtight to prevent any odors from affecting the taste of the cake.
- Label and Date: To keep track of when the cake was made, label the container or wrapping with the date. This will help you identify how long it has been stored and when it might need to be consumed.
- Avoid Odor Absorption: Store the cake away from strong-smelling foods in the freezer to prevent it from absorbing any unwanted flavors.
- Thawing for Serving: When you’re ready to enjoy another slice, transfer the cake from the freezer to the refrigerator and let it thaw for a bit before serving. This will allow the ice cream layers to soften slightly for easier slicing.
By following these storage tips, you can ensure that your Snickers Ice Cream Cake maintains its delicious flavor and texture for an extended period, allowing you to savor its decadent layers whenever the craving strikes.

Conclusion
Creating a Snickers Ice Cream Cake is a delightful experience that combines the rich flavors of chocolate, caramel, peanuts, and ice cream in a single dessert. The Lazy Girl’s Snickers Ice Cream Cake recipe shared in this article offers a convenient way to indulge in this decadent treat without spending hours in the kitchen. By following the simple steps outlined for preparing, assembling, freezing, and serving the cake, you can enjoy a scrumptious dessert that is sure to impress your family and friends. Remember to store any leftovers properly to maintain the cake’s freshness and taste for future cravings. With this recipe in your repertoire, you’ll always have a crowd-pleasing dessert option that’s perfect for any occasion.