
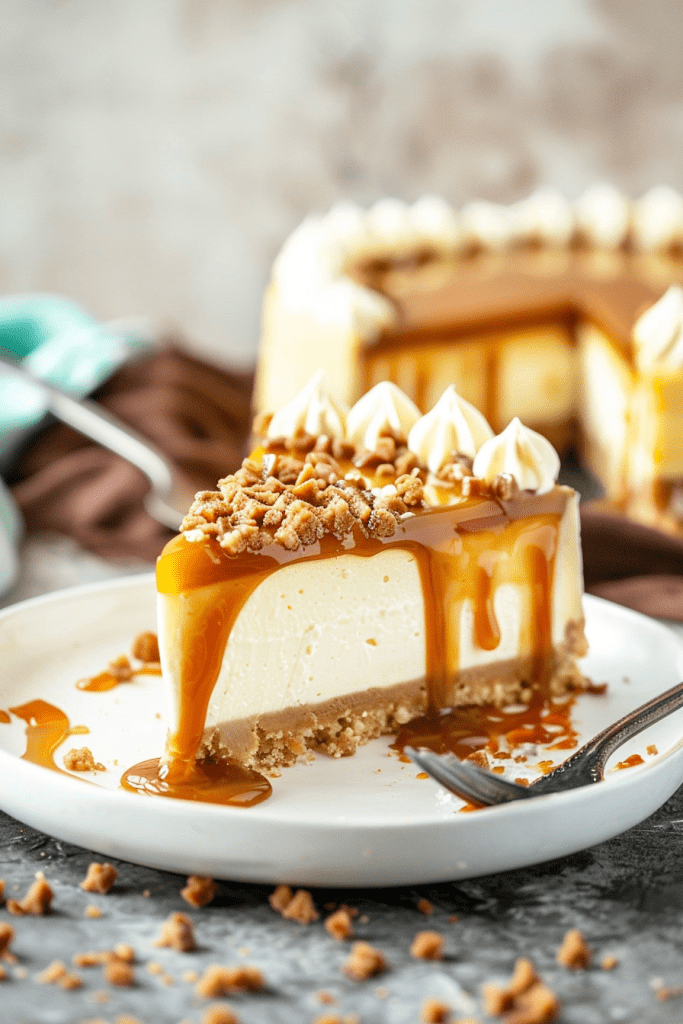
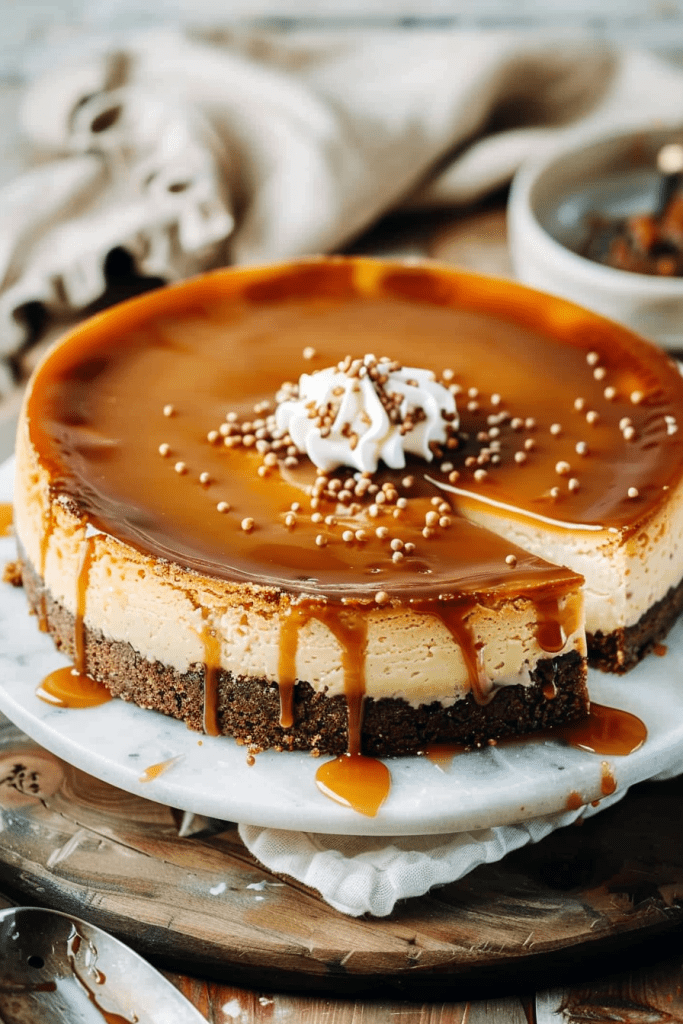
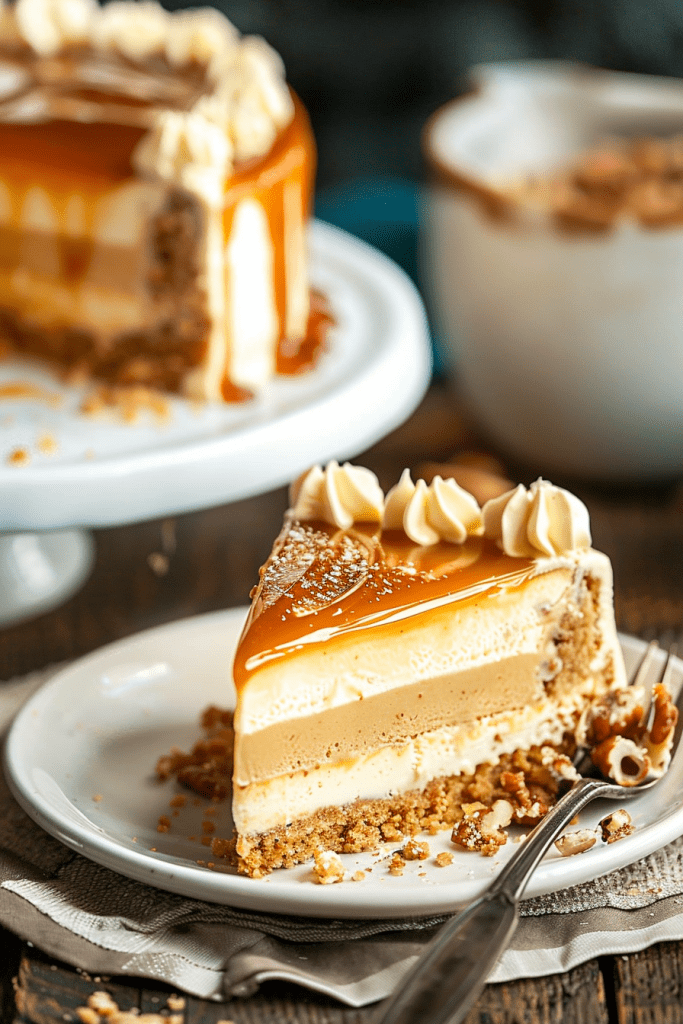
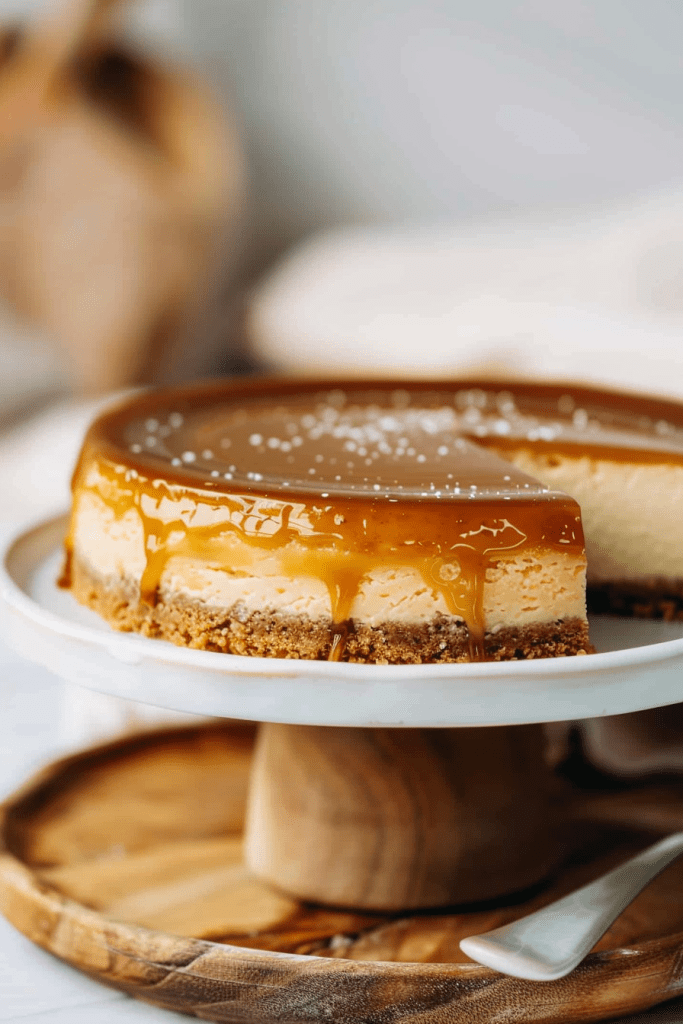
Craving a decadent dessert that combines the rich creaminess of cheesecake with the irresistible sweetness of salted caramel? Look no further than these salted caramel cheesecake recipes. Indulge in a velvety New York Style cheesecake with a luscious homemade salted caramel layer nestled between graham cracker crust and creamy cheesecake.
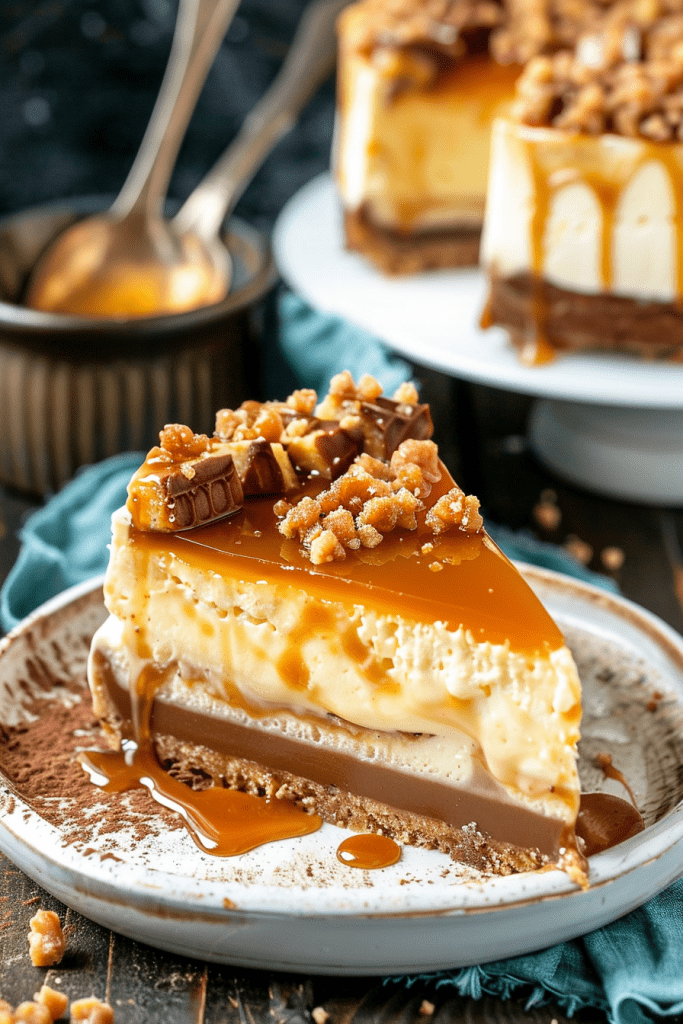
Elevate your dessert game with Chef Lisa’s Salted Caramel Cheesecake Crunch Recipe, featuring a buttery brown sugar and graham crust supporting a smooth cheesecake topped with toffee bits and a generous drizzle of salted caramel sauce.
With each bite, experience the perfect balance of sweet and salty flavors in these Salted Caramel Cheesecake Bars. Whether you’re a seasoned baker or a dessert enthusiast, these recipes are sure to satisfy your caramel cravings and impress your taste buds.
Ingredients
Creating the perfect salted caramel cheesecake requires attention to detail in selecting the right ingredients. Let’s gather what we need for the crust, cheesecake filling, and the decadent salted caramel sauce.
For the Crust
- 16 sheets of graham crackers (pulsed into crumbs)
- Granulated sugar
- Salt
- Unsalted butter (melted)
For the Cheesecake Filling
- Full-fat cream cheese (at room temperature)
- Sour cream
- Vanilla extract
- Arrowroot starch (or cornstarch)
- Large eggs (four)
- Salted caramel sauce
Ensure all your ingredients are at room temperature for a smooth and creamy cheesecake experience.
Equipment Needed
To prepare the delicious salted caramel cheesecake, you will need the following equipment:
- 9-inch Springform Pan
- Mixing Bowls (various sizes)
- Hand Mixer or Stand Mixer
- Measuring Cups and Spoons
- Spatula
- Aluminum Foil or Parchment Paper
- Saucepan
- Whisk
Preparation Steps
Making the Crust
First, preheat the oven to 350°F. Create the graham cracker crust by blending the cookies into fine crumbs. Mix the crumbs with melted butter and sugar. Press this mixture into a lined and greased springform pan. Bake for 12 minutes, then allow it to cool to room temperature. Reduce the oven temperature to 325°F.
Preparing the Cheesecake Filling
In a large mixing bowl or food processor, start by mixing the cream cheese until smooth. Add sugar and vanilla, continuing to mix until well combined. Integrate flour and eggs one by one. Once smooth, add sour cream and heavy cream and mix for 2 minutes on low until smooth.
Cooking the Salted Caramel Sauce
To prepare the caramel sauce, heat granulated sugar in a stainless steel saucepan over medium heat. Constantly stir until the sugar fully melts and turns golden. Add butter carefully, stirring until melted. Slowly pour in heavy cream while stirring and cooking over low heat. Remove from heat, add vanilla and salt, and stir to combine.
Assembly Instructions
Layering the Cheesecake
To assemble the salted caramel cheesecake, start by pouring half of the cheesecake filling onto the baked crust in the prepared pan. Then, spread half a cup of caramel sauce over the batter. Next, pour the remaining cheesecake batter over the caramel layer.
Adding the Caramel Topping
After layering the cheesecake, wrap the bottom of the pan with aluminum foil. Set up a water bath by placing the pan in a larger pan filled with hot water. Bake the cheesecake in the preheated oven for about an hour. Once baked, let it cool, then drizzle more salted caramel sauce on top before serving.
Baking
When it comes to baking a decadent salted caramel cheesecake, attention to detail is key to achieving the perfect balance of flavors and textures. The baking process involves precise steps to ensure a creamy filling and a beautifully set cheesecake that will wow your taste buds.
Initial Baking
- Preheat and Prepare: Start by preheating your oven to 325°F (163°C) and lining a 9-inch (23cm) springform pan with parchment paper. Grease the sides for easy removal later on.
- Making the Crust: Combine the crust ingredients in a bowl until the crumbs are moistened. Press this mixture firmly into the bottom and up the sides of the springform pan.
- Bake and Cool: Bake the crust for 8-10 minutes until set. Allow it to cool while you prepare for the water bath.
- Covering for a Water Bath: Wrap the outsides of the pan with aluminum foil to prevent water from seeping in during the water bath. This is crucial for a moist cheesecake.
- Adjusting Temperature: Lower the oven temperature to 300°F (148°C) before adding the caramel layer to the cheesecake. This ensures even baking and setting.
- Adding Caramel Layer: Pour the thickened caramel sauce onto the crust, spreading it into an even layer. This layer will add a rich and indulgent flavor to your cheesecake.
By following these initial baking and setting steps, you’re on your way to creating a show-stopping salted caramel cheesecake that will impress your friends and family.
Serving Suggestions
When it comes to serving the delicious salted caramel cheesecake, presentation is key to enhancing the culinary experience. Here’s how you can slice and serve this decadent dessert, along with some perfect accompaniments.
How to Slice and Serve
- Slice with Precision: For clean slices, use a clean sharp knife. Wipe the knife clean and dip into warm water between each cut.
- Neat Presentation: Wipe the knife clean with a damp cloth after each slice to maintain neat, professional-looking servings.
- Garnish with Flair: To add an extra touch of elegance, lightly sprinkle flaky sea salt on top of the cheesecake before serving.
- Store Properly: Cover and store any leftover cheesecake in the refrigerator for up to 5 days.
- Caramel Drizzle: To elevate the flavor further, serve each slice with an additional drizzle of caramel sauce.
- Fresh Berries: Add a pop of color and freshness by serving the cheesecake with a side of fresh berries like strawberries or raspberries.
- Whipped Cream: A dollop of fresh whipped cream on the side complements the richness of the cheesecake and adds a light and airy touch.
- Coffee or Espresso: For a perfect pairing, enjoy a slice of salted caramel cheesecake with a cup of freshly brewed coffee or espresso for a delightful contrast in flavors.
Storage Tips
When it comes to storing your salted caramel cheesecake, following proper methods ensures it stays fresh and delicious for longer periods. Here are some tips for refrigerating and freezing your cheesecake:
Refrigerating
Refrigerating your salted caramel cheesecake is ideal for short-term storage. To refrigerate, first, ensure the cheesecake has cooled completely. Then, cover it securely with plastic wrap or place it in an airtight container before storing it in the refrigerator. When properly refrigerated, your cheesecake can last for up to 5 days while maintaining its creamy texture and flavor.
Freezing Instructions
If you want to enjoy your salted caramel cheesecake at a later time, freezing is a great option. To freeze, wrap the cheesecake tightly in plastic wrap, ensuring it’s completely sealed to prevent freezer burn. You can then place it in a freezer-safe container for added protection. When stored properly, your cheesecake can last in the freezer for up to 3 months. To thaw, simply transfer the frozen cheesecake to the refrigerator overnight to gradually thaw before serving.
Conclusion
I’ve covered a range of salted caramel cheesecake recipes, offering detailed guidance on ingredients, preparation techniques, and serving suggestions. From New York Style cheesecake with homemade salted caramel to Chef Lisa’s Salted Caramel Cheesecake Crunch Recipe, and Salted Caramel Cheesecake Bars, there’s a dessert for every occasion. Remember the importance of ingredient temperature, essential tools like a springform pan, and precise baking instructions for that perfect creamy texture. When it comes to presentation, garnish with sea salt, caramel drizzle, or fresh berries for an elegant touch. Don’t forget to pair your cheesecake with coffee or espresso for a delightful flavor combination. Whether you’re storing in the fridge for a few days or freezing for later, follow the tips provided to maintain the cheesecake’s taste and texture. Enjoy the delicious journey of creating and savoring these indulgent treats!