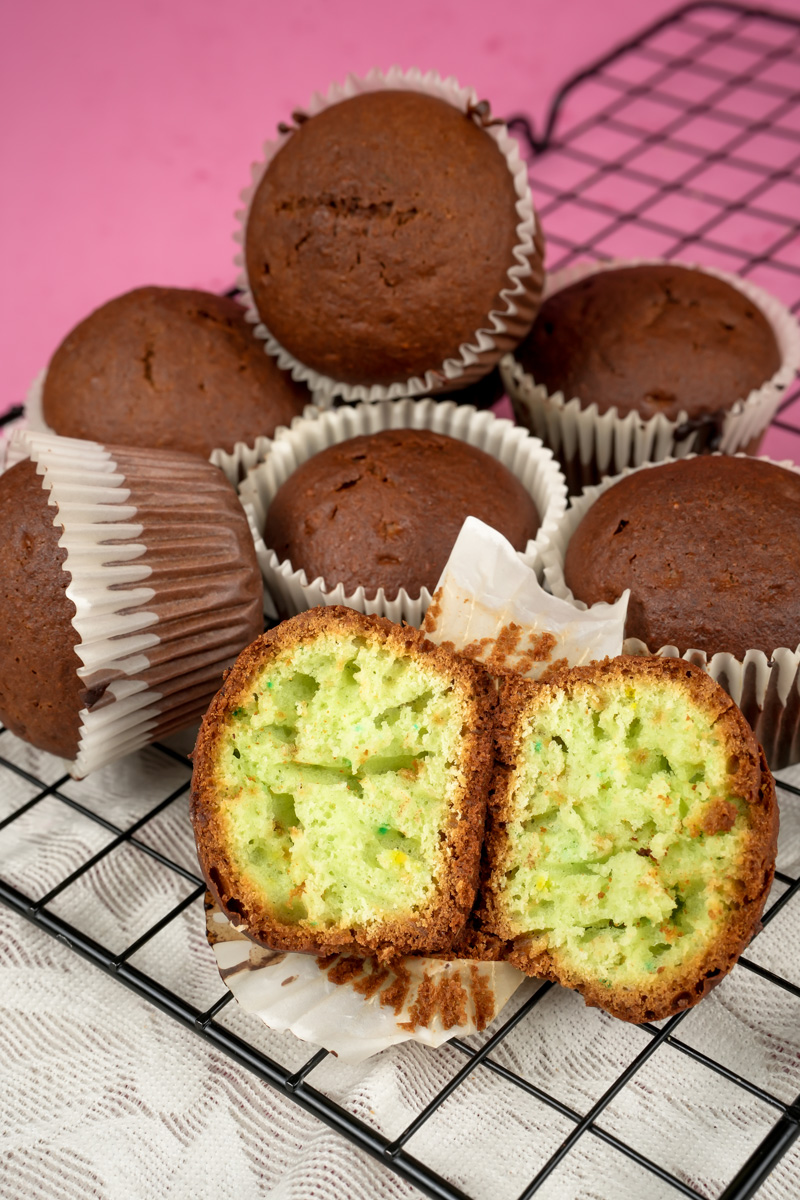
Hey everyone! If you’re like me and you dream about those big, fluffy pistachio muffins you see in bakery windows – you know, the ones with the perfect domes and that incredible nutty taste? Well, you’re in for a treat! Today, I’m sharing my go-to recipe for making them right in your own kitchen.
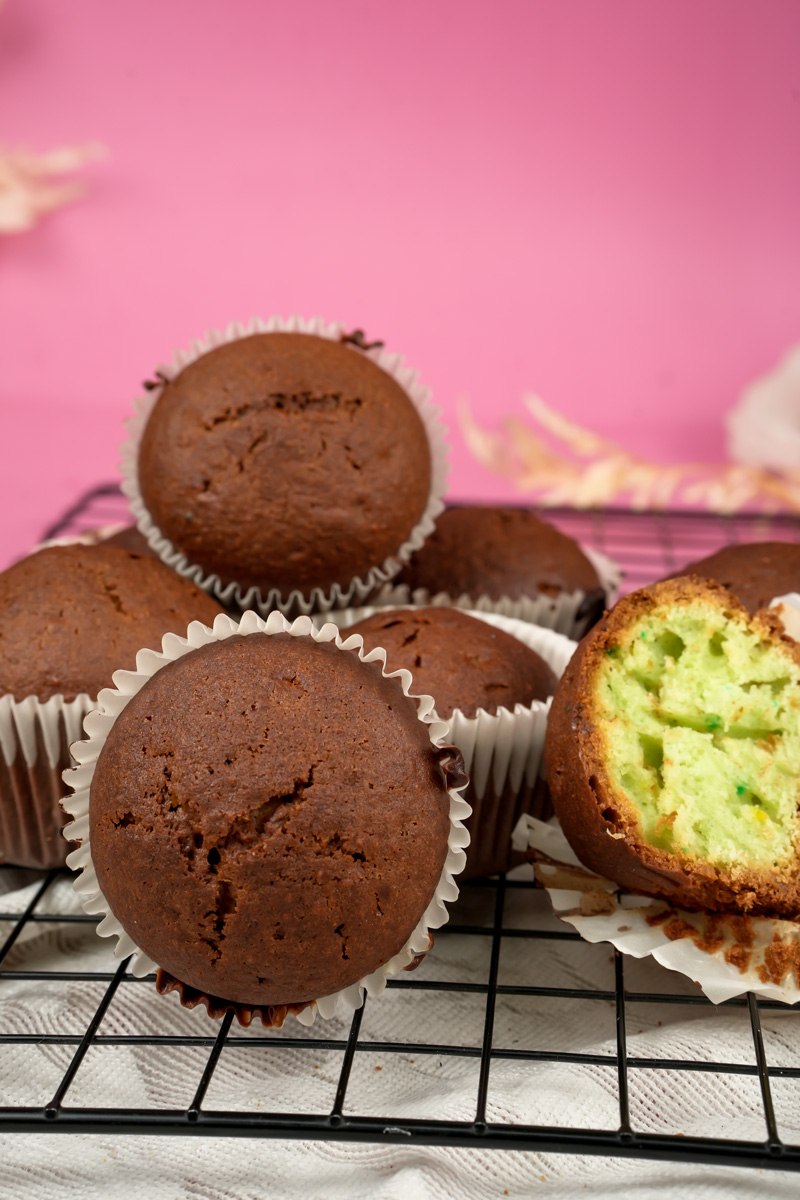
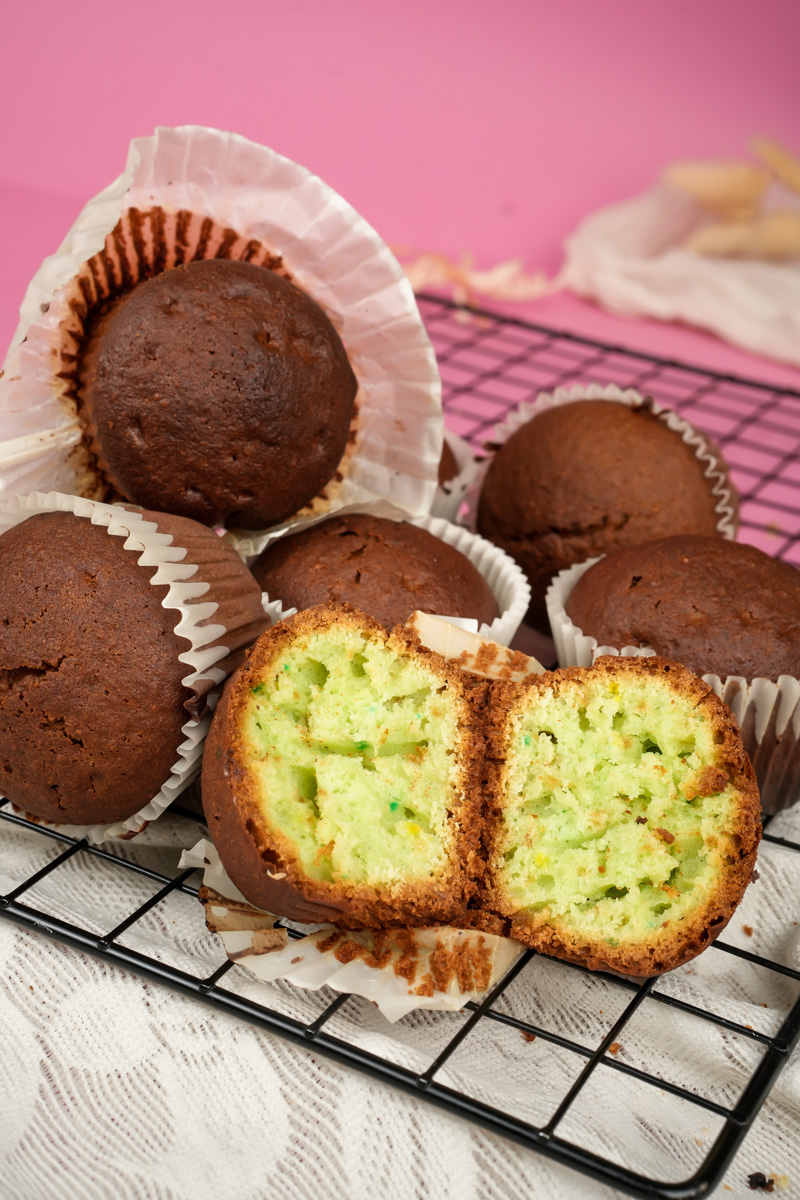
These aren’t just any muffins. Seriously. They’re bursting with flavor – a little sweet, a lot nutty from the pistachios, with a tiny hint of almond that just works. And the texture? So soft and moist! The secret? It’s actually the pistachio pudding mix! I know, it sounds a bit old-school, but trust me, it makes the muffins incredibly tender and gives them that gorgeous green color and extra pistachio punch. It’s a neat trick I picked up, and it makes these muffins extra special.
Pistachios have been around forever, loved for centuries, but putting them in muffins like these? That’s just everyday happiness. This recipe is all about getting that perfect high top and soft center. I’m so excited to show you how!
Recipe Rundown: Here’s the Plan
Before we jump in, let’s see what we’re getting ourselves into. It’s easier than you think!
- How Much Time?
- Prep: Super quick, about 10 minutes!
- Rest Time: 15 minutes (don’t skip this – it’s key for those tall muffin tops!)
- Cook Time: Around 25 minutes.
- Total Time: Roughly 50 minutes from “Hmm, I want muffins” to “Mmm, fresh muffins!”
- How Many Muffins? And Can I Change It?
- This recipe makes 10 pretty big muffins.
- Need more or less? Easy!
- Want just 5? Cut everything in half.
- Baking for a party? Double it for 20!
- Just a heads-up if you halve it: you’ll need to estimate half a packet of pudding mix or get your kitchen scale out. Baking times should be about the same, but always keep an eye on your oven.
Here’s a handy chart:
- How Tricky Is It? I’d say it’s pretty straightforward, maybe a step up from basic. The steps themselves are simple. The batter resting and the two-temperature baking thing are what make these muffins really good, bakery-good! Don’t let that scare you; it’s easy once you try it.
- What Gear Will I Need?
- A muffin pan (the standard 12-cup kind is perfect).
- Mixing bowls – I like using glass, one for dry stuff, one for wet. But any big bowls work.
- Your trusty spatula. For gentle folding!
- A kitchen scale is super helpful for baking, especially for flour. If you don’t have one, no worries! Just make sure to spoon your flour into the measuring cup and then level it off. Don’t scoop directly from the bag!
- Sanding sugar (optional, but it makes them look pretty and adds a nice crunch). Granulated or turbinado sugar works too.
- Can I Make These Ahead?
- Absolutely! These muffins are great for making on a Sunday for easy breakfasts or snacks all week.
- You could mix the batter an hour or two early and pop it in the fridge, but I think they turn out best when you let the batter rest right before baking.

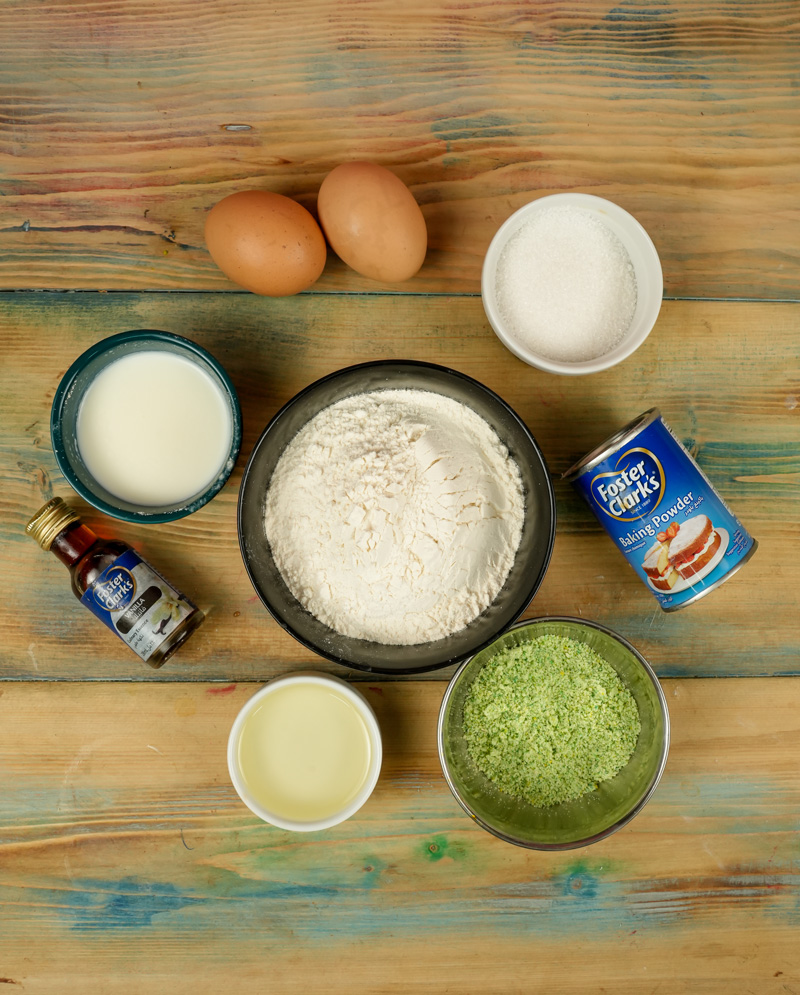
Our Star Players: The Ingredients
Alright, time to gather your baking buddies! Each one of these ingredients has an important job in making our pistachio muffins taste amazing.
First, let’s get our dry team together:
- 3 cups (360g) of all-purpose flour: This is what gives our muffins their shape.
- 1 cup (200g) of granulated sugar: For that perfect sweetness.
- One 3.4 oz package of instant pistachio pudding mix: This is our secret weapon! It doesn’t just add flavor and that pretty green color; it makes the muffins super moist and tender.
- 3 teaspoons of baking powder: This helps our muffins get nice and tall.
- 1 teaspoon of salt: Brings out all the other flavors.
Now for the wet ingredients:
- 2 large eggs: Best if they’re at room temperature – they mix in easier.
- 1 ½ cups (360ml) of buttermilk: Oh, buttermilk! It gives a lovely little tang and makes the muffins so soft. No buttermilk? No problem! Just add 1 ½ tablespoons of lemon juice or white vinegar to 1 ½ cups of regular milk. Let it sit for 5-10 minutes until it looks a bit curdled. Ta-da! Homemade buttermilk.
- ½ cup (118ml) of vegetable oil: This keeps our muffins moist. Canola oil works, or even melted unsalted butter (though oil usually makes them stay tender longer).
- 1 teaspoon of vanilla extract: For that classic yummy bakery smell and taste.
- A tiny ¼ teaspoon of almond extract: This stuff is magic with pistachio! It really makes the flavor pop. If you’re not a fan, you can leave it out or just add a bit more vanilla.
And, of course, the stars of the show:
- ½ cup (60g) of chopped pistachios: I like to buy unsalted ones and chop them myself. They just taste better that way. We’ll mix some into the batter and sprinkle some on top.
- A little sanding sugar for sprinkling (optional, but nice!): This gives a lovely sparkle and crunch.
Make sure your pistachios are roughly chopped – not dust, but not huge chunks either.
Let’s Get Baking: Step-by-Step to Muffin Awesomeness!
Okay, aprons on? Let’s do this! Just imagine that warm, nutty pistachio smell filling your kitchen. That’s where we’re headed!
Mix the Dry Stuff: Building the Base
First up, let’s get all our dry ingredients happy together in a big bowl. Put in your 3 cups (360g) of all-purpose flour, the 1 cup (200g) of granulated sugar, and then gently add the 3.4 oz package of instant pistachio pudding mix. You’ll see its fine texture and maybe even catch a whiff of that sweet, nutty smell. Next, add the 3 teaspoons of baking powder (this will make our muffins nice and puffy!) and finally, the 1 teaspoon of salt to make all the flavors sing.
Grab a whisk or a fork and give everything a good stir. You want it all mixed up so there are no clumps and every bite of muffin gets a bit of everything. You’re looking for a pale green, fine powder with no streaks. This little step now prevents any surprise salty bits later!
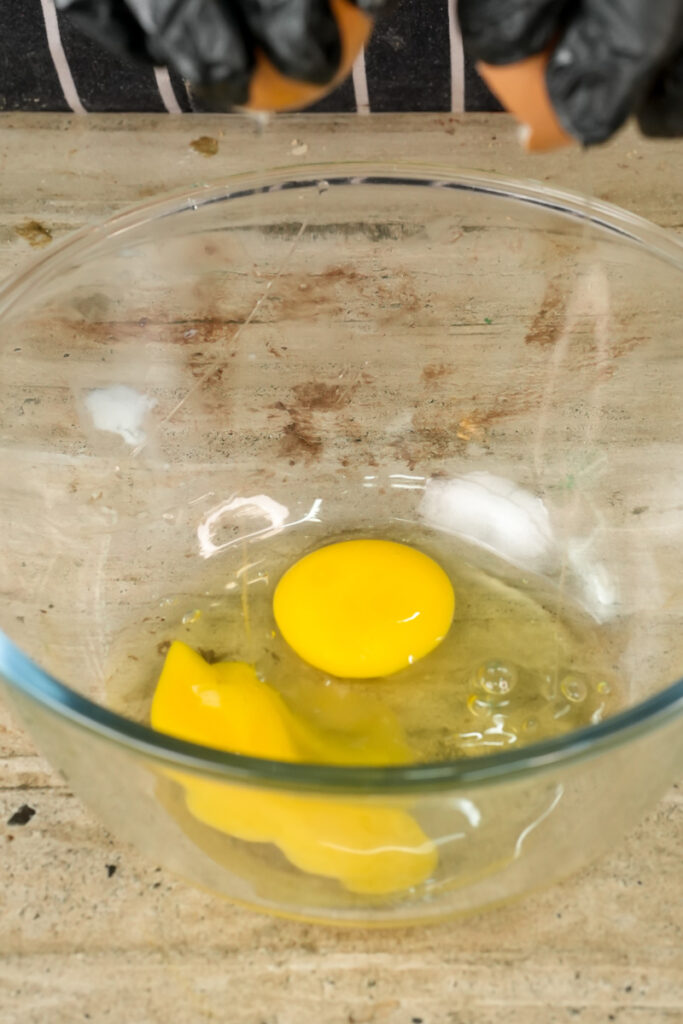
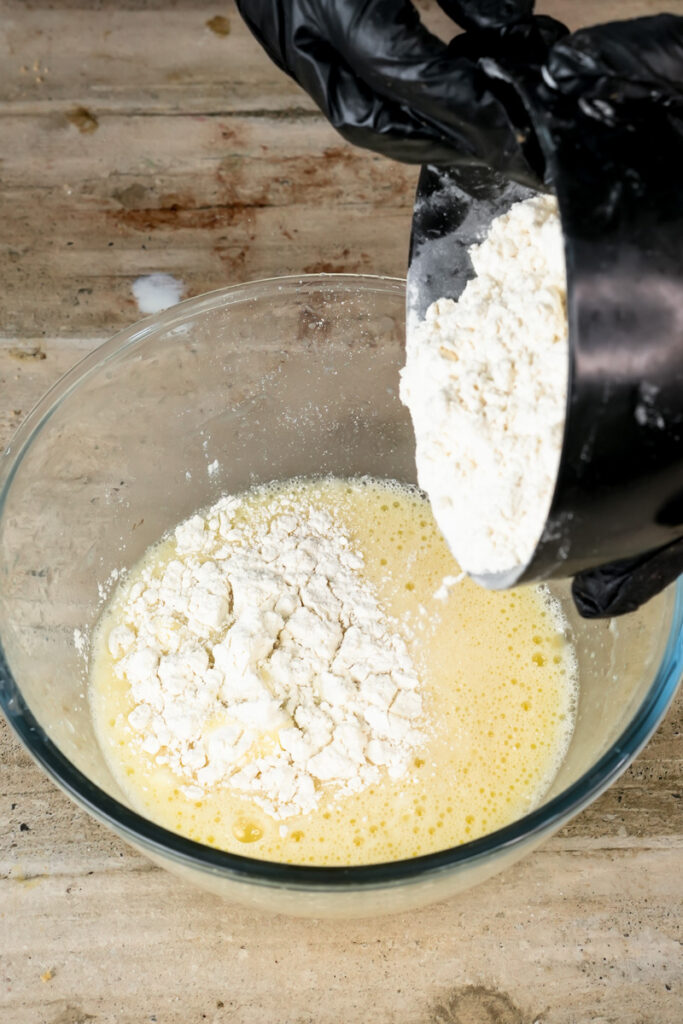
Combine the Wet Ingredients: The Flavor Boost
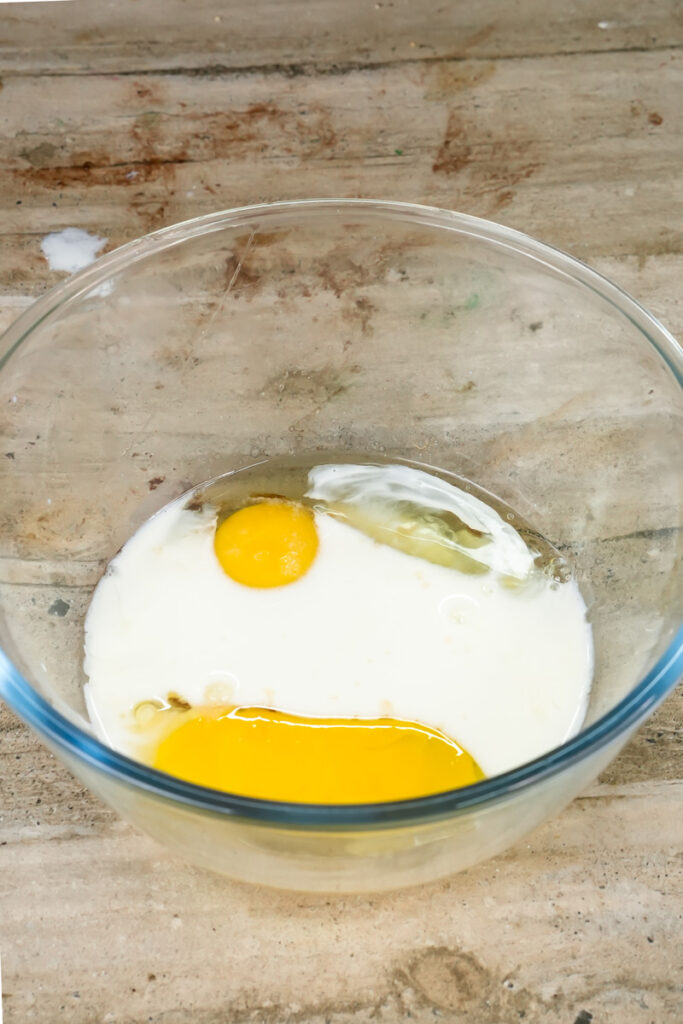
Set your dry ingredients aside for a sec. In another big, clean bowl (using two bowls is a good trick to avoid overmixing!), let’s mix our wet stuff. Crack your 2 large eggs. If you remembered to take them out of the fridge earlier, great! Room temperature eggs mix in better. Give them a quick whisk.
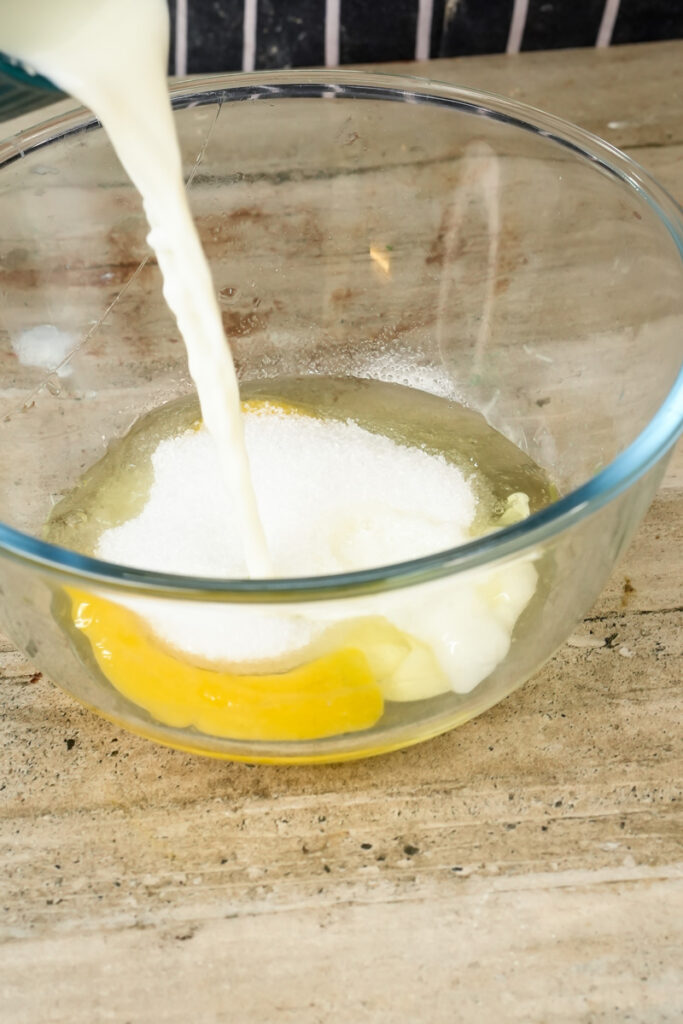
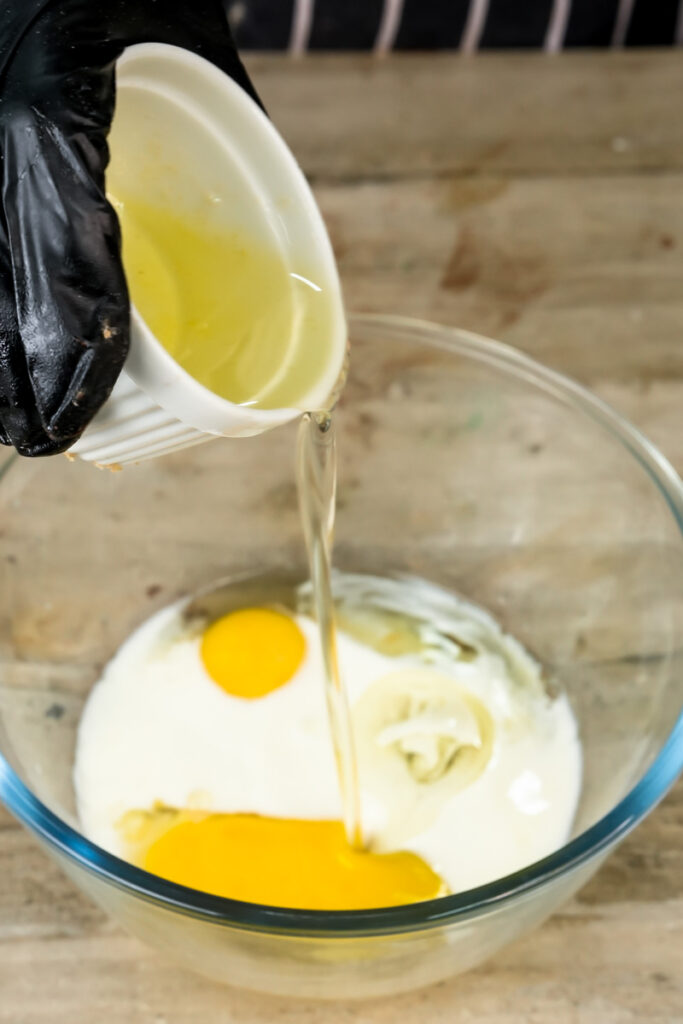
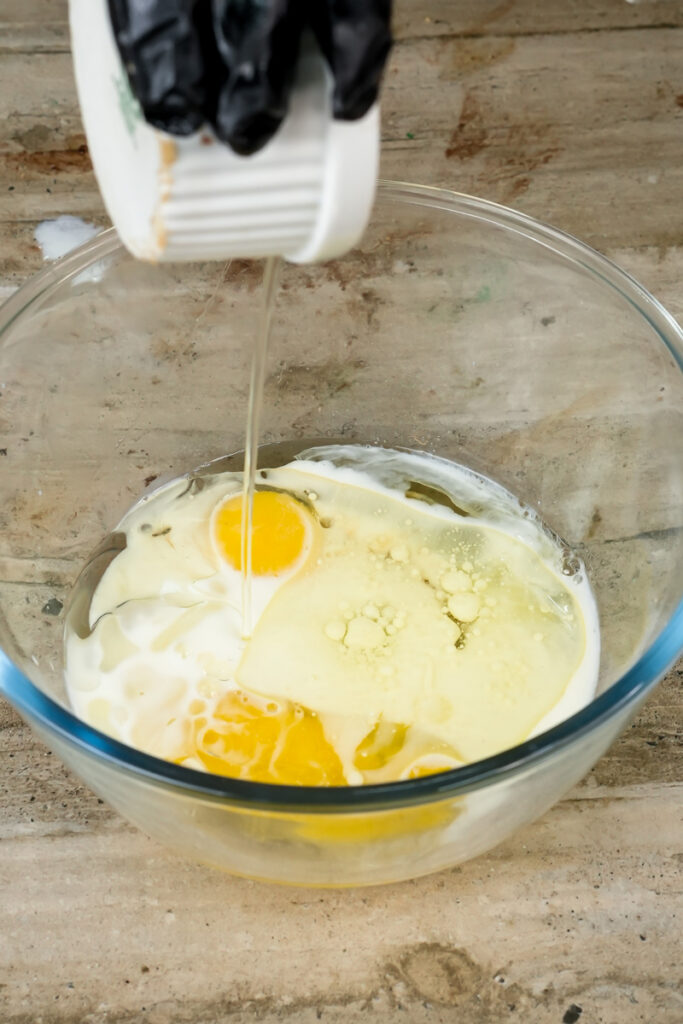
Now, pour in that lovely 1 ½ cups (360ml) of buttermilk. (Or your homemade version!). Then add the ½ cup (118ml) of vegetable oil – this is our secret to keeping them moist. Lastly, drizzle in 1 teaspoon of vanilla extract and that important ¼ teaspoon of almond extract. Remember, almond extract is strong, so a little goes a long way!
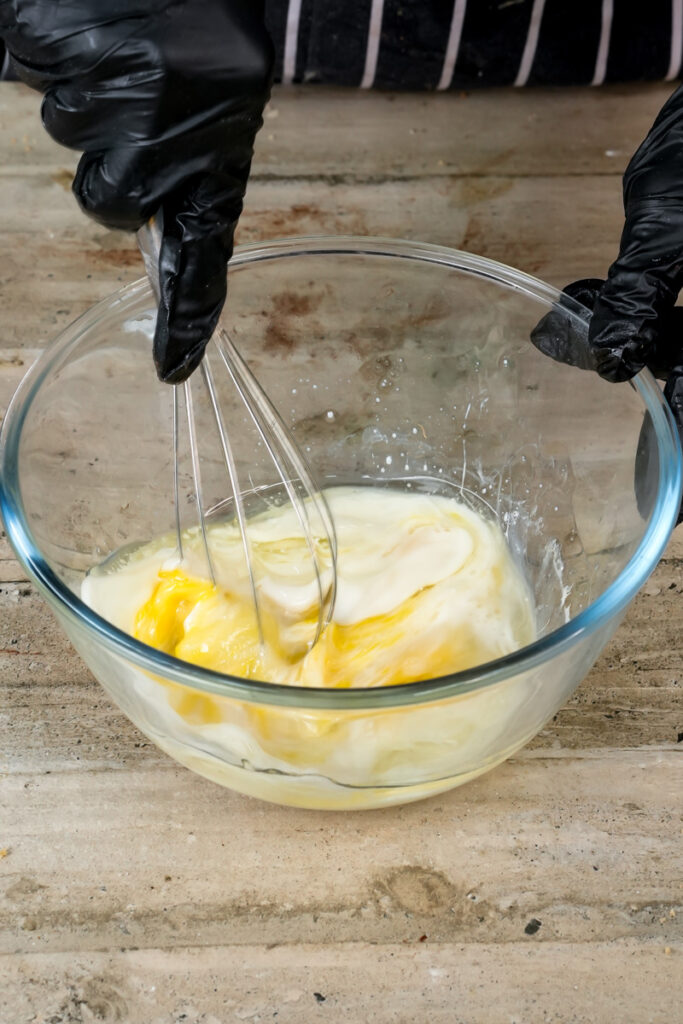
Stir these wet ingredients together until they’re just combined and look smooth. You want an even, creamy-looking liquid where the oil is mixed in, not floating on top.
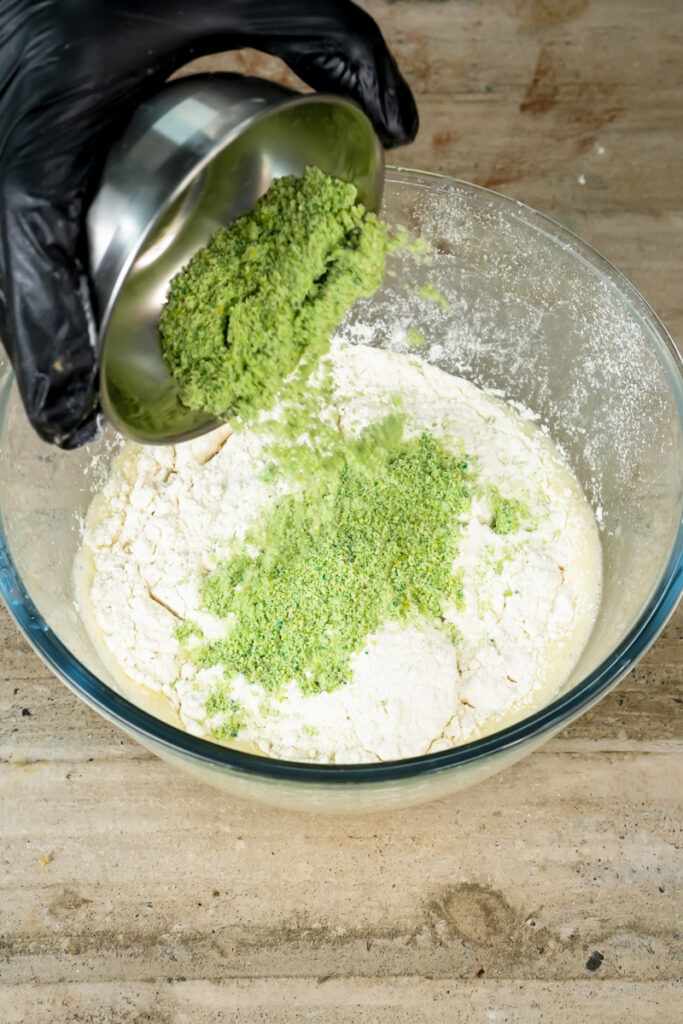
Bring Them Together (Gently!): The Magic Fold
This is where it all comes together! Pour your wet ingredient mixture into the bowl with the dry ingredients.
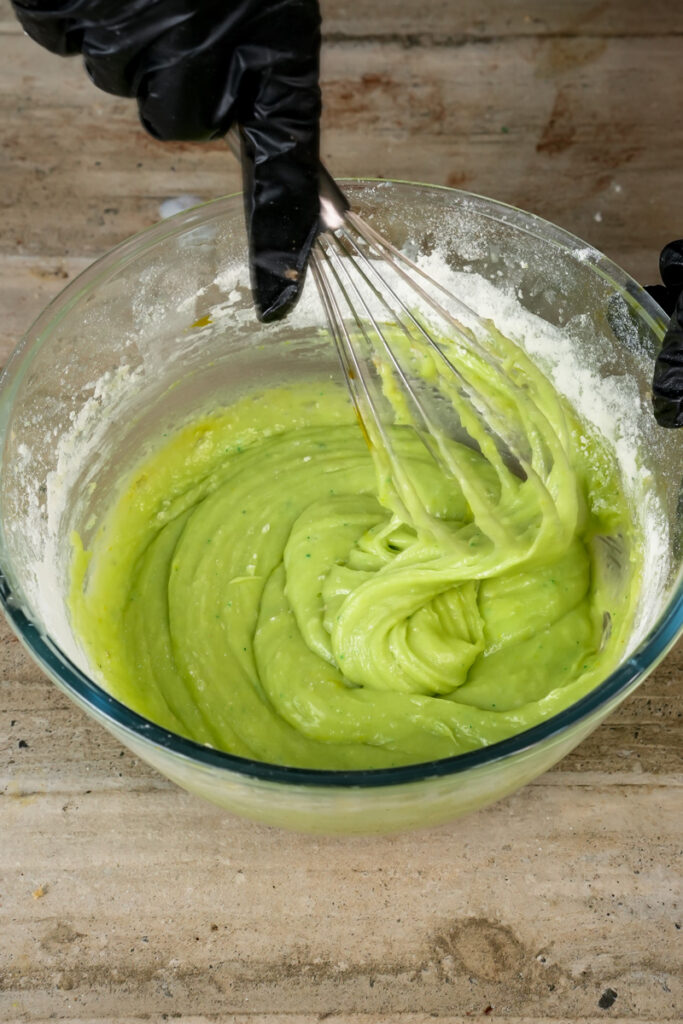
Now, using a spatula, gently fold everything together. Scrape from the bottom and fold it over. Turn the bowl as you go. The big secret here is don’t overmix. Mix just until you don’t see any more dry flour. It’s totally okay – good, even! – if there are some lumps. If you mix too much, the muffins can get tough. We want light and fluffy!
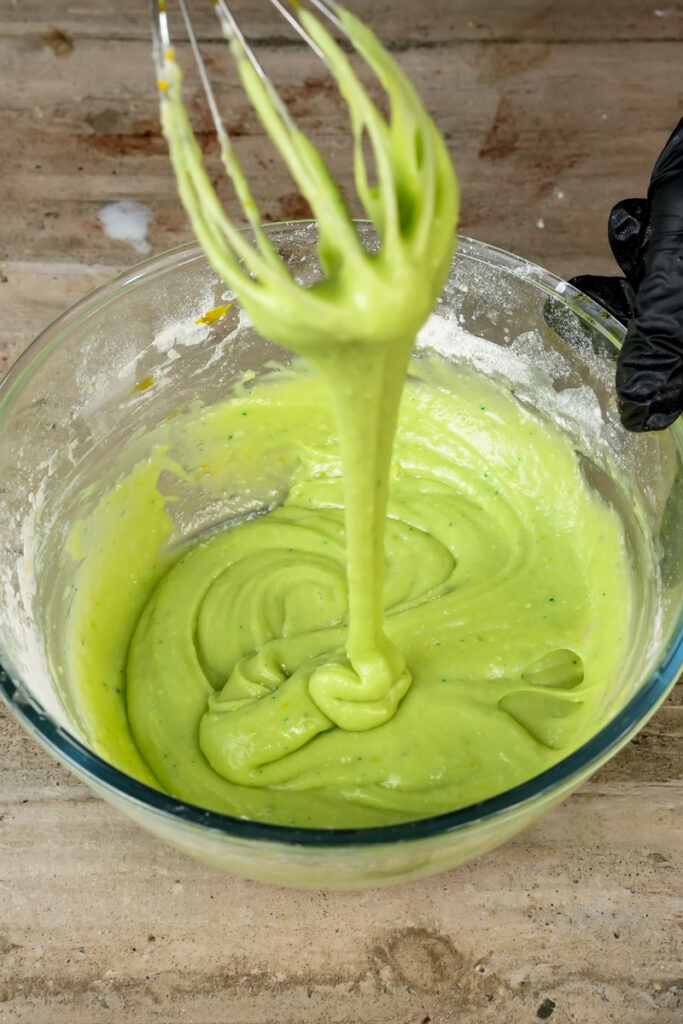
The batter will be really thick. Thicker than cake batter, almost like a soft cookie dough. Don’t panic and add more liquid! This thickness is what helps give us those awesome domed tops. Stop mixing as soon as the flour disappears. A lumpy, super thick, pale green batter is perfect.
The Secret Pause: Let the Batter Rest & Crank Up the Oven!
Here’s a step you might not see in every muffin recipe, but it makes a huge difference: let the batter rest. Cover the bowl with a towel or plastic wrap and let it sit on the counter for 15 minutes. This little nap lets the flour soak up the liquid, making the muffins more tender. Plus, the baking powder gets a head start!
While the batter is resting, get your oven preheating to 425ºF (220ºC). Make sure an oven rack is in the middle. That first blast of high heat is super important for getting those muffins to puff up high.
Get Ready for Muffin Tops: Filling the Pan
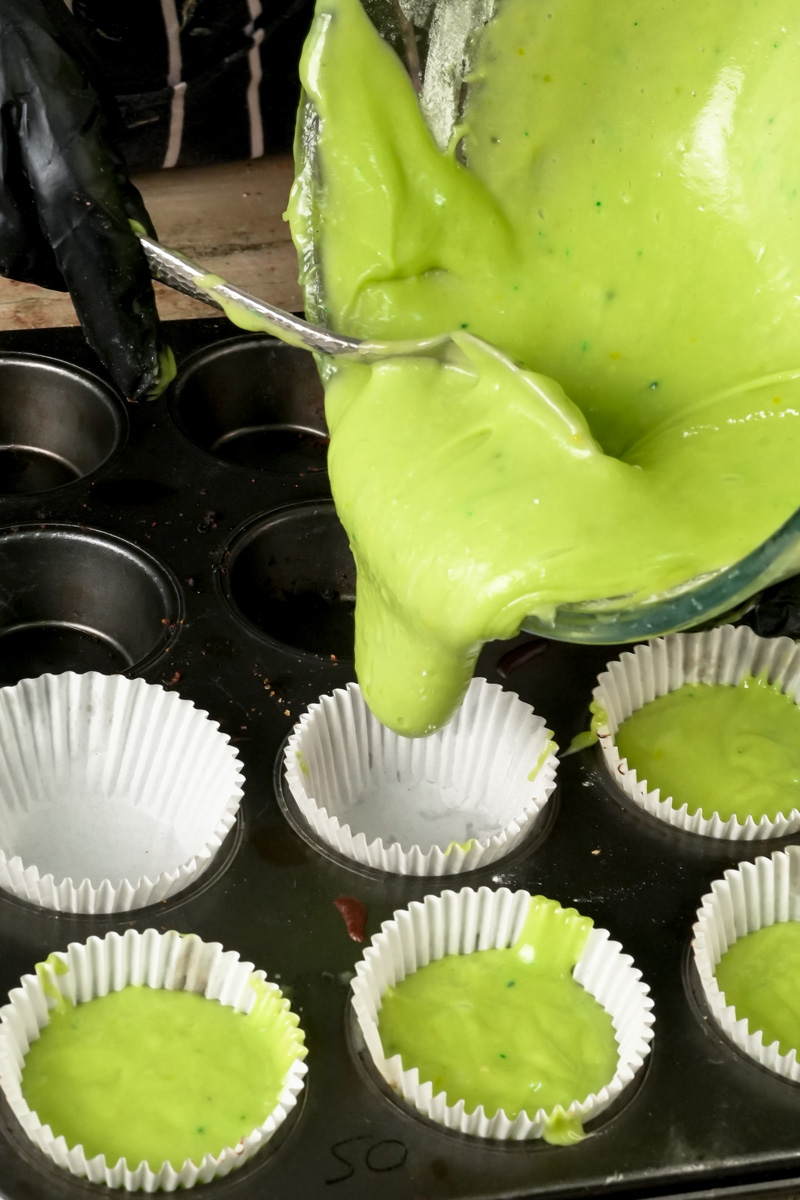
Once the batter has rested and the oven is hot, it’s time to prep the muffin pan. For those really impressive bakery-style tops, here’s a trick: line only 6 of the wells in your 12-cup muffin pan with paper liners. Space them out – use every other one (like wells 1, 3, 5, 7, 9, and 11). This gives each muffin plenty of room to grow big and tall without bumping into its neighbors.
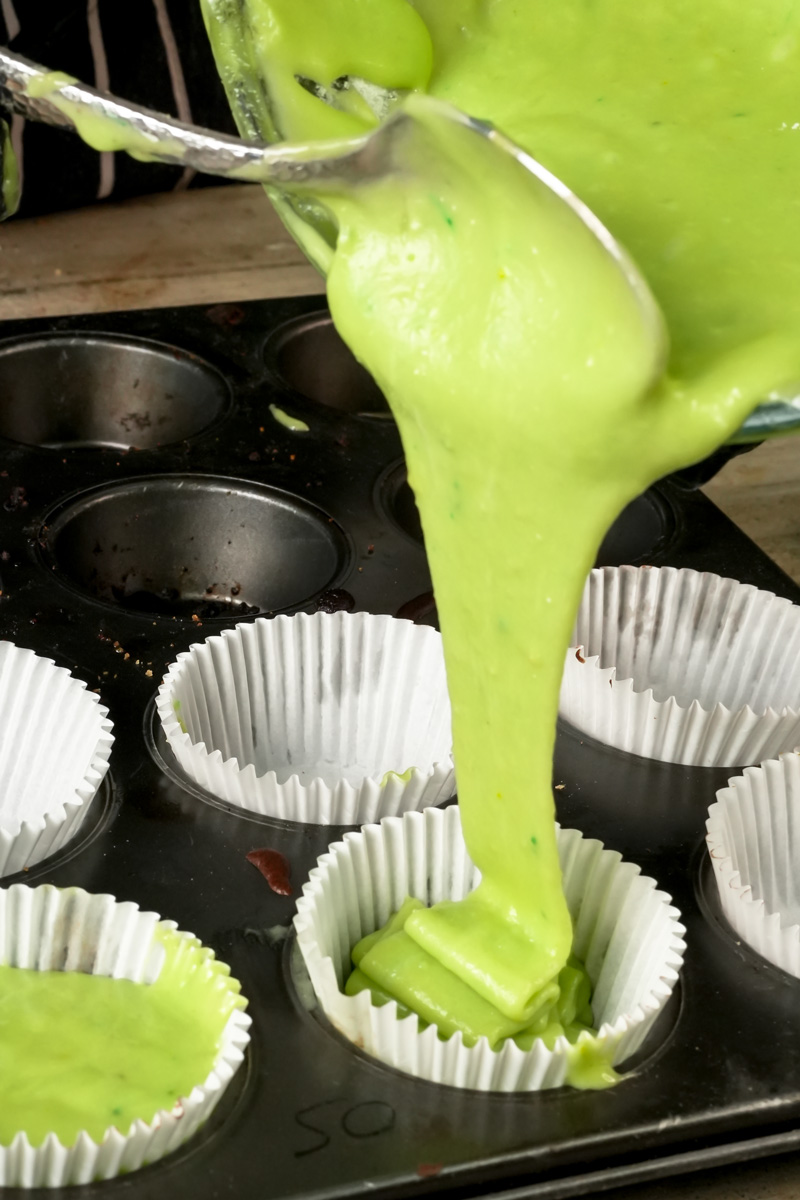
Now, using a big spoon or an ice cream scoop (my favorite for thick batter!), divide about half of your batter among these 6 liners. Don’t be shy! Fill them right up to the top of the paper, or even a little mounded. Think 6 to 8 big spoonfuls for each. This generous filling is another key to those fantastic tops!
Sprinkle some of your ½ cup (60g) of chopped pistachios over the batter in each cup. If you’re using it, add a little sprinkle of sanding sugar on top of the pistachios too. It looks so pretty and adds a nice crunch! The batter should look full and happy in the liners, ready for the oven!
The Two-Temp Bake: The Secret to the Dome!
Oven’s at 425ºF (220ºC)? Muffin pan filled? Let’s bake! Carefully put the muffin pan on the center rack. Close the oven door quickly so the heat stays in.
Bake at this high heat – 425ºF (220ºC) – for exactly 7 minutes. This hot start makes the outside set fast while the baking powder works like crazy inside, pushing the batter up to make that dome. You might even see them start to puff!
Then, without opening the oven door, turn the oven temperature down to 350ºF (180ºC). Keep baking for another 16-20 minutes. The total bake time will be about 23-27 minutes. The lower heat lets the muffins cook all the way through without burning.
How do you know they’re done? The tops will be golden brown, they’ll spring back when you gently touch them, and a toothpick stuck in the center of one should come out clean (or with just a few moist crumbs, no wet batter). And your kitchen? It will smell amazing – warm, sweet, and nutty. Pure happiness!
Cool Down & Second Batch: Almost There!
Once they’re perfectly baked, carefully take the pan out of the oven (use oven mitts!). Let the muffins cool in the pan on a wire rack for about 5-10 minutes. This helps them firm up so they don’t break when you move them.
After that, gently take the muffins out of the pan and put them right on the wire rack to cool completely. Cooling on a rack lets air get all around them, so the bottoms don’t get soggy.
If you’re doing two batches (since we only filled 6 spots for those big tops), it’s time for round two! Important: Turn the oven temperature back up to 425ºF (220ºC) before you put the next batch in. Fill the other 6 liners with the rest of your batter, add toppings, and bake them just like the first batch. Heads up! Try not to open the oven door too much, especially during that first 7 minutes of high heat. It can make your muffins fall flat.
My little tip: If the tops start getting too brown during the second, lower-temp part of baking (all ovens are a bit different!), you can loosely put a piece of aluminum foil over the pan for the rest of the baking time.
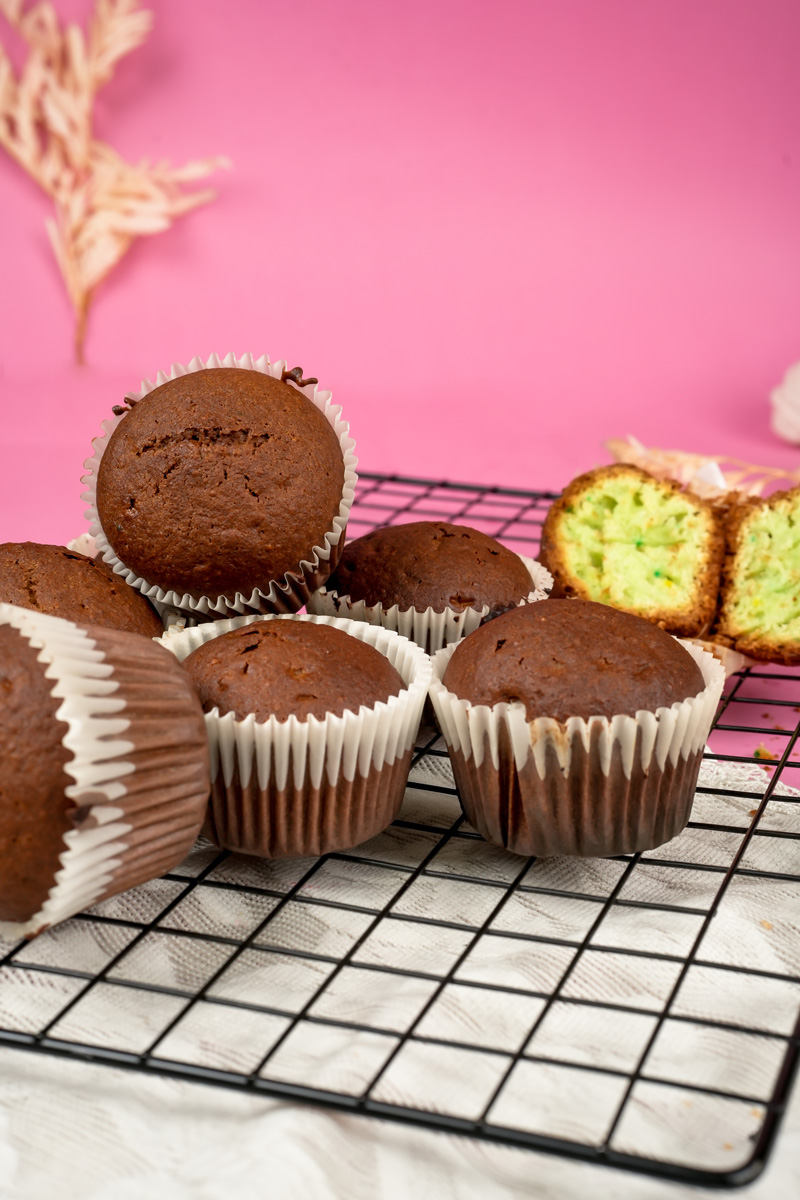
What you’re looking for: Golden color, a nice tall dome. They should feel a bit springy when you gently press the top. And that smell – oh, that wonderful warm, sweet, nutty smell of vanilla and pistachio – that’s the smell of success!
Fun Twists: Make Them Your Own!
This recipe is pretty awesome as is, but it’s always fun to play around!
- Dietary Tweaks:
- Gluten-Free? You could try a good 1-to-1 gluten-free all-purpose flour blend. Just make sure your pudding mix is gluten-free too. The texture might be a little different, but they should still be tasty.
- A Bit “Healthier”? You could swap half the all-purpose flour for white whole wheat flour (they’ll be a bit denser). Maybe try cutting back the sugar by about ¼ cup, but know that can change the texture. Using unsalted pistachios is a good idea too!
- Vegan? Making these fully vegan would be a big change because of the eggs, buttermilk, and pudding mix (lots of pudding mixes have milk). I’d suggest looking for a recipe that’s already designed to be vegan.
- Flavor Boosters & Spices:
- Citrus Zing! Add the zest of one orange or lemon to the wet ingredients. It’s so fresh and bright with the pistachio. I love this one!
- Warm Spices: A little bit of ground cardamom (about ¼ to ½ teaspoon) in the dry ingredients is amazing with pistachio.
- Extra Indulgence: Fold in ½ cup of white chocolate chips when you add the pistachios. Yum!
- Everyday vs. Fancy:
- For everyday munching: Skip the sanding sugar if you don’t have it. Or, bake all the batter at once in all 12 muffin cups. They might not get quite as tall, but they’ll still be delicious!
- Feeling fancy? After they cool, drizzle the muffins with a simple lemon glaze (just powdered sugar mixed with a tiny bit of lemon juice) or some melted white chocolate. A single pistachio half on top of the glaze looks super elegant.
- Seasonal Fun:
- Spring/Summer: That citrus zest is perfect. A tiny splash of rosewater (like ¼ teaspoon) in the wet ingredients could add a lovely floral touch too.
- Fall/Winter: Try a pinch of cinnamon or nutmeg in the dry ingredients. Dried cranberries with the pistachios would be festive too!
Serving, Storing, and Enjoying Your Masterpieces!
You did it! A batch of gorgeous, fragrant Bakery-Style Pistachio Muffins is all yours.
- How to Serve ‘Em: These are amazing warm. Maybe with a tiny bit of butter, but honestly, they’re so moist they don’t even need it! They’re perfect for breakfast, a lovely addition to brunch, or just a great afternoon pick-me-up with coffee, tea, or a glass of cold milk. If you want to make them look extra nice, put them on a pretty plate or in a basket lined with a cloth napkin.
- Storing Your Muffins:
- Let them cool all the way before you put them away.
- Store them in an airtight container at room temperature. They’ll stay yummy for 2-3 days.
- If you need them to last longer, you can keep them in an airtight container in the fridge for up to a week.
- Reheating Tips:
- To get that just-baked warmth back, pop a muffin in the microwave for about 10-15 seconds.
- Or, wrap them in foil and warm them in a 300°F (150°C) oven for about 5-7 minutes.
- Making Ahead & Freezing:
- These muffins freeze like a dream! Once they’re totally cool, wrap each one in plastic wrap, then put them in a freezer bag or container. They’ll be good in the freezer for up to 3 months.
- When you want one, let it thaw on the counter overnight. Or, unwrap it and microwave for 20-30 seconds, or warm it in the oven like I mentioned above.
I really hope you have as much fun making these pistachio muffins as I do. And even more fun eating them! There’s something so satisfying about baking something this good from scratch. Happy baking, friends!
PrintPistachio Muffins

Whip up these incredibly soft and flavorful Bakery-Style Pistachio Muffins! My little secret (it’s the pistachio pudding mix!) makes them extra moist, gives them that beautiful green hue, and a flavor that’s just chef’s kiss. They’re perfect for a special breakfast, a lovely brunch, or just when you need a delicious treat! Trust me, these are a keeper.
- Prep Time: 10 minutes
- Cook Time: 23-27 minutes
- Total Time: About 50 minutes (Adding Rest Time)
- Yield: 10 amazing muffins 1x
- Category: Breakfast, Snack, Muffins
- Cuisine: American
Ingredients
For the Dry Stuff:
- 3 cups (360g) all-purpose flour
- 1 cup (200g) granulated sugar
- 1 (3.4 oz) package instant pistachio pudding mix (this is key!)
- 3 tsp baking powder
- 1 tsp salt
For the Wet Stuff:
- 2 large eggs (try to get them to room temp!)
- 1 ½ cups (360ml) buttermilk (No buttermilk? See my tip below!)
- ½ cup (118ml) vegetable oil
- 1 tsp vanilla extract
- ¼ tsp almond extract (a little goes a long way, but oh, the flavor!)
For Topping & Yumminess:
- ½ cup (60g) chopped pistachios, divided
- Sanding sugar (optional, but it adds a lovely sparkle and crunch!)
Instructions
- Get Dry Ingredients Ready: In a big bowl, whisk together the flour, sugar, pistachio pudding mix, baking powder, and salt. Make sure it’s all nicely combined.
- Mix the Wet: In a separate bowl, whisk your eggs. Then stir in the buttermilk, oil, vanilla extract, and almond extract until smooth.
- Combine Gently: Pour the wet ingredients into the dry ingredients. Using a spatula, fold them together just until you don’t see dry flour. A few lumps are perfectly fine – actually, they’re good! This batter will be thick. Don’t you dare overmix it!
- Rest the Batter & Heat Oven: Cover the bowl and let the batter rest on the counter for 15 minutes. This is crucial! While it’s resting, preheat your oven to a hot 425°F (220°C). Make sure an oven rack is in the middle.
- Fill Your Muffin Pan: Line 6 wells of a standard 12-cup muffin pan with paper liners (use every other well – this gives them room to puff!). Generously fill these 6 liners right to the top with half your batter. Sprinkle with some of your chopped pistachios and a little sanding sugar, if you’re using it.
- The Two-Temp Bake: Pop the pan into your hot oven. Bake at 425°F (220°C) for exactly 7 minutes. Then, without opening the oven door, reduce the oven temperature to 350°F (180°C). Continue baking for another 16-20 minutes. They’re done when a toothpick inserted into the center comes out clean or with just a few moist crumbs.
- Cool Down: Let the muffins cool in the pan for about 5-10 minutes. This helps them set. Then, gently move them to a wire rack to cool completely.
- Second Batch (if making all 10): If you have leftover batter for the remaining 4-5 muffins, remember to heat your oven back up to 425°F (220°C) before baking the next round. Repeat steps 5-7.
Notes
- Serving Ideas: These are heavenly served warm. A little pat of butter is nice, but they’re so moist, they really don’t need it. Perfect with your morning coffee or as an afternoon pick-me-up!
- Tips & Tricks for Success:
- No Buttermilk? No Problem! Make your own: add 1 ½ tablespoons of lemon juice or white vinegar to 1 ½ cups of regular milk. Let it sit for 5-10 minutes until it looks a bit curdled. Easy peasy!
- For those Perfect Domes: Seriously, don’t skip the 15-minute batter rest. And filling every other muffin cup really helps them get tall!
- The Golden Rule: Do not overmix the batter! A slightly lumpy, thick batter is your friend for tender, fluffy muffins.
- No Peeking! Try your best not to open the oven door during those first 7 minutes of high-heat baking.
- Storing & Reheating Your Muffins:
- To Store: Make sure they’re completely cool first. Then, keep them in an airtight container at room temperature for 2-3 days. They’ll last up to a week in the fridge.
- To Freeze: These freeze beautifully! Wrap each cooled muffin individually in plastic wrap, then pop them into a freezer-safe bag or container. They’ll be good for up to 3 months.
- To Reheat: For that just-baked warmth, microwave a muffin for about 10-15 seconds. Or, wrap in foil and warm in a 300°F (150°C) oven for about 5-7 minutes.
Happy Baking! I hope you love these as much as I do!