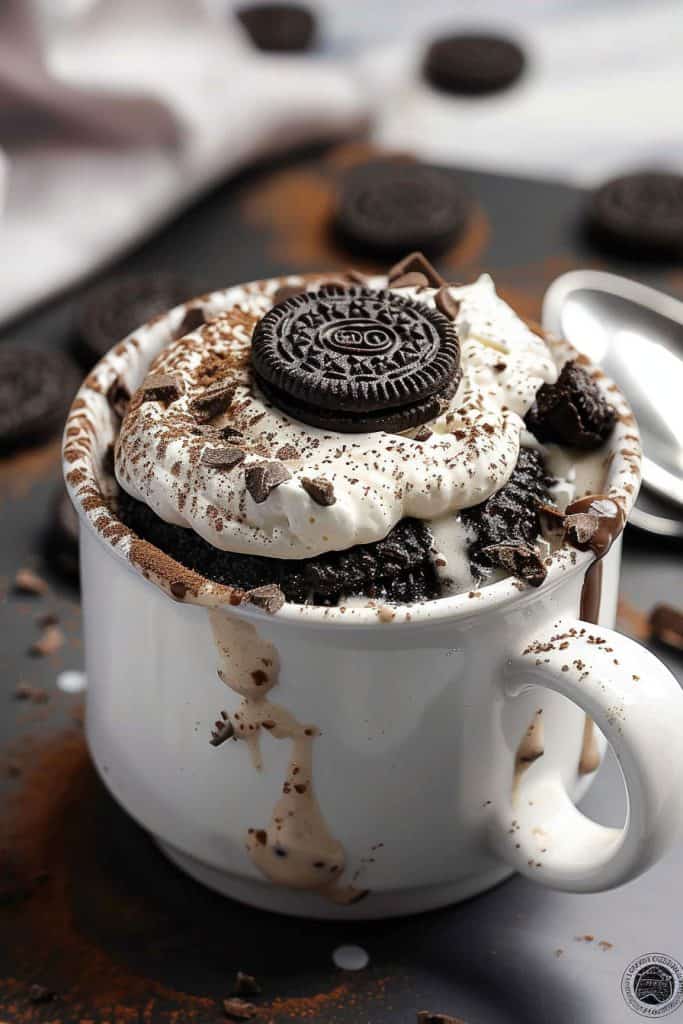
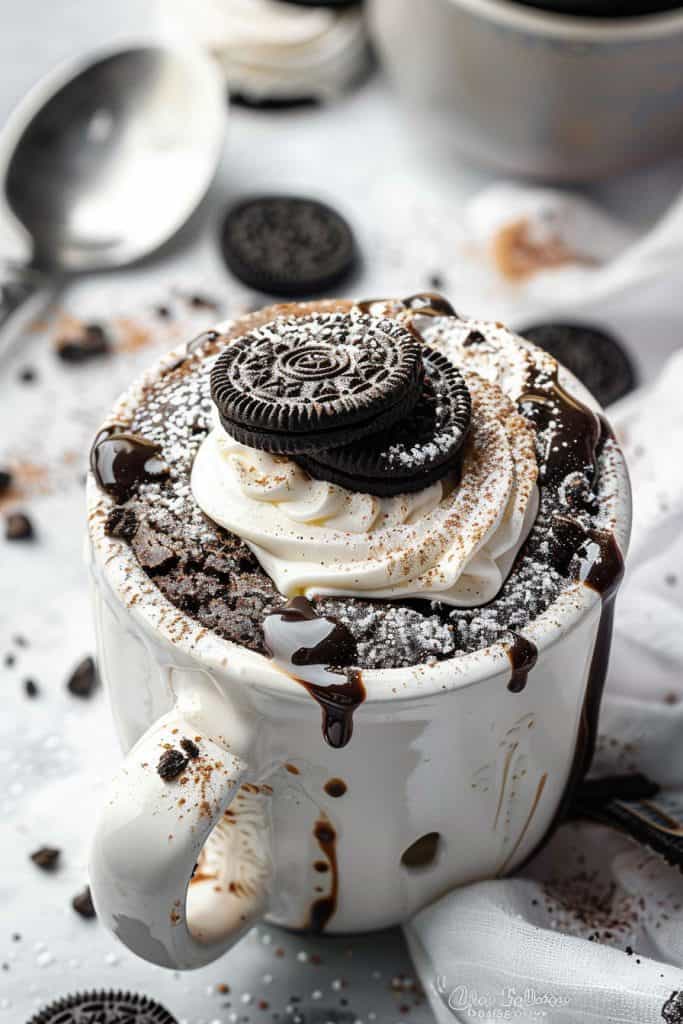
Craving something sweet but don’t want to spend hours in the kitchen? An Oreo mug cake is the perfect solution. This quick and easy dessert combines the classic taste of Oreos with the convenience of a microwave cake, making it an instant favorite for busy days or late-night snacks.
What’s great about this recipe is its simplicity. With just a few basic ingredients and a couple of minutes, you can whip up a delicious treat that satisfies your sweet tooth. Plus, it’s a fun way to get creative with your favorite cookie. Whether you’re a baking novice or a dessert aficionado, this Oreo mug cake will surely become a go-to recipe in your collection.

Ingredients
The ingredients for an Oreo mug cake are simple and likely already in your kitchen. Let’s break them down into the main components and some optional additions for those who want to elevate the flavor even further.
Main Ingredients
- 4 Oreo cookies, crushed
- 1/4 cup (60 ml) milk, any kind
- 2 tablespoons all-purpose flour
- 1/4 teaspoon baking powder
- 1 tablespoon sugar
- 1/2 teaspoon vanilla extract
- A pinch of salt
- 1 tablespoon chocolate chips
- 1 tablespoon whipped cream, for topping
- Additional crushed Oreos, for garnish
These ingredients will help you create a rich, satisfying Oreo mug cake in just minutes. Feel free to get creative with the optional additions to craft your perfect dessert.
Helpful Tools
When making an Oreo mug cake, a few essential tools will make the process smooth and easy. Here are the key items you’ll need:
Microwave-Safe Mug
A sturdy microwave-safe mug is essential for this recipe. Make sure it can hold at least 12 ounces to prevent overflow during cooking.
Measuring Cups and Spoons
Accurate measurements are crucial for the best results. Use measuring cups for the dry ingredients like flour and sugar and measuring spoons for liquids like vanilla extract and milk.
Mixing Spoon or Small Whisk
A mixing spoon or a small whisk will help you blend the ingredients effectively. Using a whisk can make the batter smoother and more uniform.
Microwave
Your microwave is the star appliance for this recipe. Ensure it’s set correctly to cook your mug cake evenly. Typically, a 1000-watt microwave will do the job perfectly but adjust the time if your microwave has a different wattage.
Fork
A fork is handy for crushing the Oreos. Place the cookies in a ziplock bag and crush them with the fork until you achieve a fine crumb consistency.
Spatula
A small rubber spatula helps scrape down the sides of the mug to ensure no batter is wasted.
Optional: Microwave Plate Cover
To avoid any potential mess from batter spills, you might find a microwave plate cover useful. This can catch any overflow and keep your microwave clean.
Utilizing these tools will streamline your Oreo mug cake creation, making it an enjoyable and fuss-free experience.

Directions
Follow these easy steps to create your delicious Oreo mug cake.
Prep
- Gather all ingredients and tools listed.
- Crush 4 Oreo cookies in a small bowl using a fork until they are fine crumbs.
- Set aside a microwave-safe mug.
Make the Batter
- In the microwave-safe mug, combine 1/4 cup of crushed Oreos and 2 tablespoons of all-purpose flour.
- Add 1/4 teaspoon of baking powder and a pinch of salt.
- Stir in 2 tablespoons of granulated sugar.
- Pour in 1/4 cup of milk and 1/2 teaspoon of vanilla extract.
- Mix the ingredients until a smooth batter forms.
- Fold in a tablespoon of chocolate chips if desired.
- Place the mug in the microwave.
- Microwave on high for 1 to 1.5 minutes, or until the cake has risen and is set.
- Remove the mug and let it cool for a minute before enjoying.
- Optionally, top with whipped cream and additional crushed Oreos for garnish.
Tips for the Perfect Oreo Mug Cake
Creating the ultimate Oreo mug cake involves a few key tips to ensure your dessert is both delicious and visually appealing. Here are my top recommendations:
Use Fresh Ingredients
Always use fresh ingredients for the best flavor and texture. This means ensuring your milk isn’t past its expiration date and using fresh baking powder for maximum rising effect.
Choose the Right Mug
Select a microwave-safe mug that holds at least 12 ounces. This allows room for the cake to rise without overflowing. A wide mug offers better results compared to a tall, narrow one.
Crush the Oreos Well
For a smoother batter, crush the Oreos finely. I recommend using a fork or placing the cookies in a zip-top bag and using a rolling pin to crush them into even pieces.
Measure Ingredients Accurately
Accuracy is key in baking. Use measuring spoons and cups to get the exact amount of each ingredient. Too much flour or too little milk can affect the texture and rise of your mug cake.
Mix Thoroughly
Make sure to mix the batter until smooth and well combined. Any lumps can create uneven texture and pockets of dry ingredients in the finished cake. A small whisk or fork works perfectly for this.
Monitor Cooking Time
Microwave strengths vary, so keep an eye on the cake as it cooks. Start with 60 seconds on high, then check if it needs more time. Continue in 15-second intervals until the cake is cooked through but still moist.
Let It Rest
After microwaving, let the mug cake rest for a few minutes. This helps firm up the texture and makes it easier to enjoy without scorching your mouth.
Customize Your Toppings
Top your Oreo mug cake with whipped cream, extra crushed Oreos, or even a drizzle of chocolate syrup for an extra special touch. Personalizing your mug cake makes it even more indulgent.
By following these tips, you can create a perfect Oreo mug cake every time—a delightful, quick treat that sounds and tastes amazing.

Substitutions and Variations
When it comes to making an Oreo mug cake, there are plenty of ways to tweak the recipe to suit your tastes or dietary needs. Here are some substitutions and variations you can try:
Dairy-Free Option
For those who are lactose intolerant or prefer a dairy-free option, you can substitute regular milk with almond milk, soy milk, or oat milk. These alternatives provide a similar consistency and will not alter the flavor significantly.
Gluten-Free Version
To make a gluten-free Oreo mug cake, use gluten-free flour in place of all-purpose flour. Be sure that the Oreos you use are also gluten-free, as not all varieties are suitable for a gluten-free diet.
Sugar Substitutes
If you are looking to reduce your sugar intake, you can replace the regular sugar with a sugar substitute such as Stevia, erythritol, or coconut sugar. Just keep in mind that the sweetness level might vary, so you may need to adjust the quantity according to your taste preferences.
Vegan Options
Making a vegan Oreo mug cake is possible as well. Use a plant-based milk such as almond or soy milk, and substitute the egg with a flax egg (1 tablespoon of flaxseed meal mixed with 3 tablespoons of water). Ensure the Oreos you choose are vegan-friendly.
Flavor Variations
Feel free to get creative with the flavors. You can add a tablespoon of cocoa powder for a richer chocolate flavor or mix in a teaspoon of instant coffee granules for a mocha twist. Another idea is to stir in some peanut butter or Nutella for an extra layer of flavor.
Additional Mix-Ins
To make your mug cake even more indulgent, you can mix in chocolate chips, white chocolate chunks, or crushed mint candies. Dried fruits like raisins or cranberries can also add an interesting texture and taste.
Top It Off
Lastly, the toppings can truly elevate your Oreo mug cake. Try adding a scoop of ice cream, a drizzle of caramel or chocolate sauce, or a sprinkle of chopped nuts. Fresh berries or sliced bananas also pair beautifully with the classic Oreo flavor.
By experimenting with these substitutions and variations, you can enjoy a customized Oreo mug cake that perfectly fits your dietary preferences and flavor cravings.

Serving Suggestions
Once your Oreo mug cake has cooled slightly and is ready to be devoured, consider these serving suggestions to enhance your experience:
- Ice Cream Toppings:
- Scoop a generous dollop of your favorite ice cream flavor, such as vanilla, chocolate, or cookies and cream.
- The melting ice cream adds a creamy texture that complements the warm, gooey cake.
- Sauce Drizzles:
- Drizzle some chocolate syrup, caramel sauce, or even a fruity raspberry coulis over the top.
- These sauces add a deliciously sweet and tangy contrast to the rich Oreo flavor.
- Whipped Cream:
- Top your mug cake with a swirl of whipped cream.
- This light and airy topping pairs excellently with the dense cake, providing a delightful taste and texture combination.
- Fruits:
- Scatter fresh berries, banana slices, or diced fruits like strawberries or mango around the mug cake.
- The natural sweetness and acidity of the fruit can balance the cake’s richness.
- Nuts and Crunch:
- Sprinkle chopped nuts, crushed cookies, or granola over your mug cake.
- These add a satisfying crunch and a nutty flavor that enhances the overall experience.
- Dusting of Powder:
- A light dusting of powdered sugar, cocoa powder, or cinnamon can add a decorative touch and a hint of extra flavor.
- This simple addition also makes your dessert look picture-perfect for sharing on social media.
- Warm Drinks:
- Serve your mug cake with a hot beverage like coffee, hot chocolate, or a comforting tea.
- The warm drink complements the cake and makes for a cozy treat.
By following these serving suggestions, you can elevate your Oreo mug cake to new heights, making it not only a quick dessert but also a memorable and indulgent treat.

Storing and Reheating
When it comes to storing your Oreo mug cake, first ensure it has cooled completely to room temperature. Transfer the mug cake to an airtight container or wrap it tightly with plastic wrap to maintain its moisture and freshness.
Storing
- Cooling: Allow the Oreo mug cake to cool entirely before storing.
- Airtight Container: Place the cake in an airtight container to prevent it from drying out.
- Refrigeration: Store in the refrigerator if you plan to keep it for more than a day, which helps preserve its texture and flavor. This way, the cake can last up to 3 days.
- Freezing: For longer storage, the cake can be frozen. Wrap it in plastic wrap, then place it in a freezer-safe bag or container. It can be frozen for up to 1 month.
- Microwave: To reheat, place the mug cake back in the microwave-safe mug if not already there. Microwave it for 10-15 seconds to warm through without overcooking. Avoid microwaving for too long, as it can make the cake tough or chewy.
- Oven: Alternatively, preheat your oven to 350°F (175°C). Place the mug cake on an oven-safe dish and warm it for about 5-10 minutes, checking frequently to avoid drying it out.

More Mug Cake Recipes
Continuing on from our delicious Oreo mug cake, I have a treasure trove of more delightful mug cake recipes you can whip up in minutes. Here are a few of my favorites:
Classic Chocolate Mug Cake
Ingredients:
- 4 tablespoons all-purpose flour
- 4 tablespoons granulated sugar
- 2 tablespoons unsweetened cocoa powder
- 1/4 teaspoon baking powder
- Pinch of salt
- 3 tablespoons milk
- 2 tablespoons vegetable oil
- 1/4 teaspoon vanilla extract
- 1 tablespoon chocolate chips (optional)
Instructions:
- In a microwave-safe mug, mix flour, sugar, cocoa powder, baking powder, and salt.
- Add milk, oil, and vanilla extract. Stir until smooth.
- Fold in chocolate chips if using.
- Microwave on high for 1 minute 30 seconds to 2 minutes, until the cake has risen and is set in the center.
- Let the cake cool for a minute before enjoying.
Vanilla Bean Mug Cake
Ingredients:
- 4 tablespoons all-purpose flour
- 2 tablespoons granulated sugar
- 1/4 teaspoon baking powder
- Pinch of salt
- 3 tablespoons milk
- 2 tablespoons melted butter
- 1/4 teaspoon vanilla bean paste or extract
Instructions:
- In a microwave-safe mug, combine flour, sugar, baking powder, and salt.
- Add milk, melted butter, and vanilla bean paste or extract. Mix until a smooth batter forms.
- Microwave on high for 1 minute 30 seconds to 2 minutes, until the cake is firm and cooked through.
- Allow to cool briefly then savor the fluffy vanilla goodness.
Peanut Butter Chocolate Chip Mug Cake
Ingredients:
- 4 tablespoons all-purpose flour
- 2 tablespoons granulated sugar
- 1/2 teaspoon baking powder
- Pinch of salt
- 3 tablespoons milk
- 2 tablespoons creamy peanut butter
- 1 tablespoon chocolate chips
Instructions:
- In a microwave-safe mug, combine flour, sugar, baking powder, and salt.
- Add milk and peanut butter. Stir until thoroughly mixed.
- Fold in chocolate chips.
- Microwave on high for 1 minute 30 seconds to 2 minutes, until the cake is cooked through and slightly firm.
- Let it cool for a bit before digging in.
Lemon Drizzle Mug Cake
Ingredients:
- 4 tablespoons all-purpose flour
- 2 tablespoons granulated sugar
- 1/4 teaspoon baking powder
- Pinch of salt
- 3 tablespoons milk
- 2 tablespoons vegetable oil
- 1/2 teaspoon lemon zest
- 1 teaspoon lemon juice
- Powdered sugar and additional lemon juice for drizzle
Instructions:
- In a microwave-safe mug, mix flour, sugar, baking powder, and salt.
- Add milk, oil, lemon zest, and lemon juice. Stir until the batter is consistent.
- Microwave on high for 1 minute 30 seconds to 2 minutes, until set.
- Mix powdered sugar and lemon juice to create a drizzle. Pour over the cake before serving.
Pumpkin Spice Mug Cake
Ingredients:
- 4 tablespoons all-purpose flour
- 2 tablespoons brown sugar
- 1/4 teaspoon baking powder
- 1/4 teaspoon pumpkin pie spice
- Pinch of salt
- 3 tablespoons milk
- 2 tablespoons canned pumpkin puree
- 1 tablespoon vegetable oil
- In a microwave-safe mug, whisk flour, brown sugar, baking powder, pumpkin pie spice, and salt.
- Stir in milk, pumpkin puree, and vegetable oil until smooth.
- Microwave on high for 1 minute 30 seconds to 2 minutes, until the cake is firm.
- Let it rest for a minute prior to eating to fully appreciate the autumnal flavors.
Conclusion
Exploring these Oreo mug cake recipes has been a delightful journey. With just a few simple ingredients and a microwave-safe mug, you can whip up a delicious treat in minutes. Whether you’re craving the classic Oreo flavor or looking to try something new like Lemon Drizzle or Pumpkin Spice, there’s a mug cake recipe for every taste.
I hope you find these recipes as enjoyable and convenient as I do. Happy baking!
