
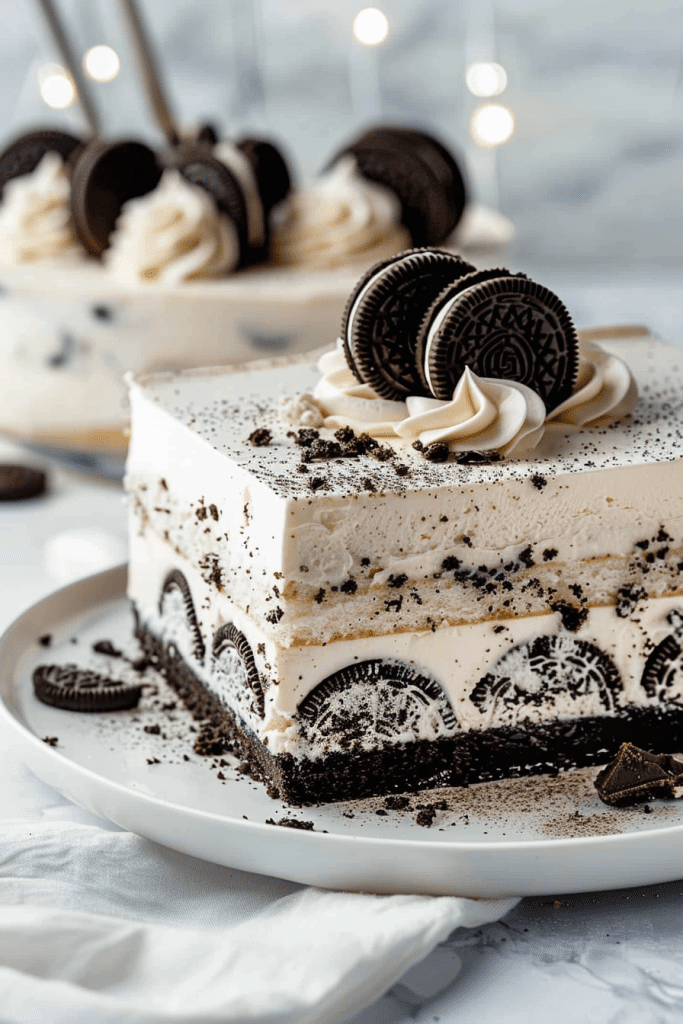
Craving a delightful frozen treat that’s easy to make? Look no further than the indulgent Oreo ice cream cake recipe. This dessert is a heavenly combination of Oreo ice cream sandwiches, luscious hot fudge, and creamy ice cream, topped with a fluffy whipped cream layer. While it may look like a traditional cake, this recipe skips the cake batter, making it a unique and delicious twist on a classic.
Perfect for birthdays or any celebration, the Oreo ice cream cake is a crowd-pleaser that will have everyone coming back for seconds. With layers of chocolaty goodness from crushed Oreos and hot fudge, this dessert is a refreshing delight on a hot summer day. If you’re a fan of no-bake desserts like mud pie, this recipe is a must-try for your next gathering. Get ready to impress your guests with this easy-to-make, mouthwatering Oreo ice cream cake.
Ingredients
In preparing the decadent Oreo ice cream cake, the following ingredients are required for each layer:
Brownie Layer
- 10 whole Oreos
- Pinch of kosher salt
- 2 tablespoons (28g) unsalted butter
Cookies and Cream Ice Cream Layer
- ½ gallon cookies and cream ice cream
Fudgy Oreo Layer
- 36 Oreo cookies (use a 19.1 oz family size package, yields 48 cookies)
- 1 stick unsalted butter, melted
- 1 jar hot fudge sauce (12-14 oz)
Whipped Cream Frosting
- 8 oz Cool Whip (additional container needed for the Oreo whipped cream)
Necessary Equipment
For preparing this delectable Oreo ice cream cake, you’ll need a few essential kitchen tools to make the process smooth and efficient.
- Food processor: You’ll need this to crush the Oreos for the crunchy base of the cake.
- 9-inch by 13-inch pan: To assemble and freeze the layers of the ice cream cake.
- Spatula: Essential for spreading the ice cream and whipped cream layers evenly.
- Parchment paper: To line the pan and ensure easy removal of the cake.
- Microwave-safe bowl: For heating the hot fudge sauce before drizzling it over the cake.
- Plastic wrap: Used to cover the cake while it sets in the freezer.
- Freezer: To chill the cake and allow it to set properly.
- Whisk or electric mixer: For whipping up the cream for the topping.
- Butter knife: To spread the ice cream layer evenly over the Oreo crust.
- Serving platter: To present and serve the finished Oreo ice cream cake.

Preparation Steps
In this section, I will guide you through the step-by-step process to prepare the irresistible Oreo ice cream cake. Let’s start by creating the different layers that make this dessert a true delight.
Preparing the Brownie Layer
- Start by lining a 9×13 baking dish with parchment paper for easy removal of the cake.
- Crush or break the Oreos and spread them out evenly at the bottom of the dish.
- Melt the unsalted butter and mix it with a pinch of kosher salt before pouring it over the crushed Oreos.
- Optional: Drizzle a tablespoon of chocolate shell over the butter and Oreos for an added chocolatey touch.
Creating the Ice Cream Layer
- Allow the store-bought ice cream to soften at room temperature until it reaches a scoopable consistency.
- Once the ice cream is ready, spoon it over the crushed Oreos in the baking dish.
- Use a butter knife to spread the ice cream evenly to create a smooth layer.
- If making the no-churn ice cream, whip the cold heavy cream, vanilla extract, sweetened condensed milk, and crushed Oreos together until well combined.
- Drizzle a generous amount of hot fudge topping over the ice cream layer.
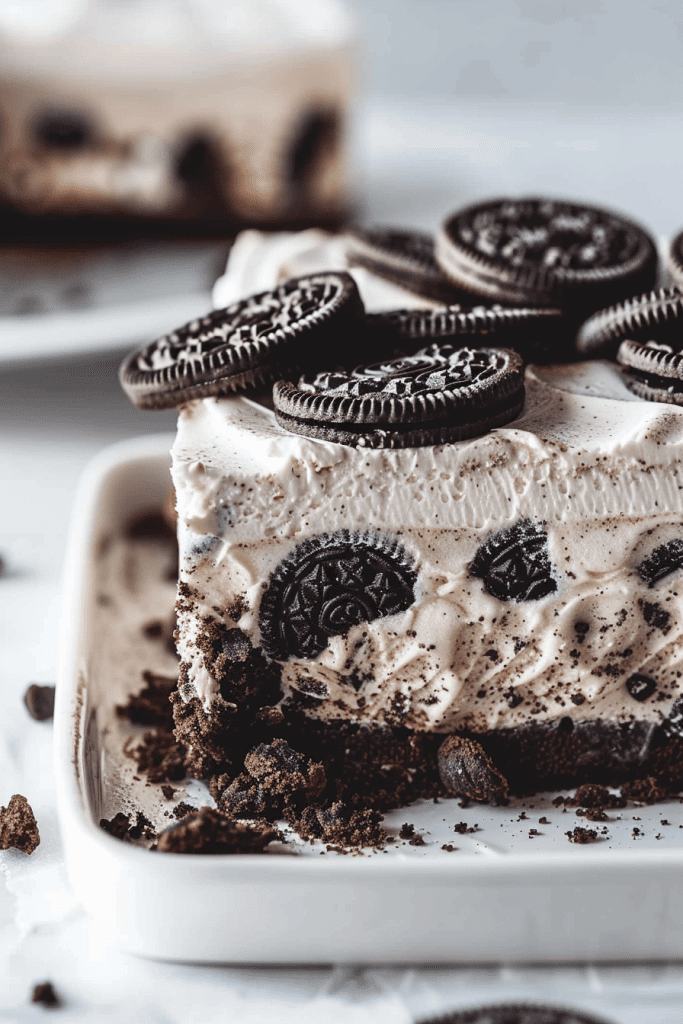
- Top the cake with the remaining crushed Oreos for a final decadent touch.
- Finish by adding a layer of whipped cream over the Oreos for a creamy and indulgent frosting.
By following these simple steps, you will have a show-stopping Oreo ice cream cake ready to impress your guests at any summer gathering or celebration.
Assembly Instructions
Layering the Cake
I start assembling the Oreo ice cream cake by placing a layer of Oreo ice cream sandwiches at the bottom of a 9×13-inch pan. I ensure the sandwiches fit snugly in a single layer to create a solid base for the cake.
Next, I generously drizzle warmed hot fudge sauce over the ice cream sandwiches, ensuring it covers the entire surface to add a rich, chocolatey flavor to the cake.
After the hot fudge layer, I sprinkle a generous amount of crushed Oreos over the sauce. The cookie crumbs provide a delicious crunch and an extra layer of Oreo goodness to the cake.
I repeat the layering process by adding another layer of Oreo ice cream sandwiches on top of the crushed Oreos. This creates a second ice cream layer, enhancing the cake’s creaminess.
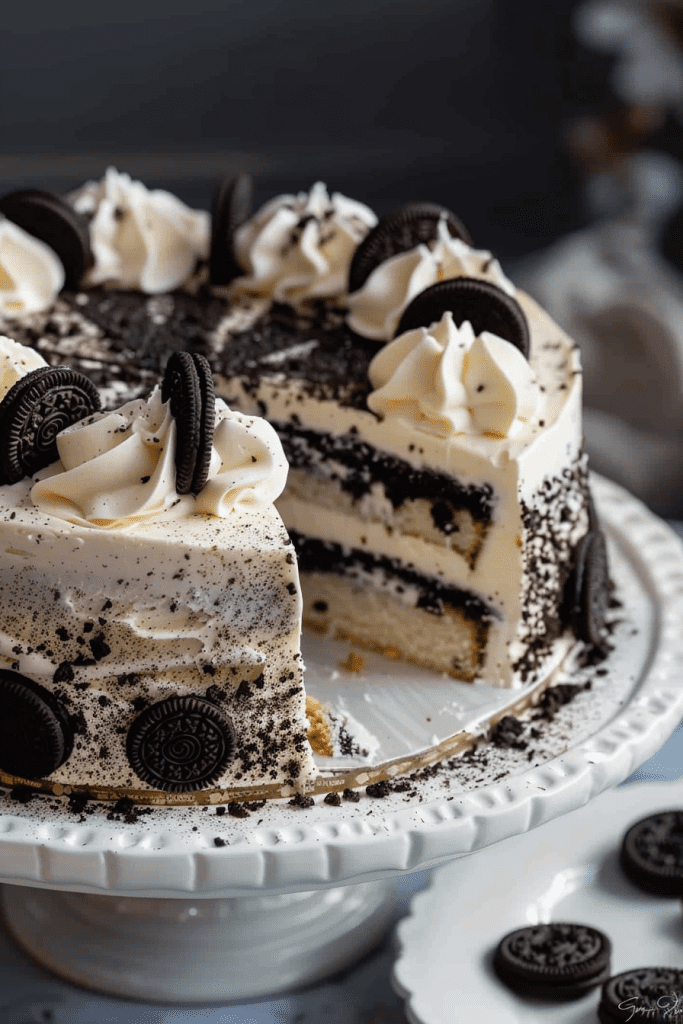
To finish off the layering, I add a final layer of Oreo ice cream sandwiches on top of the second layer, creating a symmetrical look for the cake. This layer acts as the perfect base for the frosting and decorations.
Adding Frosting and Ganache
Once the cake layers are assembled, I carefully spread a thick layer of whipped cream frosting over the top layer of Oreo ice cream sandwiches. The whipped cream adds a light and fluffy texture to the cake, complementing the rich layers beneath.
For an optional touch of decadence, I prepare a ganache drip by melting dark chocolate with double cream. I drizzle the ganache over the whipped cream layer, creating a glossy and indulgent finish to the Oreo ice cream cake.
After adding the ganache, I garnish the cake with more crushed Oreos, adding a final decorative touch and enhancing the overall Oreo flavor profile of the dessert.
The Oreo ice cream cake is now complete and ready to be placed in the freezer to set. I recommend allowing it to freeze for at least 4 hours to ensure all the layers are firm and ready to be sliced and served.
Decorating the Cake
Decorating an Oreo ice cream cake is where you can get creative and make it truly your own. Here are some ideas for garnishing and presenting your show-stopping dessert:
- Whipped Cream Swirls: Piping whipped cream swirls on top of the cake adds a touch of elegance and creaminess.
- Ganache Drip: Drizzle a luscious ganache drip over the whipped cream for a decadent chocolate finish.
- Oreo Crumbles: Sprinkle crushed Oreos on top of the cake for extra crunch and a burst of Oreo flavor.
- Fresh Berries: Add a pop of color and freshness by garnishing the cake with fresh berries like strawberries or raspberries.
- Sprinkles: For a festive touch, sprinkle colorful sprinkles or edible glitter on top of the cake.
How to Serve and Store
After creating this delectable Oreo ice cream cake, it’s essential to know the best way to serve and store it for future enjoyment.
Best Serving Conditions
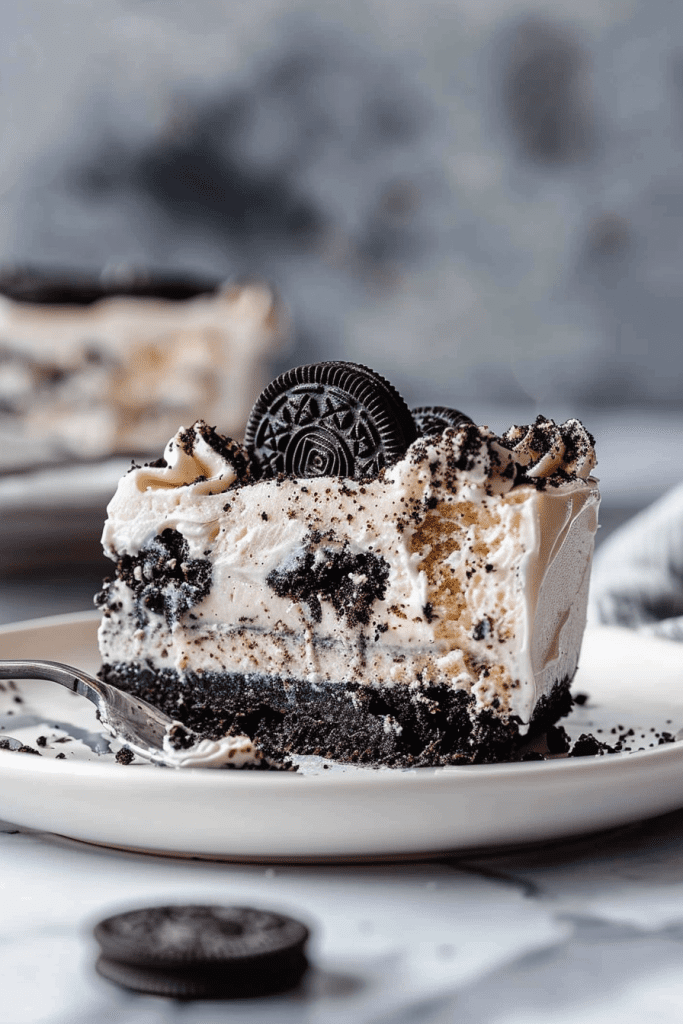
To serve this delicious Oreo ice cream cake, take it out of the freezer and allow it to thaw slightly for about 5-10 minutes before slicing. This will make it easier to cut through and enjoy without being too hard.
Storage Tips
For storing the leftover Oreo ice cream cake, cover the remaining slices tightly with plastic wrap or aluminum foil and place them back in the freezer. Ensure they are stored in an airtight container to prevent freezer burn, and they can last for up to a week. Remember, this cake is best served and stored frozen to preserve its texture and flavors.
Make Ahead Tips
Planning ahead can make assembling your Oreo ice cream cake a breeze. Here are some tips for preparing components in advance to streamline the process:
Preparing Components in Advance
To save time on the day of assembly, consider preparing some components in advance. You can crush the Oreos, make the whipped cream, and even freeze the cake layers a day before. By having these elements ready to go, you’ll expedite the cake-making process and ensure a smoother experience.
Conclusion
Creating a delectable Oreo ice cream cake is a rewarding experience that guarantees to impress your guests. The layering of Oreo ice cream sandwiches, hot fudge, and whipped cream results in a decadent dessert that is both visually stunning and delicious. By following the assembly instructions meticulously and adding personal touches like whipped cream swirls or ganache drizzles, you can elevate the presentation of this show-stopping treat. Remember to allow the cake to thaw slightly before serving and follow the storage tips to maintain its texture and flavors. With some pre-planning and preparation, you can streamline the process and ensure a seamless dessert creation that will be the highlight of any celebration. Enjoy the sweet success of making your own Oreo ice cream cake and delight in the joy it brings to those who indulge in this irresistible treat.