
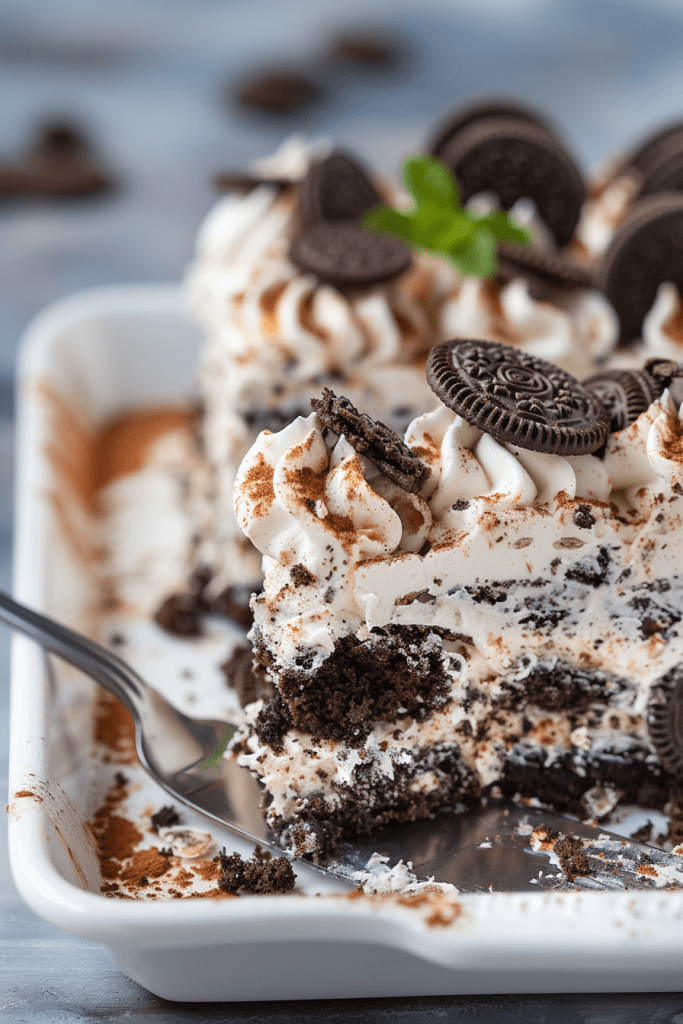
Craving a decadent dessert that’s a delightful twist on traditional cakes? Dive into the world of Oreo Earthquake Cake recipes! This indulgent treat combines the goodness of whole Oreo cookies, white cake mix, and a luscious cream cheese frosting that bakes into a masterpiece of flavors and textures.
Imagine sinking your fork into a slice of this Oreo-infused delight, with creamy frosting-filled crevices and cracks adorning the top. The process of layering whole Oreos, cake mix, and a generous swirl of cream cheese frosting creates a dessert that’s not only visually stunning but also a heavenly experience for your taste buds.
Ingredients and Substitutions
When preparing an Oreo Earthquake Cake, the ingredient selection can make a significant impact on the final taste and texture of the dessert. Here’s a breakdown of the essential ingredients, followed by details on the Oreo layer and suitable substitutions for dietary restrictions.
Essential Ingredients
To create a sensational Oreo Earthquake Cake, you will need the following essential ingredients:
- Oreo Cookies: A standard package of Oreo cookies is crucial to achieving that signature Oreo flavor in the cake.
- Sweetened Condensed Milk: This ingredient adds sweetness and moisture to the cake, enhancing its texture.
- Whipped Topping (Cool Whip): A tub of frozen whipped topping brings lightness and creaminess to the dessert.
- Chocolate Fudge Cake Mix: Any chocolate cake mix will work for this recipe, providing a rich chocolate base.
- Butter: Sliced butter is used to layer over the cake mix, adding a buttery richness to the dessert.
Oreo Layer
The Oreo layer in the cake sets the foundation for the delicious flavors to come. This layer consists of whole Oreo cookies that are strategically placed to create a crunchy base with pockets of Oreo goodness throughout the cake.
Substitutions for Dietary Restrictions
For individuals with specific dietary restrictions, here are some substitutions that can be made to accommodate their needs:
- Gluten-Free Option: Use a gluten-free chocolate cake mix to replace the traditional chocolate fudge cake mix.
- Dairy-Free Option: Opt for dairy-free whipped topping and sweetened condensed coconut milk as substitutes for their dairy counterparts.
- Vegan Option: Choose plant-based butter and a vegan-friendly white cake mix to make this dessert suitable for vegans.
By making these simple substitutions, you can tailor the Oreo Earthquake Cake to meet various dietary requirements while still enjoying its delicious flavors.
Tools and Equipment Needed
For preparing this delicious Oreo Earthquake Cake recipe, you will need some essential tools and equipment to ensure a smooth baking process. Here are the items you will need:
Tools:
- Mixing bowls
- Whisk or electric mixer
- Spatula
- 13×9 inch baking pan
- Parchment paper or non-stick cooking spray
- Oven
- Cooling rack
- Serving plate or platter
Having these tools and equipment ready will make it easier for you to create this mouthwatering Oreo Earthquake Cake.

Step-by-Step Instructions
Preparing the Cake Batter
To start making your Oreo Earthquake Cake, preheat the oven to 350°F and lightly coat a 9×13-inch pan with nonstick spray. In a large bowl, combine the white cake mix, milk, eggs, and oil according to the package directions. Don’t forget to add in the crushed Oreo cookie crumbs to infuse that delicious Oreo flavor into the cake batter.
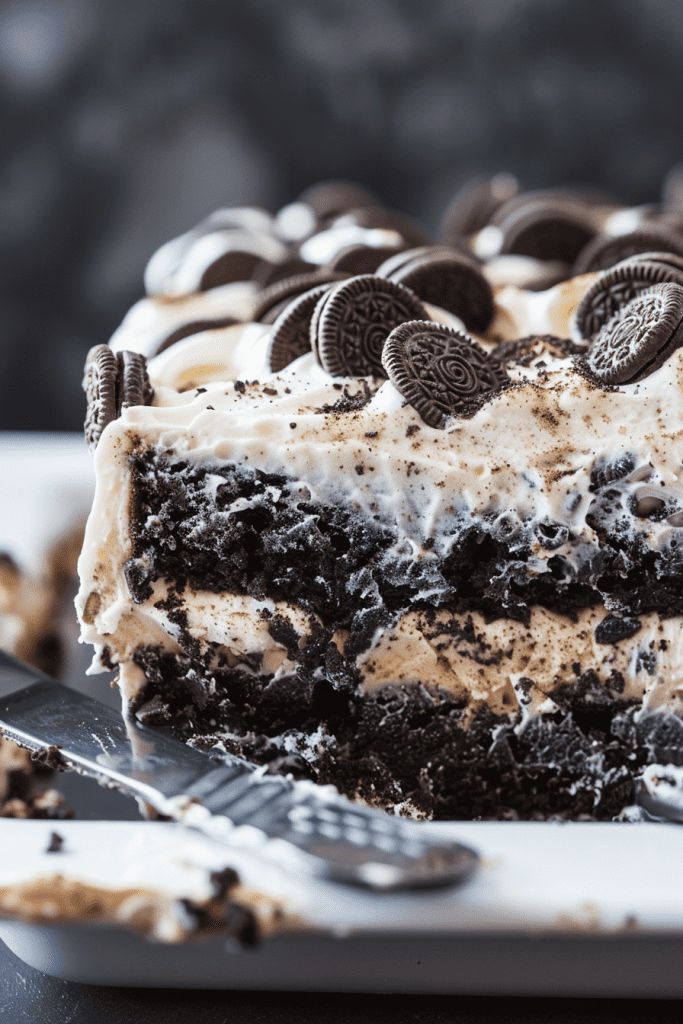
Layering the Oreos and Batter
Once your cake batter is prepared, it’s time to layer the whole Oreos in the pan. Lay the whole Oreo cookies evenly on the bottom of the pan to create a solid base for your cake. Then, pour the prepared cake batter over the Oreos, ensuring it covers them completely. This layering technique will result in a delightful Oreo surprise with every bite.
Adding the Cream Cheese Topping
For the final step before baking, it’s time to add the cream cheese frosting layer. In a saucepan over medium-low heat, melt the cream cheese and butter together, stirring constantly. Once melted, remove from heat and mix in the powdered sugar until smooth. Carefully drizzle this cream cheese mixture over the cake batter. As it bakes, the cream cheese topping will create beautiful cracks and crevices, adding to the unique texture and taste of your Oreo Earthquake Cake.
Cooking Time and Temperature
To ensure that your Oreo Earthquake Cake turns out perfectly, it’s crucial to pay attention to the cooking time and temperature. Here’s a detailed guide to help you achieve the best results:
- Preheating the Oven: Before you start assembling your Oreo Earthquake Cake, preheat your oven to 350°F (180°C) to ensure it’s adequately hot when you’re ready to bake.
- Baking Time: Once you’ve prepared the cake by layering the Oreos, cake mix, and butter, it’s time to bake. Place the Oreo Earthquake Cake in the preheated oven and bake for approximately 40-45 minutes.
- Checking for Doneness: You’ll know the cake is done when there are no dry cake mix spots showing, and the top layer has a golden-brown hue.
- Cooling Period: After baking, allow the cake to cool slightly before serving. It’s best enjoyed warm but not piping hot.
By following these time and temperature guidelines, you’ll be able to savor a delicious Oreo Earthquake Cake that’s perfectly cooked and bursting with flavor.
Tips for the Perfect Earthquake Cake
Creating the perfect Oreo Earthquake Cake involves some key tips to ensure its success. Follow these suggestions for a delicious and visually stunning dessert.
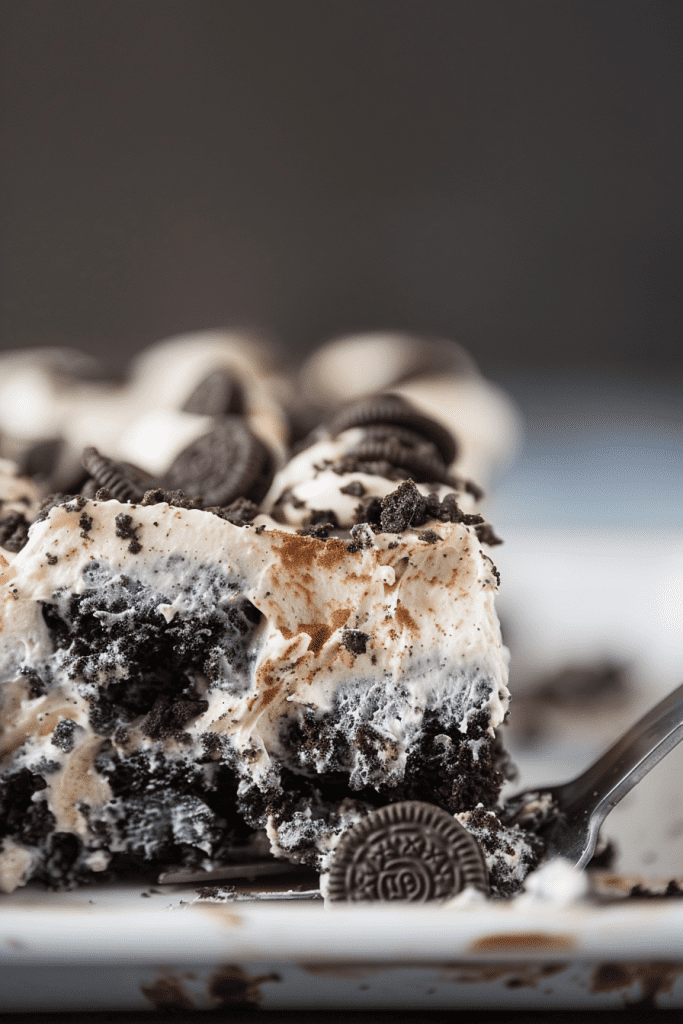
Achieving the Marble Effect
To achieve the beautiful marble effect in your Earthquake Cake, ensure that you layer the ingredients carefully. As you pour the chocolate cake mix over the whipped topping, take your time to spread it evenly. This will result in a visually appealing marbled texture once baked.
Ensuring Even Baking
For even baking, it’s essential to preheat your oven adequately before placing the cake inside. Additionally, follow the recommended baking time closely. To check for doneness, look for a set edge and a slightly loose center. Allow the cake to cool for the perfect texture before serving.
Serving and Presentation Suggestions
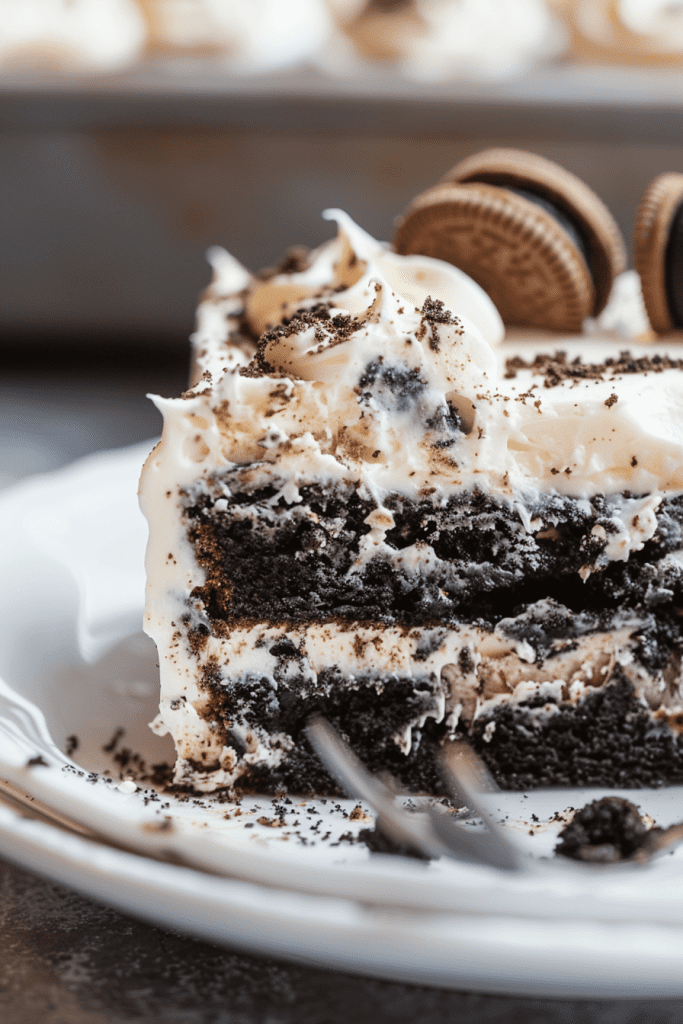
Ideal Serving Temperatures
I recommend serving the Oreo Earthquake Cake warm but not scorching hot. This allows the flavors to meld together beautifully while still maintaining a delightful temperature for indulging in each bite.
Make Ahead Instructions
When it comes to preparing an Oreo Earthquake Cake ahead of time, you can easily save some effort by following a few simple make-ahead instructions. These tips will allow you to enjoy a fresh and delicious cake without the last-minute rush. Here’s how you can prepare in advance:
Step 1: Assemble the Ingredients
Gather and measure out all the required ingredients for the Oreo Earthquake Cake. Having everything ready and organized will streamline the baking process when you’re ready to make the cake.
Step 2: Prepare the Cake Batter
One of the best make-ahead strategies is to prepare the cake batter up to the point of adding the Oreo cookies. Mix all the wet and dry ingredients as per the recipe instructions, stopping before incorporating the Oreos.
Step 3: Store the Batter
After preparing the cake batter, transfer it to an airtight container or cover the mixing bowl with plastic wrap. Store the batter in the refrigerator for up to 24 hours before baking the cake.
Step 4: Add Oreos and Bake
When you’re ready to bake the Oreo Earthquake Cake, take the prepared batter from the refrigerator. Gently fold in the Oreo cookies and proceed with the layering and baking steps as outlined in the recipe.
Step 5: Enjoy Your Freshly Baked Oreo Earthquake Cake
By following these make-ahead instructions, you can save time and still indulge in a freshly baked Oreo Earthquake Cake. The pre-prepared batter ensures that you can enjoy a delicious dessert without compromising on taste or quality.
Storing and Reheating
When it comes to preserving the delectable Oreo Earthquake Cake and ensuring its flavors remain intact, following proper storage techniques is crucial. Here is how you can store and reheat this delightful dessert.
Refrigeration Guidelines
Once you’ve enjoyed a slice or two of the Oreo Earthquake Cake, it’s essential to store any leftovers correctly. Allow the cake to cool completely before refrigerating. Cover the cake with plastic wrap or place it in an airtight container to maintain freshness. When ready to indulge in another serving, simply reheat the cake briefly to warm it up.
Freezing and Thawing Tips
If you find yourself with more Oreo Earthquake Cake than you can enjoy in one go, freezing is a great option. Make sure the cake has cooled completely before freezing. Wrap individual slices tightly in plastic wrap and aluminum foil to prevent freezer burn. To thaw, transfer a slice to the refrigerator overnight or microwave it gently for a quick thawing process.

Conclusion
Creating Oreo Earthquake Cake is a delightful journey into the world of decadent desserts. The unique combination of Oreo cookies, white cake mix, and cream cheese frosting offers a visually stunning treat with a perfect blend of flavors and textures. With essential tips on layering and achieving the marble effect, this recipe ensures a delicious outcome every time. Whether for a special occasion or a simple indulgence, this cake promises to impress with its rich taste and eye-catching presentation. Explore the endless possibilities of Oreo Earthquake Cake recipes and treat yourself to a slice of pure delight.