
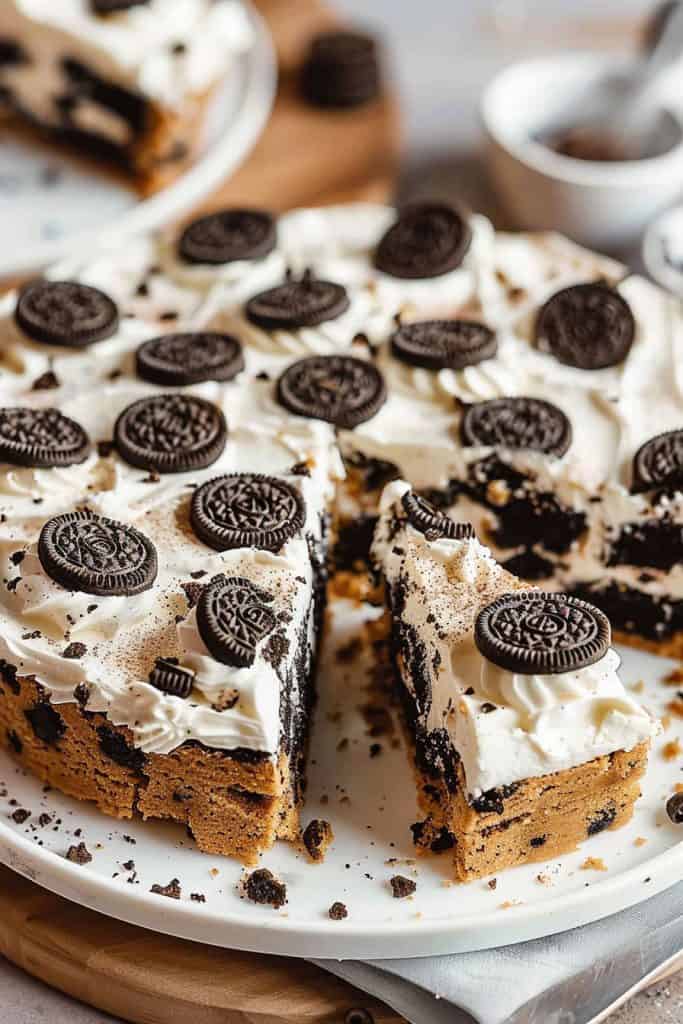
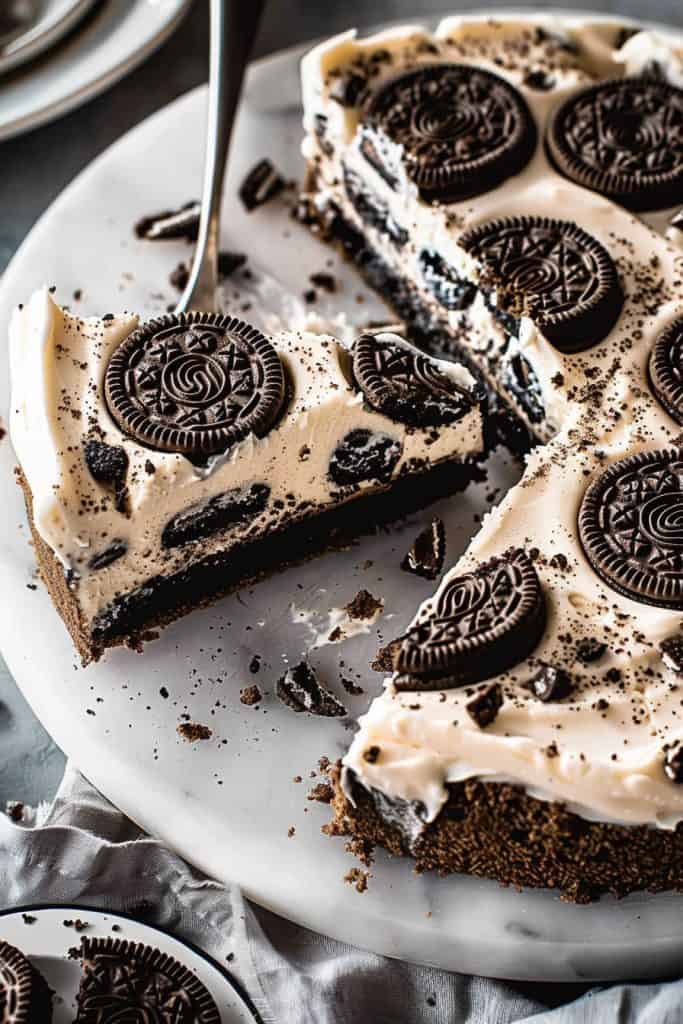
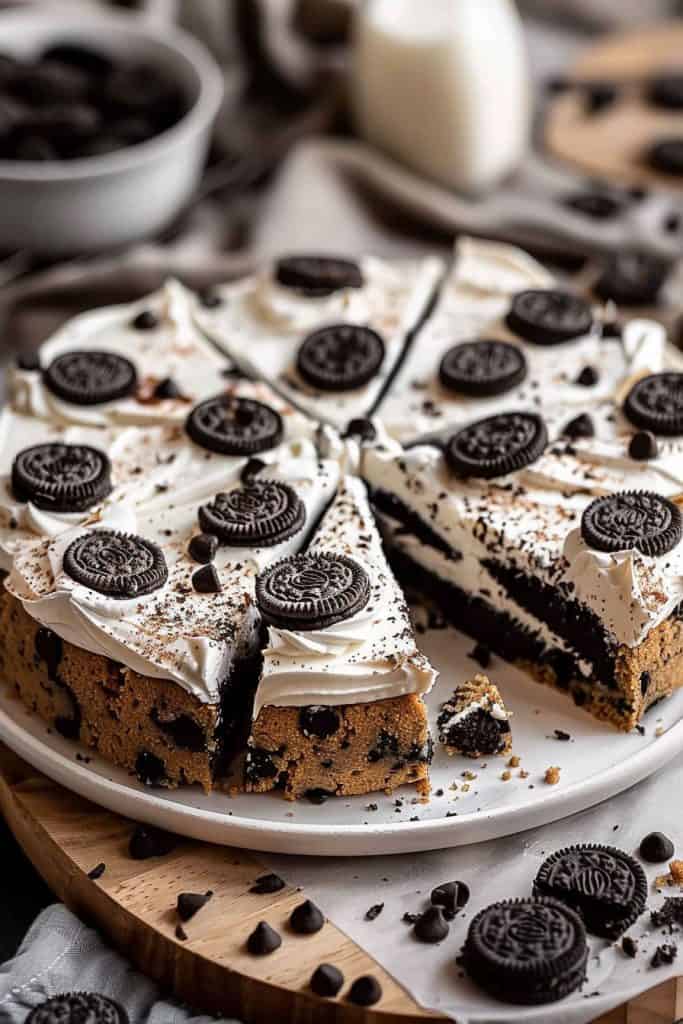
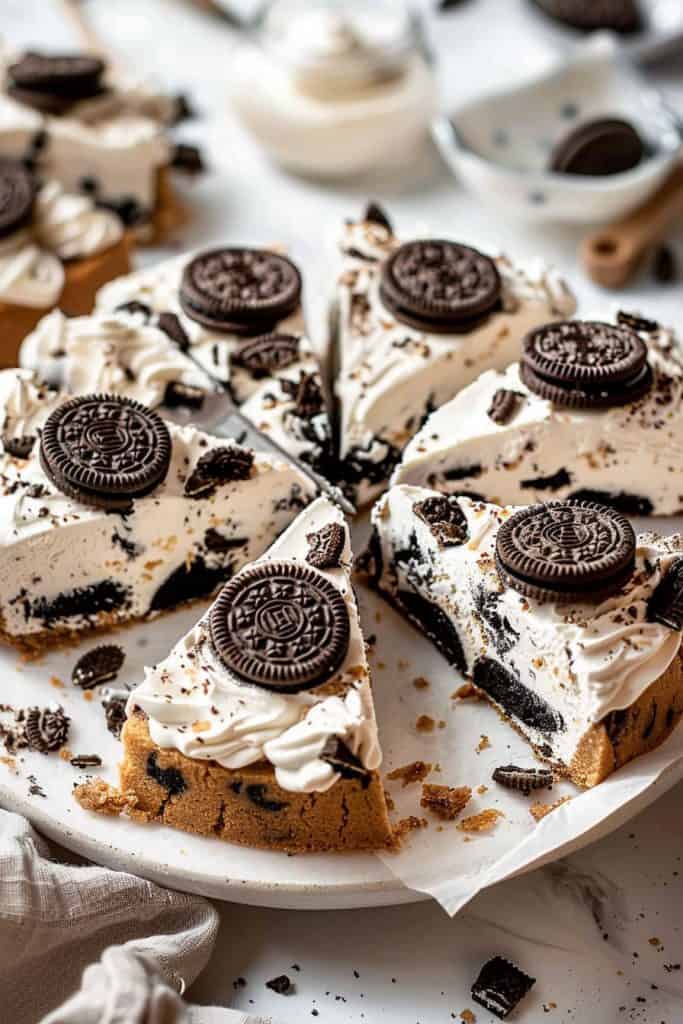
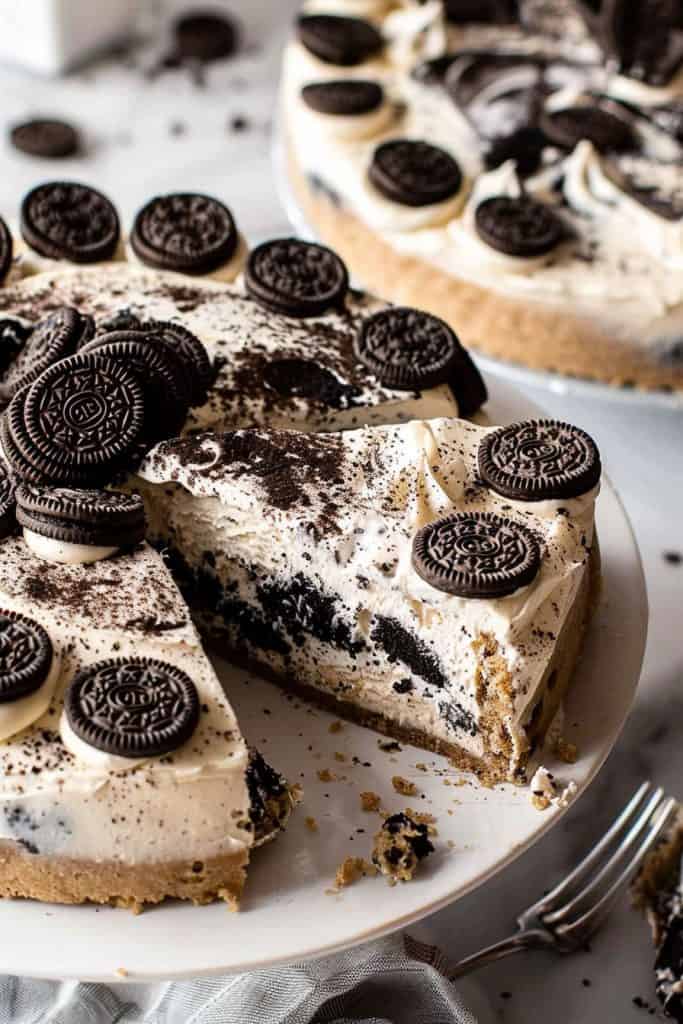
Who can resist the allure of an Oreo cookie? These iconic cookies have been a favorite for generations, and now they’re the star of one of the most indulgent desserts: Oreo cookie cake. Perfect for any celebration or just a weekend treat, this cake combines the rich, chocolatey goodness of Oreos with the moist, fluffy texture of a homemade cake.
Ingredients
For the Cake
- 1 3/4 cups all-purpose flour – sifted to ensure a light, airy texture
- 1 1/2 cups granulated sugar
- 3/4 cup unsweetened cocoa powder – for that rich, chocolatey flavor
- 1 1/2 teaspoons baking powder
- 1 1/2 teaspoons baking soda
- 1 teaspoon salt
- 2 large eggs – at room temperature
- 1 cup whole milk – adds moisture
- 1/2 cup vegetable oil – keeps the cake tender and moist
- 2 teaspoons vanilla extract
- 1 cup boiling water
- 1 cup crushed Oreo cookies – roughly chopped to ensure chunks in every bite
For the Oreo Buttercream Frosting
- 1 1/2 cups unsalted butter – softened to room temperature, making it easier to cream
- 4 cups powdered sugar – sifted for a smoother frosting
- 1/2 cup heavy cream – achieves a creamy consistency
- 2 teaspoons vanilla extract
- 1 cup finely crushed Oreo cookies – ensuring an even distribution throughout the frosting
- Whole Oreo cookies – for topping
- Crushed Oreo cookies – for sprinkling
- Chocolate ganache or syrup – drizzled for an extra touch of decadence
Tools and Equipment
Creating the perfect Oreo cookie cake requires the right tools and equipment. Here’s a detailed list:
- Mixing Bowls: You’ll need a few medium-sized mixing bowls for combining your ingredients.
- Electric Mixer or Whisk: An electric mixer (stand or hand) will make it easier to achieve a smooth, lump-free batter and fluffy frosting.
- Measuring Cups and Spoons: Precision is key in baking, so accurate measuring tools are essential.
- Spatula: A rubber spatula is perfect for scraping down the sides of bowls and folding ingredients together.
- 8-Inch Round Cake Pans: For a classic Oreo cookie cake, I use two 8-inch round cake pans. Grease and line them with parchment paper for easy removal.
- Cooling Rack: Once baked, the cakes need to cool properly on a cooling rack to avoid getting soggy.
- Offset Spatula: This tool is perfect for spreading the Oreo buttercream frosting smoothly over the cake layers.
- Piping Bag and Tips: If you want to add decorative touches with the frosting, a piping bag with assorted tips will be useful.
- Food Processor or Blender: Crushing the Oreo cookies to the right consistency is crucial. A food processor or blender makes this task easy.
- Cake Stand or Serving Platter: Display your cake beautifully on a cake stand or a decorative serving platter.
- Knife or Cake Leveler: If you need to level the cake layers, a sharp knife or cake leveler will ensure they’re even for stacking.
Using these tools will help you achieve a professional finish and ensure the Oreo cookie cake comes out as delicious and visually appealing as possible.
Directions
Let’s dive into the step-by-step process of creating a mouthwatering Oreo cookie cake. Follow these instructions to achieve a delicious and impressive dessert.
Preparing the Cake Batter
- Preheat the Oven:
Preheat your oven to 350°F (175°C). Grease and flour three 8-inch round cake pans. - Combine Dry Ingredients:
In a medium bowl, whisk together:
- 2 1/2 cups all-purpose flour
- 1 1/2 cups granulated sugar
- 1 cup cocoa powder
- 2 teaspoons baking powder
- 1 1/2 teaspoons baking soda
- 1 teaspoon salt
- Mix Wet Ingredients:
In a large mixing bowl, combine:
- 1 cup buttermilk
- 1/2 cup vegetable oil
- 2 large eggs
- 2 teaspoons vanilla extract
- Incorporate Dry Ingredients:
Gradually add the dry ingredients into the wet mixture, stirring until just combined. - Add Boiling Water:
Slowly pour in 1 cup boiling water, mixing until the batter is smooth and slightly thin.
Baking the Cake Layers
- Divide and Bake:
Evenly divide the batter among the three prepared pans. Smooth the tops with a spatula. - Bake:
Place the pans in the preheated oven. Bake for 25-30 minutes or until a toothpick inserted into the center comes out clean. - Cool Cakes:
Allow the cakes to cool in the pans for 10 minutes. Then turn them out onto a wire rack to cool completely.
Making the Oreo Buttercream Frosting
- Crush Oreos:
In a food processor or blender, pulse 12 Oreo cookies until finely crushed. - Beat Butter:
In a large bowl, beat 1 1/2 cups unsalted butter (softened) on high speed until creamy, about 2 minutes. - Add Sugar and Cream:
Gradually add 4 cups powdered sugar, beating on low. Then, add 1/4 cup heavy cream and 2 teaspoons vanilla extract, and beat until smooth and fluffy. - Incorporate Crushed Oreos:
Fold in the crushed Oreos until evenly distributed.
Assembling the Cake
- Level Cake Layers:
If necessary, use a knife or cake leveler to level the tops of the cakes. - First Layer:
Place one cake layer on a cake stand or serving platter. Spread a generous amount of Oreo buttercream frosting on top. - Stack Layers:
Add the second cake layer on top of the frosted first layer. Repeat with frosting. Place the third layer on top. - Crumb Coat:
Apply a thin layer of frosting over the entire cake to seal in crumbs. Refrigerate for 30 minutes. - Final Frosting:
After chilling, apply a thicker layer of the frosting, smoothing it out with an offset spatula. - Pipe Decorations:
Fill a piping bag with remaining frosting. Use your favorite piping tips to create rosettes or other designs on the cake. - Garnish with Oreos:
Garnish the cake with whole or halved Oreo cookies around the base and top edge. - Final Touches:
Add any additional desired décor, such as chocolate shavings or sprinkles.
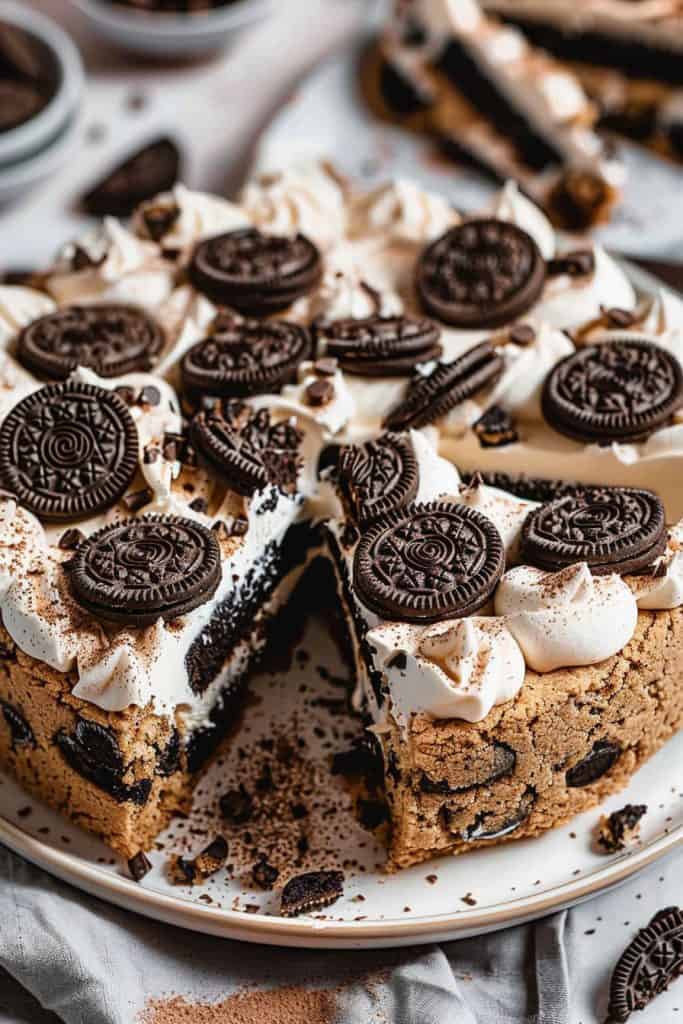
Enjoy this decadent Oreo cookie cake that is sure to impress everyone with its rich chocolate flavor and creamy Oreo frosting.
Tips and Notes
Oreo Preparation
- Crushing Cookies: To achieve the perfect texture in your Oreo buttercream frosting, I recommend using a food processor to finely crush the cookies. If you don’t have a food processor, place the cookies in a resealable plastic bag and crush them with a rolling pin until they are finely ground.
- Separating Cream Filling: When adding crushed Oreos to your cake batter, you can enhance the flavor by separating the cream filling and mixing it directly into the batter. This ensures an even distribution of Oreo taste throughout the cake.
Cake Batter Consistency
- Avoid Overmixing: Mix your cake batter just until the ingredients are combined. Overmixing can cause the cake to become dense and dry.
- Room Temperature Ingredients: Use room temperature butter, eggs, and milk to ensure a smooth, lump-free batter and to help the ingredients mix more evenly.
Baking
- Even Layers: For even cake layers, I recommend using a kitchen scale to divide the batter equally between the cake pans. This promotes even baking and a more professional-looking cake.
- Checking Doneness: Insert a toothpick into the center of each cake layer. If it comes out clean or with just a few crumbs, the cake is done. Avoid overbaking to keep your cake moist.
Frosting and Assembly
- Chilled Cake Layers: For easier frosting, chill your cake layers in the freezer for about 20 minutes before assembling. This reduces crumbs and makes the cake more stable.
- Crumb Coat: Apply a thin layer of buttercream to seal in crumbs before adding the final coat of frosting. Chill the cake for 15 minutes after applying the crumb coat for a smoother finish.
Decorating
- Oreo Placement: When adding whole Oreos to the top of your cake, slightly press them into the frosting to secure them. This helps prevent them from falling off during slicing or transport.
- Customization: Feel free to add other toppings such as chocolate ganache, whipped cream, or additional cookie crumbles to elevate the cake’s appearance and flavor profile.
- Proper Storage: Store your finished Oreo cookie cake in an airtight container in the refrigerator. It will stay fresh for up to 3-4 days.
- Room Temperature Serving: For the best texture and flavor, allow the cake to come to room temperature before serving. This takes about 30-45 minutes.
By following these tips and notes, your Oreo cookie cake will look stunning and taste delightful every time.
Make Ahead and Storage Options
For those with busy schedules, making an Oreo cookie cake ahead of time can be a lifesaver. Here’s how I manage it:
Making the Cake Ahead
- Baking in Advance: I often bake the cake layers up to two days before assembly. Once the layers are completely cool, I wrap them tightly in plastic wrap and store them in the refrigerator. This helps lock in moisture and keeps the cake fresh.
- Frosting Preparation: The Oreo buttercream frosting can be made up to three days ahead. I store it in an airtight container in the refrigerator. Before using, I let it sit at room temperature for about 30 minutes and give it a quick stir to restore a spreadable consistency.
Assembling the Cake Ahead
- Partial Assembly: If I need to partially assemble the cake, I frost between the layers and create a crumb coat. I then wrap the cake tightly in plastic wrap and refrigerate it. The next day, I finish the final coat of frosting and decorations.
- Refrigerating: Once the Oreo cookie cake is fully assembled, I store it in a cake dome or an airtight container to keep it fresh. It can be refrigerated for up to five days. I bring it to room temperature before serving for the best flavor and texture.
- Freezing: For longer storage, the cake can be frozen. I double-wrap each slice or section in plastic wrap and then place them in a freezer-safe bag. The cake can be frozen for up to three months. To serve, I thaw the cake slices in the refrigerator overnight and bring to room temperature before enjoying.
Conclusion
Creating an Oreo cookie cake is a delightful culinary adventure that combines the beloved flavors of Oreo cookies with the joy of homemade baking. By following the detailed steps and tips provided, you’ll achieve a cake that’s not only delicious but also visually stunning. Whether you’re making it for a special occasion or just to satisfy your sweet tooth, this Oreo cookie cake is sure to impress. So gather your ingredients, grab your essential tools, and get ready to bake a masterpiece that everyone will love. Enjoy every bite of your homemade Oreo cookie cake!