
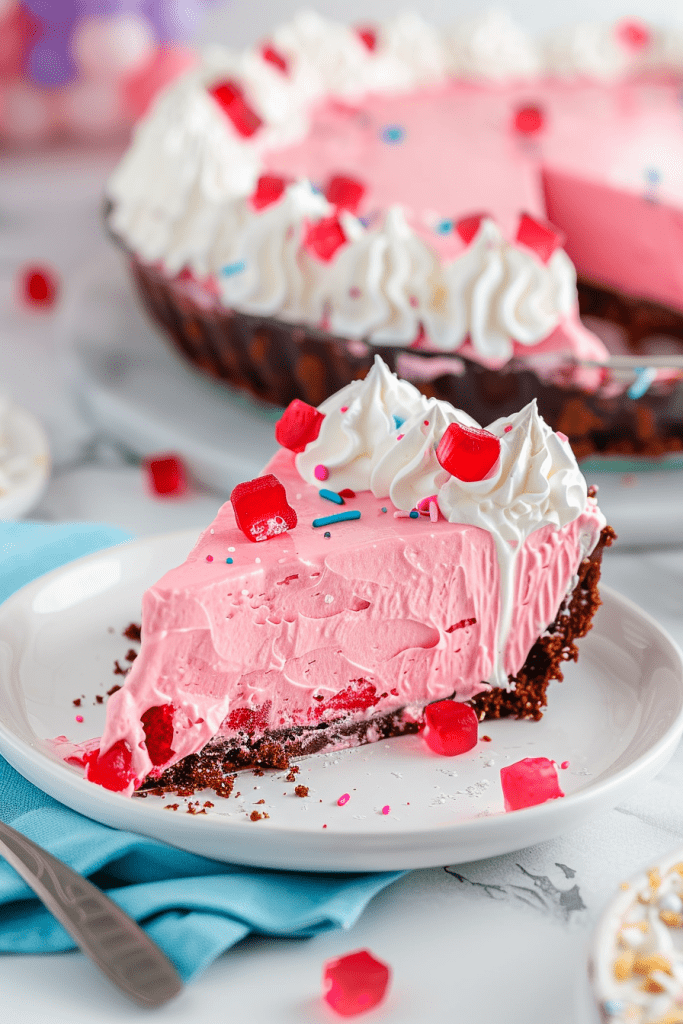
Craving a sweet treat that’s quick to make and bursting with flavor? Look no further than the delightful no bake Kool Aid Pie recipe. With only 4 simple ingredients, this dessert is a breeze to whip up in any flavor of your choice. The combination of a graham cracker crust, sweetened condensed milk, Cool Whip, and Kool Aid creates a creamy and refreshing pie that’s perfect for any occasion.
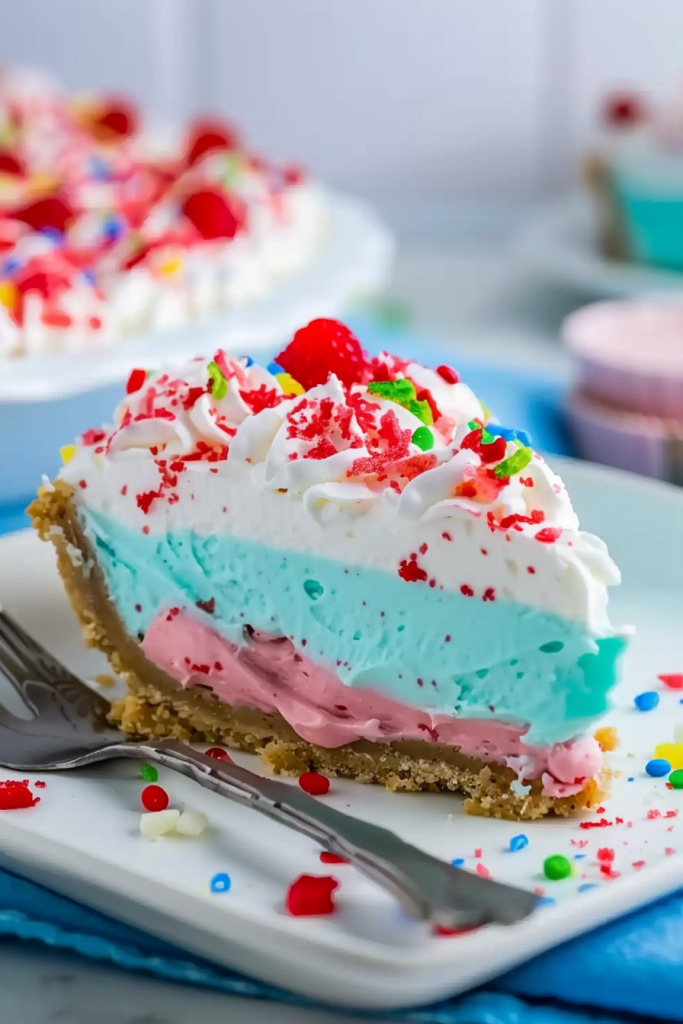
This retro-inspired Kool Aid Pie is not only a delicious dessert but also a fun and colorful creation that will bring back childhood memories. Let your kids join in the kitchen fun and choose their favorite Kool Aid flavor to personalize their pie. Whether you opt for classic strawberry or get adventurous with grape, watermelon, lemon, or blue raspberry, the flavor possibilities are endless.
Embrace the simplicity and versatility of this no bake Kool Aid Pie recipe. From its humble origins in the 1920s to its modern-day charm, this dessert is a timeless classic that guarantees a delightful and easy-to-make treat for all ages.
Ingredients
Required Ingredients
To make this easy and delicious Kool Aid Pie, gather the following essential ingredients:
- 8 oz tub whipped topping (such as Cool Whip)
- 14 oz can sweetened condensed milk
- Kool Aid mix (unsweetened flavor packet, 13 oz – 22 oz depending on flavor)
- 9-inch store-bought graham cracker crust
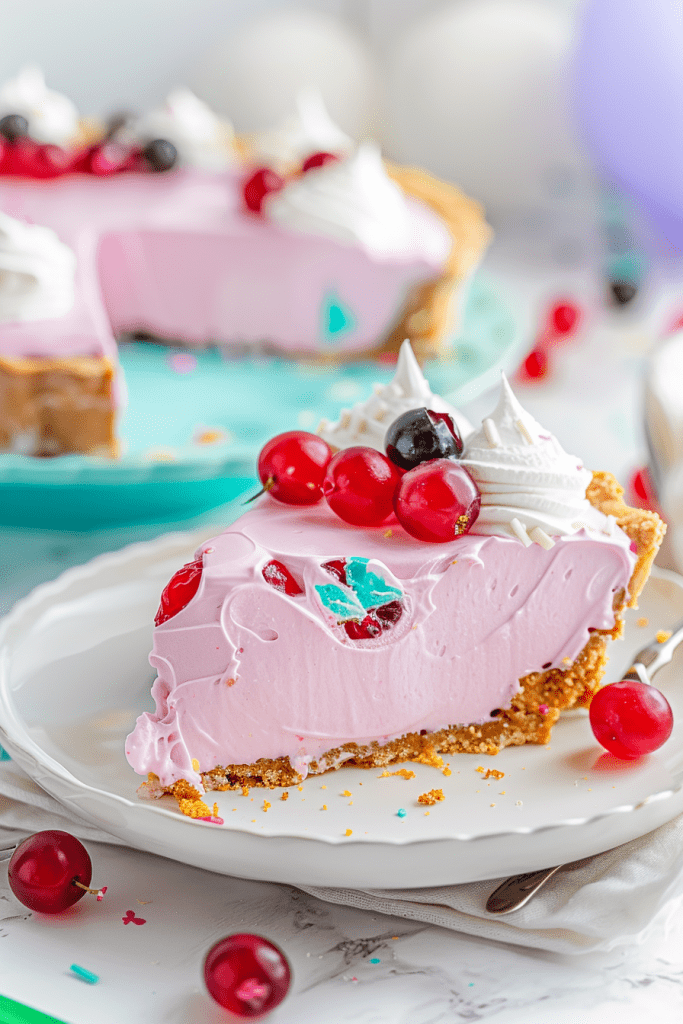
- Fresh fruit like strawberries, mandarin oranges, or cherries for added texture and flavor
- Cream cheese for a denser, cheesecake-like filling
- Jell-O mix as a replacement for the Kool Aid mix
Equipment Needed
To make this delightful no bake Kool Aid pie, you will need the following equipment ready in your kitchen:
- Large mixing bowl
- Spatula
- Offset spatula
- Large cookie scoop
- 9-inch store-bought graham cracker crust
- Refrigerator
Having these basic kitchen tools on hand will ensure a smooth and enjoyable pie-making experience.

Step-by-Step Instructions
Preparing the Crust
First, in a food processor, break apart 9 graham cracker sheets with 1 tablespoon of brown sugar. Process into fine crumbs. Gradually add 7 tablespoons of melted butter, mixing until evenly distributed. Press the crumbs firmly into a 9-inch pie dish, then freeze the crust for 15 minutes.
Making the Filling
In a large bowl, blend 4 ounces of softened cream cheese, a 14-ounce can of sweetened condensed milk, and a 1.013 oz packet of Kool-Aid powder. Add 8 ounces of thawed frozen whipped topping and fold until well combined. Spoon the filling into the prepared crust, creating an even layer.
Assembling the Pie
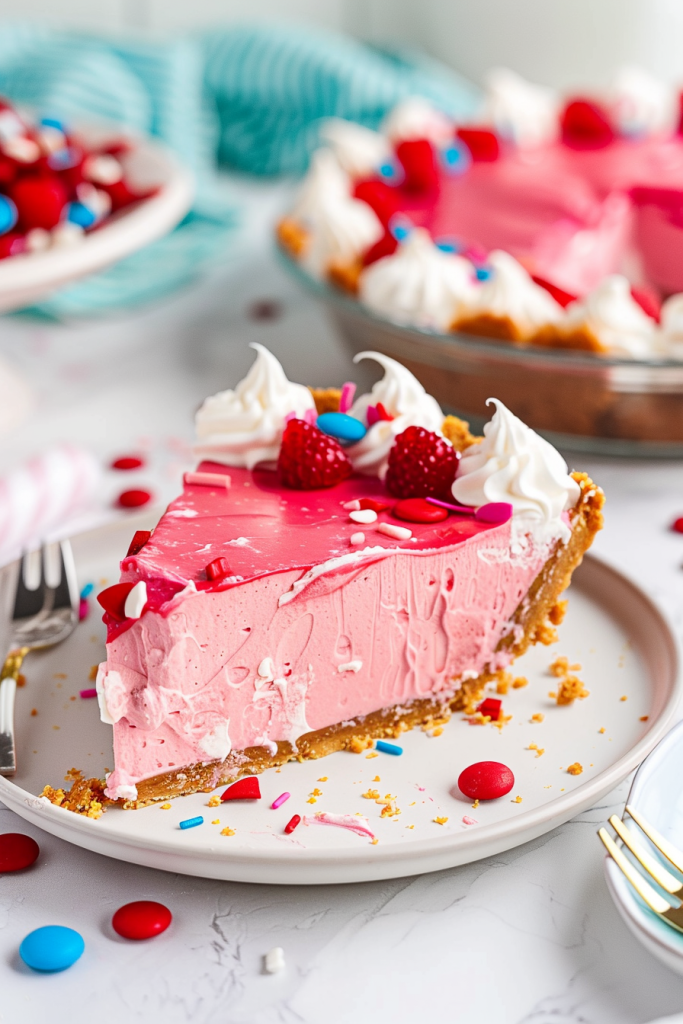
For the final touch, garnish the pie with an additional layer of whipped topping. Refrigerate the pie for at least 3 hours until set. Before serving, decorate with more whipped cream and fresh fruit, if desired.
PRO TIP: Ensure the pie crust is completely cooled before adding the filling to prevent melting. When mixing, be gentle to keep the filling light and fluffy. Refrigerate the pie for a minimum of 4 hours for a clean slice.
Tips for Perfect No Bake Kool Aid Pie
When making a delightful no bake Kool Aid pie, a few expert tricks can elevate your dessert game. Here are some tips to ensure your no bake Kool Aid pie turns out perfect every time:
1. Ensure Proper Chilling Time
For the best results, allow your Kool Aid pie to chill for an adequate amount of time. While the minimum recommended chilling time is one hour, letting it set for a few additional hours—ideally three to four hours—will help the flavors meld together perfectly.
2. Optimal Mixing Consistency
To achieve a smooth and creamy filling, ensure that you mix the whipped topping, sweetened condensed milk, and Kool Aid powder until the color is consistent throughout. This step guarantees a visually appealing pie with a harmonious blend of flavors.
3. Thoroughly Cool the Crust
Before adding the filling, make sure that the graham cracker crust is completely cooled. This prevents the crust from becoming soggy and helps maintain a satisfying texture contrast between the crunchy crust and creamy filling.
4. Experiment with Garnishes
While the classic Kool Aid pie is delightful on its own, you can enhance it further by experimenting with creative garnishes. Try adding fresh fruit slices, a sprinkle of Kool Aid powder for a pop of color, or a drizzle of fruit coulis for an extra burst of flavor.
5. Precision in Ingredients
To achieve consistency in flavor and texture, measure your ingredients accurately. Whether it’s the sweetened condensed milk, Cool Whip, or Kool Aid powder, using precise measurements ensures that your pie turns out just right every time.
By following these expert tips, you’ll be well on your way to creating the perfect no bake Kool Aid pie that will impress your guests and satisfy your sweet cravings.
Variations of Kool Aid Pie
When it comes to Kool Aid Pie, the flavor possibilities are endless! By simply changing the flavor of the Kool Aid packet used in the recipe, you can create a wide array of delicious pie variations. While cherry is a classic choice, feel free to experiment with other flavors to cater to your taste preferences.
Ingredient Tip: Ensure you use powdered Kool Aid and not the liquid drops for the best results in your pie.
Crust Shortcut
If you’re running short on time, you can make the Kool Aid Pie recipe even easier by opting for a pre-made graham cracker crust. This shortcut saves time and allows you to still enjoy a delectable dessert without compromising on taste.
Lighter Option
For a lighter version of Kool Aid Pie, consider using light cream cheese in the filling. This simple swap reduces the calorie content while still delivering a creamy and satisfying treat. Perfect for those looking for a guilt-free indulgence.
Decorative Touch
To elevate the presentation of your Kool Aid Pie, consider adding a few dollops of whipped cream, whether homemade or store-bought, before serving. Top it off with some maraschino cherries for a vibrant and eye-catching finish that will impress your guests.
Tip: Homemade whipped cream can be a great alternative to frozen whipped topping for those who prefer a fresh, homemade touch. Simply whip together cold heavy whipping cream, powdered sugar, and vanilla extract until thick and use it in place of store-bought whipped topping.
Remember, the beauty of Kool Aid Pie lies in its versatility, allowing you to customize and experiment with various flavors and decorations to suit your preferences and create a dessert that is both visually appealing and delicious.
How to Store
Refrigeration Instructions
After serving or enjoying a slice of this delightful no-bake Kool-Aid Pie, it’s essential to refrigerate any leftovers promptly to maintain freshness and flavor. Store the pie in an airtight container or cover it with plastic wrap before placing it in the refrigerator. Refrigeration helps preserve the creamy texture and tangy taste of the pie for an extended period.
Freezing Tips
If you find yourself with more pie than you can finish in a few days, freezing is a fantastic option. To freeze your Kool-Aid Pie, ensure it is fully chilled in the refrigerator first. Once chilled, wrap the pie securely in plastic wrap or aluminum foil. Place it in a freezer-safe container or airtight freezer bag to prevent freezer burn. Frozen Kool-Aid Pie can be stored for up to 2-3 months, allowing you to enjoy a refreshing treat whenever the cravings strike.
Conclusion
Experimenting with flavors and decorations while making no bake Kool Aid Pie is a delightful journey. The versatility of this dessert allows for endless creativity and personalization. Remember to refrigerate any leftovers promptly to preserve the delicious flavors. Additionally, freezing excess pie is a great way to enjoy this treat for months to come. With its simple ingredients and easy preparation, no bake Kool Aid Pie is a fantastic dessert option for any occasion. Enjoy the process of making and savoring this delicious treat!