
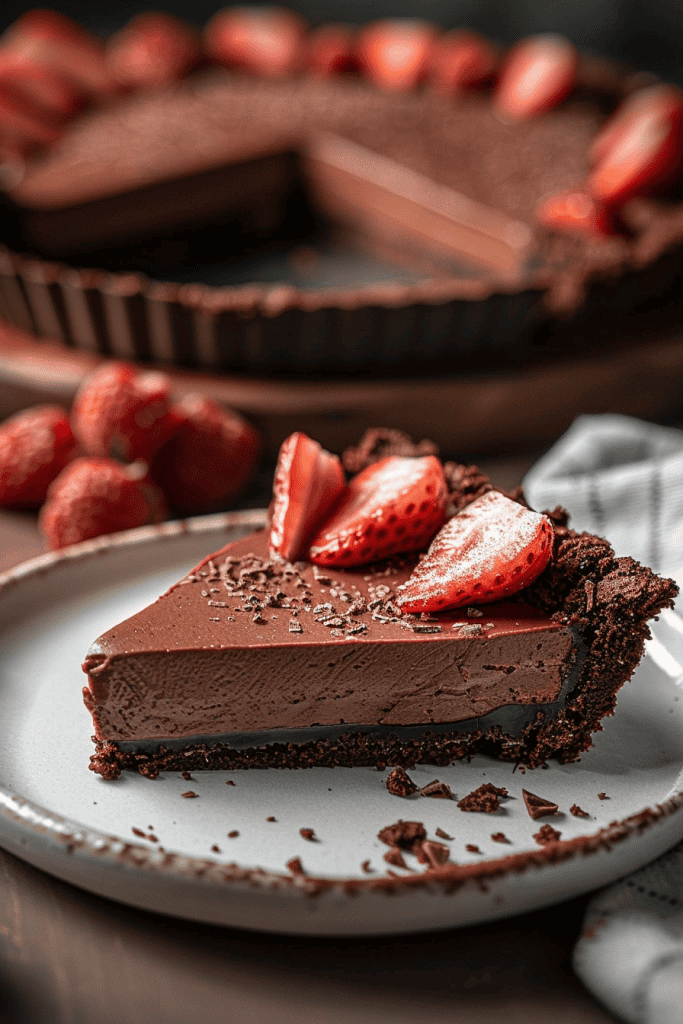
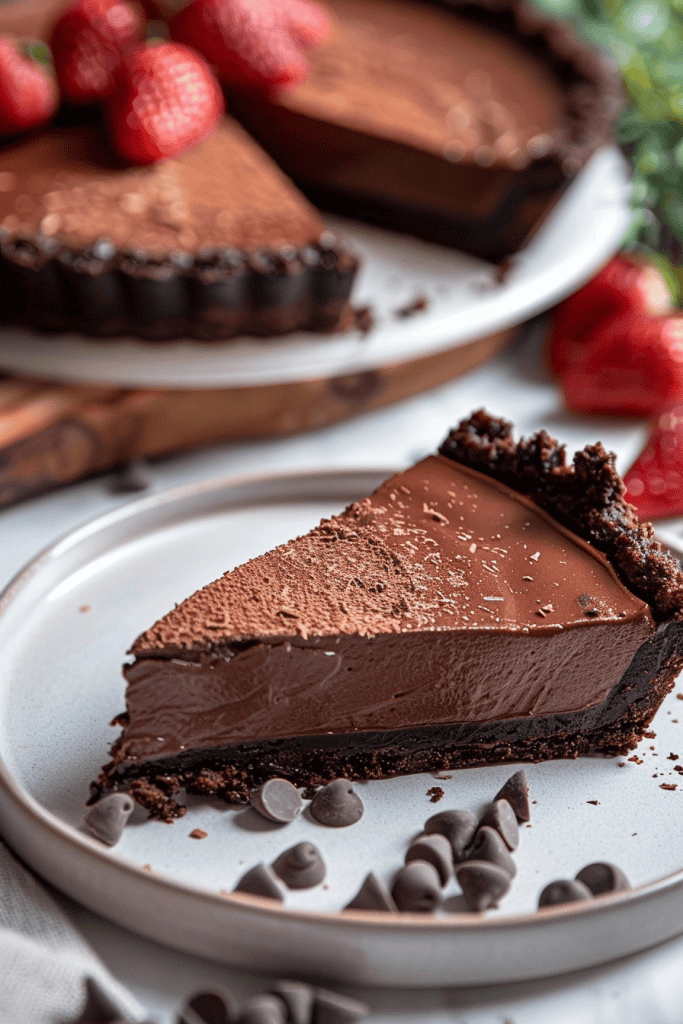
Craving a decadent dessert without the hassle of baking? Indulge in the luscious world of no-bake chocolate tarts! This delightful treat features a velvety chocolate filling nestled in a simple Oreo crust, promising a symphony of rich flavors in every bite. Whether you’re a seasoned baker or a casual kitchen enthusiast, this no-bake marvel is sure to captivate your taste buds.
Crafted with just five basic ingredients, this no-bake chocolate tart is a testament to simplicity and indulgence. Its smooth chocolate ganache filling, paired with a crunchy Oreo base, creates a dessert experience that’s both effortless and unforgettable. Perfect for any occasion, this recipe is a chocolate lover’s paradise, offering a delightful balance of sweetness and richness in every slice. If you’re ready to elevate your dessert game, this no-bake chocolate tart is a must-try sensation that will leave you craving more.
Ingredients
Creating this indulgent no-bake chocolate tart is a breeze with just a handful of essential ingredients. Start by gathering the following items for the chocolate tart base and the ganache filling.
For the Chocolate Tart Base
- 200g plain tea biscuits or any other plain cookie (such as 2 cups crushed)
- 100g unsalted butter, melted
- 1 cup heavy cream
- 2 cups chocolate chips
These basic ingredients are all you need to whip up a rich and decadent no-bake chocolate tart that will impress your taste buds with every velvety bite.
Equipment Needed
When crafting a delightful no-bake chocolate tart, having the right equipment at hand is crucial to ensure a smooth and enjoyable cooking experience. Here are the essential tools and utensils you will need to create this decadent dessert:
- Food Processor: For finely grinding the Oreos into crumbs for the crust.
- 8-inch Tart Pan with Removable Bottom: To shape and mold the tart with ease.
- Mixing Bowls: To combine and mix the ingredients for both the crust and the filling.
- Spoon or Fingers: For pressing and spreading the Oreo crust into the tart pan.
- Freezer: To chill the crust before adding the ganache filling.
- Tart Cutter: For slicing the finished tart into elegant portions for serving.
- Nonstick Spray: To prepare the tart pan before pressing in the crust.
- Saucepan: For melting the chocolate and butter for the ganache filling.
- Whisk: To ensure a smooth and creamy consistency when making the ganache.
- Serving Plate: To elegantly present and serve the finished chocolate tart.
Having these essential pieces of equipment ready will make the process of creating a no-bake chocolate tart a breeze, allowing you to indulge in a decadent and delightful dessert without the need for an oven.

Directions
Preparing the Tart Base
To start, crush the biscuits in a food processor or a ziplock bag with a rolling pin to achieve a fine texture. Combine the crushed biscuits with melted butter to form a wet sandy texture. Press this mixture firmly into a tart pan, ensuring even distribution on the sides and base. Refrigerate the crust to set while you prepare the ganache filling.
Making the Ganache Filling
In a pot, heat heavy cream on medium-low heat until it almost reaches a boil. Pour the hot cream over chocolate chunks, add espresso powder if desired, and let it sit briefly before whisking until smooth. Incorporate cubed butter and a pinch of salt into the mixture until the ganache is silky and well combined. You can either pour the filling into the prepared crust to set in the fridge or refrigerate the ganache to pipe it onto the tart later for a decorative touch.
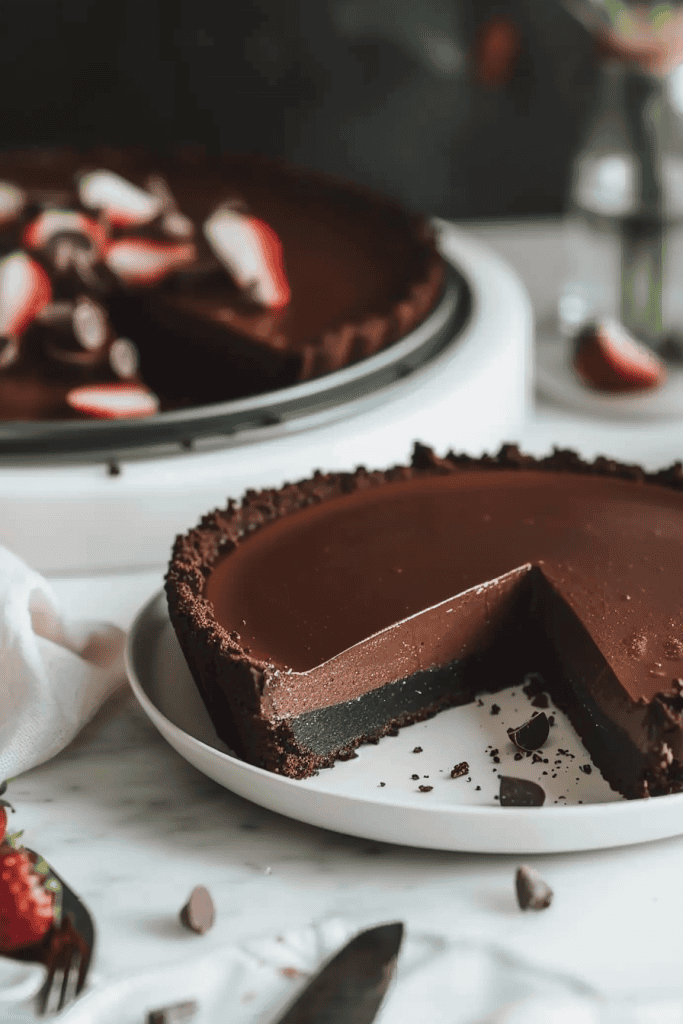
Assembling the Tart
Once the tart base has set and the ganache is prepared, carefully pour the ganache into the tart shell if not piping it. Chill the assembled tart in the fridge for a few hours until the filling is firm and set. If piping, transfer the ganache to a piping bag with a star nozzle, pipe swirls onto the tart, and then chill to set. Serve the decadent chocolate tartlets chilled, and enjoy the rich and creamy texture with a fudgy or creamier consistency based on your preference.
Tips for Perfect No Bake Chocolate Tarts
Creating a flawless and indulgent no-bake chocolate tart requires attention to detail and a few helpful tips to ensure success. Here are some expert tips to guide you through the process:
Tip 1: Choosing the Right Chocolate
Select high-quality dark chocolate with a cocoa content of 60-70% for a rich and intense chocolate flavor in your tart. The quality of the chocolate will significantly impact the overall taste of the dessert.
Tip 2: Melting Chocolate Properly
When melting the chocolate for the ganache filling, use a gentle heat method such as a double boiler to avoid scorching or seizing the chocolate. Stir the chocolate continuously until it is smooth and glossy for a luxurious filling.
Tip 3: Chilling Time is Key
Ensure that you allow enough time for the tart to chill and set properly in the freezer. This step is crucial for the ganache to firm up and the flavors to meld, resulting in a perfect texture that melts in your mouth.
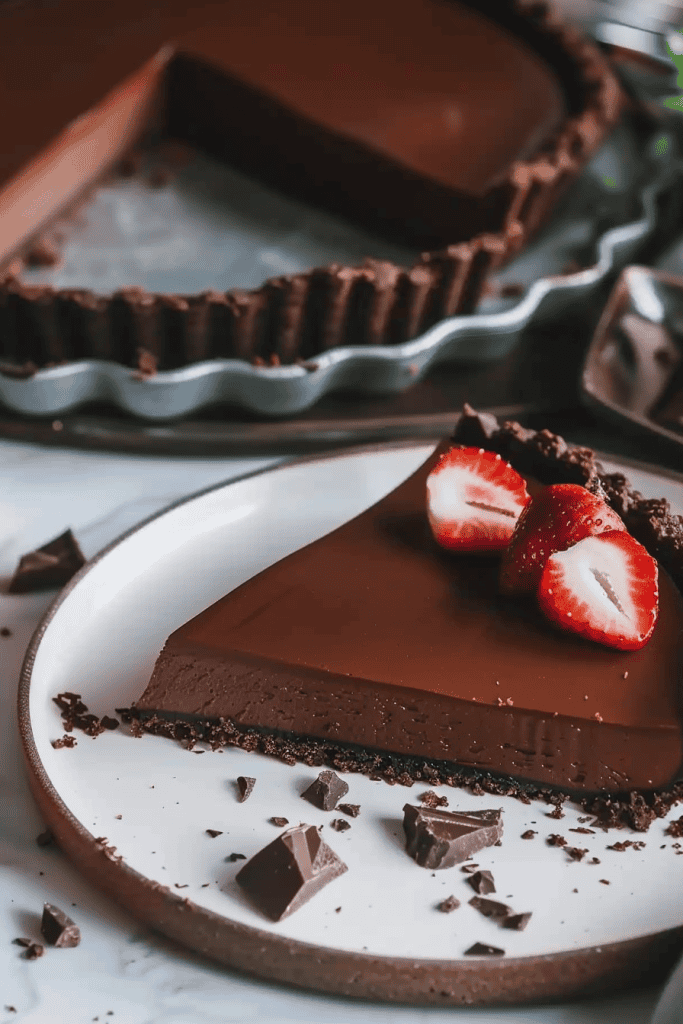
Tip 4: Garnish Thoughtfully
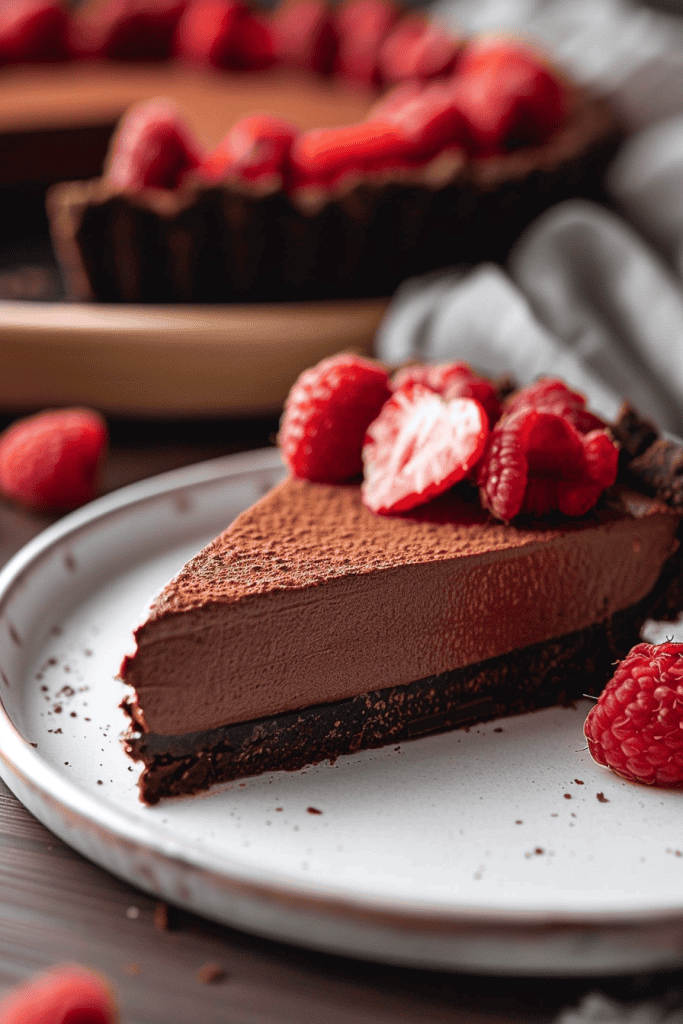
For an elegant presentation, consider topping your chocolate tart with fresh berries or a dusting of cocoa powder. These garnishes not only add visual appeal but also provide a delightful contrast to the richness of the chocolate.
Tip 5: Serve at the Right Temperature
Before serving, allow the tart to sit at room temperature for a few minutes to soften slightly, enhancing the creamy texture of the ganache. This will ensure that each bite is a harmonious blend of flavors and decadence.
By following these expert tips, you can elevate your no-bake chocolate tart to a gourmet dessert that will impress your guests and satisfy your sweet cravings.
Variations and Substitutions
When it comes to making no-bake chocolate tarts, there are plenty of ways to get creative with your recipe while still enjoying that rich and decadent flavor. Here are some variations and substitutions you can consider:
1. Crust Variations:
If you’re not a fan of Oreos or looking for a different base for your tart, you can try using graham crackers, digestive biscuits, or even chocolate graham crackers for a twist on the classic crust.
2. Chocolate Options:
Experiment with different types of chocolate to vary the flavor profile of your tart. You can use milk chocolate for a sweeter taste, white chocolate for a creamier texture, or dark chocolate with varying cocoa percentages for a more intense cocoa flavor.
3. Topping Ideas:
While fresh berries are a classic and elegant topping for chocolate tarts, you can get creative with your garnishes. Consider topping your tart with sliced almonds, toasted coconut, edible flowers, or a drizzle of caramel or raspberry sauce for added flair.
4. Dairy Substitutions:
If you’re lactose intolerant or prefer dairy-free options, you can substitute the heavy cream and butter in the recipe with coconut cream and coconut oil for a creamy and luscious dairy-free chocolate ganache.
5. Sweetener Choices:
Feel free to experiment with different sweeteners to suit your taste preferences. You can use maple syrup, honey, agave nectar, or even stevia as alternatives to granulated sugar in the chocolate ganache filling.
6. Flavor Enhancements:
To elevate the flavor profile of your chocolate tart, consider adding a dash of espresso powder to the ganache for a hint of coffee flavor, a sprinkle of sea salt for a sweet and savory contrast, or a touch of cinnamon or cayenne pepper for a spicy kick.
By exploring these variations and substitutions, you can customize your no-bake chocolate tart to suit your taste preferences and culinary style, creating a delightful dessert that is uniquely yours.
Serving and Presentation
When it comes to serving and presenting your delightful no-bake chocolate tart, there are a few key steps to ensure that your creation shines both visually and in taste.
- Slicing and Plating:
- To showcase the beauty of your chocolate tart, use a sharp knife to cut clean slices. Ensure each slice includes a vibrant raspberry on top for a pop of color.
- Garnishing:
- Lightly dust the top of each slice with a touch of icing sugar. This simple addition adds a touch of elegance and sweetness to each serving.
- Accompaniments:
- Serve your chocolate tart slices with extra fresh raspberries on the side. The combination of the rich chocolate and the tartness of the berries creates a perfect balance of flavors.
- Temperature:
- For the best taste experience, serve the tart at slightly below room temperature. This allows the flavors to meld together perfectly while still retaining a delightful creaminess.
By following these serving and presentation steps, your no-bake chocolate tart will not only taste amazing but also look visually stunning, making it a perfect dessert for any occasion.
Storage Recommendations
When it comes to storing your delicious no-bake chocolate tart, there are a few key points to keep in mind to maintain its freshness and flavor.
- Refrigeration: After serving your chocolate tart, cover it loosely with plastic wrap or aluminum foil and place it in the refrigerator. It’s essential to refrigerate the tart promptly to preserve its creamy texture and prevent melting.
- Avoid Freezing: While freezing the tart is not recommended due to potential textural changes in the filling and crust, refrigeration is the best method for keeping it fresh for longer periods.
- Proper Containers: Store the tart in an airtight container or cover the tart pan securely with plastic wrap before refrigerating. This helps prevent the tart from absorbing odors and maintains its flavor.
- Shelf Life: A well-covered no-bake chocolate tart can typically last in the refrigerator for up to 3-4 days. However, for the best taste and texture, it’s ideal to consume it within the first couple of days.
- Chilling and Serving: Before serving leftover tart, let it sit at room temperature for about 10-15 minutes to slightly soften the filling, making it easier to slice and enjoy. This step enhances the overall eating experience.
By following these storage recommendations, you can enjoy your no-bake chocolate tart to its fullest potential, ensuring it stays fresh and delicious for as long as possible.
Conclusion
In crafting these no-bake chocolate tarts, I’ve shared essential tips for creating a decadent dessert with ease. From selecting quality ingredients to mastering the art of chilling and garnishing, each step contributes to a perfect treat. By exploring variations and serving suggestions, you can personalize this dessert for any occasion. Remember, proper storage is key to preserving freshness and flavor. With these insights, you’re equipped to impress your guests with a delightful chocolatey indulgence that’s as visually appealing as it is delicious.