
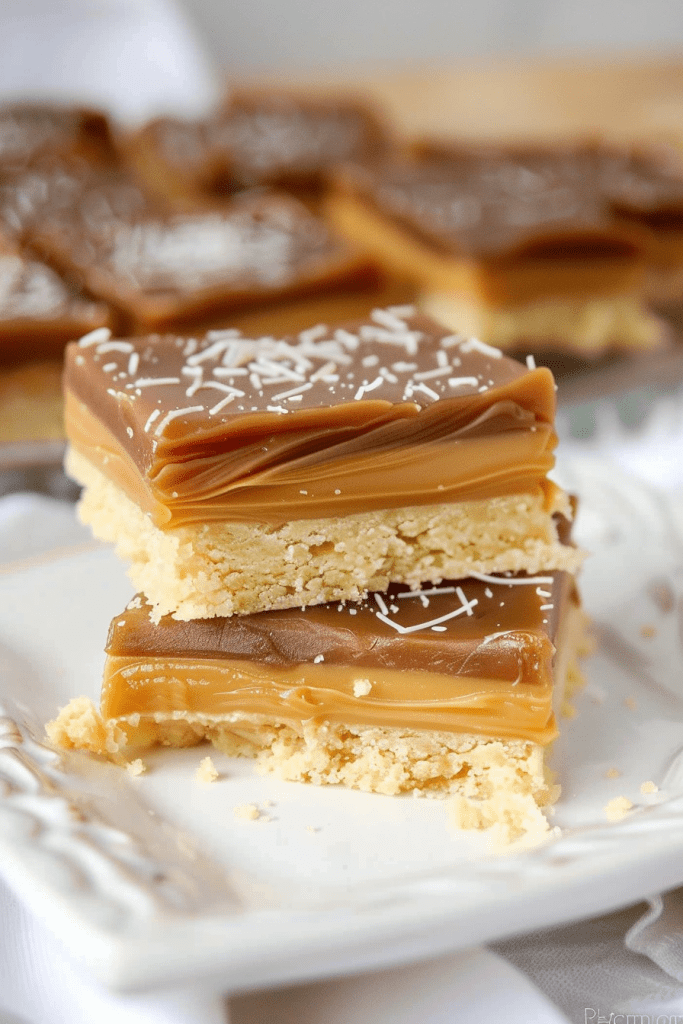
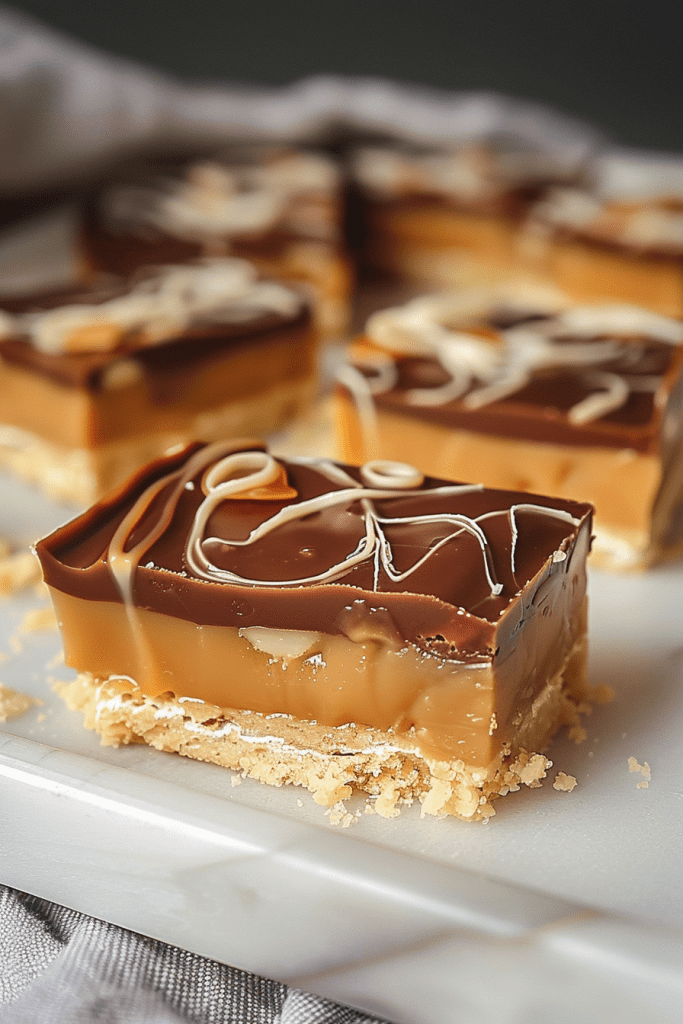
Growing up, I sampled various versions of the decadent millionaire shortbread, but this no-bake caramel twist takes the cake. With a buttery crust, gooey caramel filling, and a generous layer of chocolate, these bars are a delightful treat for any occasion. Unlike traditional recipes, this version requires no baking, making it a quick and easy dessert option.
Similar to a beloved Twix bar or a classic caramel slice, this recipe boasts three layers of pure deliciousness that will have you coming back for more. The best part? It’s incredibly customizable, allowing you to experiment with different fillings like vegan or keto caramel. Whether you’re preparing for a bake sale, office party, or casual potluck, these bars are sure to be a crowd-pleaser.
Ingredients for No-Bake Caramel Shortbread
Creating these scrumptious No-Bake Millionaires Shortbread Bars is a delightful culinary adventure. Let’s dive into the ingredients that will be essential for crafting this delectable dessert masterpiece.
For the Shortbread Base
- 2 cups of shortbread cookies, crushed
- 1 teaspoon of ground cinnamon
- 1/2 cup of butter, melted
For the Caramel Layer
- 1 can (14 ounces) of sweetened condensed milk
- 1/2 cup of brown sugar
- 1/2 cup of butter
- 2 tablespoons of golden syrup or corn syrup
- 7 ounces of chocolate (milk, dark, or a mix)
- 1 tablespoon of butter, for a glossy finish
Gather these ingredients, and let’s embark on a delightful journey of creating these indulgent No-Bake Caramel Shortbread Bars.
Equipment Needed
In order to create these mouth-watering no-bake caramel shortbread bars, you will need a few essential kitchen tools to make the process smooth and enjoyable.
- Medium mixing bowl
- Electric mixer
- Saucepan
- 8×8 square baking pan
- Spatula
- Refrigerator (for setting the layers)
- Knife (for cutting the bars)
Having these tools on hand will make crafting these indulgent caramel shortbread bars a breeze.
Step-by-Step Instructions
Preparing the Shortbread Base
In a large mixing bowl, combine coconut flour, melted coconut oil, and maple syrup until well mixed. Transfer the mixture to a lined pan and spread it out evenly, then place it in the freezer to firm up.
Making the Caramel Layer
While the shortbread base is firming up, prepare the homemade caramel or have your store-bought caramel ready. Ensure all the ingredients for the caramel layer are at hand to avoid any delays.
- Add the caramel over the chilled shortbread base and spread it out evenly. Return the pan to the freezer to set the caramel.
Creating the Chocolate Topping
Melt the chocolate with coconut oil using your preferred method. Once melted, remove the pan from the freezer and pour the chocolate mixture on top of the caramel layer. Spread it out evenly to cover the caramel.
Assembling the Layers
After spreading the chocolate topping, place the pan in the fridge to chill and allow the layers to firm up. Once set, remove the chilled Millionaire Shortbread Bars from the fridge and cut them into desired-sized pieces.
To store the bars, place them on a plate and cover them with plastic wrap or store them in a sealable container. These bars will stay fresh when stored in the fridge for up to two weeks.
Tips for Perfect No-Bake Caramel Shortbread
Creating the perfect batch of no-bake caramel shortbread bars requires attention to detail and a few essential tips to ensure success. Let me share some insights that will help you achieve a flawless outcome.
Achieving Smooth Caramel
When making the caramel layer for your no-bake shortbread bars, consistency is key. To achieve a smooth and creamy caramel, make sure to stir constantly while cooking. Using a spatula with a square finish can help reach the bottom of the pot efficiently, preventing burning. Be patient during the caramel-making process as it takes time for the sugar to reach the desired thickness. Investing in a kitchen thermometer can also aid in ensuring your caramel reaches the right temperature for optimal texture.
Setting the Layers
To ensure clean and defined layers in your caramel shortbread bars, it’s crucial to allow each layer to set properly before adding the next. Refrigerate the shortbread base until firm before pouring the caramel layer over it. This initial cooling step prevents the caramel from mixing with the base. Similarly, refrigerate the bars after adding the chocolate topping to let it harden before cutting into bars. Patience during the setting process will result in picture-perfect layers when you slice into your delicious creation.
Serving and Storage
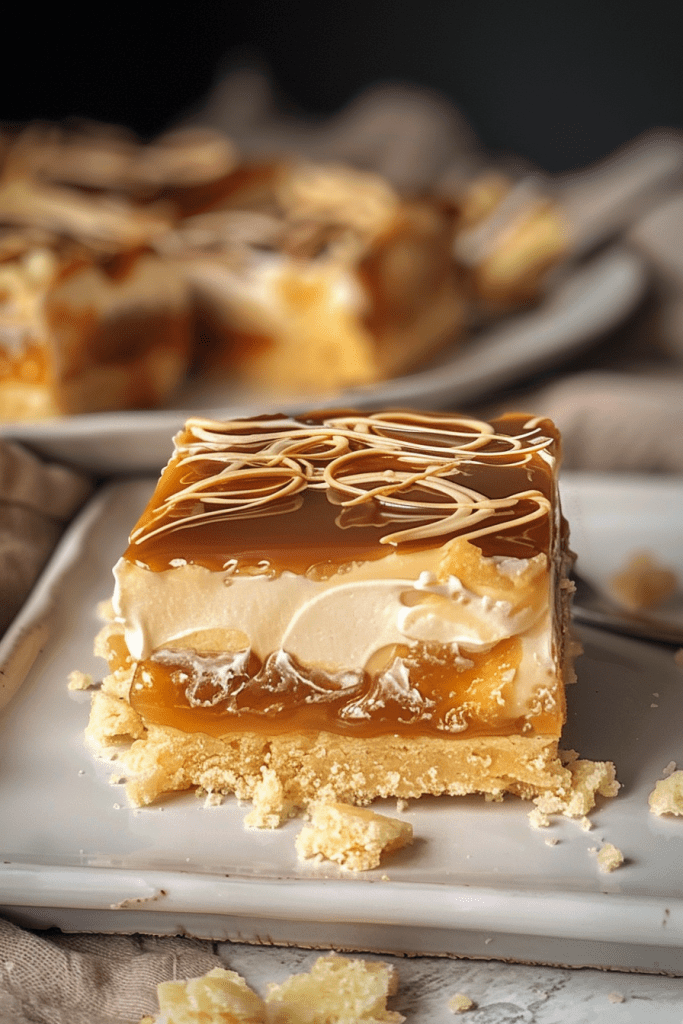
When it comes to serving this delectable no-bake caramel shortbread, I recommend cutting them into small squares or bars for easy snacking or dessert plating. These bars are perfect for any occasion, whether a cozy family gathering or a fancy party.
Best Ways to Serve
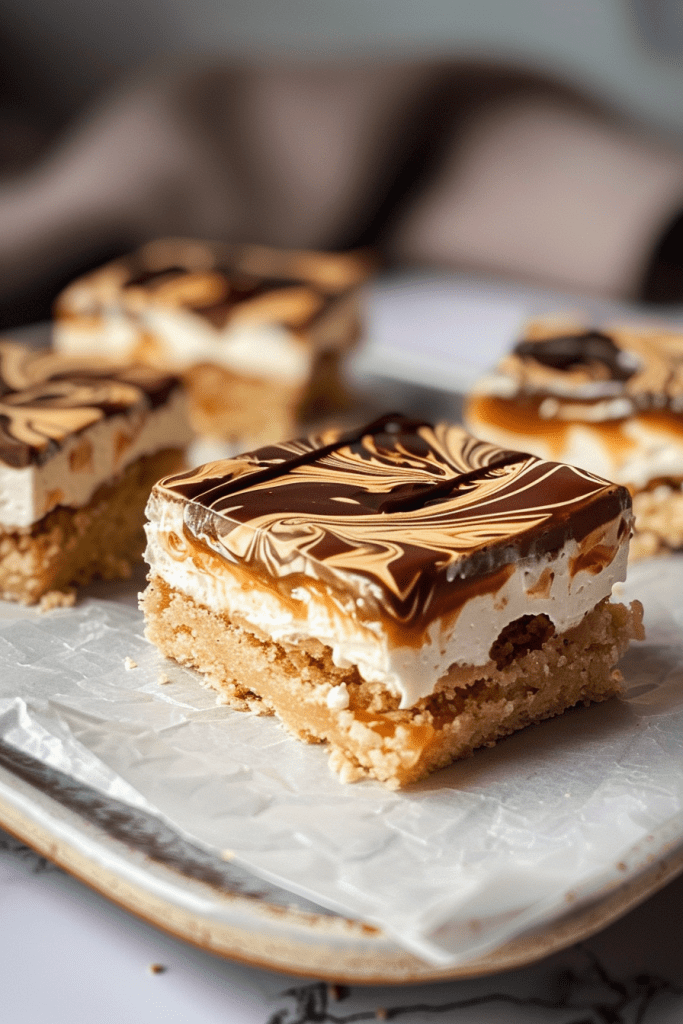
For an extra indulgent treat, consider serving these caramel shortbread bars with a dollop of freshly whipped cream or a scoop of vanilla ice cream. The creamy sweetness of the toppings complements the rich caramel and buttery shortbread base perfectly.
Storage Recommendations
To keep your caramel shortbread bars fresh and delicious, store them in an airtight container in the refrigerator. Properly stored, these bars will last for up to a week, allowing you to enjoy them as a quick and satisfying snack whenever a sweet craving strikes. Remember to separate layers with parchment paper to prevent sticking and maintain the integrity of each delicious layer.
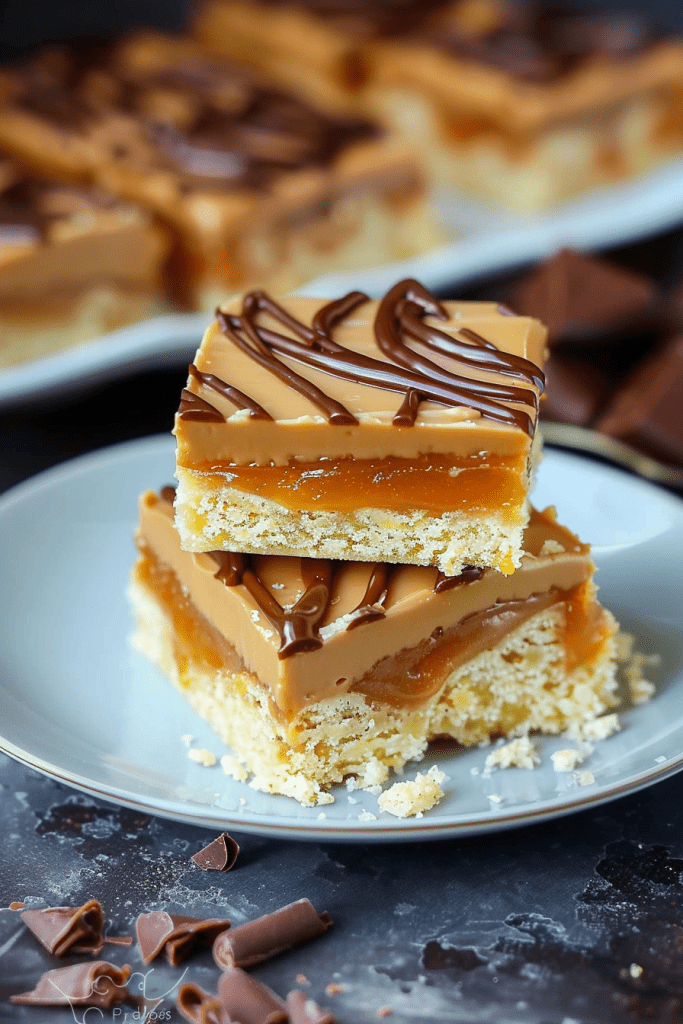
Conclusion
I hope this article has inspired you to try out these irresistible no-bake caramel shortbread recipes. With their buttery crust, gooey caramel filling, and decadent chocolate layer, these treats are sure to impress your taste buds and guests alike. The simplicity of preparation, along with the ability to customize to your liking, makes them a perfect dessert for any occasion. Remember to follow the step-by-step instructions carefully for the best results, ensuring smooth caramel and well-defined layers. Don’t forget to cut them into small squares for easy serving and consider adding whipped cream or ice cream for an extra touch of indulgence. By storing them properly in the refrigerator, you can enjoy these delicious bars for up to a week. Happy baking!