
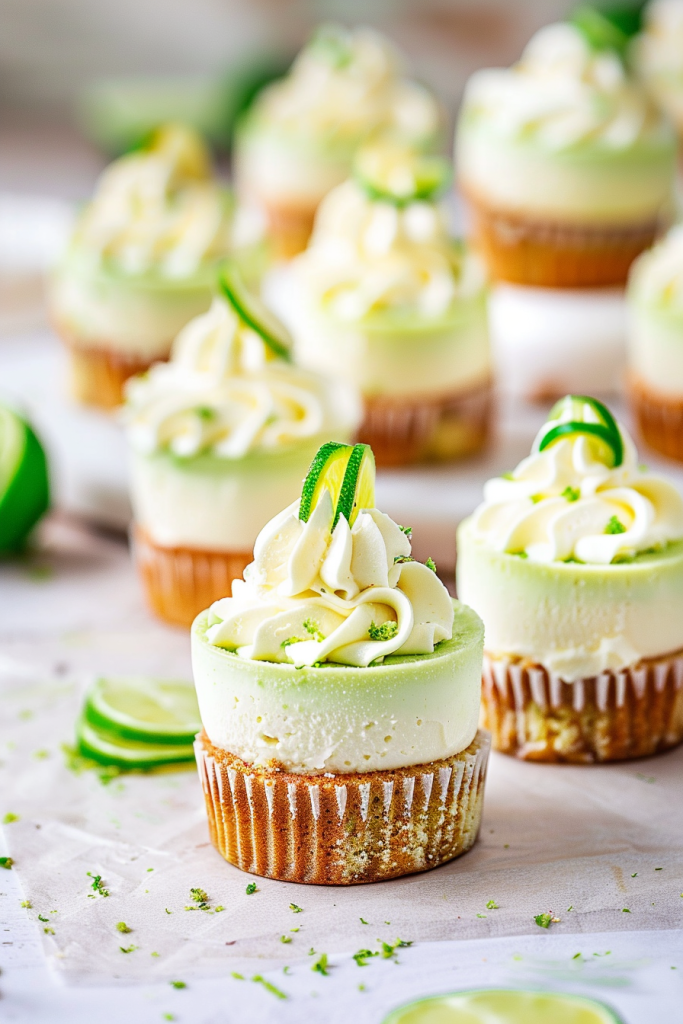
One of my all-time favorite desserts is the refreshing and tangy key lime pie. The vibrant flavors of key limes always leave me craving more. That’s why I’ve ventured into creating various key lime desserts, including these delightful mini key lime cheesecakes.
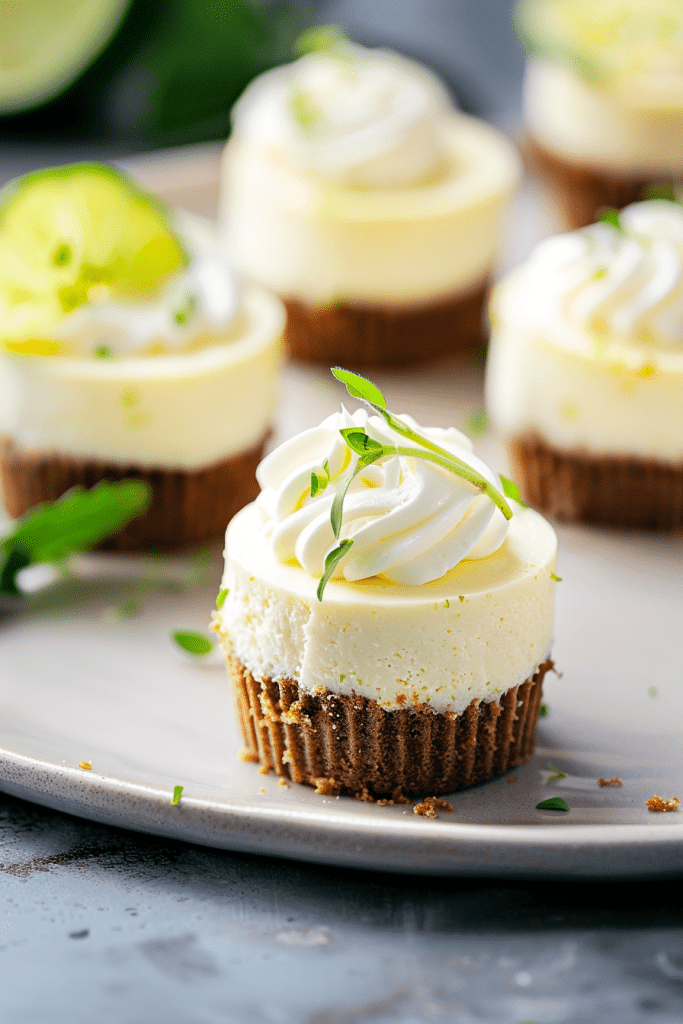
These mini treats pack all the creamy and zesty goodness of a classic key lime cheesecake into a perfectly portioned size. Whether you’re a key lime enthusiast like me or just looking for a new dessert to try, these mini key lime cheesecakes are a must-bake.
Let’s skip the long wait and dive straight into baking these irresistible mini key lime cheesecakes. Trust me, you won’t want to miss out on the chance to savor these delectable bites of citrusy bliss.
Ingredients
When it comes to making these delightful mini key lime cheesecakes, you’ll need a few key ingredients to bring out the perfect balance of flavors and textures.
For the Graham Cracker Crust
- 8 full sheets graham crackers or 1 cup graham cracker crumbs
- 4 TBSP unsalted butter, melted
- 3 TBSP granulated sugar
For the Key Lime Cheesecake Filling
- 12 ounces regular cream cheese, room temperature
- 1/4 cup full-fat Greek yogurt or regular yogurt
- 1/2 cup granulated sugar
- 3 1/2 TBSP key lime juice
- 2 tsp key lime zest plus more for garnish
- 1 tsp vanilla
- 1 large egg, room temperature
- 1 cup heavy whipping cream
- 1 TBSP confectioners sugar
Equipment Needed
To create these delightful Mini Key Lime Cheesecakes, you’ll need the following equipment to ensure a smooth and successful baking process:
- Muffin tin with 12 muffin slots
- Foil liners for the muffin tin
- Small food processor or blender (e.g., NutriBullet)
- Mixing bowls (medium-sized)
- Electric mixer
- Measuring cups and spoons
- Baking spray (for greasing)
- Tablespoon for pressing crust
- Oven for baking
- Cooling rack
- Refrigerator for chilling
- Whisk for mixing ingredients
- Spoon for portioning and filling
- Optional: zester for obtaining key lime zest
Preparing the Ingredients
To create the perfect mini key lime cheesecakes, it’s crucial to start with fresh and flavorful ingredients. Here’s how to prepare the key components for this delightful dessert:
Zesting and Juicing Key Limes
When it comes to infusing that vibrant key lime flavor into your cheesecakes, zesting and juicing key limes is essential. Use a zester to carefully remove the outer green skin of the key limes, being cautious not to include the bitter white pith. Once zested, squeeze the key limes to extract their tangy juice, ensuring a burst of citrus in every bite.
Softening the Cream Cheese
Achieving a smooth and velvety cheesecake filling begins with softened cream cheese. Leave the cream cheese at room temperature for at least two hours before you start baking to ensure a seamless blending process. Softened cream cheese blends effortlessly with other ingredients, resulting in a luscious and creamy texture for your mini key lime cheesecakes.
Making the Graham Cracker Crust
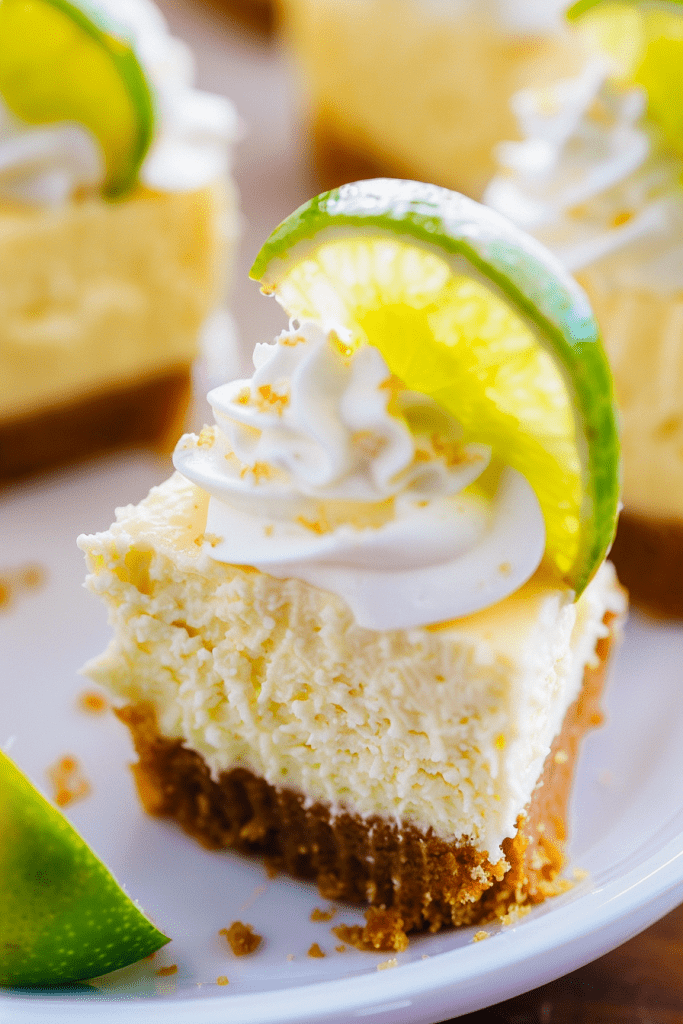
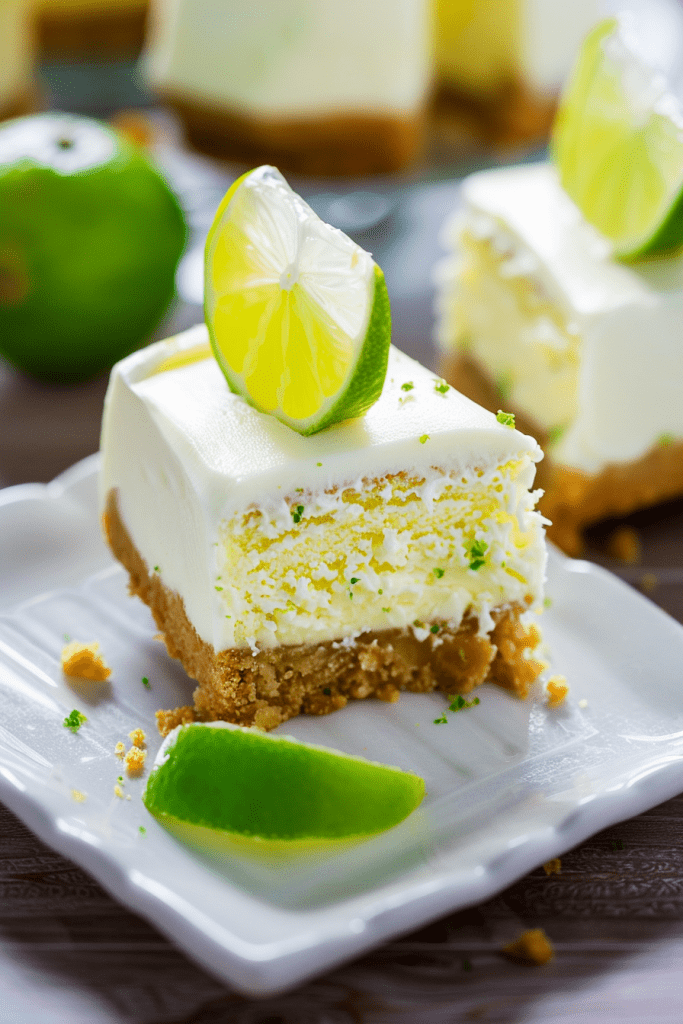
Creating the perfect graham cracker crust is essential for these delightful mini key lime cheesecakes. The crust provides a delicious contrast to the creamy cheesecake filling, making each bite a delightful experience.
Mixing the Ingredients
Before you dive into making the crust, ensure you have all your ingredients ready. In a small food processor or blender, pulse graham crackers into fine crumbs. Once you have achieved the desired texture, combine the crumbs with melted butter, mixing until well incorporated.
Pressing the Crust into Muffin Tins
After mixing the graham cracker crumbs with butter, it’s time to press the crust into your muffin tins. Evenly distribute the mixture between the muffin liners and firmly press it down using the back of a tablespoon or your fingers. This will create a sturdy and flavorful base for your mini key lime cheesecakes.
Preparing the Cheesecake Filling
To bring together the heart of these mini key lime cheesecakes, it’s essential to craft a lusciously smooth and tangy filling that complements the graham cracker crust perfectly. Let’s dive into the steps for creating the decadent Cheesecake Filling.
Combining the Filling Ingredients
- In a high-power blender, food processor, or stand mixer with the whisk attachment, ensure the cream cheese and sour cream are softened before beating them until smooth.
- Add in sugar, vanilla extract, and a touch of key lime extract to infuse that distinctive tangy flavor. Beat the mixture until completely smooth, scraping down the sides as needed.
- Introduce the eggs and yolk one at a time, beating until fully combined to provide that velvety texture characteristic of a classic cheesecake.
- Turn off the mixer and gently fold in a touch of flour to stabilize the filling. Make sure not to overmix at this stage to retain the airy texture.
- Finally, incorporate the zesty essence of lime by adding lime juice and zest, mixing just until the ingredients meld into a vibrant batter.
- Divide the heavenly filling equally among the waiting muffin liners, pouring it generously over the firm Graham Cracker Crust layer with finesse. Each mold should be filled with about 1/3 cup of the decadent filling, ensuring a lavish top for the cheesecakes.
- Gently tap the pan to level the cheesecake filling and eliminate any air bubbles, setting the stage for perfectly baked mini key lime cheesecakes that will tantalize your taste buds.
Crafting the exquisite Cheesecake Filling is a crucial step toward achieving the sublime balance of creamy indulgence and zesty delight in these mini key lime cheesecakes.
Baking the Mini Cheesecakes
Baking the mini key lime cheesecakes is the final step in creating these delightful treats. Let’s ensure they come out perfectly creamy and tangy!
Preheat the Oven
For optimal baking results, preheat your oven to 325°F. This ensures that the mini cheesecakes bake evenly and to the perfect consistency.
Bake Time and Temperature
Once your oven is preheated, bake the mini key lime cheesecakes at 300°F. The bake time is critical for achieving the right texture. Bake them for 15 minutes initially and then turn off the oven, allowing the cheesecakes to rest in the warm oven for an additional 30 minutes. This gentle cooling process helps set the cheesecakes without overcooking them, resulting in a creamy and luscious dessert.
Decorating the Cheesecakes
Applying the Whipped Cream
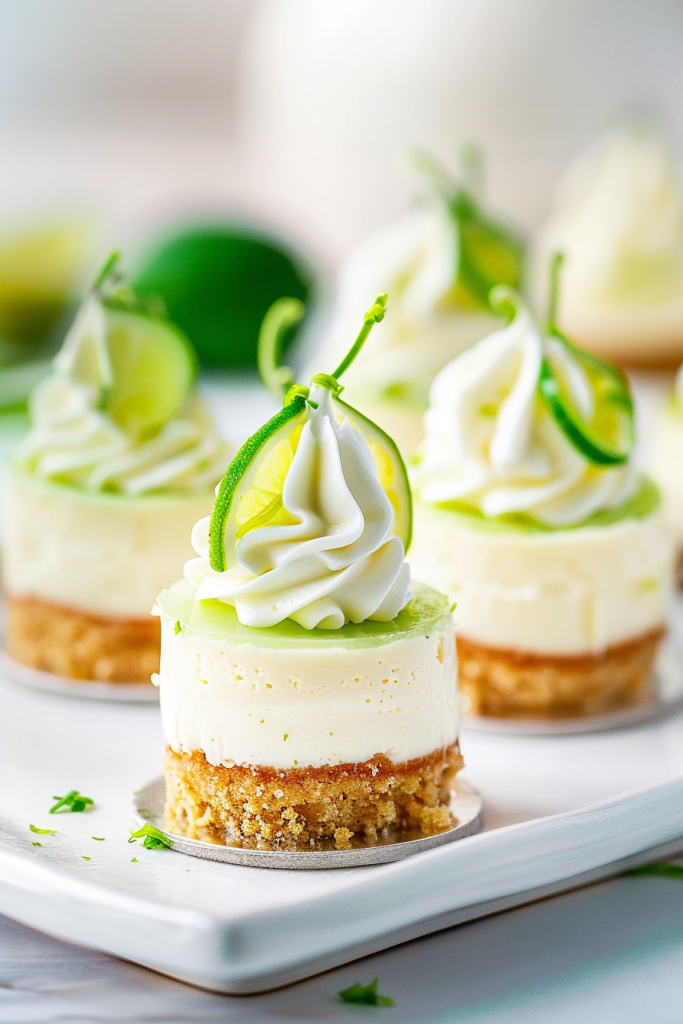
To add an extra layer of creaminess and sweetness to your mini key lime cheesecakes, top each cheesecake with a generous dollop of freshly whipped cream. Using a piping bag or a spoon, elegantly swirl the whipped cream on top of the cheesecake to create a visually appealing finish.
Garnishing with Lime Zest
For a burst of refreshing citrus flavor and a pop of color, garnish your mini key lime cheesecakes with a sprinkle of lime zest. The vibrant green zest not only enhances the visual appeal but also adds a zesty kick that perfectly complements the creamy cheesecake. Simply grate fresh lime zest over each cheesecake before serving to elevate the taste and presentation.
Chilling and Serving
After crafting these delectable mini key lime cheesecakes, it’s crucial to follow proper chilling and serving techniques to ensure a delightful dessert experience. Here’s how to refrigerate and serve these treats for optimal enjoyment:
Refrigeration Time
Once the mini key lime cheesecakes are prepared and decorated, let them chill in the refrigerator for at least 3-4 hours. Allowing the cheesecakes to set in the fridge enhances their flavors and textures, resulting in a creamy and refreshing treat that’s perfect for any occasion.
Storing Leftovers
When it comes to keeping your mini key lime cheesecakes fresh and delicious, proper storage is key. Here are some tips to help you make the most of your leftover treats.
Refrigeration and Duration
After enjoying your delectable mini key lime cheesecakes, it’s essential to refrigerate any leftovers promptly. Cover the cheesecakes securely and store them in the refrigerator for up to 5 days. This will help maintain their creamy texture and tangy flavor for you to enjoy throughout the week.
Freezing Tips
If you find yourself with more cheesecakes than you can finish, freezing is a great option to extend their shelf life. Wrap the individual cheesecakes tightly in plastic wrap or aluminum foil before placing them in an airtight container in the freezer. They can be frozen for up to 3 months. When ready to enjoy, simply thaw them in the refrigerator before serving. Additionally, you can choose to enjoy these mini key lime cheesecakes frozen for a refreshing twist on this zesty dessert.
Conclusion
Creating mini key lime cheesecakes is a delightful way to enjoy a tangy and creamy dessert. By following the simple steps outlined in this guide, you can easily whip up these flavorful treats that are perfect for any occasion. Remember to chill the cheesecakes properly to achieve that smooth and refreshing texture. With the option to store leftovers in the fridge for up to 5 days or freeze them for a longer shelf life, you can savor these mini key lime cheesecakes whenever the craving strikes. Get ready to impress your family and friends with these irresistible mini desserts that are sure to be a hit at your next gathering.