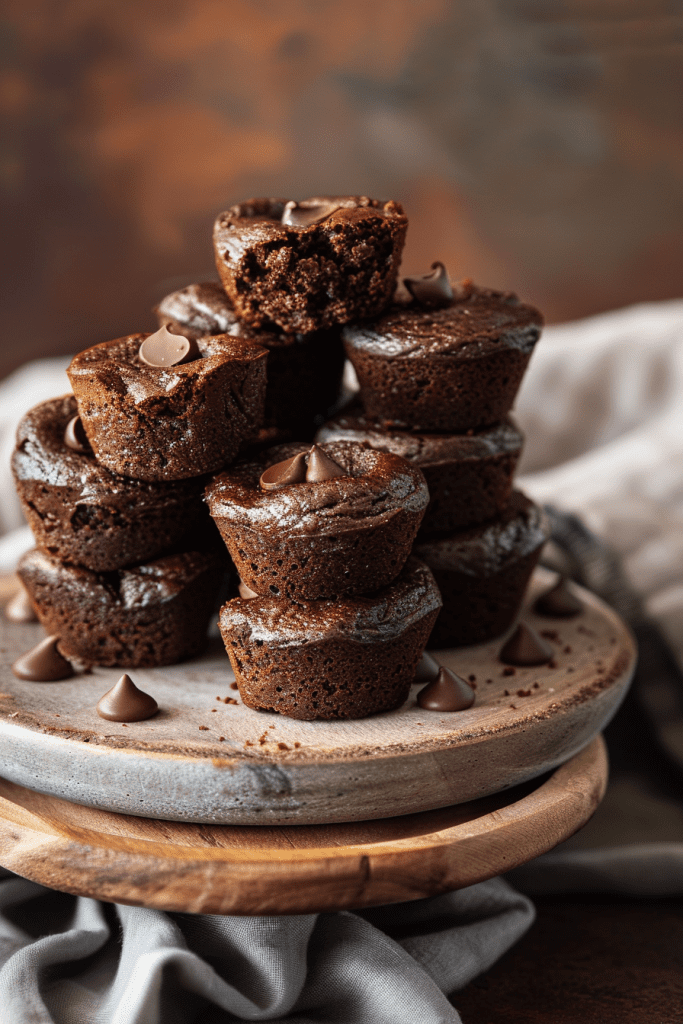
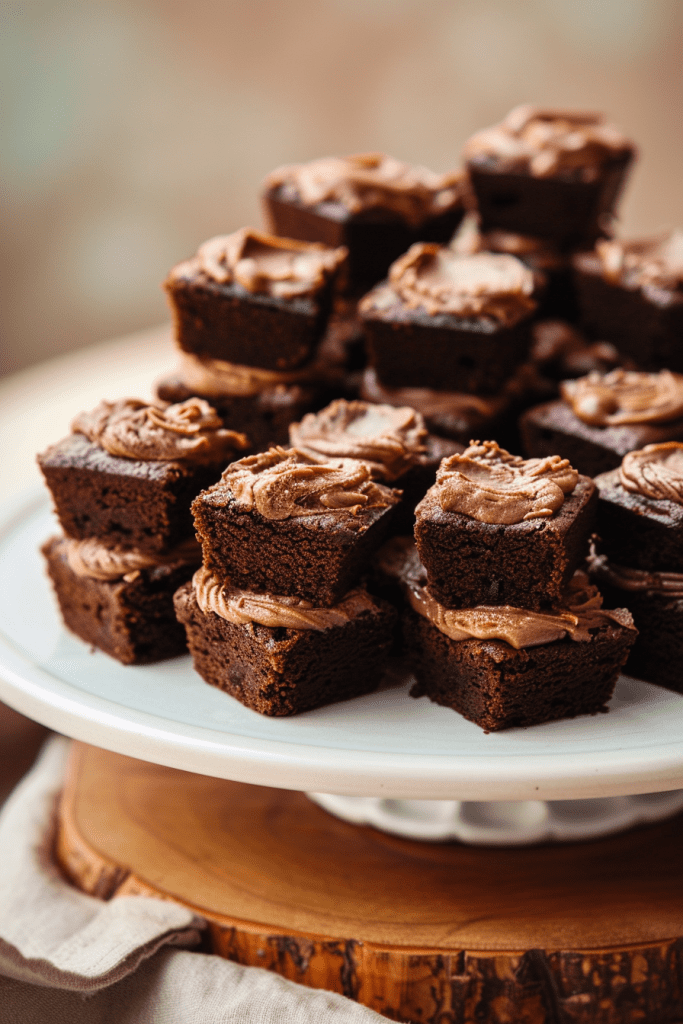
Craving a decadent chocolate treat that’s perfectly portioned? These mini brownie bites are the answer. Moist, fudgy, and bursting with rich chocolate flavors, they offer the best of both worlds – a crispy edge and a gooey center in every bite. Whether you call them mini brownies, two-bite brownies, or brownie bites, these bite-sized delights are a must-try.
Forget about fancy equipment; this recipe is a breeze. With just one bowl (or saucepan), you can whip up these delightful treats by hand, making cleanup as easy as the baking process itself. Perfect for parties or whenever a sweet craving strikes, these mini brownie bites are sure to satisfy any chocolate lover’s cravings. For more chocolatey goodness, check out my other delectable recipes like peanut butter brownies or a quick brownie in a mug.

Ingredients for Mini Brownie Bites
Creating delicious mini brownie bites requires just a few simple ingredients that you likely already have in your kitchen. Here’s what you’ll need to whip up these delightful treats:
Main Ingredients
- Baking Chocolate (Coarsely chopped)
- Unsalted Butter
- Eggs
- Cocoa Powder
- Creamy Icing
- Chopped Nuts
- Sprinkles
These mini brownie bites are not only easy to make but also highly customizable. Feel free to add your favorite toppings or mix-ins to personalize them to your liking.
Required Equipment
For making these delectable mini brownie bites, you don’t need any fancy gadgets. Here are the essential tools and recommended accessories for creating these heavenly treats.
Essential Tools
- Mini Muffin Pan: Ensure you have a non-stick mini muffin pan to easily remove the brownie bites without them sticking.
- Small Greased Spoon or Cookie Scoop: Use a greased utensil to scoop the brownie batter into the muffin tins easily.
- Small Saucepan: Required for melting the chocolate chips, heavy cream, and butter for the brownie mixture.
- Oven: A standard kitchen oven for baking the brownie bites to perfection.
- Knife: To carefully lift each brownie out of the tray after baking.
- Cooking Spray: Use a non-stick baking spray to ensure easy removal of the mini brownie bites from the pan.
- Cookie Scoop: A 2-3 tablespoon cookie scoop makes it convenient to portion the batter evenly into the muffin tins.
- Quality Ingredients: Opt for high-quality semisweet chocolate chips and cocoa powder for the best flavor in your brownie bites.
- Optional Toppings: Prepare toppings such as creamy icing, chopped nuts, or colorful sprinkles for customizing your mini brownie bites.
Preparation Steps

Prepping the Pan
To ensure easy removal and prevent sticking, line a mini muffin pan with mini muffin liners or greased with cooking spray. If using liners, make sure to lightly spray them with cooking spray before adding the batter for easy release.
Mixing the Batter
In a medium saucepan, melt the butter over medium heat. Stir in the sugar, cocoa powder, vanilla, and salt until well combined. Let the mixture cool for 5 minutes. Whisk in the eggs until smooth, then add the flour and stir until just combined. For extra chocolatey brownie bites, fold in chocolate chips before portioning the batter into the prepared mini muffin pan.
Directions for Mini Brownie Bites
Creating these delightful Mini Brownie Bites is a breeze with simple steps that guarantee delicious results.
Filling the Muffin Tin
Scoop the rich brownie batter into the prepared mini muffin tin using a greased spoon or a small greased cookie scoop. Fill each well about 3/4 full to ensure perfectly sized and shaped brownie bites.
Baking Time and Temperature
Bake the brownie bites in a preheated 350°F oven for 14-20 minutes or until a toothpick inserted comes out clean. Allow the baked brownie bites to cool completely before gently lifting them out of the tin for a treat that’s ready to be enjoyed.
Customizing Your Brownie Bites
When it comes to making your mini brownie bites even more special, customizing them with different flavors and toppings can elevate the experience. Get creative and tailor your brownie bites to your tastes and preferences for a delightful treat.
Flavor Variations
Experiment with various flavor combinations to take your brownie bites to the next level. You can try adding ingredients like:
- Peanut Butter Swirls: Create a rich and nutty flavor by swirling creamy peanut butter into the brownie batter before baking.
- Mint Chocolate Chip: Add a refreshing twist by incorporating mint extract and mini chocolate chips into the batter for a cool and indulgent treat.
- Raspberry Ripple: Introduce a burst of fruity sweetness by swirling raspberry jam or fresh raspberries into the brownie batter for a delightful contrast.
- Espresso Infusion: Infuse your brownie bites with a hint of coffee flavor by stirring in espresso powder or strong brewed coffee for a sophisticated and bold taste.
- Salted Caramel Drizzle: Elevate your brownie bites with a decadent touch by drizzling luscious salted caramel sauce over the top for a perfect balance of sweet and salty.
Feel free to mix and match these flavor variations or create your own unique combinations to suit your palate and preferences.

Toppings and Decorations
Enhance the visual appeal and taste of your mini brownie bites with a variety of toppings and decorations. Consider indulgent options like:
- Creamy Icing: Top your brownie bites with a luscious layer of creamy icing, such as cream cheese frosting or chocolate ganache, for an added touch of sweetness.
- Chopped Nuts: Sprinkle chopped nuts like walnuts, pecans, or almonds over the brownie bites before baking to add a crunchy texture and nutty flavor.
- Colorful Sprinkles: Make your brownie bites festive and fun by decorating them with colorful sprinkles or edible glitter for a playful presentation.
- Mini Chocolate Chips: Scatter mini chocolate chips over the top of the brownie bites before baking for extra bursts of chocolate goodness in every bite.
- Fresh Fruit Garnish: Add a fresh and vibrant touch by garnishing your brownie bites with slices of strawberries, raspberries, or mint leaves for a refreshing finish.
Mix and match these toppings and decorations to create eye-catching and delicious mini brownie bites that are sure to impress your guests or satisfy your sweet cravings. Experiment with different combinations to find your perfect customized brownie bite creation.
Tips for Perfect Brownie Bites
Creating the perfect brownie bites is an art. These tips will help you master the art of making delectable mini treats that are moist, fudgy, and irresistible.
Achieving Crinkle Tops
To achieve those coveted crinkle tops on your brownie bites, opt for melted chocolate instead of just cocoa powder in your batter. This simple switch ensures consistently crinkly and enticing brownie tops. Use high-quality semisweet chocolate for the best flavor and texture.
Ensuring Even Baking
To ensure even baking of your brownie bites, avoid overfilling the mini muffin tins. The batter should not exceed about half an inch in depth for perfectly baked treats. Let the batter sit for 5-10 minutes after portioning into the tins to allow the sugars to dissolve and the flour to hydrate adequately. This step ensures a uniform texture and taste in every bite.

Storing and Freezing
When it comes to ensuring your mini brownie bites stay fresh and delicious, proper storage is key. Follow these tips to keep your goodies tasting their best!
How to Keep Fresh
To maintain the freshness and flavor of your mini brownie bites, store them in an airtight container at room temperature. This will help preserve their moisture and texture, making them a delightful treat for up to a week.
Freezing and Reheating Instructions
If you want to save some for later, freezing your mini brownie bites is a great option. Once cooled completely, place the brownie bites in a freezer-proof container and store them for up to three months. When ready to enjoy, simply let them thaw at room temperature or quickly reheat in the microwave for about 30 seconds.
Conclusion
Creating delectable mini brownie bites is a delightful experience that offers endless opportunities for personalization and enjoyment. By following the simple recipe provided and incorporating flavor variations and toppings, you can elevate your brownie game to new heights. Remember to utilize the essential tools like a mini muffin pan for optimal results. Perfecting your brownie bites involves attention to detail, such as using melted chocolate for crinkle tops and avoiding overfilling the muffin tins for even baking. To ensure lasting freshness, store your brownie bites in an airtight container at room temperature or freeze them for later indulgence. With these tips in mind, you’ll be well-equipped to savor the irresistible taste and texture of homemade mini brownie bites.
