
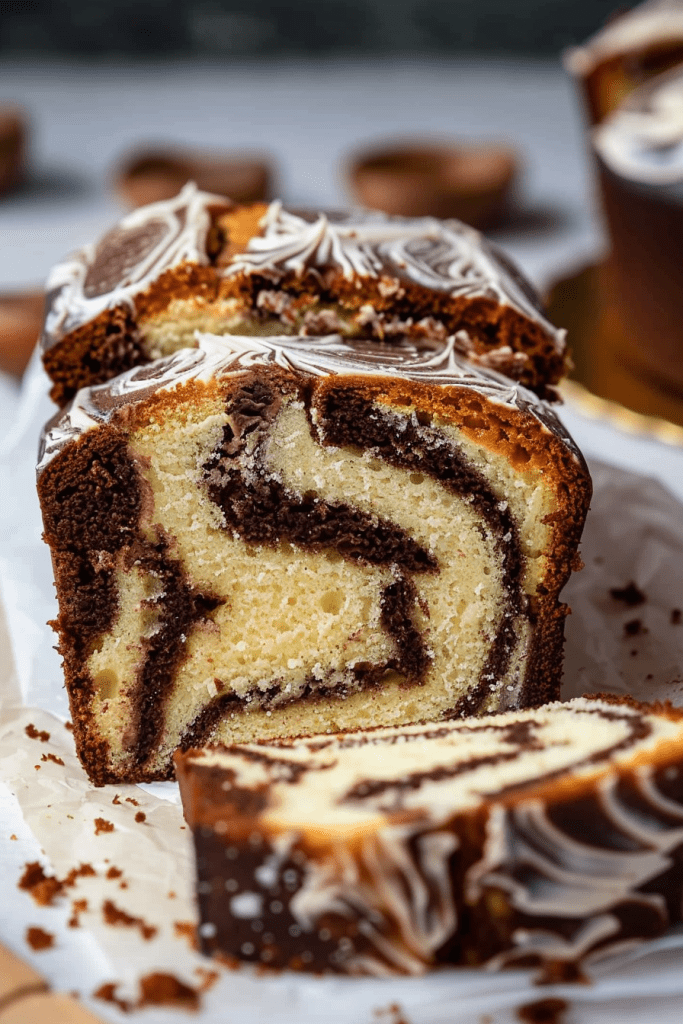
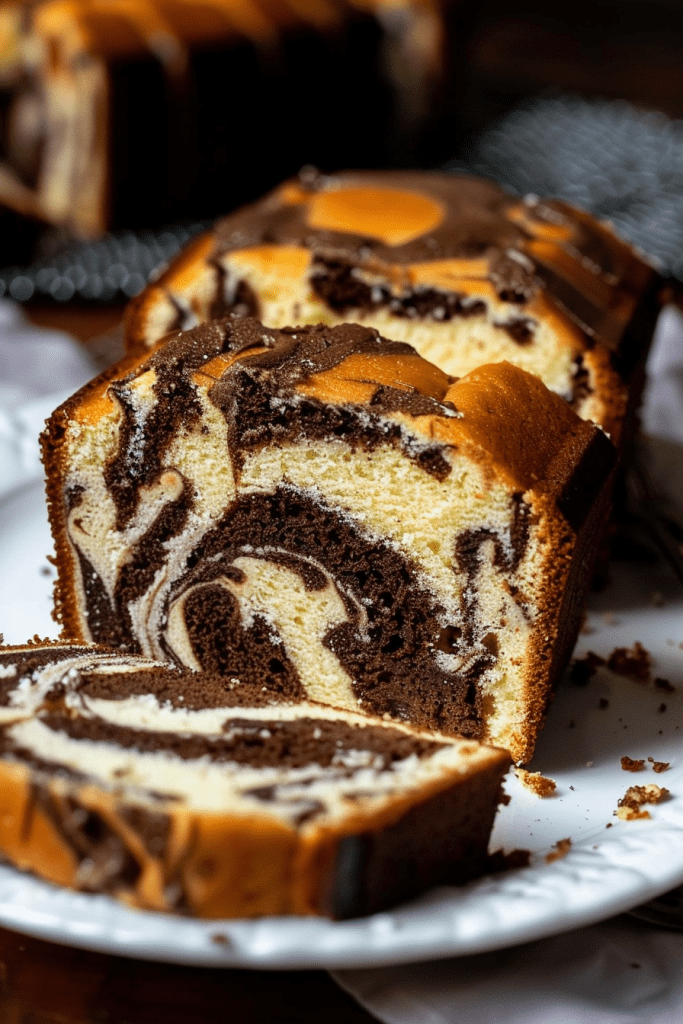
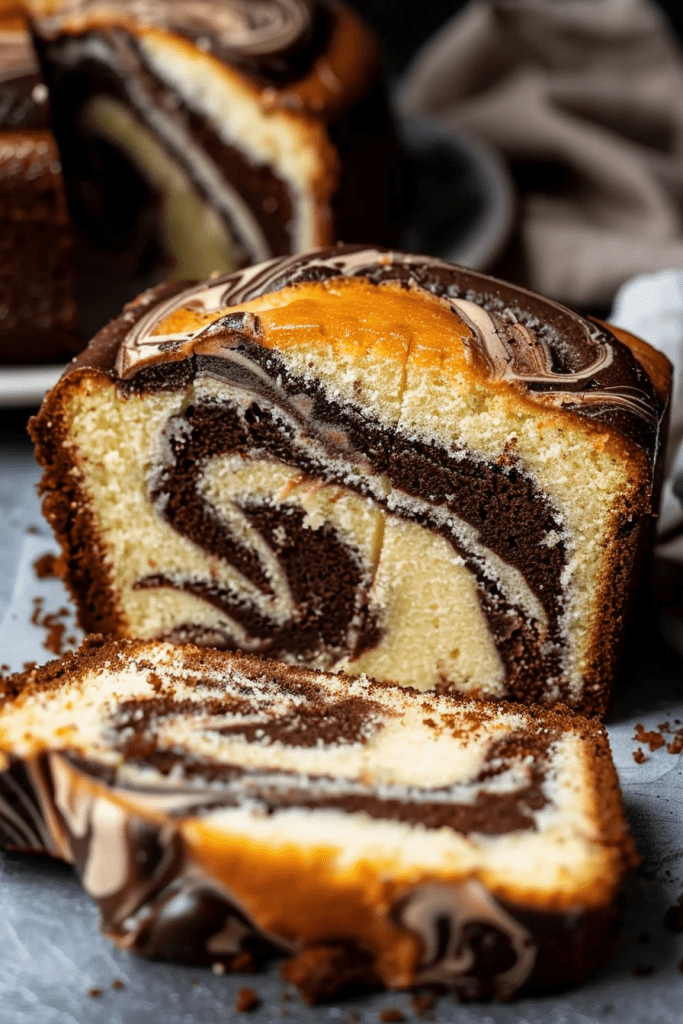
Craving a delightful treat that combines the best of both worlds? Look no further than Marble Pound Cake! This classic dessert merges the rich flavors of vanilla and chocolate into a beautiful swirled masterpiece. With a base batter that effortlessly transforms into two distinct cake layers, creating this marble cake is not only a culinary delight but also a visual stunner.
Indulge in the velvety texture of vanilla cream cheese pound cake alongside the fudgy decadence of chocolate pound cake, all topped with a luscious chocolate ganache. The magic lies in the artful swirls that give each slice a unique and elegant appearance, making it a favorite among both kids and adults. Get ready to impress your taste buds and guests with this easy-to-make yet sophisticated Marble Pound Cake recipe that promises a dense, rich flavor with a tender crumb structure.
Ingredients
Creating the perfect marble pound cake requires a careful selection of ingredients that harmonize to produce a delightful treat.
Main Ingredients List
- All-purpose flour
- Cake flour
- Baking powder
- Salt
- Unsalted butter
- Granulated sugar
- Eggs
- Vanilla extract
- Sour cream
- Buttermilk
- Cocoa powder
- Boiling water
Necessary Tools and Equipment
To prepare the delicious marble pound cake recipe, you will need the following tools and equipment:
- 9.5-inch loaf pan
- Whisk
- Rubber spatula
- Handheld or stand mixer
- Paddle or whisk attachment for the mixer
- Mixing bowls
- Measuring cups and spoons
- Oven for preheating to 350°F (177°C)
- Grease for generously greasing the loaf pan
Having these tools ready will make the baking process smooth and efficient. Make sure to have everything prepped and organized before starting to create this delightful marble pound cake.
Preparation Steps
Preparing the Ingredients
- Make sure all ingredients, particularly the butter, eggs, and sour cream, are at room temperature. Room temperature ingredients ensure a smooth cake batter consistency, leading to a perfectly baked marble pound cake.
- Measure out the cake flour. Cake flour, lighter and with weakened proteins compared to all-purpose flour, is essential for creating a delicate crumb structure in the cake. Sift cake flour with cornstarch for a lighter texture.
- Whisk together the dry ingredients (flour, baking powder, and salt) until well combined. This step ensures a uniform distribution of leavening agents and salt throughout the batter, promoting even rising during baking.
- Preheat the oven to 350 degrees Fahrenheit (177 degrees Celsius). Ensuring the oven is at the correct temperature is crucial for consistent baking results and proper cake texture.
- Prepare an 8.5 x 4.5-inch loaf pan by lightly oiling and flouring it. Line the pan with a strip of parchment paper, leaving edges hanging to facilitate easy removal of the cake after baking.
- Invest in an oven thermometer to accurately gauge the oven temperature. This handy device helps ensure that the oven is at the desired heat for baking, preventing under or over-baking of your marble pound cake.
Mixing the Batter
Creating the Base Batter
To begin making the marble pound cake, we first need to create the base batter, which will be divided into two parts—one for the vanilla batter and the other for the chocolate batter. This base batter forms the foundation for our delightful marble swirl cake.
- Creaming Butter & Sugar: In a mixing bowl, combine room temperature butter and granulated sugar. Cream them together until fluffy to create the base for our pound cake. This step is crucial for achieving a soft and tender crumb in the final cake.
- Adding Oil for Moisture: Incorporate some vegetable oil into the creamed butter and sugar mixture. The addition of oil enhances the cake’s moisture level, resulting in a richer and more flavorful marble pound cake.
- Mixing in Sour Cream & Whole Milk: Introduce sour cream and whole milk into the batter mixture. These ingredients play a vital role in creating a tender crumb structure in our cake, ensuring a moist and delicious texture.
- Sifting Dry Ingredients: In a separate bowl, sift together the dry ingredients—flour, baking powder, and salt. Gradually add this flour mixture to the wet ingredients in three parts, ensuring thorough mixing with each addition.
Preparing the Chocolate Batter
Let’s prepare the luscious chocolate batter that will complement the vanilla base to create enchanting swirls in our marble pound cake.
- Melting Chocolate: Begin by melting chocolate in a microwave-safe bowl until smooth. Allow the melted chocolate to cool slightly before incorporating it into the batter.
- Combining Cocoa Powder: Sift cocoa powder into a portion of the base batter along with espresso powder, if desired. Mix these ingredients until well combined, infusing the batter with a rich chocolate flavor.
- Adding Milk: Pour milk into the chocolate mixture and blend until fully incorporated. This step adds moisture and richness to the chocolate batter, enhancing its fudgy and decadent characteristics.
- Swirling the Batters: Alternate spoonfuls of the vanilla and chocolate batters into the prepared loaf pan. Use a knife to create elegant swirls by gently mixing the two batters together, resulting in a visually appealing marble effect.
Following these steps will ensure that your marble pound cake batter is perfectly mixed and ready for baking, promising a delightful treat for your taste buds.
Assembling the Cake
Prepare to assemble the Marble Pound Cake with precision to achieve its beautiful marbled appearance.
Layering the Batters
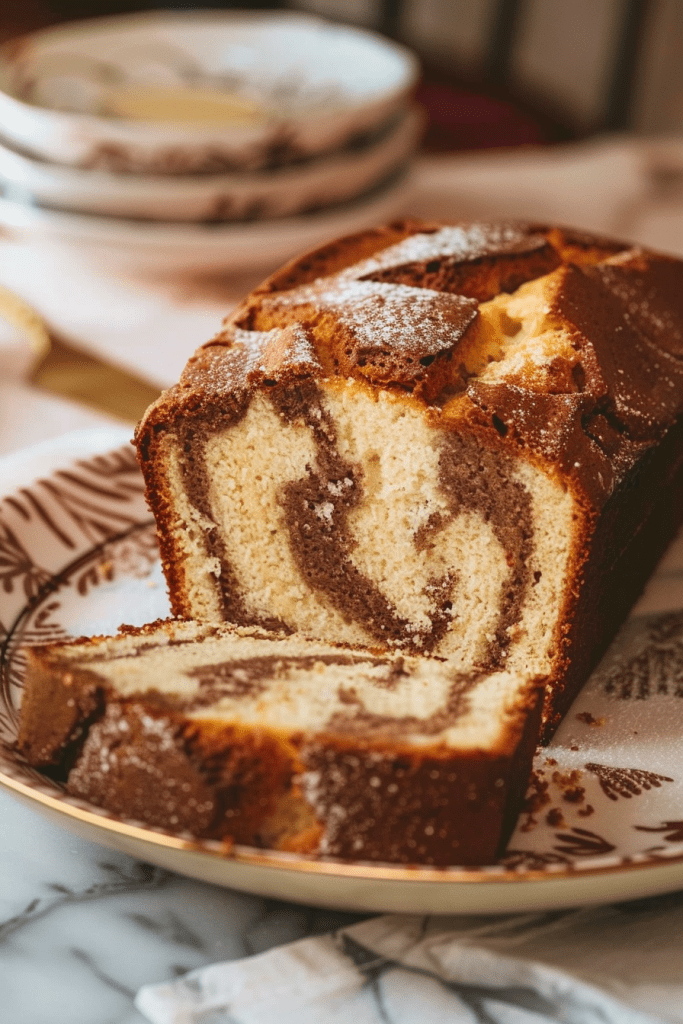
Begin by creating a checkerboard pattern in the loaf pan with dollops of vanilla and chocolate batters, alternating to form distinct layers. Swirl the batters together gently to achieve a sophisticated marble effect in the cake.
Techniques for Marbling
When layering the batters, use a knife to make rounded horizontal and vertical zigzags through the layers to create a marbled pattern. This swirling technique ensures that the vanilla and chocolate batters blend beautifully, resulting in a visually appealing and delicious Marble Pound Cake.
Baking the Cake
Baking a Marble Pound Cake is a delightful process that results in a decadent dessert. Follow these key steps to ensure the perfect bake every time.
Baking Time and Temperature
To achieve the ideal texture and flavor, it’s crucial to pay attention to the baking time and temperature. Start by preheating your oven to 350°F (175°C). The initial higher temperature will allow the cake to rise beautifully. After 15 minutes, reduce the heat to 300°F (150°C) and continue baking for an additional 55-60 minutes. This lower temperature ensures even cooking from the center to the edges without over browning the cake’s exterior.
Checking for Doneness
A foolproof way to determine if your Marble Pound Cake is ready is by performing a simple doneness test. Insert a toothpick or cake tester into the center of the cake; if it comes out with a few moist crumbs attached, the cake is perfectly baked. Remember to cool the cake in the pan for 10 minutes before transferring it to a wire rack, allowing it to cool completely before serving.
Cooling and Serving
After baking the Marble Pound Cake to perfection, it’s essential to allow it to cool properly before serving. Here’s how to ensure the best texture and flavor for your delectable creation.
Cooling Instructions
- Once the Marble Pound Cake is baked, transfer the loaf pan to a wire rack.
- Let the cake cool in the pan for about 15-20 minutes to allow it to set.
- After the initial cooling period, carefully remove the cake from the pan and place it on the wire rack.
- Allow the cake to cool completely for about 2 hours before serving to ensure the flavors have settled and the texture is perfect.
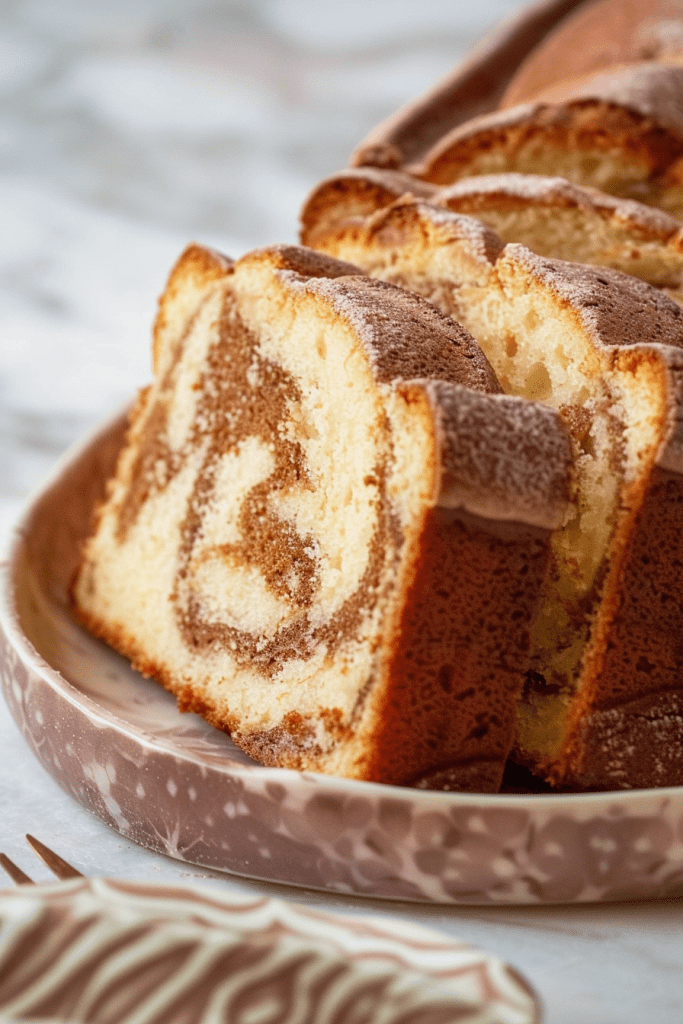
Serving Suggestions
When serving this gorgeous marble cake, consider these delightful suggestions to enhance the experience:
- Pair slices of Marble Pound Cake with a dollop of whipped cream for a light and airy topping.
- Drizzle a decadent chocolate ganache over the cake for an extra touch of indulgence.
- Serve the cake alongside a scoop of vanilla ice cream for a classic and delicious pairing.
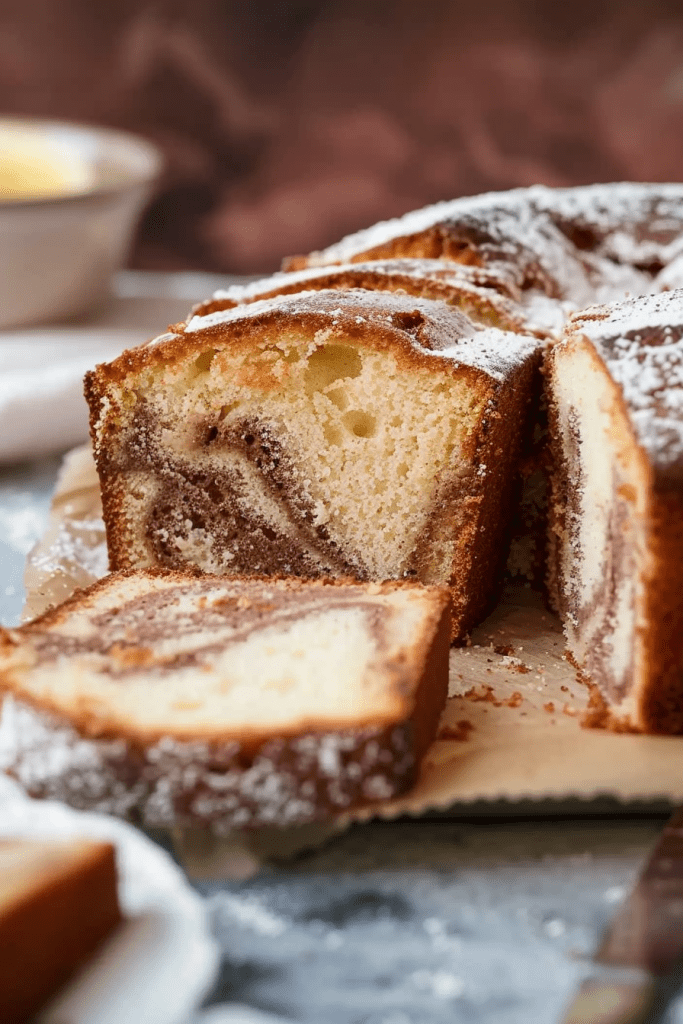
- For a simple yet elegant presentation, dust the cake slices with powdered sugar before serving.
By following these cooling instructions and serving suggestions, you’ll be able to present your Marble Pound Cake in the best possible way, delighting your guests with both visual appeal and exceptional taste.
Additional Tips for Success
Using Room Temperature Ingredients
For a successful marble pound cake, ensure that your eggs, butter, and buttermilk are at room temperature before starting the recipe. Room temperature ingredients blend more smoothly, resulting in a lighter and fluffier texture.
Achieving the Perfect Texture
When swirling the vanilla and chocolate batters together, use a gentle hand to avoid overmixing. A few quick swirls with a butter knife or skewer should create a beautiful marble effect without blending the batters too much. Additionally, proper pan preparation by greasing and flouring your loaf pan thoroughly is crucial to prevent the cake from sticking and ensure easy removal after baking.
Conclusion
Creating a Marble Pound Cake is a delightful journey of blending flavors and textures to achieve a stunning dessert. By following the detailed steps and techniques outlined in this article, you can master the art of swirling vanilla and chocolate batters into a beautiful marbled masterpiece. Remember the importance of baking time and temperature, as well as the proper cooling process, to ensure a moist and flavorful cake. With the right ingredients, techniques, and a bit of creativity, you can impress your guests with a visually appealing and delicious Marble Pound Cake that will surely become a favorite in your baking repertoire. Enjoy the process and savor the sweet rewards of your culinary creation!