
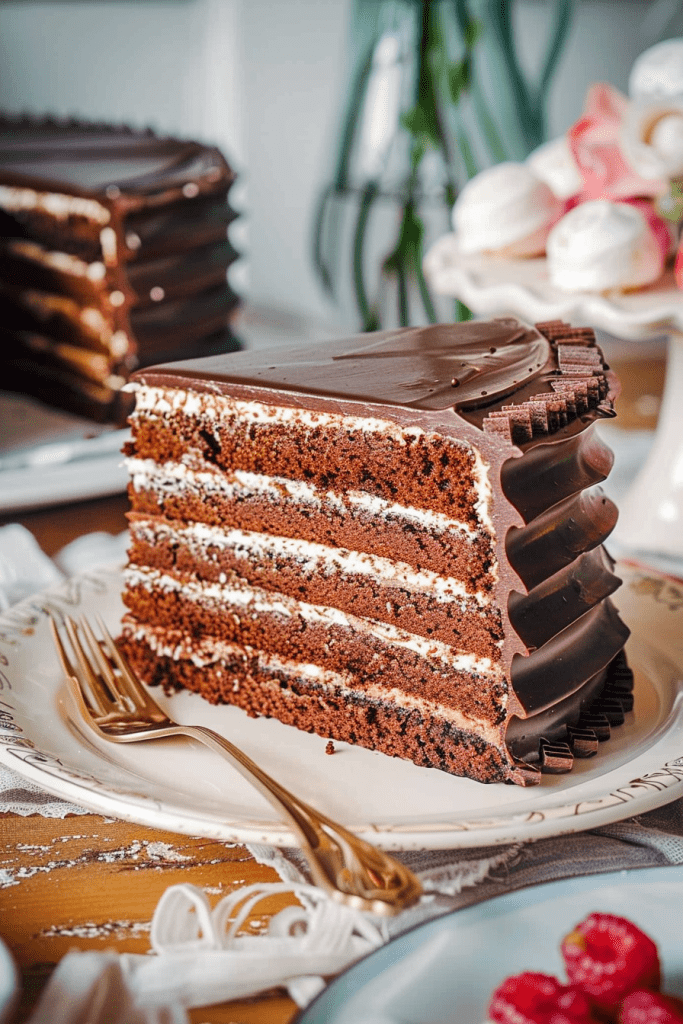
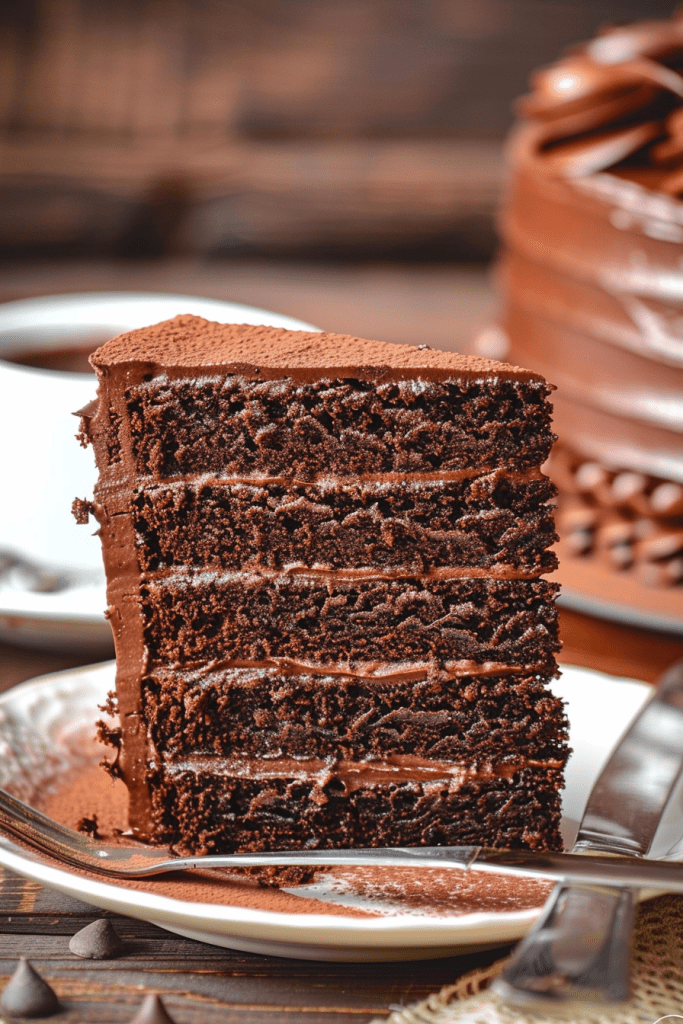
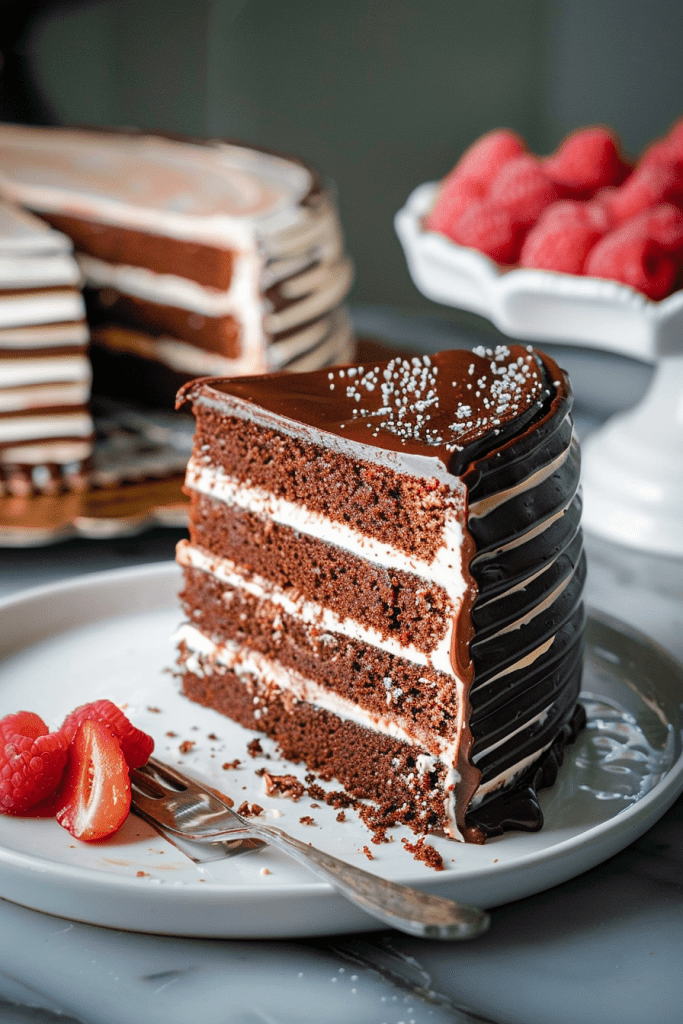
Being a fan of decadent desserts, little layer chocolate cake has always held a special place in my heart. This rich and delicious treat, originating from southwest Georgia, combines buttery layers of yellow cake with a luscious homemade chocolate icing. Despite its intricate appearance, this cake is surprisingly simple to make, especially with my streamlined baking method.
This plant-based vegan Chocolate Little Layer Cake recipe is a delightful twist on the traditional version, perfect for sharing with a loved one. By baking the cake on a single tray and cutting out the layers with a biscuit cutter, I’ve made the process much more accessible. With just a few easy steps, you can enjoy this indulgent dessert in no time.
Ingredients
Creating a delicious Little Layer Chocolate Cake requires the perfect blend of ingredients to achieve that rich and indulgent flavor. Below is the list of ingredients divided into two sections for the cake and the icing.
For the Cake
- Oat flour
- Arrowroot powder
- Baking powder
- Baking soda
- Dates
- Sugar
- Cocoa powder
- Butter
- Milk
- Vanilla
Required Tools and Equipment
When preparing the indulgent Little Layer Chocolate Cake, having the right tools and equipment is essential to ensure a successful baking experience. Here are the tools and equipment that I recommend for this recipe:
Tools:
- 6-inch Cake Pans: To achieve the perfect size layers for this cake, I recommend using 6-inch cake pans.
- Parchment Paper Rounds: Using parchment paper rounds makes it easier to remove the cakes from the pans without sticking.
- Biscuit Cutter: This tool is handy for cutting out the individual cake layers to create the iconic little layers of the cake.
- Non-Stick Spray: To ensure that the cakes come out of the pans easily, a good quality non-stick spray is recommended.
- Mixing Bowls: Have a few mixing bowls on hand for preparing the cake batter and frosting.
- Electric Mixer: An electric mixer will make it easier to mix the batter and frosting to the perfect consistency.
- Offset Spatula: This tool is great for spreading the frosting between the cake layers and achieving a smooth finish.
- Cake Stand or Serving Plate: Once assembled, the cake will look stunning on a cake stand or a decorative serving plate.
- Oven: A standard home oven is necessary for baking the cake layers.
- Cooking Spray or Brush: Use cooking spray or a brush with melted butter to grease the cake pans and parchment paper rounds.
- Measuring Cups and Spoons: Accurate measurements are crucial for baking, so have measuring cups and spoons on hand.
- Cooling Rack: After baking the cake layers, a cooling rack will help cool them down evenly.
- Sifter: Sifting the dry ingredients for the cake batter will ensure a smooth texture.
- Cake Lifter or Large Spatula: This tool will help transfer the delicate cake layers without breaking them.
- Saucepan: You’ll need a saucepan to prepare the frosting on the stovetop.
Having these tools and equipment ready before starting the baking process will make preparing the Little Layer Chocolate Cake a smooth and enjoyable experience.
Preparation Steps
When it comes to creating this delicious little layer chocolate cake, the preparation steps are crucial. Let me guide you through the process to ensure a successful bake.
Preparing the Cake Batter
To start, whisk together the dry ingredients in one bowl and the wet ingredients in another. Combine both mixtures until you have a smooth and thick cake batter. The addition of espresso powder enhances the rich chocolate flavor, so don’t skip it if you have it on hand. Remember, the buttermilk is key to achieving the perfect texture and rise in this cake.
Preparing the Icing
For the finishing touch on this decadent dessert, making the chocolate ganache icing is a must. It adds a perfect balance of sweetness when drizzled on top of the cake. Follow the simple instructions to create a smooth and glossy ganache that will elevate the flavor of your little layer chocolate cake.
Baking Instructions
Let’s dive into the baking instructions for this delightful Little Layer Chocolate Cake recipe.
- Level off the cakes if desired to ensure even layers.
- Place the first cake layer on the serving platter, securing it with a bit of buttercream.
- Add buttercream to the first layer and smooth it with an offset spatula. Optionally, spread some buttercream around the sides.
- Create a buttercream dam around the outer edge of the first layer to contain the filling.
- Fill the cake within the buttercream dam.
- Gently place the second cake layer on top, positioning it upside down for a flat surface.
- Apply a thin layer of buttercream where the two layers join and smooth it out.
- Optionally, chill the cake at this point to set the dam.
- Crumb coat the cake with a thin layer of buttercream.
- Frost the top and sides of the cake with the remaining buttercream, finishing it per your preference.
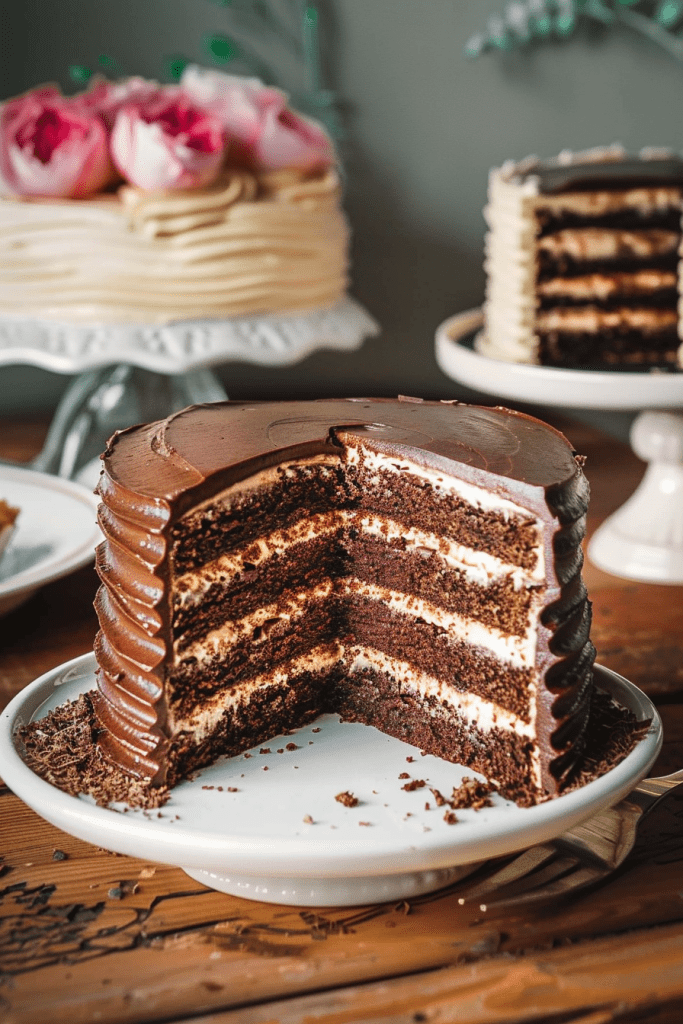
Assembling the Cake
Assembling the Little Layer Chocolate Cake is a crucial step in creating a visually stunning and delicious dessert. Follow these key tips for layering the cake and final decoration to achieve a perfect finish.
Tips for Layering
- Start by ensuring all the cake layers are at room temperature before assembly.
- Place the first layer on a cake board or plate, spreading a thin layer of buttercream to act as a base.
- Add a generous amount of the chocolate filling on top, spreading it evenly with an offset spatula.
- Repeat the process with each layer, stacking them carefully to avoid any shifting.
- Once all layers are assembled, create a “dam” of buttercream around the edges to secure the filling.
- Apply a crumb coat of buttercream on the assembled cake to seal in any loose crumbs for a clean final frosting layer.
- After the crumb coat sets, apply a final layer of buttercream on the cake, ensuring smooth and even coverage.
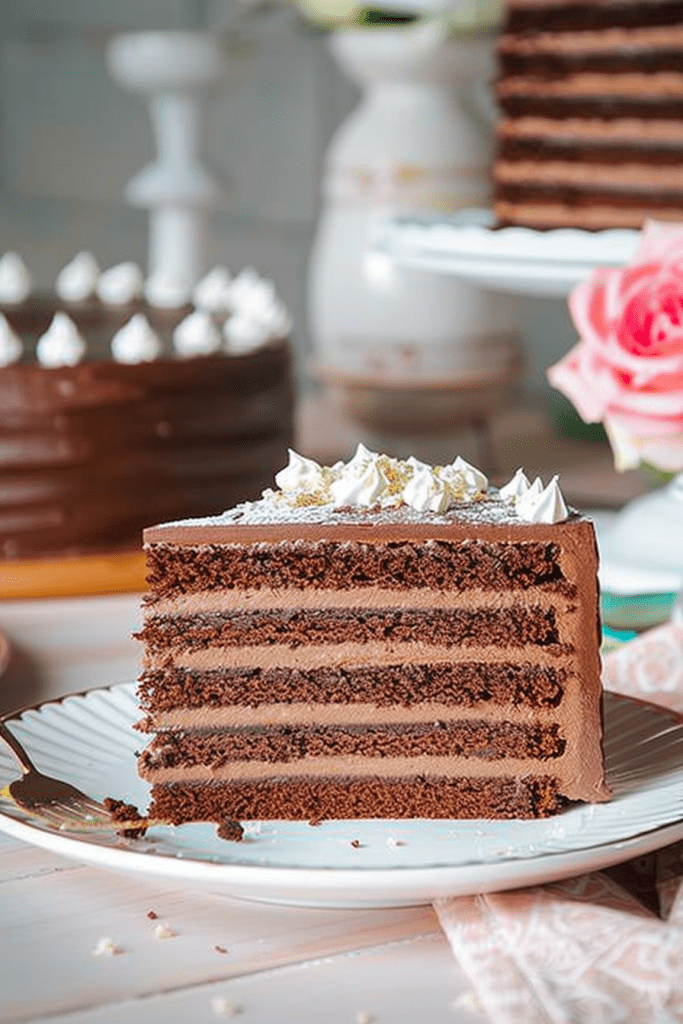
- Use an offset spatula to create decorative swirls or patterns on the cake’s surface.
- For an elegant finish, consider adding chocolate shavings, sprinkles, or fresh berries on top of the cake.
- Refrigerate the cake for a minimum of 30 minutes before serving to allow the buttercream to set and enhance the flavors.
- Slice and serve the Little Layer Chocolate Cake to impress your guests with its exquisite layers and rich chocolate taste.
Storage and Preservation
Once you have created your delectable little layer chocolate cake, you’ll want to ensure it stays fresh and delicious for as long as possible. Follow these simple steps for optimal storage and preservation:
- Cool Completely: Allow the cake to cool completely at room temperature before attempting to store it. This helps prevent condensation, which can affect the cake’s texture.
- Refrigeration: If your cake has perishable fillings like cream, custard, or fruits, it’s best to store it in the refrigerator. Cover the cake loosely with plastic wrap or place it in an airtight container to prevent it from drying out.
- Freezing: Little layer chocolate cakes freeze well, making them a convenient make-ahead dessert option. Wrap the cake tightly in plastic wrap or aluminum foil before placing it in a freezer-safe container. Thaw the cake in the refrigerator overnight before serving.
- Avoid Odor Absorption: Keep the cake away from foods with strong odors in the refrigerator to prevent it from absorbing unpleasant flavors.
- Storage Duration: For optimal freshness, consume the cake within 2-3 days if stored in the refrigerator. Frozen cakes can last up to 3 months when properly wrapped and stored.
By following these storage and preservation tips, you can enjoy your little layer chocolate cake for longer while maintaining its delicious taste and texture.
Conclusion
Creating Little Layer Chocolate Cakes is a delightful journey filled with scrumptious flavors and creative techniques. From mastering the art of layering to perfecting the frosting swirls, each step contributes to a mouthwatering masterpiece. With the right tools and tips at hand, anyone can elevate their baking skills and impress their guests with this indulgent treat. Remember to savor each bite of the rich chocolate goodness and share the joy of homemade desserts with your loved ones. Whether you choose to adorn your cake with chocolate shavings or fresh berries, the possibilities for customization are endless. By following the storage guidelines, you can ensure that your creation stays fresh and delicious for days to come. Embrace the art of baking and let your creativity shine through each Little Layer Chocolate Cake you make.