
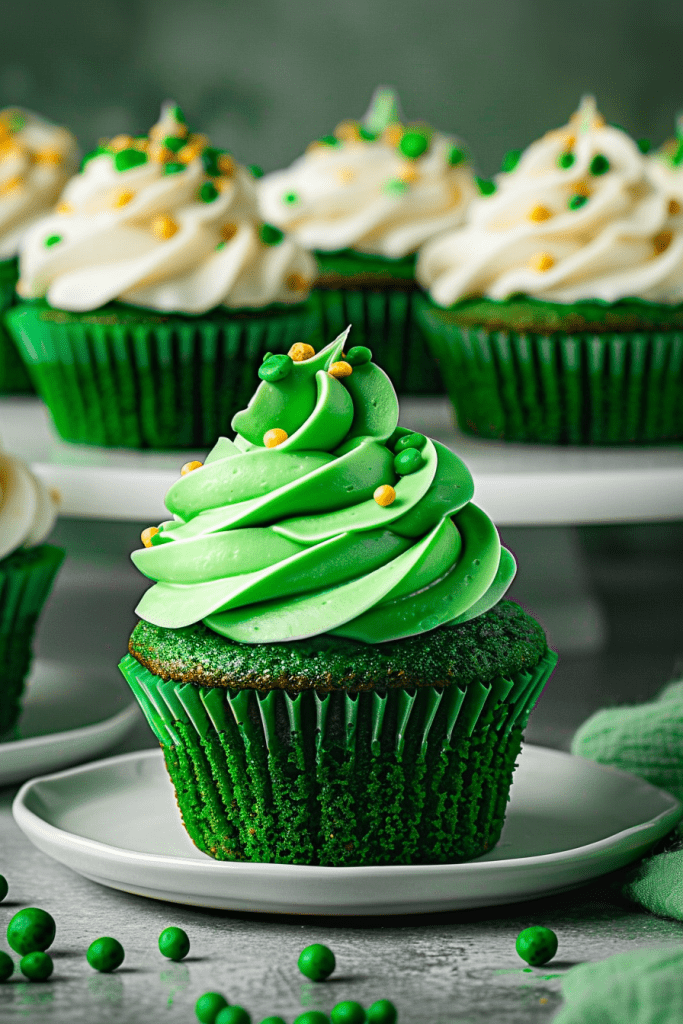
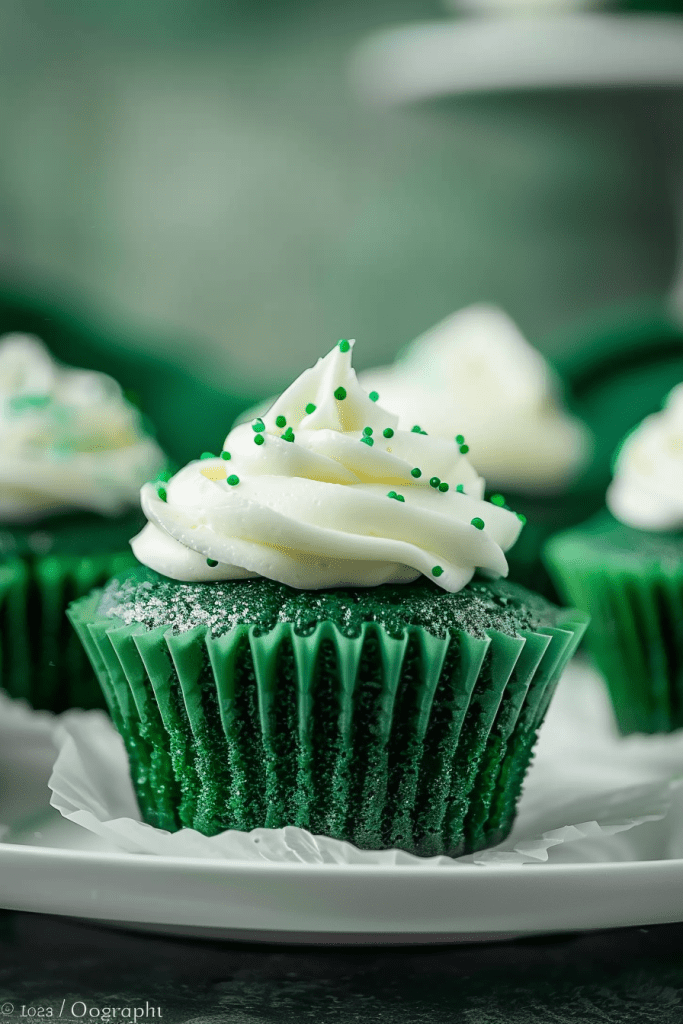
If you’re craving a festive treat for St. Patrick’s Day, look no further than Green Velvet Cupcakes. These delightful creations are a spin-off of the classic red velvet cake, adding a touch of green for a fun and flavorful twist. Whether you’re a fan of traditional red velvet or looking to celebrate the Irish holiday in style, these cupcakes are a perfect choice.
Green Velvet Cupcakes have become a popular choice for St. Patrick’s Day celebrations, offering a vibrant and delicious alternative to the usual treats. With a moist and flavorful crumb, these cupcakes are a crowd-pleaser that can be easily customized with cream cheese frosting or other toppings. Whether you’re a baking enthusiast or just looking for a festive dessert, these cupcakes are sure to impress.
Ingredients for Green Velvet Cupcakes
Green Velvet Cupcakes are a festive treat perfect for St. Patrick’s Day celebrations. Below are the ingredients you will need to create these delicious cupcakes, as well as the creamy cream cheese frosting to top them off.
For the Cupcakes
- 2 1/2 cups of cake flour
- 2 tablespoons of unsweetened cocoa powder
- 1 teaspoon of baking soda
- 1 teaspoon of salt
- 1 1/2 cups of granulated sugar
- 1 cup of buttermilk
- 3/4 cup of vegetable oil
- 2 large eggs
- 1 tablespoon of white vinegar
- 1 teaspoon of vanilla extract
- Green gel food coloring
- 3 cups of powdered sugar
- 1 cup of unsalted butter
- 1 (8 oz) package of cream cheese
- 1/4 cup of sour cream
- 1 teaspoon of vanilla extract
These ingredients will help you create the perfect batch of Green Velvet Cupcakes with a luscious cream cheese frosting that will elevate your St. Patrick’s Day celebration.
Necessary Equipment
For making these green velvet cupcakes, you’ll need specific baking and mixing tools to ensure the process goes smoothly and efficiently.
Baking and Mixing Tools
When preparing green velvet cupcakes, having the right baking and mixing tools is essential for achieving the perfect texture and consistency. Here are the tools you’ll need:
- Mixing Bowls: Use medium-sized and large mixing bowls for combining and whisking ingredients.
- Whisk: A whisk is handy for blending dry ingredients and ensuring they are evenly distributed.
- Electric Mixer: An electric mixer, especially a standing mixer, will make creaming the butter and sugar much easier.
- Measuring Cups and Spoons: Accurate measurements are crucial in baking, so have a set of measuring cups and spoons handy.
- Spatula: A spatula is essential for scraping down the sides of the bowl to incorporate all ingredients evenly.
- Cupcake Liners: Prepare your cupcake tin with paper liners to prevent sticking and ensure easy removal of the cupcakes.
- Oven: Preheat your oven to the specified temperature for baking the cupcakes to perfection.
Having these tools ready before you start baking will streamline the process and help you create delicious and visually appealing green velvet cupcakes for any occasion.
Preparing the Batter
To create the perfect green velvet cupcake batter, we need to ensure that our dry and wet ingredients are combined correctly to achieve a moist and flavorful result. Let’s follow these steps to mix the batter efficiently.
Mixing Dry Ingredients
In a mediumsized bowl, whisk together the following dry ingredients to form the base of our batter:
- 2 cups cake flour
- 1 cup granulated sugar
- 2 teaspoons baking powder
- 1 teaspoon salt
Combining Wet Ingredients
Next, in a separate bowl, let’s combine the following wet ingredients for our batter:
- 1 cup buttermilk
- 2 large eggs
- 1 teaspoon vanilla extract
- Green gel food coloring (to achieve the vibrant green color)
Merging the Mixtures
It’s time to merge the dry and wet mixtures to create our green velvet cupcake batter. Slowly whisk the wet ingredients into the dry until just fully combined. If desired, add more green food coloring until the batter reaches the desired green hue.
By following these steps to prepare the batter, we ensure that our green velvet cupcakes turn out moist, flavorful, and visually appealing for any occasion.
Baking the Cupcakes
Let’s dive into the baking process to bring these delightful green velvet cupcakes to life. From preheating the oven to filling the cupcake liners, every step is crucial in achieving perfectly baked treats.
Preheating the Oven
To start, preheat your oven to 350°F (180°C). Ensuring the oven is at the correct temperature is key to baking these cupcakes evenly and to perfection.
Filling Cupcake Liners
Using cupcake liners, fill each liner about two-thirds full with the vibrant green cupcake batter. It’s essential not to overfill them to prevent overflowing during baking, resulting in beautifully risen cupcakes.
Baking and Cooling
Place the filled cupcake liners in the preheated oven and bake at 350°F for approximately 15-18 minutes. To check for doneness, insert a toothpick into the center of a cupcake; if it comes out clean or with a few moist crumbs, the cupcakes are ready.
After baking, allow the cupcakes to cool in the pan for about 10 minutes before transferring them to a wire rack to cool completely. This cooling process ensures the cupcakes set perfectly for frosting and decorating.
Making the Cream Cheese Frosting
To create the perfect cream cheese frosting for your green velvet cupcakes, it’s essential to start by softening the cream cheese. Once softened, mixing the frosting ingredients to a light and fluffy consistency is key to achieving that delicious creamy topping.
Softening the Cream Cheese
To soften the cream cheese effectively, you can take it out of the refrigerator and let it sit at room temperature for approximately 30 minutes. Alternatively, you can microwave the unwrapped cream cheese on a low setting for short intervals, checking and stirring it in between until it reaches a softened state suitable for mixing.
Mixing Frosting Ingredients
In a mixing bowl, beat together the softened cream cheese, butter, sour cream, and vanilla extract using an electric mixer. Beat the mixture until it becomes light and fluffy. Gradually add the powdered sugar while continuing to beat the ingredients together. Adjust the consistency by adding milk as needed until you achieve the desired creamy texture. Spread this delicious cream cheese frosting generously on top of the green velvet cupcakes for a delightful finish.
Assembling the Cupcakes
Now that the delicious green velvet cupcakes are baked and cooled, it’s time to assemble and add the finishing touches to create a delightful treat for any occasion.
Applying the Frosting
To start assembling the cupcakes, prepare the cream cheese frosting by combining softened cream cheese, butter, powdered sugar, and vanilla extract. Mix the ingredients until light and fluffy, adjusting the consistency with a little milk if needed for a creamy texture.
Scoop a generous amount of the prepared frosting on top of each cupcake using a spoon or a piping bag, spreading it evenly to cover the entire surface. Ensure the cupcakes are fully frosted with a smooth finish for a delightful taste and presentation.
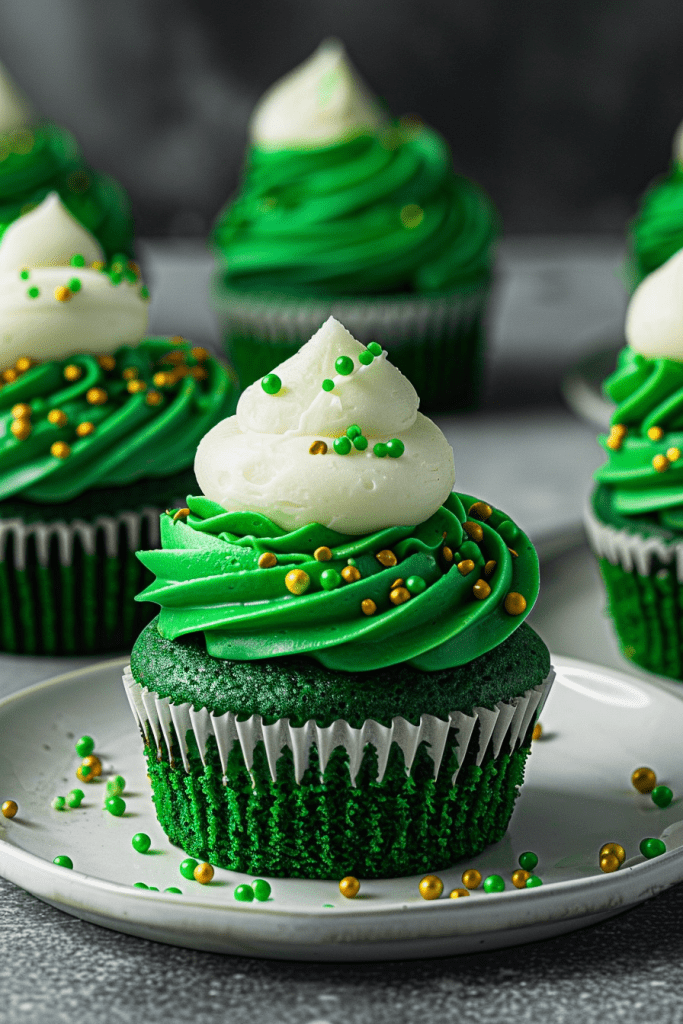
Final Decorative Touches
For the final decorative touches, consider adding sprinkles or chocolate gold coins to enhance the look of the cupcakes. Sprinkle your favorite colored sprinkles on top of the frosted cupcakes or place a chocolate gold coin on each cupcake for an extra festive touch.
By adding these final decorative touches, your green velvet cupcakes will not only taste amazing but also look visually appealing, making them perfect for any celebration or as a special treat for friends and family.
Tips for Perfect Cupcakes
When baking green velvet cupcakes, a few tips can ensure your cupcakes turn out perfectly moist, fluffy, and vibrant in color. Here are some key tips to keep in mind for achieving the best results with your cupcakes:
Achieving the Right Color
To achieve a vibrant green color for your green velvet cupcakes, it’s important to use a sufficient amount of green gel food coloring. Make sure to mix the coloring thoroughly into the batter until there are no streaks of the brown chocolate color left. Using quality gel food coloring will give you the best results, ensuring your cupcakes have that appealing green hue.
Ensuring Moisture and Fluffiness
For moist and fluffy cupcakes, it’s crucial to pay attention to the mixing method. When combining the ingredients, be sure not to overmix the batter, as this can result in dense cupcakes. Following the creaming method, where you beat the oil, butter, and sugar until light and fluffy, will help incorporate air into the batter, leading to a tender crumb texture. Additionally, adding buttermilk and sour cream will contribute to the cupcakes’ moisture, resulting in a delightful and fluffy texture.
Storing Green Velvet Cupcakes
When it comes to keeping your Green Velvet Cupcakes at their best, proper storage is key. Follow these guidelines to ensure your cupcakes stay fresh and delicious.
Short-Term Storage
For short-term storage, if you’re not planning to indulge in your cupcakes right away, make sure to store the unfrosted cupcakes in an airtight container once they have cooled. You can keep the cupcakes at room temperature for up to three days before frosting them.
Freezing and Thawing Instructions
Green Velvet Cupcakes freeze well before frosting. After baking and allowing them to cool completely, store the unfrosted cupcakes in an airtight container or freezer-safe bag. They can be frozen for up to three months. When ready to enjoy, thaw the cupcakes at room temperature before filling and frosting to preserve their freshness and taste.
Conclusion
I hope this article has inspired you to try your hand at baking these delicious Green Velvet Cupcakes. With the right ingredients, tools, and techniques, you can create a festive treat that is sure to impress your friends and family. Remember to pay attention to the details, from achieving the perfect green color to mastering the cream cheese frosting. By following the steps outlined in this recipe, you’ll be on your way to enjoying moist, fluffy cupcakes that are perfect for any occasion. So, roll up your sleeves, preheat your oven, and get ready to bake up a batch of these delightful treats. Happy baking!