
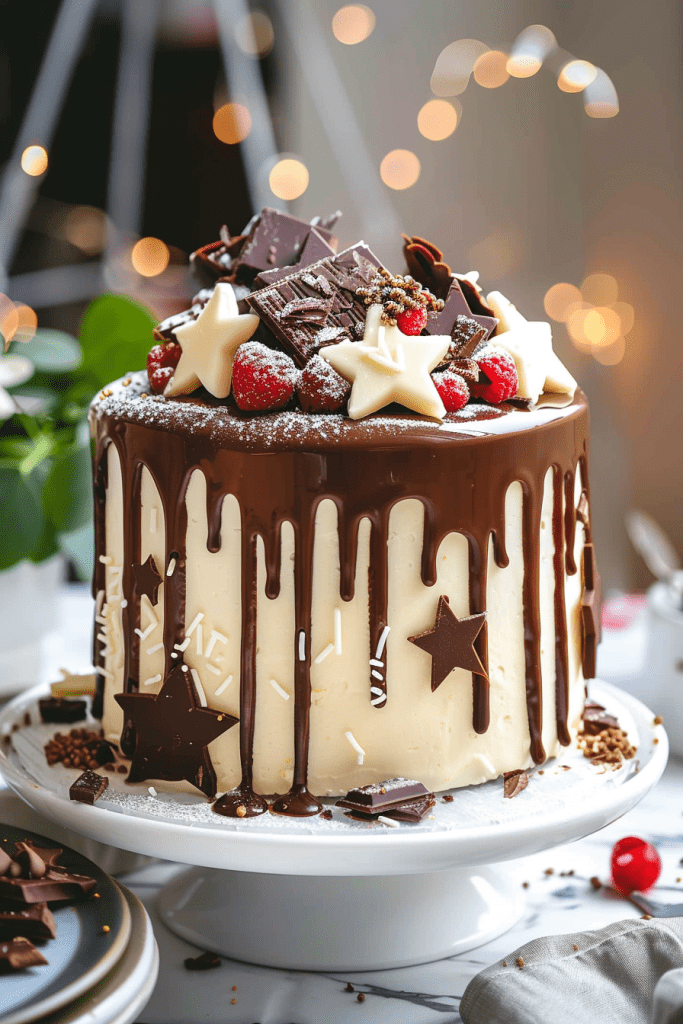
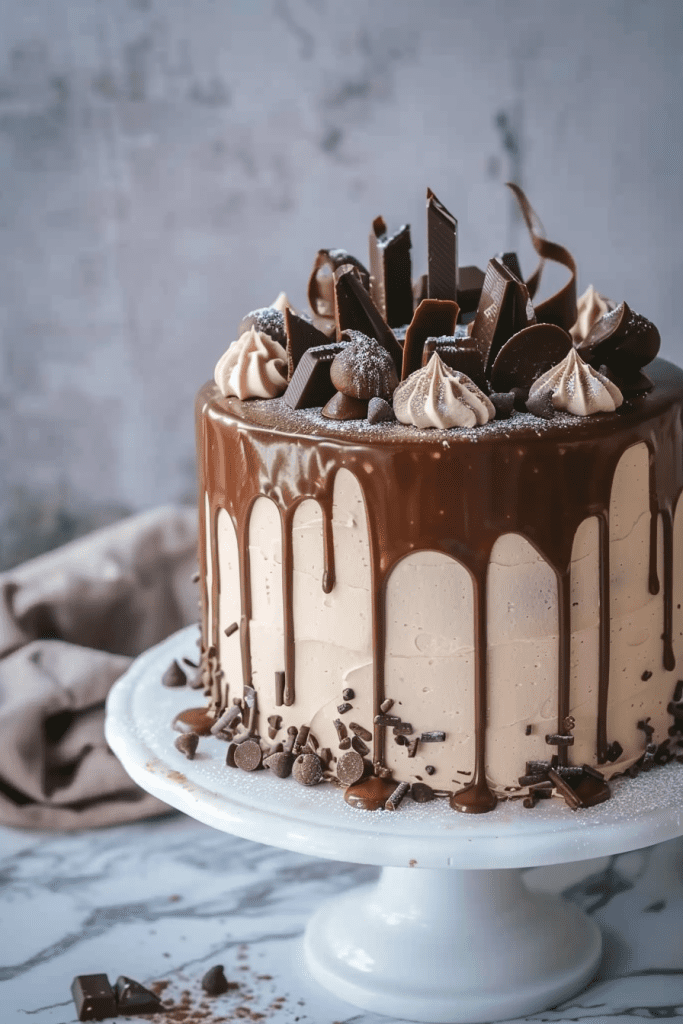
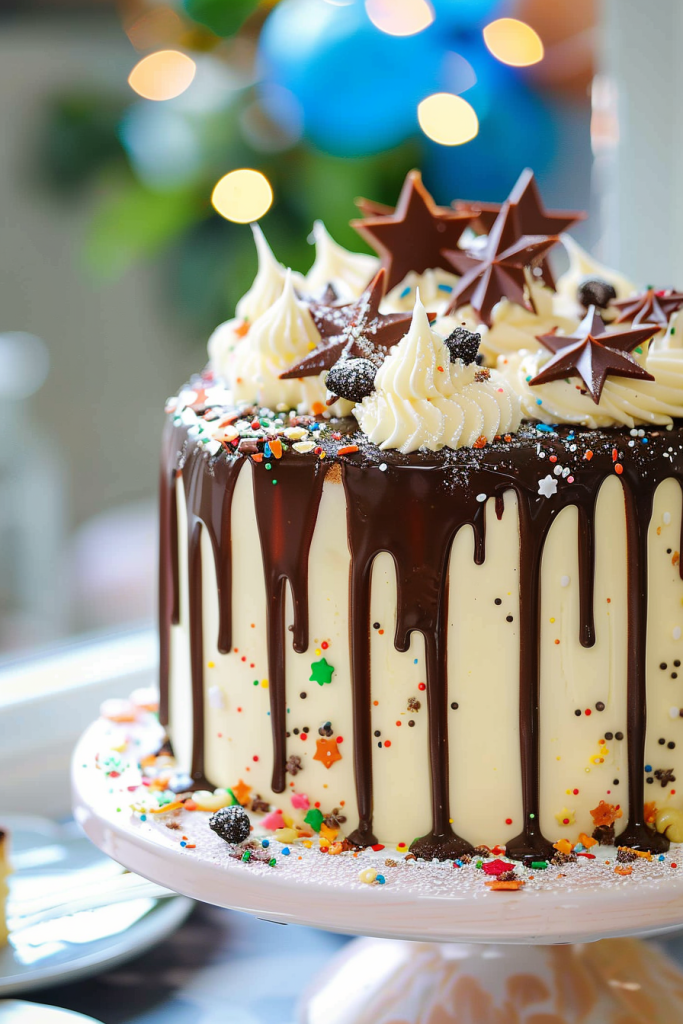
Indulge in the decadent world of chocolate with my easy chocolate drip cake recipe. This rich and fudgy dark chocolate layer cake is a chocolate lover’s dream come true. Filled and frosted with silky smooth dark chocolate buttercream, and elegantly finished with a dark chocolate ganache drip, this cake is a true showstopper.
The secret to the intense chocolate flavor of this cake lies in the Dutch process cocoa powder used in the recipe. Its moist and luscious texture paired with the best dark chocolate buttercream makes it a favorite among chocolate enthusiasts. Whether you’re a seasoned baker or a novice in the kitchen, this recipe is a must-try for anyone looking to impress with a stunning and delicious chocolate creation.
Ingredients for Easy Chocolate Drip Cake
Creating the perfect easy chocolate drip cake requires a handful of key ingredients. Let’s explore the essentials you’ll need to make this divine treat packed with rich chocolate flavors.
Cake Ingredients
- 2 cups all-purpose flour
- 2 cups granulated sugar
- 3/4 cup unsweetened cocoa powder
- 2 teaspoons baking powder
- 1 1/2 teaspoons baking soda
- 1 teaspoon salt
- 1 cup whole milk
- 1/2 cup vegetable oil
- 2 large eggs
- 2 teaspoons vanilla extract
- 1 cup boiling water
Chocolate Ganache Ingredients
- 1 cup heavy cream
- 1 cup dark chocolate chips
- Fresh berries or edible flowers for garnish
- Sprinkles or edible glitter for extra flair
Necessary Equipment
Baking Tools
- Three eight-inch round cake pans
- Sifter for dry ingredients
- Large mixing bowls for batter preparation
- Whisk for combining wet ingredients
- Offset spatula for leveling cake layers
- Serrated knife for trimming cake tops
- Squeeze bottle or Ziploc bag for applying ganache drips
- Cake decorating turntable for easy frosting application
- Cake stand or wire racks for cooling cake layers
- Favorite cake decorating tools or piping bags for embellishments
Preparing the Cake
To ensure your chocolate drip cake turns out perfect, follow these steps for preparing the cake batter and baking the cake layers.
Chocolate Cake Batter Preparation
- Preheat your oven to 350°F (177°C) and prepare your cake pans by lining them with parchment paper and spraying with non-stick cooking spray.
- In a large mixing bowl, combine the dry ingredients: all-purpose flour, Dutch-processed cocoa powder, baking powder, baking soda, and salt. Whisk together until well combined.
- In a separate bowl, beat together the granulated sugar and eggs until light and fluffy. Add in the vegetable oil and vanilla extract, mixing until smooth.
- Alternate adding the dry ingredients and buttermilk into the wet ingredients, mixing on low speed until just combined.
- Pour in the hot coffee and mix on low speed until the batter is smooth. Be sure to scrape down the sides of the bowl to ensure everything is well incorporated.
- Evenly distribute the cake batter between the prepared cake pans.
- Bake the cakes in the preheated oven for 39-44 minutes or until a toothpick inserted into the center comes out clean.
- Allow the cakes to cool in the pans for 5 minutes before transferring them to a wire rack to cool completely.
Follow these steps to have perfectly baked and prepared cake layers for your chocolate drip cake recipe.
Making the Chocolate Ganache
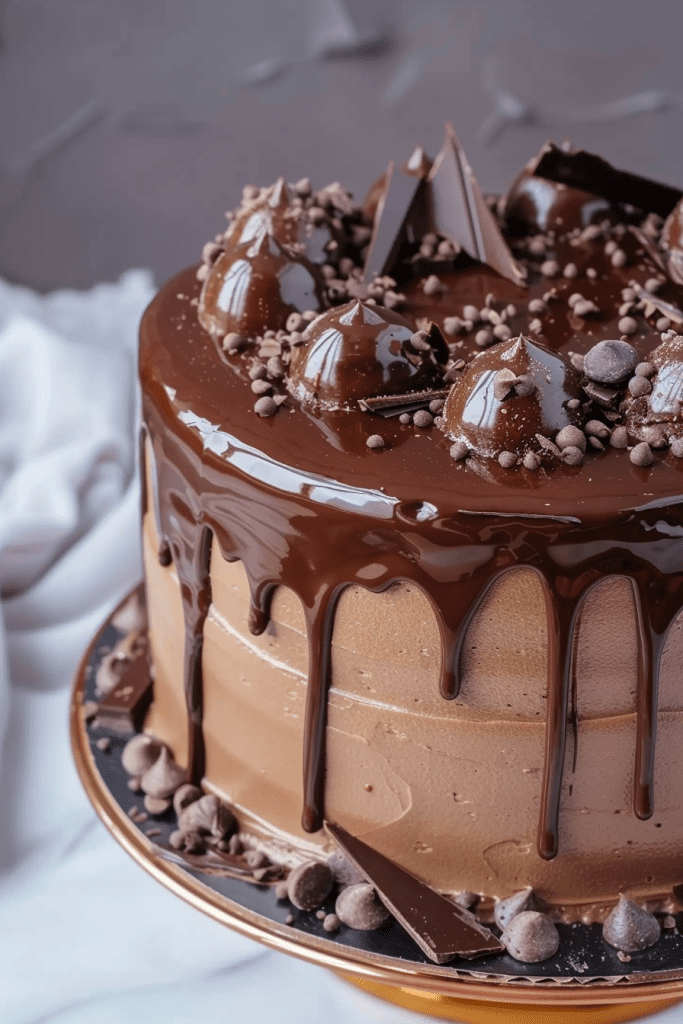
Creating the perfect chocolate ganache for your drip cake is essential for achieving that smooth, glossy finish that chocolate lovers crave.
Ingredients and Ratios
To make the chocolate ganache drip, you will need two main ingredients: heavy cream and dark chocolate. For a drip consistency, the ideal ratio is 1:1 of chocolate to cream, ensuring a pourable and drip-able texture. Adjust the ratio based on the chocolate type—semi-sweet, milk, or white chocolate—following the guidelines provided in the recipe.
Techniques for Perfect Consistency
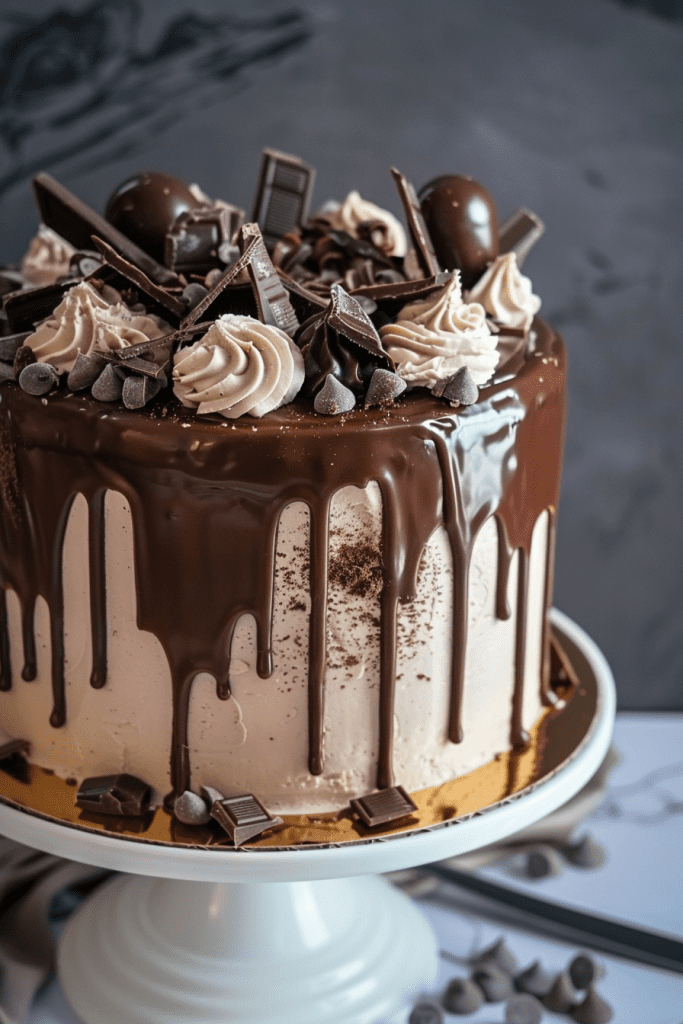
When making the chocolate ganache, heat the cream until steaming and then pour it over chopped chocolate to melt. Allow the mixture to sit for a few minutes before stirring until smooth. For the right consistency, let the ganache cool slightly before transferring it to a piping bag for dripping on the chilled cake. Test the dripping consistency on the back of the cake before proceeding to ensure the ganache stops halfway down the cake for that picture-perfect drip effect.
Assembling the Chocolate Drip Cake
Creating a stunning chocolate drip cake is an artful process that involves layering, frosting, and adding the chocolate drip. Follow these steps to assemble your decadent dessert.
Layering and Frosting
- Level the cake layer by removing any domes and place the bottom layer on a cake board with frosting underneath.
- Pipe the first layer of frosting in circles, working from the outside edge to the middle, and spread evenly with an offset spatula. Add the second cake layer and repeat the process. Finish with the third layer of cake.
- Use an offset spatula to press excess frosting onto the edges, creating a crumb coating. Pipe frosting along the outside edge of the cake, then use an offset spatula or icing smoother for a smooth finish. Chill the cake for 15-20 minutes.
- Use a spoon or piping bag to drizzle the ganache along the edges of the cake, allowing it to set completely.
- To pipe rosettes on top, fill a piping bag with the remaining frosting. Pipe a border around the cake and garnish with chocolate sprinkles for a finishing touch.
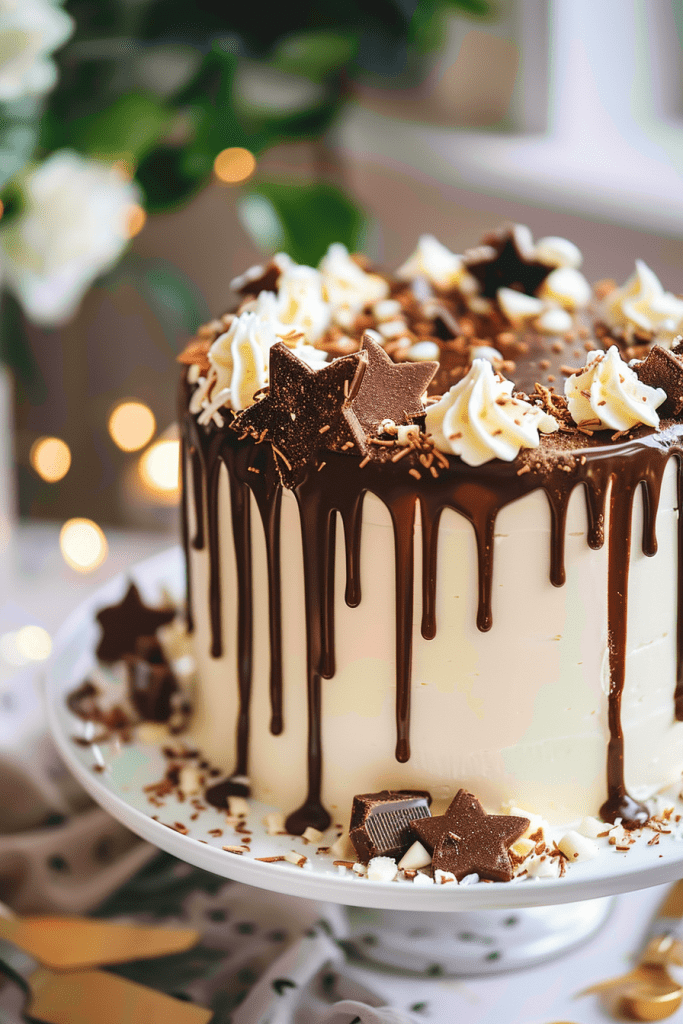
Decoration and Final Touches
Decorating a chocolate drip cake is where you can truly let your creativity shine. From unique design ideas to presentation tips, these final touches will elevate your cake to a masterpiece.
Creative Ideas for Decoration
- Fresh Berries: Add a pop of color and freshness with a selection of fresh raspberries, strawberries, or blueberries. The contrast between the chocolate and the bright fruits creates a visually striking appeal.
- Edible Flowers: Enhance the elegance of your cake by incorporating edible flowers such as pansies, violets, or roses. They not only look beautiful but also add a subtle floral note to the dessert.
- Chocolate Shards: Create chocolate shards by melting dark chocolate, spreading it thinly over a baking sheet, and letting it cool. Once set, break it into irregular pieces and artistically place them on top of the cake for a dramatic effect.
- Gold Leaf: For a touch of luxury, consider decorating your cake with edible gold leaf. Gently apply the delicate gold sheets onto the cake’s surface for a glamorous and sophisticated finish.
- Clean Edges: Ensure your cake has clean and smooth edges by using a bench scraper to smooth out the buttercream before adding the drip. This step will give your cake a polished look.
- Drip Control: Control the consistency of your chocolate ganache drip for precision. Test the drip on the side of a glass before applying it to the cake to ensure it flows smoothly without overwhelming the cake.
- Topper Selection: Choose a suitable cake topper that complements the theme of your cake. Whether it’s a personalized message, a floral arrangement, or a decorative candle, the topper should enhance the overall aesthetic.
- Standout Features: Highlight standout features of your cake, such as intricate piping details or a unique color scheme. Draw attention to these elements by placing them strategically on the cake’s surface.
By incorporating these creative decoration ideas and following presentation tips, you’ll transform your easy chocolate drip cake into a show-stopping dessert that not only tastes incredible but also looks stunning on any occasion.
Advanced Tips for Chocolate Drip Cake
Creating a stunning chocolate drip cake involves attention to detail and precision. To take your cake to the next level, consider these advanced tips:
Adjusting Chocolate Drip Thickness
When it comes to the chocolate drip consistency, it’s crucial to find the perfect balance. If your ganache is too thin, it will run off the cake too quickly, resulting in a messy finish. On the other hand, if the ganache is too thick, it may not drip down the sides gracefully. To adjust the thickness, you can add a little more cream for a thinner drip or incorporate more chocolate for a thicker consistency. Remember, the ideal drip should flow smoothly but hold its shape on the cake’s edges.
Troubleshooting Common Issues
Encountering issues while creating a chocolate drip cake is common but fixable. If your ganache drips are too thin and runny, the ganache might be too warm. In this case, allow it to cool slightly before attempting another drip. Conversely, if the ganache is too thick and not dripping at all, gently warm it up to achieve a smoother consistency. Test a small drip on the cake’s edge before proceeding to ensure the right thickness for a flawless finish. Remember, a few adjustments can turn a potential mishap into a beautifully decorated chocolate drip cake.
Storage and Make-Ahead Instructions
Properly storing and preparing components in advance is key to ensuring your easy chocolate drip cake stays fresh and delicious for the desired serving time.
Storing the Finished Cake
After assembling your chocolate drip cake, store it at room temperature in an airtight container like a cake carrier. In hot or humid environments, refrigerate the cake in an airtight container; remember to serve it at room temperature to enjoy its best texture and flavor. This cake can be made up to two days in advance if stored correctly.
Preparing Components in Advance
To streamline your cake-making process, you can prepare certain components ahead of time. Ensure your buttercream and cake layers are completely cooled before storing them separately in airtight containers. The ganache can be made in advance; when ready to assemble the cake, reheat it gently until pourable. By prepping components ahead, you can save time and stress when putting together your chocolate drip cake masterpiece.
Conclusion
Creating an easy chocolate drip cake is a delightful way to impress your guests with a visually stunning and decadent dessert. By following the detailed steps outlined in this article, you can achieve a professional-looking cake with rich chocolate flavors that will leave everyone craving for more. Remember to pay attention to precision during cake assembly and explore various creative decoration ideas to personalize your masterpiece. With the provided tips on adjusting the chocolate drip thickness and troubleshooting common issues, you can confidently tackle any challenges that may arise. Proper storage and make-ahead instructions ensure that your chocolate drip cake stays fresh and delicious, allowing you to enjoy the fruits of your labor for days to come. Happy baking!