
Ever heard of a cake that practically makes itself? Enter the “Do Nothing Cake,” a marvel of simplicity that hails from the heart of Southern comfort food. This cake’s origins trace back to the 1940s when resourceful home cooks needed to whip up something delicious with minimal effort and basic pantry staples.
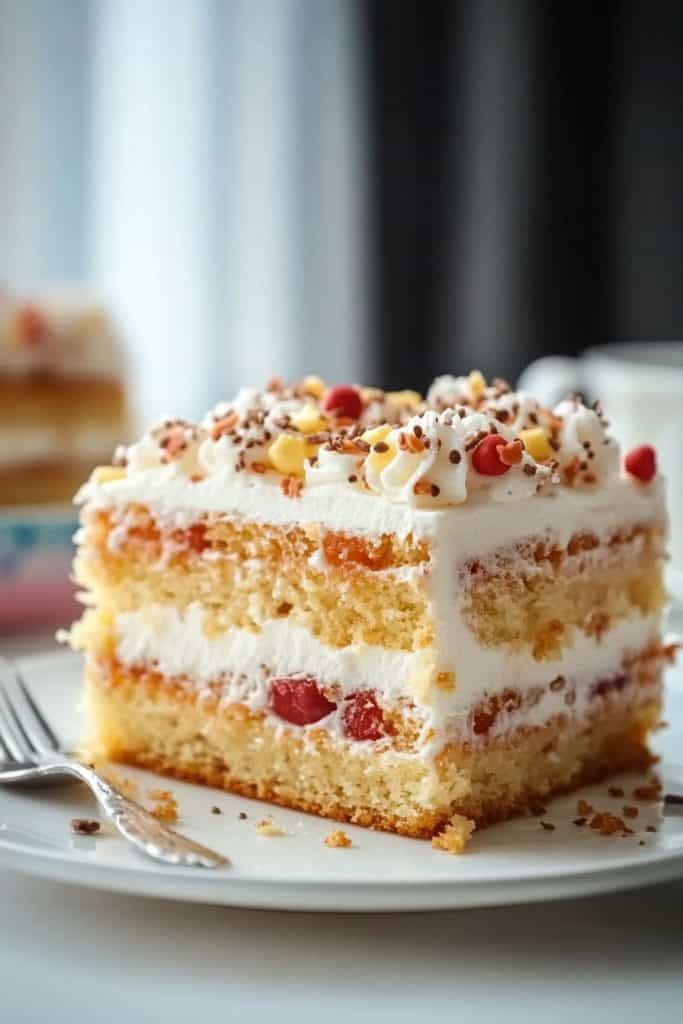
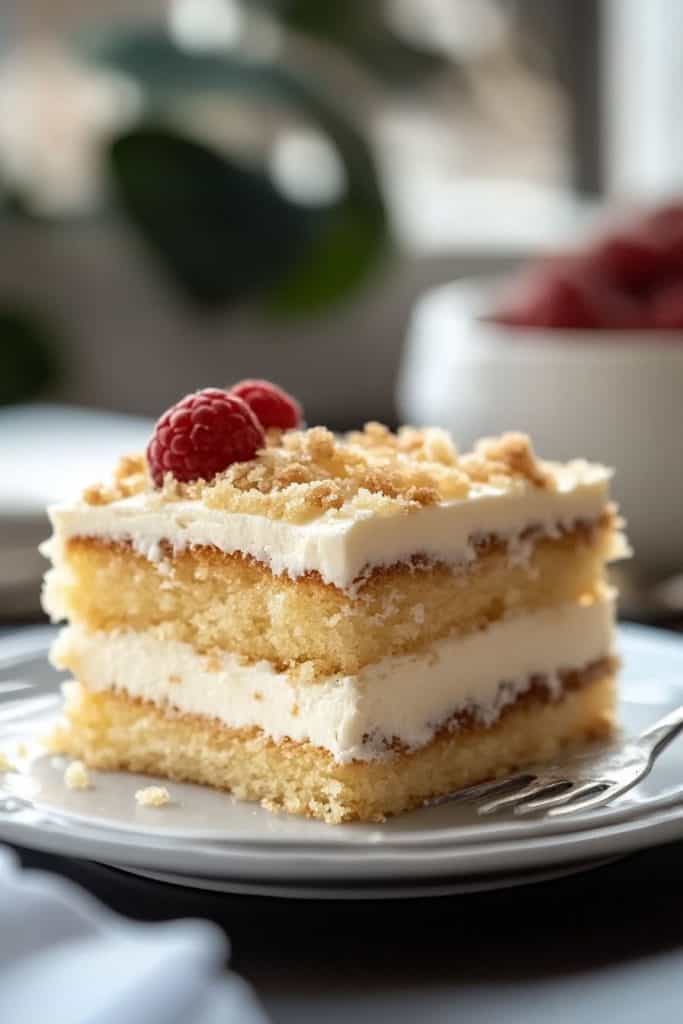
What makes this cake so special is its no-fuss approach. With a moist pineapple-infused base and a luscious coconut-pecan topping, it requires no fancy techniques or special equipment. Just mix, bake, and enjoy! Ideal for busy weeknights or last-minute gatherings, the Do Nothing Cake proves that sometimes, less truly is more.
Ingredients
In this section, I’ll list all the ingredients you need to create the delicious “Do Nothing Cake.” Let’s dive into what you’ll need for both the cake and the topping.
For the Cake
- 2 cups granulated sugar
- 2 large eggs
- 2 cups all-purpose flour
- 1 teaspoon baking soda
- 1 teaspoon vanilla extract
- 1 can (20 oz) crushed pineapple, undrained
- 1/2 cup unsalted butter
- 1 cup granulated sugar
- 3/4 cup evaporated milk
- 1 cup sweetened shredded coconut
- 1 cup chopped pecans
Equipments
When making a “Do Nothing Cake,” having the right equipment on hand ensures a seamless baking experience. Here’s what you’ll need:
Mixing Bowls
You’ll need two large mixing bowls. One for combining the dry ingredients and another for the wet ingredients. Make sure they’re large enough to accommodate all the components without spilling.
Electric Mixer
An electric hand mixer or stand mixer is ideal for blending the ingredients effortlessly. This helps achieve a smooth batter with minimal effort. If you don’t have one, a whisk will do, but it may require more elbow grease.
Measuring Cups and Spoons
Accurate measurements are crucial for the perfect cake. Use a set of measuring cups for dry ingredients and a liquid measuring cup for wet ingredients. Measuring spoons will ensure you add the right amounts of vanilla extract and baking soda.
9×13-inch Baking Pan
A 9×13-inch baking pan is perfect for this recipe. This size ensures that the cake bakes evenly. Additionally, opt for a metal or glass pan to get a golden-brown crust.
Spatula
A rubber spatula is essential for scraping down the sides of the bowls and for spreading the batter evenly in the baking pan. It’s also helpful when mixing in shredded coconut and chopped pecans into the batter.
Saucepan
A medium-sized saucepan is necessary for preparing the coconut-pecan topping. This is where you’ll melt the butter, sugar, and evaporated milk together before adding the shredded coconut and chopped pecans.
Cooling Rack
After baking, you’ll want the cake to cool properly. A cooling rack allows air to circulate around the cake, preventing it from becoming soggy.
Baking Sheets
Place the baking pan on a baking sheet before putting it in the oven. This added layer of protection catches any potential drips and helps to evenly distribute the oven’s heat.
Armed with these tools, you’re well-equipped to create a delectable “Do Nothing Cake” with ease.
Directions
Follow these straightforward steps to create your delicious and effortlessly simple “Do Nothing Cake.”
Prepare the Cake
- Preheat Oven: Preheat your oven to 350°F (175°C). Grease a 9×13-inch baking pan and set aside.
- Mix Dry Ingredients: In a large mixing bowl, combine 2 cups of granulated sugar, 2 cups of all-purpose flour, and 1 teaspoon of baking soda. Stir well to combine.
- Combine Wet Ingredients: In another bowl, beat 2 large eggs. Add a can (20 ounces) of crushed pineapple along with the juice. Mix these ingredients until well blended.
- Combine Mixtures: Gradually add the wet mixture to the dry ingredients, stirring constantly until the batter is smooth and well combined.
- Bake: Pour the batter into the prepared baking pan. Spread it evenly with a spatula. Bake in the preheated oven for 35-40 minutes or until a toothpick inserted in the center comes out clean.
Make the Topping
- Heat Ingredients: In a medium saucepan, melt 1/2 cup (1 stick) of unsalted butter over medium heat. Add 1 cup of granulated sugar and 3/4 cup of evaporated milk. Stir continuously until the mixture comes to a gentle boil.
- Combine Topping Ingredients: Remove the saucepan from the heat and stir in 1 cup of shredded coconut and 1 cup of chopped pecans. Mix well to combine.
- Apply Topping: Once the cake is baked, remove it from the oven and place it on a cooling rack. While the cake is still hot, pour the prepared topping over it. Use a spatula to spread the topping evenly across the surface.
- Cool and Serve: Allow the cake to cool completely in the pan to set the topping. Slice and serve.
Enjoy your classic “Do Nothing Cake,” a dessert that brings nostalgic flavors with minimal effort.
How to Tell When Cake is Done
It’s essential to know when your “Do Nothing Cake” is perfectly baked. Overcooked cake can be dry, while undercooked cake will be raw in the center. Here are some foolproof methods to ensure your cake is done:
Toothpick Test
First, grab a toothpick or a thin wooden skewer. Insert it into the center of the cake. If it comes out clean or with just a few crumbs, your cake is done. If the toothpick has wet batter, the cake needs more time.
Touch Test
Gently press the center of the cake with your finger. If it springs back quickly, it’s baked through. If the indentation remains, the cake needs a few more minutes in the oven.
Edge Check
Observe the edges of your cake. When the cake is done, it will start to pull away from the sides of the pan. This indicates that the cake has finished baking and is ready to be removed from the oven.
Internal Temperature
For the most precise result, use a kitchen thermometer to check the internal temperature of the cake. The cake is done when it reaches about 200-210°F (93-99°C).
Visual Cues
Finally, look for a golden-brown color on the cake’s top. A nicely browned cake is a good sign that it’s properly baked. Keep an eye on the cake towards the end of the baking time to avoid over-browning.
By using these methods, you can ensure your “Do Nothing Cake” is perfectly baked every time.
How to Store
Storing your “Do Nothing Cake” correctly ensures it stays fresh and delicious for as long as possible. Here’s how you can do it:
Room Temperature
- Cover the Cake: Immediately after the cake has cooled fully, use plastic wrap or aluminum foil to cover it. This prevents it from drying out.
- Use an Airtight Container: For added freshness, you can place the covered cake into an airtight container.
The cake can be stored at room temperature for up to 2 days.
Refrigerator
- Wrap Securely: If you plan to enjoy the cake over several days, wrap each piece in plastic wrap to maintain moisture.
- Airtight Container: Place the wrapped pieces into an airtight container to prevent any odors from the fridge affecting the taste.
Refrigerated cake can last up to 5 days.
- Freeze Individually: To freeze, first slice the cake into individual portions.
- Wrap Well: Wrap each piece tightly in plastic wrap, then in aluminum foil to avoid freezer burn.
- Label: Don’t forget to label the wrapped pieces with the date.
Frozen cake can be stored for up to 3 months. When you’re ready to eat, thaw in the refrigerator overnight or at room temperature for a couple of hours.
By following these steps, you can enjoy your “Do Nothing Cake” at its best, whether you eat it immediately or save some for later.

Conclusion
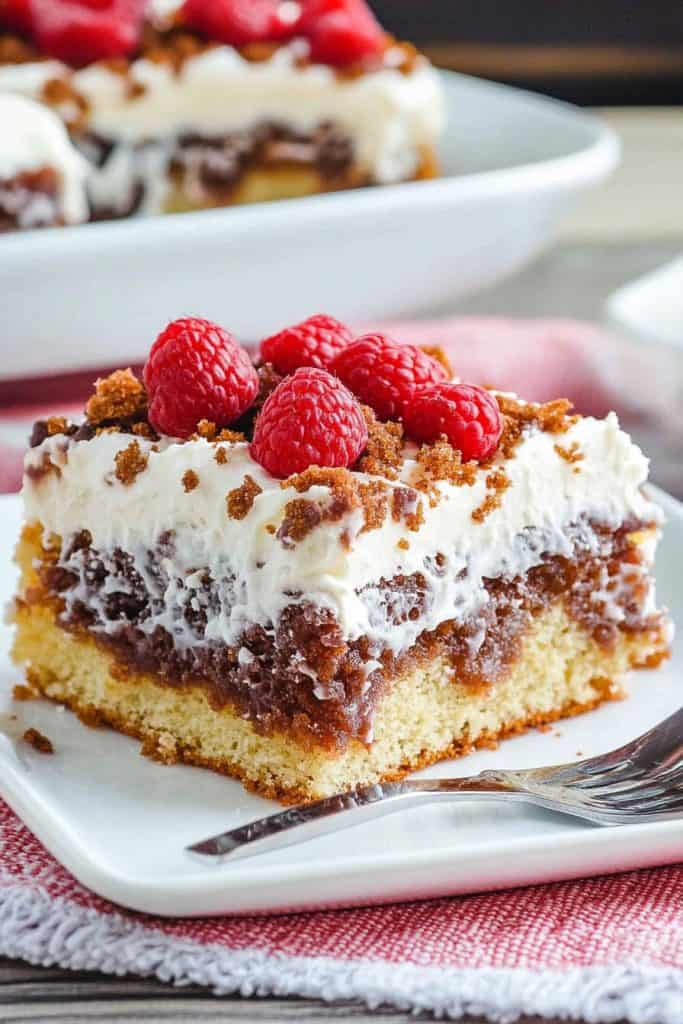
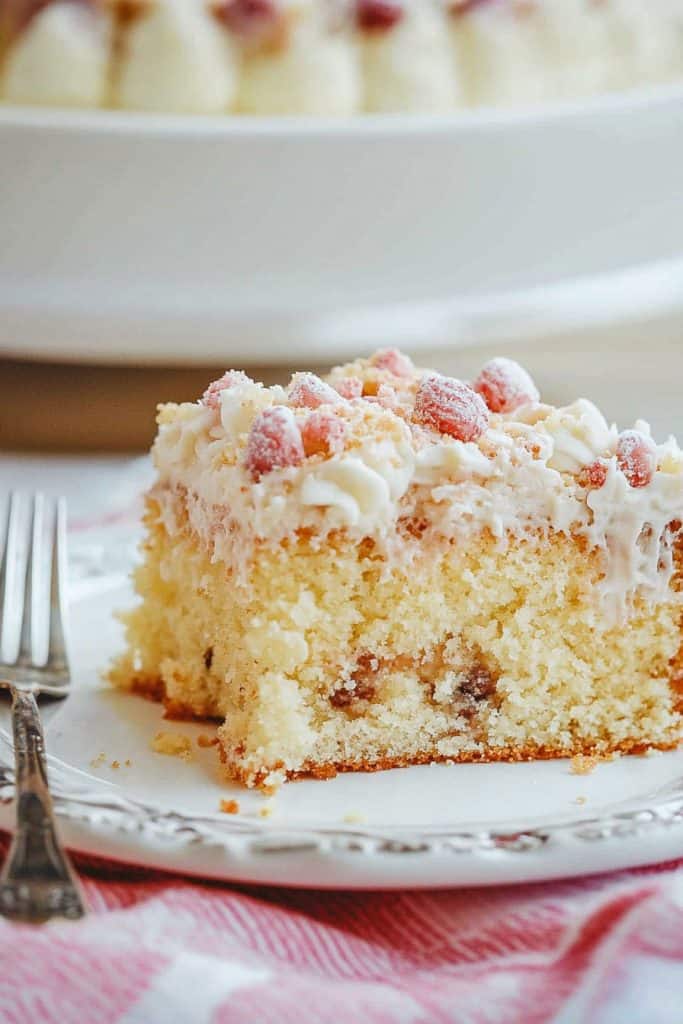
The “Do Nothing Cake” truly lives up to its name with its effortless preparation and delightful taste. Its pineapple base and coconut-pecan topping make it a nostalgic treat that’s hard to resist. Whether you’re a seasoned baker or a novice in the kitchen this cake is a perfect choice for a quick and satisfying dessert.
By following the storage tips I’ve shared you can ensure the cake remains fresh and delicious for days or even months. So go ahead give this vintage recipe a try and enjoy a slice of history with every bite.