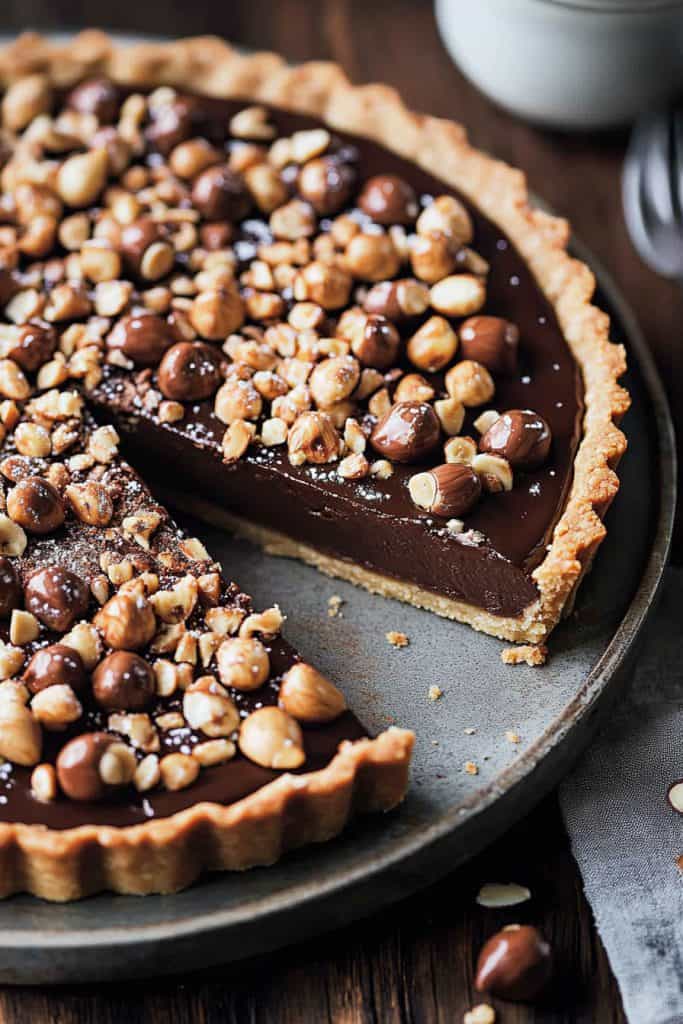
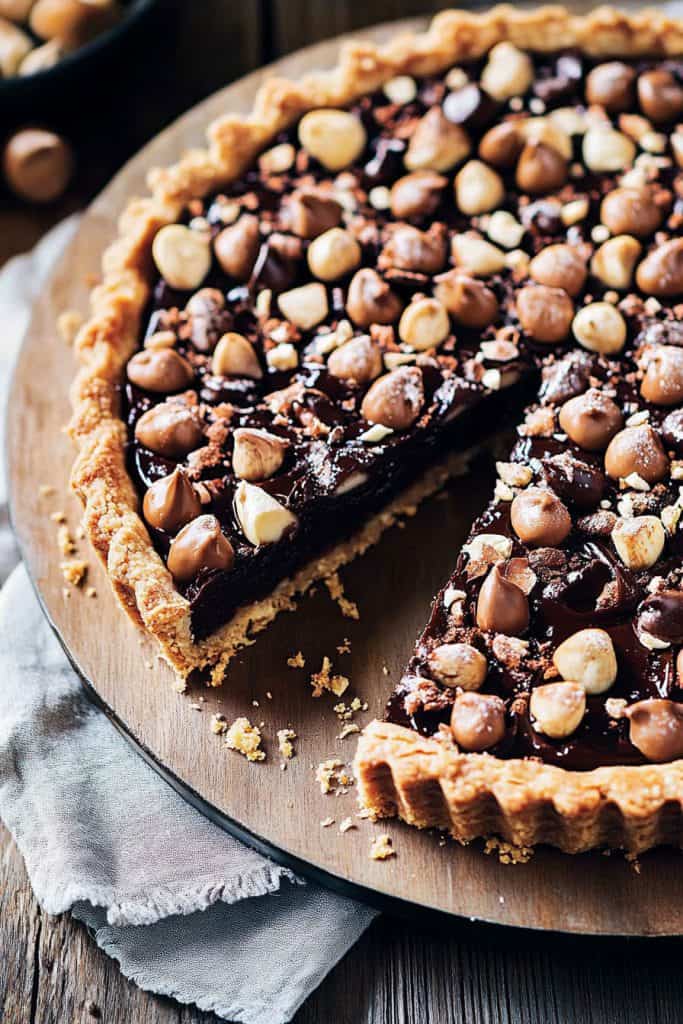
There’s something magical about the combination of chocolate and hazelnuts, isn’t there? This timeless duo has delighted taste buds for centuries, from the ancient Romans who first cultivated hazelnuts to the modern-day chocolate connoisseurs. My chocolate hazelnut tart recipe brings these two ingredients together in a symphony of flavors and textures that’s both decadent and surprisingly easy to make.
Ingredients
Below are the essential ingredients you will need to create the perfect chocolate hazelnut tart. These exact measurements and preparations will ensure a delectable result.
For the Hazelnut Crust
- 1 ½ cups hazelnuts, toasted and skins removed
- 1 cup all-purpose flour
- ½ cup powdered sugar
- ¼ teaspoon salt
- ½ cup unsalted butter, cold and cubed
- 1 large egg yolk
- 1 teaspoon vanilla extract
- 1 cup heavy cream
- 8 ounces semisweet chocolate, chopped
- ½ cup chocolate hazelnut spread
- ¼ teaspoon salt
- ¼ cup hazelnuts, chopped and toasted (for garnish)
Special Equipment
To achieve the perfect chocolate hazelnut tart, ensuring you have the right special equipment is essential. Here are the primary tools you’ll need:
- Tart Pan: A 9-inch tart pan with a removable bottom is ideal for this recipe. The removable bottom helps in easily releasing the tart without damaging its delicate crust.
- Food Processor: A food processor is indispensable for creating a fine, crumbly dough by grinding the hazelnuts and mixing the crust ingredients efficiently.
- Mixing Bowls: Have a set of mixing bowls of various sizes ready. You’ll need them for blending different mixtures, from the crust to the filling.
- Rolling Pin: For rolling out the tart dough to a uniform thickness, a good rolling pin is essential.
- Parchment Paper: Parchment paper aids in rolling out the dough without it sticking to the surface or the rolling pin.
- Baking Weights: Baking weights (or dried beans) are used to blind bake the crust, preventing it from puffing up during the baking process.
- Double Boiler: Melting the chocolate for the filling requires gentle heat. A double boiler ensures the chocolate melts smoothly without burning.
- Wire Rack: For cooling the tart properly and evenly, a wire rack is useful.
- Offset Spatula: An offset spatula assists in spreading the chocolate hazelnut filling smoothly into the baked tart shell.
- Sharp Knife: A sharp knife ensures clean cuts when you are slicing the tart for serving.
With these tools on hand, the process of creating each component of our chocolate hazelnut tart becomes streamlined and efficient.
Directions
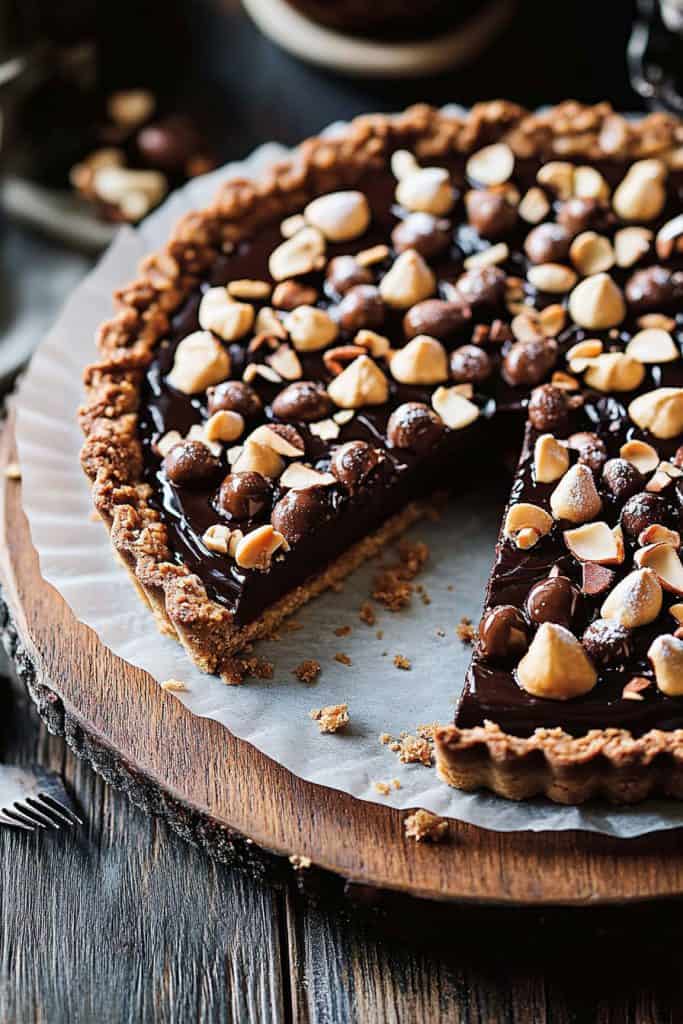
Let’s dive into the step-by-step process of crafting this decadent chocolate hazelnut tart. Follow each step carefully to ensure a perfect result.
Make the Crust
- Preheat the Oven: Start by preheating your oven to 350°F (175°C).
- Prepare the Hazelnuts: Place 1 cup of hazelnuts on a baking sheet and toast them in the oven for about 10 minutes until fragrant. Allow them to cool and then finely chop or process them into small pieces.
- Combine Dry Ingredients: In a food processor, combine 1 1/4 cups of all-purpose flour, 1/4 cup powdered sugar, and the chopped hazelnuts. Pulse until well mixed.
- Add Butter: Cut 1/2 cup of unsalted butter into small cubes and add to the food processor. Pulse until the mixture resembles coarse crumbs.
- Mix Egg and Vanilla: In a small bowl, whisk together 1 egg yolk and 1 teaspoon of vanilla extract. Add this mixture to the food processor and pulse until the dough begins to come together.
- Form the Dough: Turn the dough out onto a lightly floured surface and form it into a disc. Wrap the disc in plastic wrap and refrigerate for at least 30 minutes.
- Roll Out Dough: On a lightly floured surface, roll the chilled dough out to fit your 9-inch tart pan. Carefully transfer the dough to the pan, pressing it into the edges and trimming any excess.
- Pre-Bake the Crust: Place a piece of parchment paper over the crust and fill it with baking weights. Bake in the preheated oven for 15 minutes. Remove the weights and parchment paper, then bake for an additional 5-7 minutes until the crust is golden brown. Allow to cool completely on a wire rack.
Make the Ganache
- Heat the Cream: In a small saucepan, bring 1 cup of heavy cream to a simmer over medium heat. Avoid boiling the cream.
- Melt the Chocolate: Place 8 ounces of semisweet chocolate (finely chopped) in a heat-resistant bowl. Pour the hot cream over the chocolate and let it sit for about 2 minutes to melt.
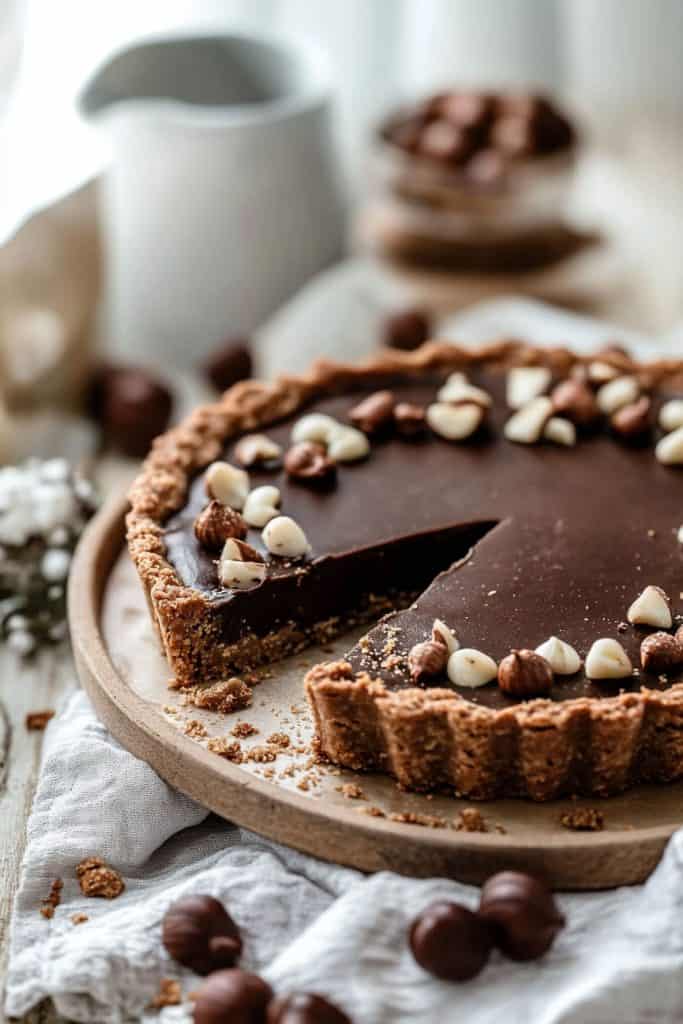
- Stir Until Smooth: Gently stir the mixture until the chocolate is completely melted and smooth. This will create a glossy ganache.
- Incorporate the Spread: Add 1/2 cup of chocolate hazelnut spread into the ganache and stir until thoroughly combined.
- Fill the Crust: Pour the prepared ganache into the cooled tart crust, spreading it evenly with an offset spatula.
- Chill the Tart: Place the tart in the refrigerator for at least 2 hours to allow the ganache to set properly.
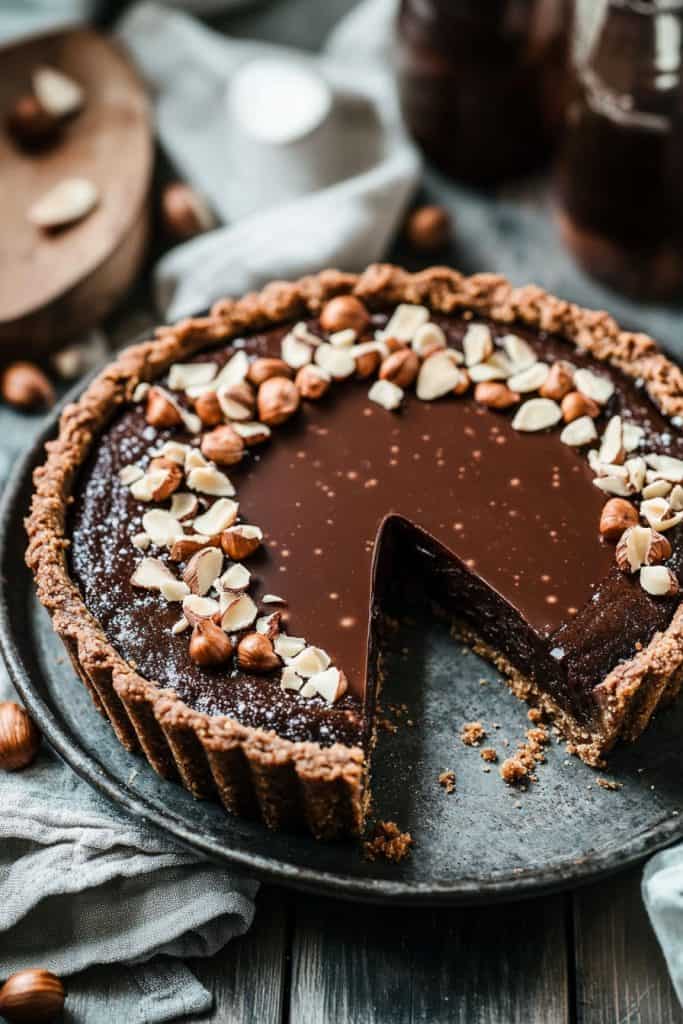
- Garnish: Just before serving, sprinkle 1/4 cup of coarsely chopped hazelnuts over the top for an extra crunch and decorative touch.
- Serve: Slice with a sharp knife, serve, and enjoy the rich, nutty elegance of your homemade chocolate hazelnut tart.
Tips and Tricks
Every great recipe can be perfected with a few insider tips. Here are some of my favorite tricks to ensure your chocolate hazelnut tart turns out flawlessly every time.
Choosing the Right Chocolate
Selecting the right chocolate is crucial for the richness and depth of flavor in your tart. I recommend using high-quality dark chocolate with at least 70% cocoa content. This gives the tart a deep, intense chocolate flavor that pairs beautifully with the nutty undertones of the hazelnuts. Avoid using chocolate chips as they contain stabilizers that can affect the texture of your ganache.
Fixing Broken Ganache
If your ganache breaks or becomes grainy, don’t panic. It’s an easy fix. Simply warm a small amount of heavy cream (about 2 tablespoons) until it’s hot but not boiling. Gradually stir it into the broken ganache until it becomes smooth and glossy again. This will reintegrate the emulsion and restore the creamy texture you need for a perfect tart filling.
Make Ahead & Storage
One of the fantastic things about this chocolate hazelnut tart is how well it fits into a busy schedule. Allow me to share some tips to make your life easier.
Making the Tart Ahead
To make the tart ahead of time, I recommend preparing the tart crust and ganache separately. Here’s how you can do it:
- Prepare the Tart Crust: You can make the tart crust up to two days in advance. After shaping and baking the crust, let it cool completely. Once cooled, wrap it tightly in plastic wrap or store it in an airtight container at room temperature.
- Make the Ganache: Ganache can also be made ahead. Once you’ve prepared the ganache and it’s cooled to room temperature, transfer it to an airtight container. Store the ganache in the refrigerator for up to two days.
Assembling the Tart Later
When you are ready to serve:
- Warm the Ganache: Remove the ganache from the refrigerator and let it sit at room temperature for about 30 minutes. Then, gently warm it in a double boiler or microwave in short 10-second bursts, stirring frequently until it reaches a spreadable consistency.
- Combine Crust and Ganache: Pour the warmed ganache into the baked tart crust. Smooth the top with a spatula and let it set at room temperature for about 1 hour or refrigerate for quicker setting.
Storing the Tart
Your chocolate hazelnut tart can be stored easily:
- Refrigeration: The assembled tart should be stored in the refrigerator. Cover it with plastic wrap or place it in an airtight container. It will keep well for up to 4 days.
- Freezing: If you need to store the tart for longer, you can freeze it. Wrap the tart tightly in plastic wrap and then in aluminum foil to prevent freezer burn. It can be frozen for up to 3 months. When ready to use, let it thaw in the refrigerator overnight.
Following these steps ensures that you can enjoy your chocolate hazelnut tart, whether you make it fresh or prepare it in advance.
Conclusion
Creating a chocolate hazelnut tart is a rewarding experience that combines rich flavors with a touch of elegance. By following the steps and tips I’ve shared, you’ll be able to craft a dessert that’s both impressive and delicious. Remember to select high-quality ingredients and take your time with each stage of the process. Whether you’re making it for a special occasion or just to satisfy a sweet craving, this tart is sure to delight anyone who tastes it. Enjoy the process and the delightful results!
