
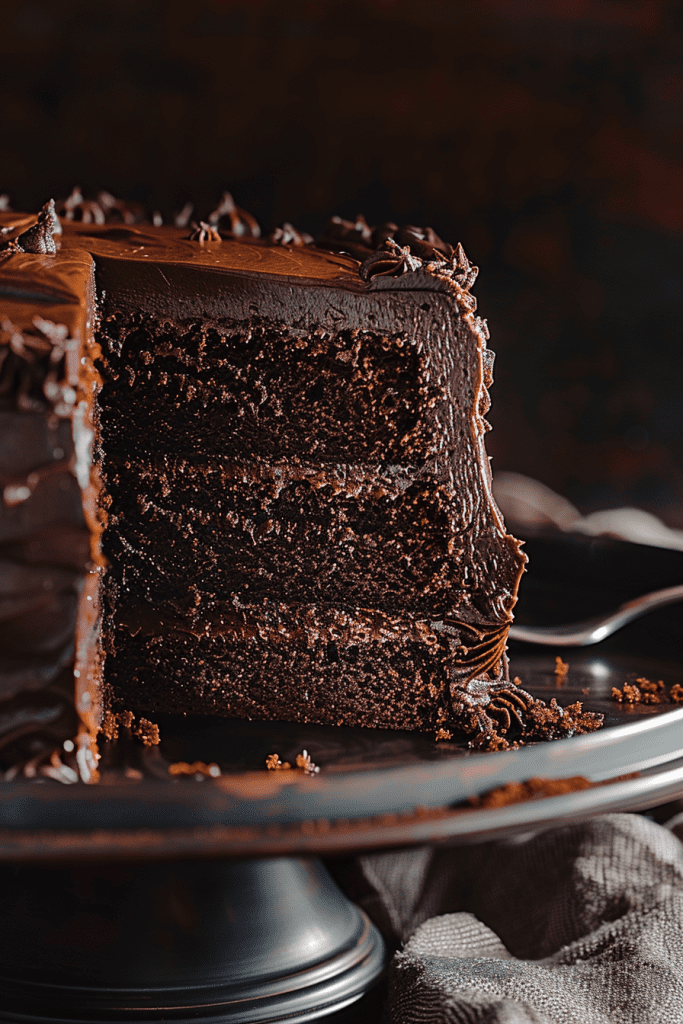
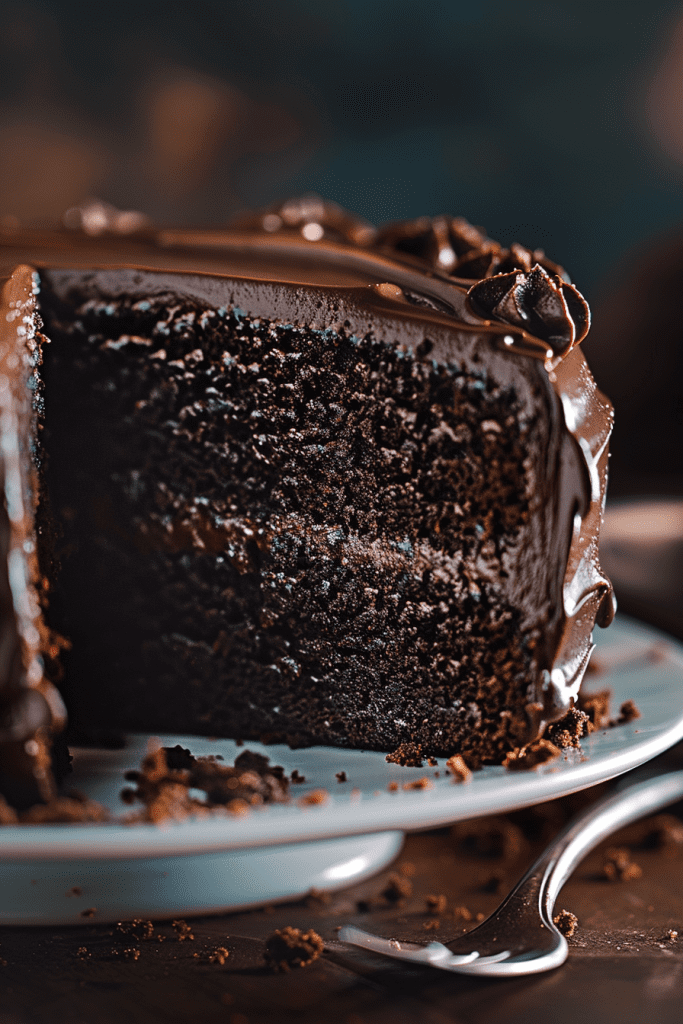
If you’re craving a taste of Brooklyn’s rich culinary history, look no further than the elusive Brooklyn Blackout Cake. This midcentury dessert has garnered a cult following for its decadent layers of chocolatey goodness. Legend has it that this iconic cake emerged during World War II when blackout drills shrouded Brooklyn in darkness. Associated with the now-closed Ebingers Bakery, this cake remains a cherished New York gem, shrouded in mystery due to its undisclosed original recipe.
While the internet may overwhelm you with complex recipes and puzzling variations, fear not—I’ve got your back. This Brooklyn Blackout Cake recipe promises a luscious chocolate experience without the need for black food coloring or intimidating techniques. With each bite, savor the history and legacy of this beloved dessert that continues to captivate taste buds across generations.
Ingredients
For this classic Brooklyn Blackout Cake, we will need to prepare three key components: the decadent chocolate cake layers, the luscious pudding filling, and the rich frosting. Let’s gather the ingredients for each part.
Cake
- 2 cups all-purpose flour
- 2 cups granulated sugar
- 3/4 cup unsweetened cocoa powder
- 2 teaspoons baking powder
- 1 1/2 teaspoons baking soda
- 1 teaspoon salt
- 1 cup buttermilk
- 1/2 cup vegetable oil
- 2 large eggs
- 2 teaspoons vanilla extract
- 1 cup hot coffee
Pudding
- 3/4 cup granulated sugar
- 1/3 cup unsweetened cocoa powder
- 1/4 cup cornstarch
- 1/4 teaspoon salt
- 3 cups whole milk
- 4 large egg yolks
- 6 ounces bittersweet chocolate, chopped
- 2 tablespoons unsalted butter
- 1 teaspoon vanilla extract
- 1 cup unsalted butter, softened
- 4 cups confectioners’ sugar
- 1/2 cup unsweetened cocoa powder
- 1/2 cup whole milk
- 1 teaspoon vanilla extract
- A pinch of salt
Gather these ingredients, and let’s begin crafting this delicious and iconic Brooklyn Blackout Cake.
Equipment Needed
To create this decadent Brooklyn Blackout Cake recipe, you’ll need the following essential equipment:
- Three 9-inch round cake pans
- Parchment paper
- Mixing bowls
- Electric mixer
- Whisk
- Saucepan
- Cooling rack
- Offset spatula
- Cake stand or serving plate
Make sure to have all these items ready before you start preparing the cake to ensure a smooth baking process.
Preparation
Preparing the components of the Brooklyn Blackout Cake is a crucial step to ensure a decadent and satisfying result. Follow these detailed instructions to make the perfect chocolate layers, rich pudding filling, and luscious frosting for this iconic dessert.
Preparing the Cake Batter
To start, arrange your oven rack in the center and preheat it to 350°F. Line two 8×2-inch round cake pans with parchment paper, grease them with unsalted butter, and dust with cocoa powder.
Sift Dutch-process cocoa powder, all-purpose flour, baking soda, and baking powder into a bowl. Whisk together eggs, dark brown sugar, sour cream, vegetable oil, vanilla extract, salt, and hot water until smooth. Combine the wet and dry ingredients, then divide the batter evenly between the prepared pans and bake until a toothpick comes out clean.
Making the Pudding
Create the dark chocolate pudding filling by whisking together sugar, cocoa powder, flour, baking soda, baking powder, and salt. In a separate bowl, mix oil, eggs, buttermilk, and brewed coffee. Combine the wet and dry ingredients until smooth, pour the batter into pans, and bake until done. Let the cakes cool completely on a wire rack.
Creating the Frosting
For the dark chocolate pudding buttercream frosting, cream together butter and cream cheese in a mixer. Add in sugar, cocoa powder, and vanilla extract until smooth. Frost the cooled cake layers generously with the pudding buttercream, creating even layers for the perfect finish.
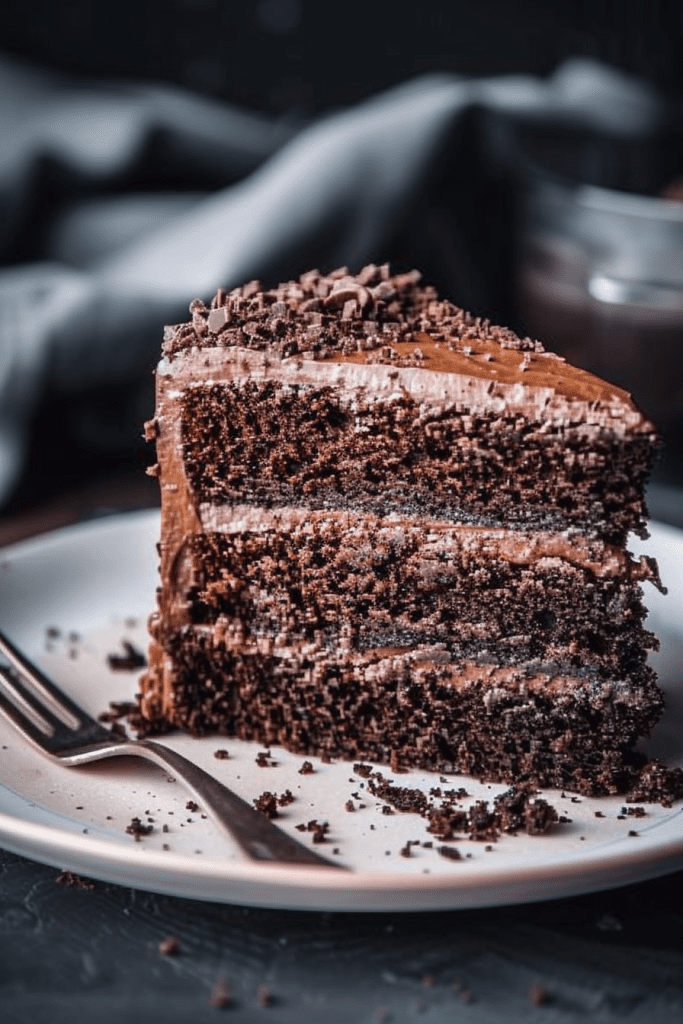
Assembly
Assembling the Brooklyn Blackout Cake is the final step towards the ultimate chocolate indulgence. This process involves layering the cake with the decadent pudding filling, applying the rich chocolate frosting, and adding the finishing touches for a visually stunning dessert.
Layering the Cake and Pudding
- Start by placing one layer of the chocolate cake on the bottom of a cake plate or stand.
- Using a pastry bag, pipe a ring of chocolate frosting around the top edge of the cake layer.
- Spoon about three-quarters of the prepared chocolate pudding into the center of the frosting ring.
- Gently place the second layer of cake on top, bottom side up for a flat top.
- Frost a thin layer of chocolate frosting on the top and sides of the cake using an icing spatula.
- Chill the assembled cake uncovered in the fridge for 15-20 minutes to set.
Frosting the Cake
- After chilling, remove the cake from the fridge and frost the sides with a layer of chocolate frosting.
- Immediately press chocolate cake crumbs onto the sides and top of the cake for a classic blackout cake finish.
- Optionally, pipe extra frosting swirls around the top of the cake for added decoration.
- Decorate the top of the cake with additional frosting swirls or sprinkles for a visually appealing presentation.
- If not serving immediately, chill the cake again and remove it from the fridge 15-20 minutes before serving to allow it to come to room temperature.
- Enjoy the rich and decadent flavors of the Brooklyn Blackout Cake with friends and family!
Baking Tips
When making a Brooklyn blackout cake, there are a few key tips to ensure your baking experience is successful and your cake comes out rich and delicious.
Use High-Quality Ingredients
For the best flavor and texture, use high-quality chocolate, cocoa powder, and other ingredients. The richness of the chocolate is the star of this cake, so investing in good quality ingredients will make a noticeable difference in the final product.
Properly Prepare Your Pans
To prevent your cake from sticking to the pans, make sure to butter and flour them properly before pouring in the batter. This step ensures that your cake layers will come out easily and look perfect for assembly.
Follow the Instructions Carefully
Baking is a science, and precision matters. Follow the instructions closely regarding measurements, mixing times, and baking temperatures. This will help guarantee that your cake rises properly and has the right consistency.
Allow for Proper Cooling
After baking your cake layers, make sure to allow them to cool completely before assembling the cake. This ensures that the layers set properly and are easier to work with when adding the pudding filling and frosting.
Level Your Cake Layers
To ensure a stable and visually appealing cake, consider leveling off the tops of your cake layers before assembly. This will help create a flat surface for stacking and frosting, resulting in a more professional-looking final product.
Serving and Storage
After creating this decadent Brooklyn Blackout Cake, it’s important to know how to serve and store it properly to maintain its deliciousness. Here are some steps to ensure your cake stays fresh and enjoyable:
Serving:
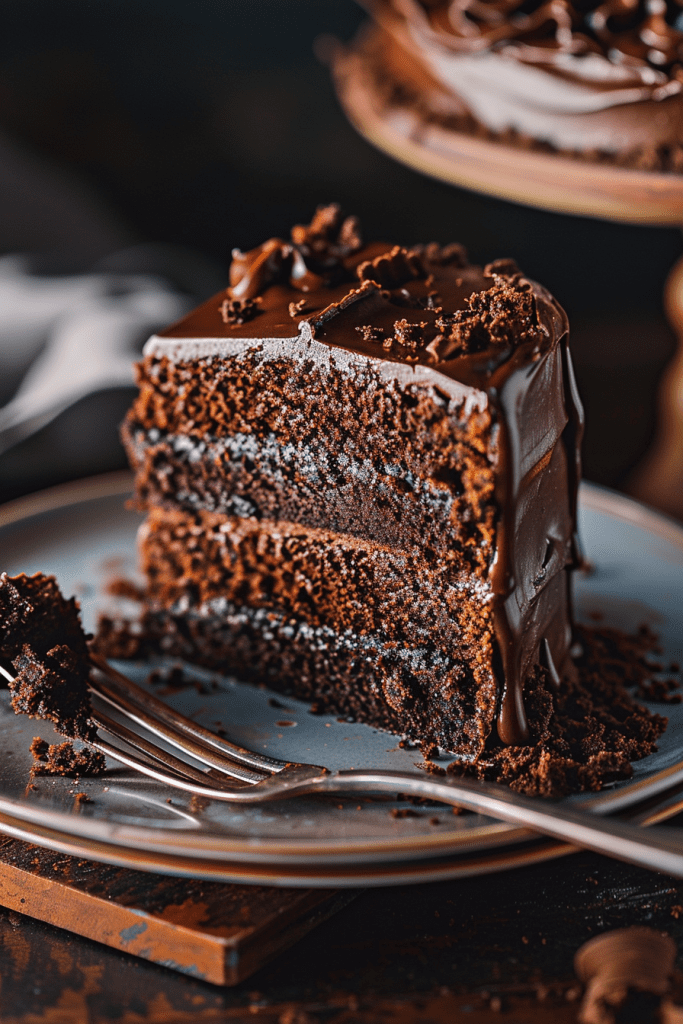
- Slicing: Use a sharp knife to slice the cake, ensuring clean cuts through the layers to reveal the beautiful pudding filling.
- Plating: Serve each slice on a dessert plate, garnishing with a dusting of cocoa powder or chocolate shavings for an elegant touch.
- Pairing: This rich cake pairs well with a cup of coffee or a glass of cold milk, enhancing the chocolate experience.
- Refrigeration: Store any leftover cake in an airtight container in the refrigerator to preserve its freshness and prevent the pudding filling from spoiling.
- Freezing: If you need to store the cake for an extended period, consider freezing individual slices wrapped in plastic wrap and placed in a sealed container.
- Thawing: When ready to enjoy frozen slices, thaw them in the refrigerator overnight for the best texture and flavor.
By following these serving and storage guidelines, you can ensure that your Brooklyn Blackout Cake maintains its rich flavors and textures for an extended period, allowing you to savor its decadence over time or share it with loved ones on special occasions.
Conclusion
Creating a Brooklyn Blackout Cake is a delightful journey into the world of decadent desserts. With a rich history and a timeless appeal, this chocolate masterpiece is sure to impress any crowd. By following the provided recipe and tips diligently, you can achieve a stunning and delicious result that will leave everyone craving for more. Remember, the key to a perfect Brooklyn Blackout Cake lies in attention to detail, quality ingredients, and a passion for baking. So, roll up your sleeves, preheat that oven, and get ready to embark on a culinary adventure that will elevate your baking skills and satisfy your sweet tooth. Enjoy the process, savor the flavors, and share the joy of indulging in this classic treat with your loved ones. Happy baking!