
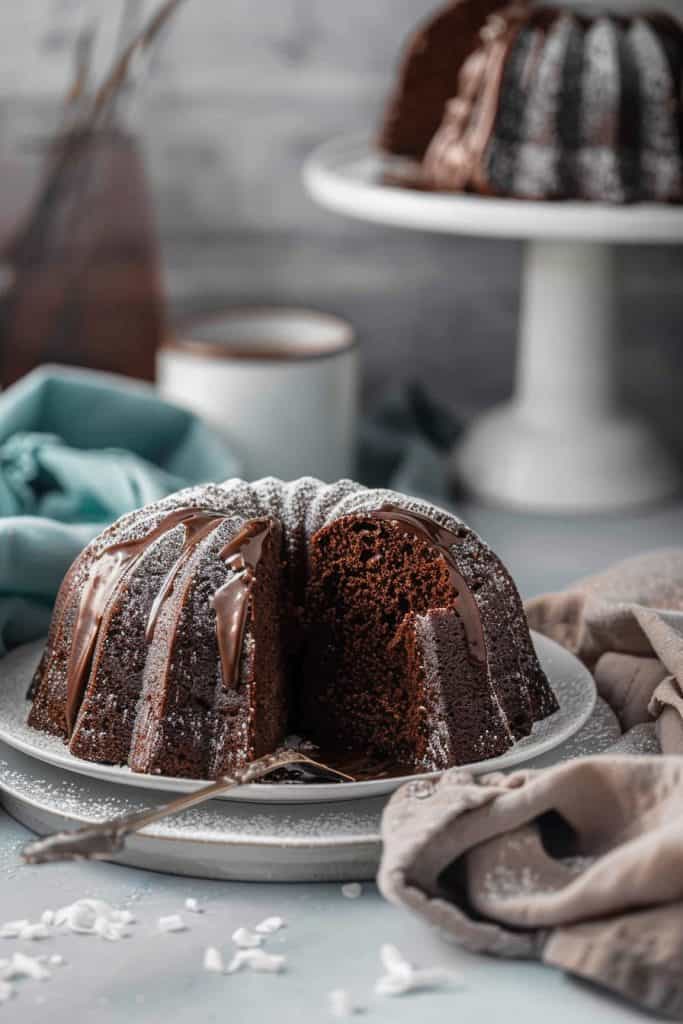
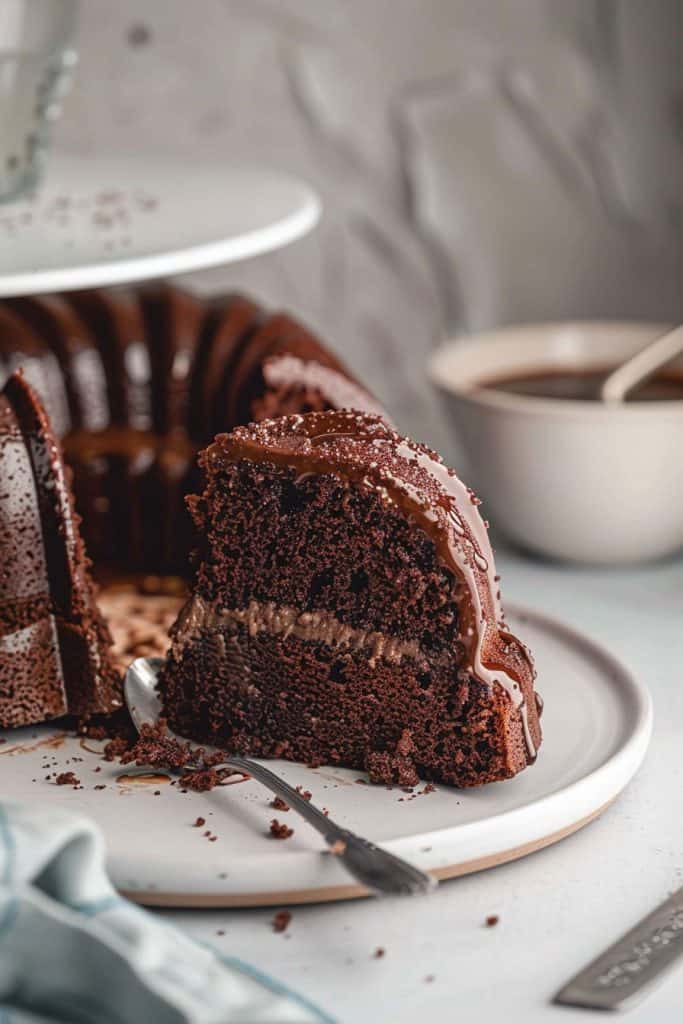
If you’re a fan of rich, decadent desserts, then a Black Russian cake will absolutely steal your heart. This indulgent treat takes its name from the classic cocktail, blending the deep flavors of coffee liqueur and vodka into a moist, chocolatey cake that’s perfect for any special occasion. It’s a delightful fusion of boozy elegance and sweet satisfaction.
I first encountered this cake at a friend’s dinner party, and it was love at first bite. The way the coffee liqueur enhances the chocolate flavor is nothing short of magical, making each slice a little piece of heaven. Whether you’re looking to impress guests or simply treat yourself, this Black Russian cake recipe will quickly become a favorite in your baking repertoire.
Ingredients
To create the perfect Black Russian cake, you will need a combination of ingredients for both the cake and the glaze. Here’s everything required:
For the Cake
- 1 package of chocolate cake mix (any variety will work)
- 1 package of instant chocolate pudding mix (3.9 ounces)
- 4 large eggs
- 1 cup vegetable oil
- 1/4 cup coffee liqueur (e.g., Kahlúa)
- 1/4 cup vodka
- 3/4 cup water
- 1/2 cup sour cream
- 1 cup mini chocolate chips
- 1 cup powdered sugar
- 2 tablespoons coffee liqueur
- 2 tablespoons vodka
- 1 tablespoon milk
Collect all your ingredients before beginning to ensure a smooth baking process.
Equipment Needed
To craft a perfect Black Russian cake, having the right equipment is crucial. Below, I’ve listed all the essential tools you’ll need:
Mixing Equipment
- Large Mixing Bowl – For combining the cake batter.
- Hand Mixer or Stand Mixer – To ensure a smooth and seamless batter.
- Rubber Spatula – To scrape down the sides of the bowl and stir ingredients gently.
Baking Equipment
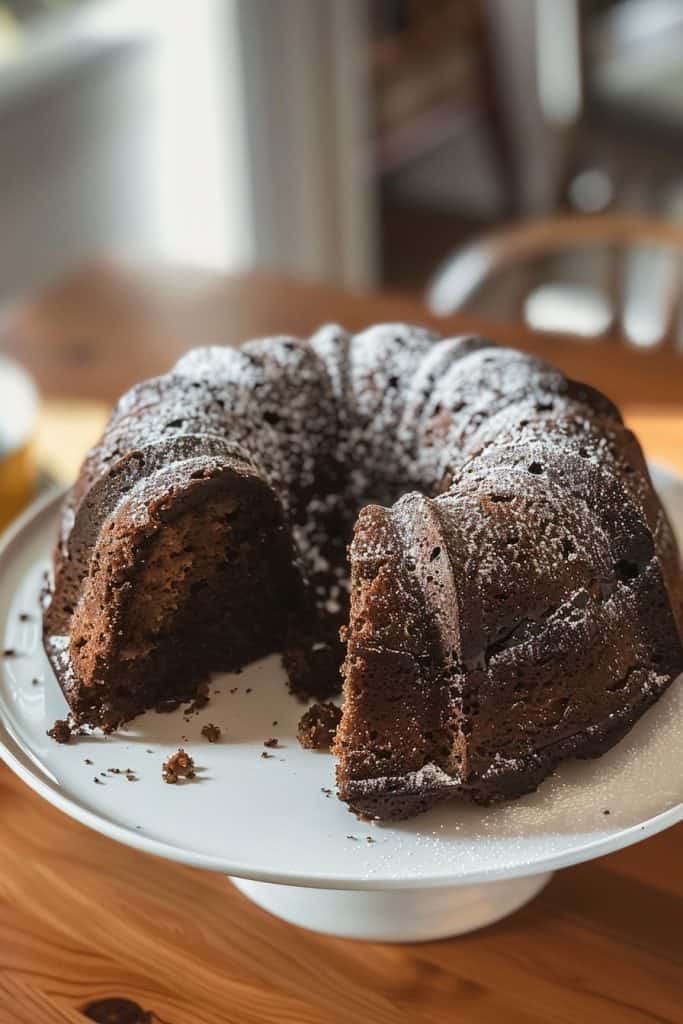
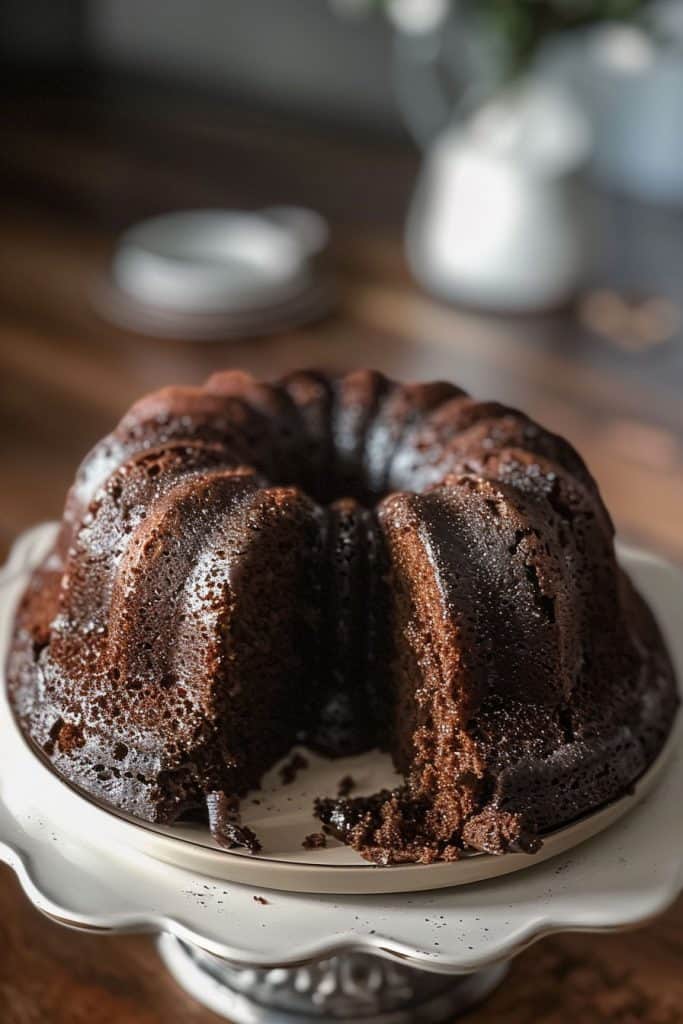
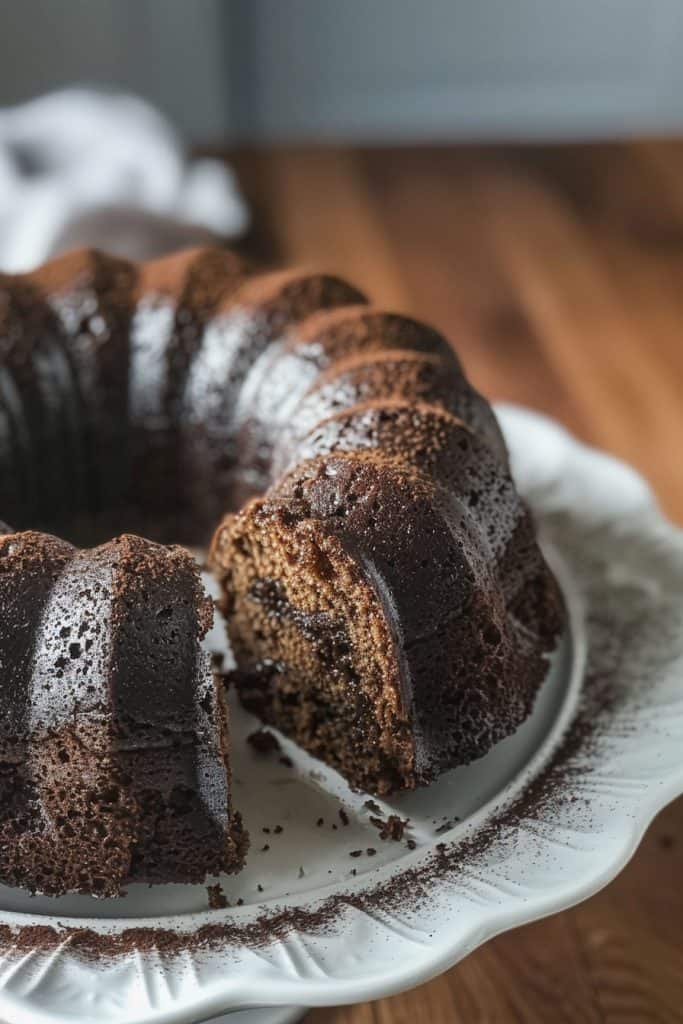
- Bundt Cake Pan – This recipe benefits from using a Bundt pan to ensure the correct shape and even baking.
- Measuring Cups and Spoons – For precise measurements of both dry and liquid ingredients.
Preparation and Serving Tools
- Cooling Rack – To cool the cake evenly after baking.
- Toothpick – For testing the cake’s doneness.
- Cake Plate or Stand – To display and serve your cake beautifully.
- Serrated Knife – For slicing the cake.
- Small Saucepan – To heat and mix the glaze ingredients.
- Whisk – To blend the glaze until smooth.
- Pastry Brush – For applying the glaze evenly over the cake.
Having these tools handy will streamline the baking process and help you achieve the best results. Preparation is key when baking a cake as delightful as the Black Russian cake, so gather your equipment before you begin.
Directions
Follow these steps to create a decadent Black Russian cake, perfect for impressing your guests.
Making the Cake
- Preheat Oven: Preheat your oven to 350°F (175°C). Grease and flour a Bundt cake pan thoroughly.
- Combine Dry Ingredients: In a large mixing bowl, combine one box of chocolate cake mix and one package of instant chocolate pudding mix.
- Mix Wet Ingredients: In another bowl, whisk together 1 cup of vegetable oil, 4 large eggs, 1/2 cup of coffee liqueur, 1/2 cup of vodka, and 1 cup of water.
- Combine Wet and Dry Ingredients: Slowly pour the wet mixture into the dry mixture while stirring continuously. Mix until fully combined and smooth.
- Pour Batter into Pan: Pour the batter evenly into the prepared Bundt pan. Tap the pan gently on the counter to remove air bubbles.
- Bake: Bake in the preheated oven for 50 to 60 minutes. The cake is ready when a toothpick inserted into the center comes out clean.
- Cool Cake: Allow the cake to cool in the pan for about 15 minutes before transferring it to a wire rack to cool completely.
Making the Glaze
- Mix Glaze Ingredients: In a small bowl, whisk together 1 cup of powdered sugar, 2 tablespoons of coffee liqueur, and 2 tablespoons of vodka.
- Add Additional Liquid: If the glaze is too thick, add more coffee liqueur or vodka, one teaspoon at a time, until you achieve a pourable consistency.
- Finishing Touch: Optionally, add a dash of vanilla extract for an extra layer of flavor.
- Place Cake on Plate: Once the cake is completely cool, place it on a serving plate.
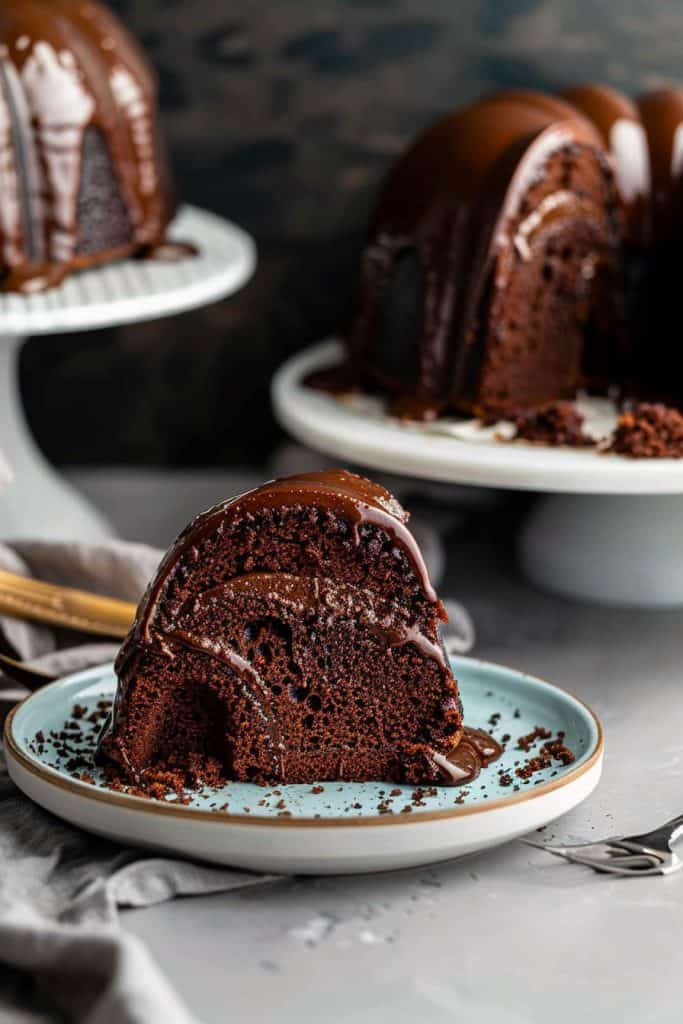
- Apply the Glaze: Slowly drizzle the glaze over the cake, allowing it to flow naturally over the sides. Use a spatula to spread it evenly if necessary.
- Decorate: For a final touch, you can garnish with chocolate shavings or a dusting of powdered sugar.
- Serve and Enjoy: Slice the cake and serve to your guests. Enjoy the rich flavors of coffee liqueur and vodka with every bite.
Tips and Variations
Creating the perfect Black Russian cake can be a fun and rewarding experience. Here are some helpful tips and variations to elevate your cake to the next level.
Tips for a Perfect Cake
- Use Room Temperature Ingredients: Ensure all your ingredients, especially eggs and butter, are at room temperature before you start. This helps in mixing them more evenly and achieving a smooth batter.
- Grease the Pan Well: Use butter or non-stick spray to grease your Bundt pan thoroughly. This prevents sticking and helps the cake release easily once baked.
- Don’t Overmix the Batter: While you need to ensure all ingredients are well combined, avoid overmixing. Overmixing can result in a dense cake. Mix until just combined.
- Check for Doneness: Use a toothpick to check the cake’s doneness. Insert it into the thickest part of the cake – it should come out clean or with a few crumbs, but not wet batter.
- Let the Cake Cool Completely: Allow the cake to cool in the pan for about 15 minutes before turning it out onto a wire rack to cool completely. This prevents it from breaking apart.
- Mocha Black Russian Cake: Add a tablespoon of instant coffee granules to the batter along with the coffee liqueur for an intense mocha flavor.
- Nutty Delight: Fold in half a cup of toasted pecans or walnuts into the batter for added crunch and flavor. Sprinkle some on top of the glaze for decoration.
- Chocolate Lovers’ Twist: Mix in a cup of chocolate chips or chunks into the batter. This adds gooey bursts of chocolate in every bite.
- Zesty Orange Touch: Add a teaspoon of orange zest to the batter for a fresh citrus twist. Pair this with a glaze made from orange juice and powdered sugar instead of the traditional coffee liqueur glaze.
- Caramel Glaze: Replace the coffee liqueur glaze with a rich caramel glaze. Combine brown sugar, butter, heavy cream, and a dash of salt. Drizzle this over the cake for a delicious caramel flavor.
- Alcohol-Free Version: Substitute the vodka and coffee liqueur with coffee extract and additional water or milk for a family-friendly, alcohol-free version.
Each of these tips and variations can help you personalize your Black Russian cake, making it a unique creation to enjoy and share.
How to Serve
Serving a Black Russian cake elevates the dessert experience to a new level. Follow these steps to ensure every slice is enjoyed to its fullest potential:
Necessary Utensils and Tools
- Sharp Knife: A clean, sharp knife ensures precise cuts without crumbling the cake.
- Cake Server: Use a cake server to effortlessly lift each slice.
- Serving Plates: Elegant plates enhance presentation.
- Forks: Provide forks to enjoy the cake with ease.
Preparing the Cake for Serving
- Cooling: Allow the cake to cool completely before serving. This prevents the cake from falling apart and ensures that the flavors are set.
- Glaze Setting: If you used a caramel glaze, ensure it’s fully set before slicing. The glaze adds a beautiful sheen and a delicious layer of sweetness.
- Decorating: Add final touches like whipped cream, chocolate shavings, or a sprinkling of powdered sugar. Consider garnishes that complement the Black Russian theme, like a few coffee beans or a twist of orange zest.
Slicing the Cake
- Positioning: Place the cake on a flat, stable surface.
- First Slice: To make the first slice, position the knife at the center of the cake and gently press down.
- Subsequent Slices: For even pieces, rotate the cake slightly after each cut. Aim for slices that are about one inch thick.
Serving Suggestions
- With Coffee: Pair each slice with a cup of freshly brewed coffee to enhance the rich flavors.
- A La Mode: Top the warm cake with a scoop of vanilla ice cream for a delightful contrast.
- Liqueur Drizzle: For an extra kick, drizzle a small amount of coffee liqueur or vodka over the cake slice just before serving.
- Immediate Storage: Store any leftover cake in an airtight container to maintain its moisture.
- Refrigeration: If you need to refrigerate the cake, wrap it tightly in plastic wrap or place it in an airtight container.
- Freezing: For longer storage, freeze the cake by wrapping individual slices in plastic wrap and then placing them in a freezer-safe bag. Thaw at room temperature before serving.
By following these serving steps, you ensure that each slice of Black Russian cake is as delicious and impressive as possible.
Storage Tips
To ensure your Black Russian cake remains moist and flavorful, follow these storage tips.
Room Temperature Storage
If you plan to enjoy the cake within two days, you can store it at room temperature. I recommend placing the cake on a cake stand with a cover or in an airtight container. This will help protect the cake from drying out and keep it fresh.
Refrigeration
For longer storage, the refrigerator is your best bet. Wrap the cake tightly in plastic wrap, ensuring no part is exposed to air. Place it in an airtight container and store it in the refrigerator. This method will keep your cake fresh for up to a week.
Freezing
To extend the life of your Black Russian cake beyond a week, freezing is an excellent option. Here’s how I do it:
- Pre-Freezing: First, if the cake has frosting or is topped with anything delicate, it’s best to pre-freeze it. Place the whole cake or individual slices on a baking sheet lined with parchment paper and freeze for about 1 hour.
- Wrapping: Once the cake is firm, wrap it tightly in plastic wrap. Follow this with a layer of aluminum foil to prevent freezer burn.
- Storing: Place the wrapped cake in a freezer-safe container or resealable freezer bag. Label it with the date. It can be stored for up to three months.
When you’re ready to enjoy the frozen cake, I recommend thawing it in the refrigerator overnight. This gradual thawing helps maintain the cake’s texture and flavor.
- Avoid Temperature Fluctuations: Keep the cake away from direct sunlight and areas with temperature fluctuations, which can affect the texture and taste.
- Rewrap After Each Use: If you’ve sliced into the cake, make sure to rewrap it tightly to keep the remaining portions fresh.
By following these storage tips, you’ll ensure that each slice of your Black Russian cake is as delightful as the first.
Conclusion
Creating a Black Russian cake is an indulgent experience that combines rich flavors with a touch of elegance. By following the right steps and using quality ingredients, you can craft a dessert that’s sure to impress. Remember to pay attention to storage and thawing techniques to maintain its deliciousness. Whether you’re serving it at a special event or enjoying a slice at home, this cake offers a perfect blend of sophistication and taste.