
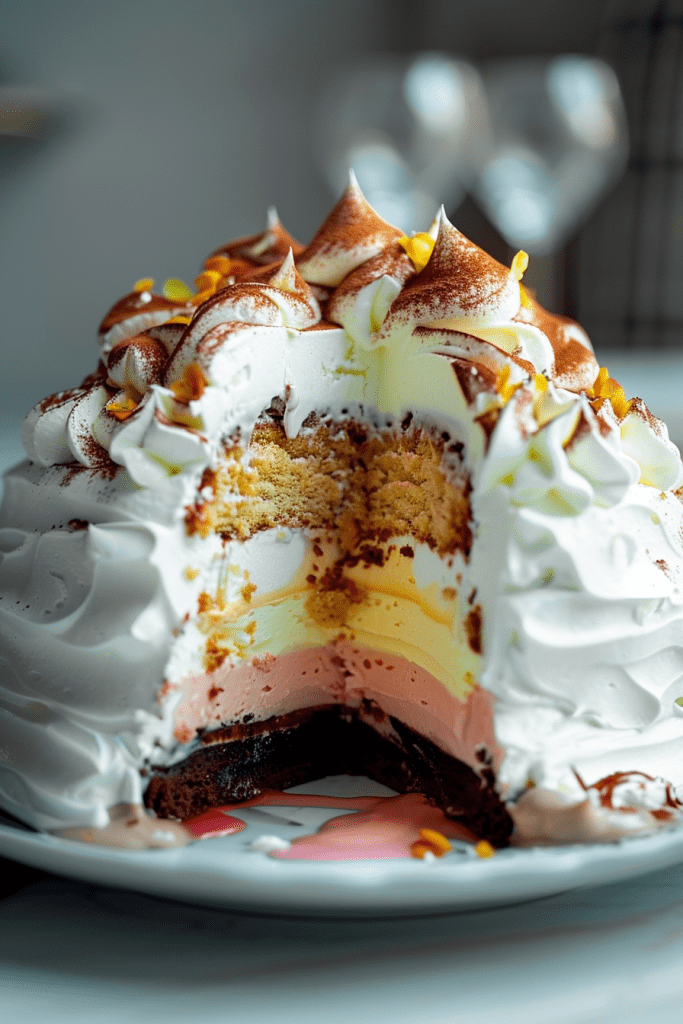
If you’re looking to impress your guests with a show-stopping dessert, look no further than baked Alaska. This retro classic combines the richness of homemade brownies with the cool sweetness of your favorite ice cream flavor, all topped with a beautifully toasted marshmallow meringue. It’s a treat that’s as delicious as it is visually stunning.
After numerous requests for the recipe and my own curiosity to tackle this challenging dessert, I spent time perfecting the art of baked Alaskas. With 3845 quarts of ice cream later, I’m excited to share with you the ultimate baked Alaska and even baked Alaska cupcakes. Trust me, this dessert is worth the effort!
For those who like to plan ahead, you can prepare parts of this dessert in advance, making it a convenient option for special occasions. So, get ready to indulge in the delightful combination of flavors and textures that make baked Alaska a true crowd-pleaser.
Ingredients
Baked Alaska requires a harmonious blend of ice cream, sponge cake, and meringue to create its delightful layers of flavors and textures. Below are the essential ingredients needed to craft this impressive dessert.
Ice Cream Layers
- 2 cups pistachio ice cream, slightly softened
- 6 cups strawberry ice cream, slightly softened
- 6 cups vanilla ice cream, slightly softened
Sponge Cake Base
- 1 box brownie mix, plus ingredients called for on the box
- 2 large egg whites, at room temperature
- 1/4 teaspoon cream of tartar
- 1 cup (200g) granulated sugar
Required Equipment
Basic Kitchen Tools
For this recipe, you will need basic kitchen tools such as a round 8-inch cake pan, baking spray, a baking sheet, parchment paper, a large mixing bowl, an electric mixer for preparing the meringue, a spatula for assembly, and a toothpick for testing the doneness of the brownie layer.
Optional: Blow Torch
While not essential, having a blow torch can be handy for toasting the marshmallow meringue topping on the baked Alaska for that perfect final touch. If you don’t have a blow torch, you can also achieve a similar effect by placing the assembled dessert under the broiler for a few minutes, but be sure to watch it carefully to prevent burning.
Instructions
Prepare the Sponge Cake
- Prepare a box of brownie mix as per the instructions on the box to create the sponge cake base.
- Pour the brownie batter into a greased baking pan and bake it according to the package directions until fully cooked.
- Let the brownie base cool completely before proceeding to the next steps.
Layer the Ice Cream
- Once the brownie base has cooled, spread a layer of slightly softened pistachio ice cream over the top of the brownie.
- Follow with layers of slightly softened strawberry and vanilla ice cream, spreading each layer evenly over the previous one.
- Make sure to freeze the cake between each ice cream layering to keep the layers intact.
Freeze the Assembly
- After layering the ice cream, cover the cake with plastic wrap and freeze it for at least 4 hours or until the ice cream is completely firm.
- Freezing is crucial to ensure that the ice cream sets properly and maintains its shape when serving.
- In a clean mixing bowl, beat the egg whites and cream of tartar on high speed until soft peaks form.
- Gradually add the granulated sugar and continue beating until stiff, glossy peaks form.
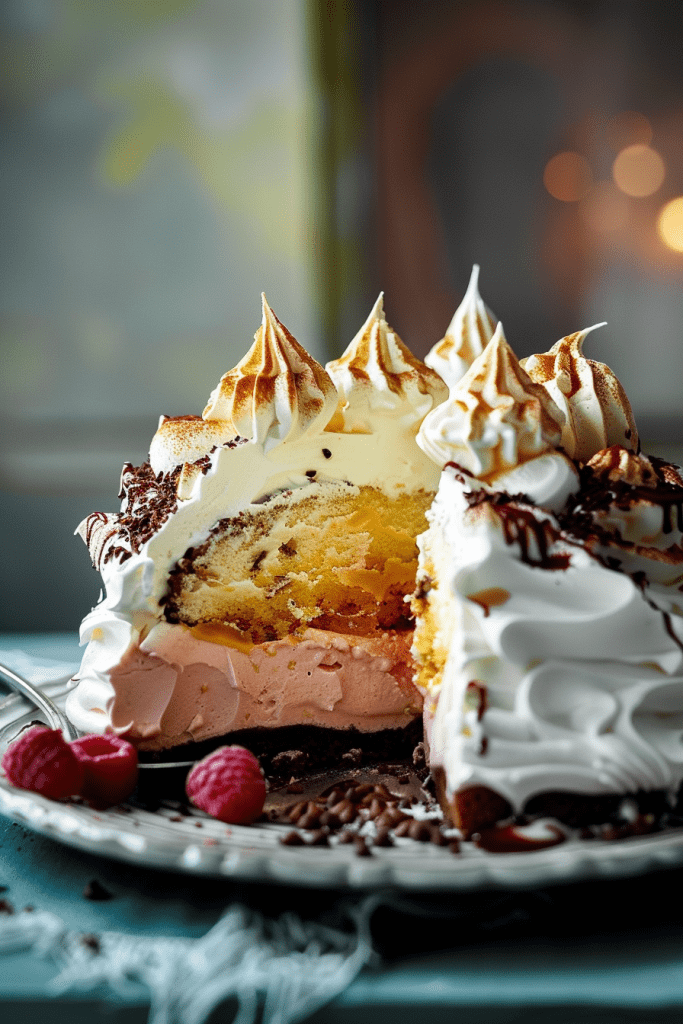
- Remove the cake from the freezer and spread the meringue over the top and sides of the frozen cake, creating decorative swirls.
- Use a kitchen torch to toast the meringue until golden brown, ensuring a crisp outer layer while keeping the ice cream intact.
Cooking Technique
Baking Directions
- Heat the oven to 350F and grease the bottom of a 13×9-inch pan with cooking spray.
- Prepare the brownies using a boxed mix as directed and bake them; allow them to cool completely on a cooling rack.
- Once cooled, evenly spread the slightly softened strawberry ice cream over the brownie base, and place it in the freezer while preparing the meringue topping.
- Combine the egg whites, sugar, cream of tartar, and vanilla in a glass or metal bowl set over simmering water. Stir until the sugar has dissolved and the mixture reaches 160F, then transfer to a large bowl and beat until stiff peaks form.
- Use a small icing spatula to create swirly peaks of meringue over the ice cream layer and freeze the dessert for at least 3 hours or overnight.
- Heat the oven to 500F and briefly bake the assembled Baked Alaska, just until the meringue peaks start to turn golden brown.
- Once the Baked Alaska is assembled and frozen, you can use a kitchen torch to toast the meringue for a golden finish.
- Hold the torch about six inches away from the dessert and move it in quick circular motions until the meringue is evenly browned.
- Be cautious not to get too close as the fuel may affect the meringue flavor.
- If you don’t have a kitchen torch, an alternative method is to toast the meringue under the broiler. Preheat the broiler, assemble the dessert on a prepared pan, and broil it on an oven rack positioned 12 inches below the broiler element until the meringue is evenly browned.
By following these baking directions and using the torch method for toasting the meringue, you will achieve a perfectly executed Baked Alaska dessert with a beautifully browned topping.
Serving Suggestions
Presentation Ideas
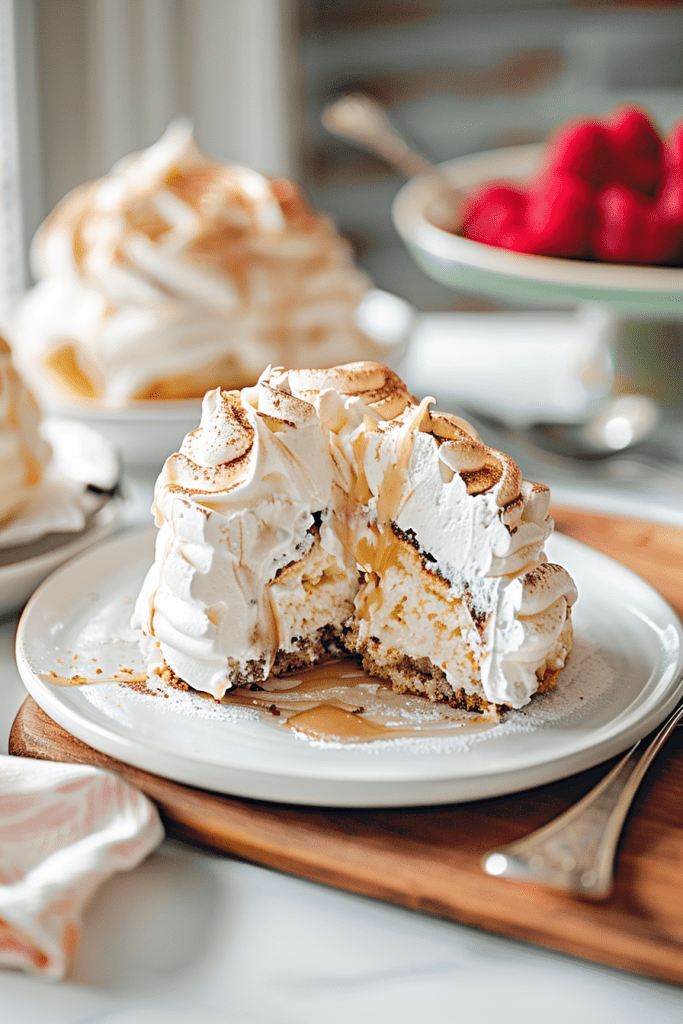
- Serve individual portions by pre-slicing the Baked Alaska before plating. This allows for easy serving and a beautiful presentation.
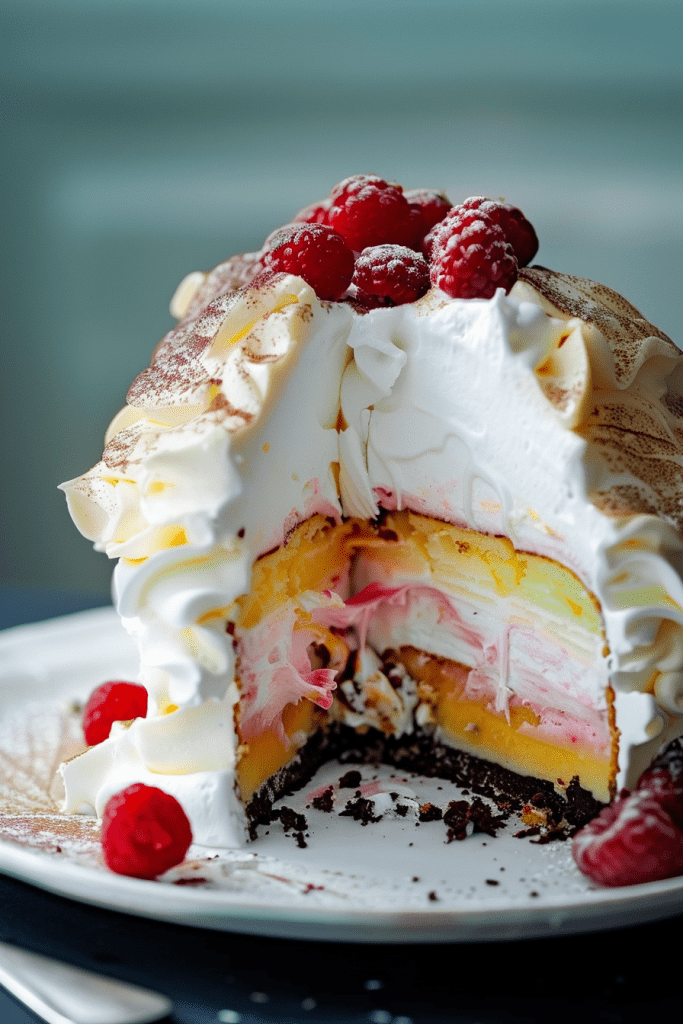
- Garnish each slice with fresh berries, mint leaves, or a drizzle of chocolate sauce for added visual appeal.
- Dust the serving plate with a sprinkling of powdered sugar for an elegant finishing touch.
- Pair Baked Alaska with a light fruit coulis or berry compote to add a burst of fruity flavor.
- Serve alongside a scoop of whipped cream or a dollop of vanilla custard for a creamy contrast to the crunchy meringue.
- For a touch of sophistication, accompany Baked Alaska with a glass of champagne or a dessert wine to complement the sweet notes of the dessert.
Storage Tips
After creating your delicious baked Alaska masterpiece, you may have leftovers that you want to preserve for later enjoyment. Here are some handy storage tips to ensure your dessert stays fresh and tasty:
- Freezing Baked Alaska: If you have any uneaten portions of baked Alaska, it’s best to wrap them tightly either in plastic wrap or aluminum foil to prevent freezer burn. Place the wrapped dessert in an airtight container before storing it in the freezer. Baked Alaska can be safely kept in the freezer for up to 2 weeks.
- Thawing Baked Alaska: When you’re ready to indulge in your leftover baked Alaska, transfer it from the freezer to the refrigerator and let it thaw for about 20-30 minutes before serving. This gradual thawing process will ensure the dessert retains its creamy texture.
- Avoid Refreezing: Once you have thawed baked Alaska, it’s crucial not to refreeze it. Refreezing can compromise the quality and taste of the dessert due to potential texture changes. It’s best to consume it within a few hours after thawing for the best experience.
By following these storage tips, you can enjoy your baked Alaska even days after its initial creation, maintaining its flavors and textures for a delightful dessert experience.
Conclusion
Creating a stunning Baked Alaska is a delightful culinary adventure. From the rich brownie base to the layers of luscious ice cream and the perfectly torched marshmallow meringue, every step is a labor of love. By following the detailed instructions provided, you can impress your guests with this classic dessert that never fails to wow. Remember to plan ahead, freeze strategically, and pay attention to the finer details like presentation and serving suggestions. With a touch of creativity and a sprinkle of elegance, Baked Alaska can elevate any gathering into a memorable occasion. So go ahead, indulge in the sweet decadence of this exquisite treat and savor every bite of this heavenly dessert.