
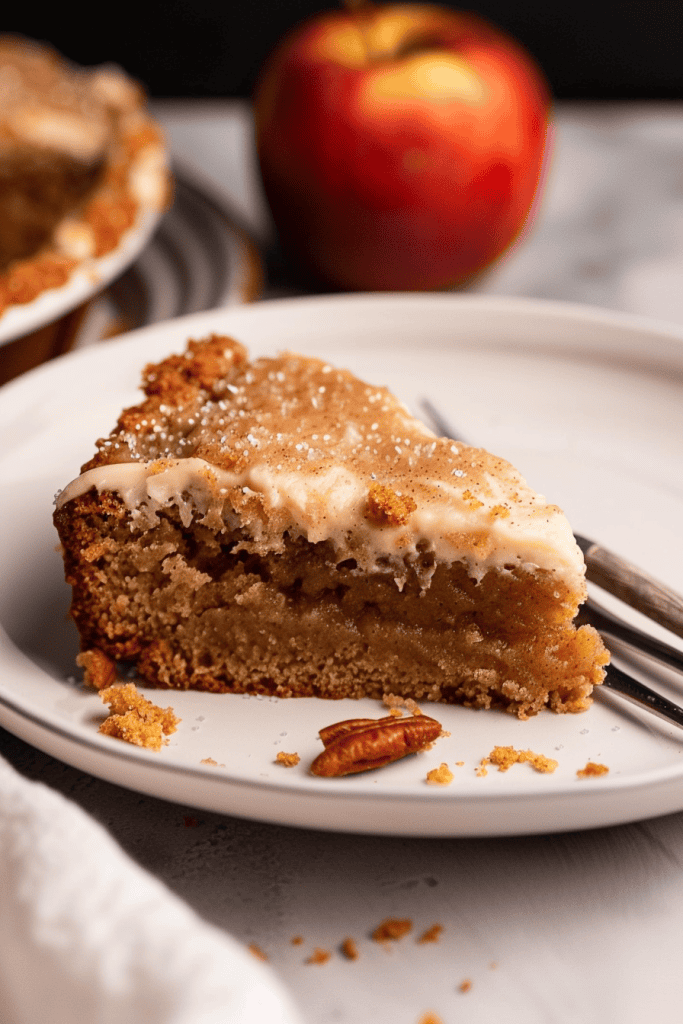
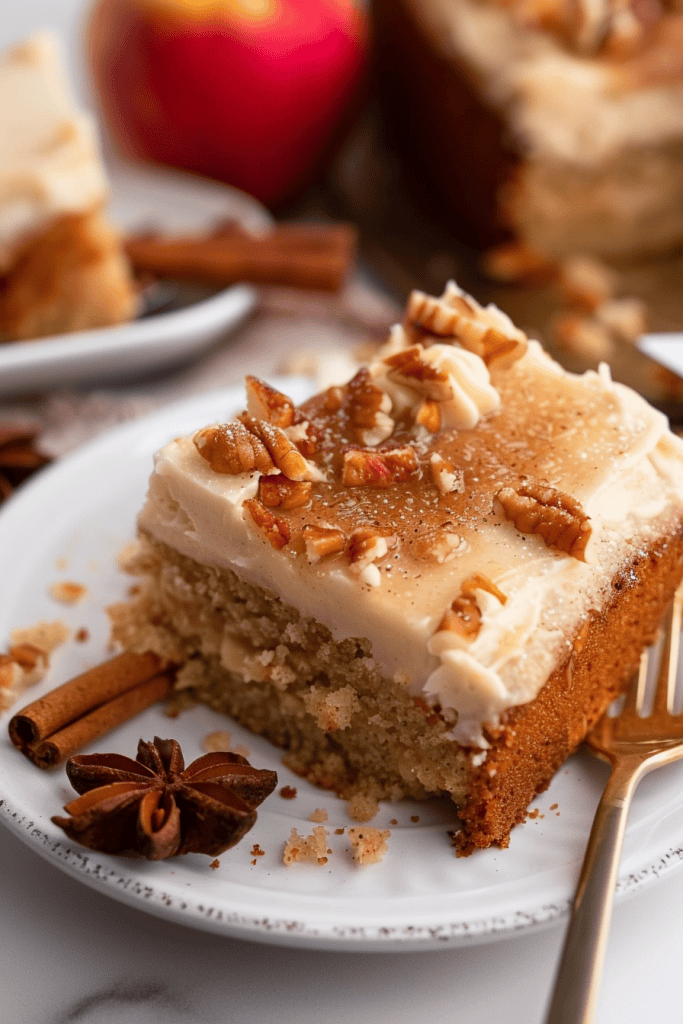
Craving a delightful treat that celebrates the cozy flavors of fall? Look no further than apple butter sheet cake recipes! This mouthwatering dessert combines the rich sweetness of apple butter with a moist and fluffy cake base, creating a perfect harmony of flavors in every bite.
With just the right balance of spices and a hint of apple goodness, this sheet cake is a crowd-pleaser for any occasion, from family gatherings to potlucks. The simplicity of baking it in a sheet pan makes it a convenient option for busy bakers looking to whip up a delicious dessert without the fuss.
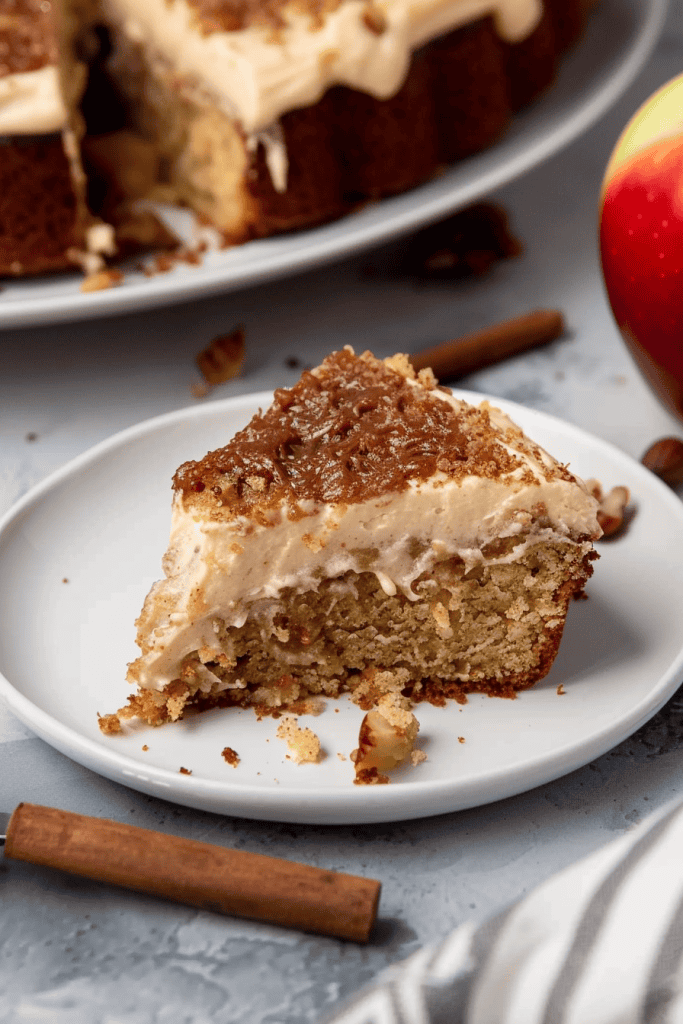
Indulge in the comforting aroma of cinnamon and apples wafting from your oven as you bake this apple butter sheet cake to perfection. Whether enjoyed on its own or paired with a dollop of whipped cream, this recipe is sure to become a seasonal favorite in your baking repertoire.
Ingredients Needed
For the Apple Butter Sheet Cake
- 1 cup salted butter, melted
- 1 cup 2% milk
- 1/2 cup apple butter
- 1 cup granulated sugar
- 1 cup light brown sugar
- 2 large eggs
- 1 teaspoon vanilla extract
- 2 cups all-purpose flour
- 1 teaspoon baking soda
- 1 teaspoon apple pie spice
- Powdered sugar
- Apple cider (or apple juice as an alternative)
Required Equipment
To prepare this delicious Apple Butter Sheet Cake recipe, you will need the following equipment:
- 2 8-inch Round Cake Pans: Use these pans to bake the cake layers evenly.
- Parchment Paper: Line the cake pans with parchment paper to prevent the cake from sticking.
- Large Mixing Bowl: Prepare and mix the cake batter effectively in a large mixing bowl.
- Electric Mixer: Use an electric mixer to beat the butter, sugar, and other ingredients until smooth and fluffy.
- Measuring Cups and Spoons: Accurately measure the ingredients using measuring cups and spoons.
- Spatula: Use a spatula to scrape down the sides of the mixing bowl and fold in the batter.
- Knife: Run a knife around the edges of the cake pans to release the cakes easily.
- Microwave-Safe Bowl: Use a microwave-safe bowl to melt the chocolate for the frosting.
Preparation Steps
Preparing the Cake Batter
- Preheat the oven to 350F and line two 8-inch round pans with parchment paper.
- In a large mixing bowl, combine melted unsalted butter, whole milk, apple butter, granulated sugar, and brown sugar.
- Mix in eggs and vanilla extract until smooth.
- Add all-purpose flour, baking soda, and apple pie spice. Whisk until well blended.
- Pour the batter evenly into the prepared round pans.
- In a separate bowl, melt unsalted butter and mix with powdered sugar, maple extract, and hot water.
- Adjust the consistency as needed with additional hot water.
- Drizzle the glaze over the cooled cake for a delicious finishing touch.
Baking Instructions
Pouring and Spreading the Batter
- Preheat the oven to 350ºF and line a 12×17 jelly roll pan with parchment paper.
- In a large bowl, whisk together melted butter, milk, apple butter, sugars, eggs, and vanilla until well combined.
- Add the flour, baking soda, and apple pie spice, and blend until smooth.
- Pour the batter into the prepared pan, spreading it evenly.
- Bake for about 20 minutes or until the center springs back when touched.
- Preheat the oven to 350ºF.
- Bake the prepared cake for 20 minutes or until the center springs back when touched.
- Once baked, remove from the oven and allow it to cool on a wire rack.
Assembling the Cake
After baking and cooling the apple butter sheet cake, it’s time to add the finishing touches to make it truly irresistible. Here’s how to apply the glaze and add optional toppings to enhance the flavors and presentation of your dessert.
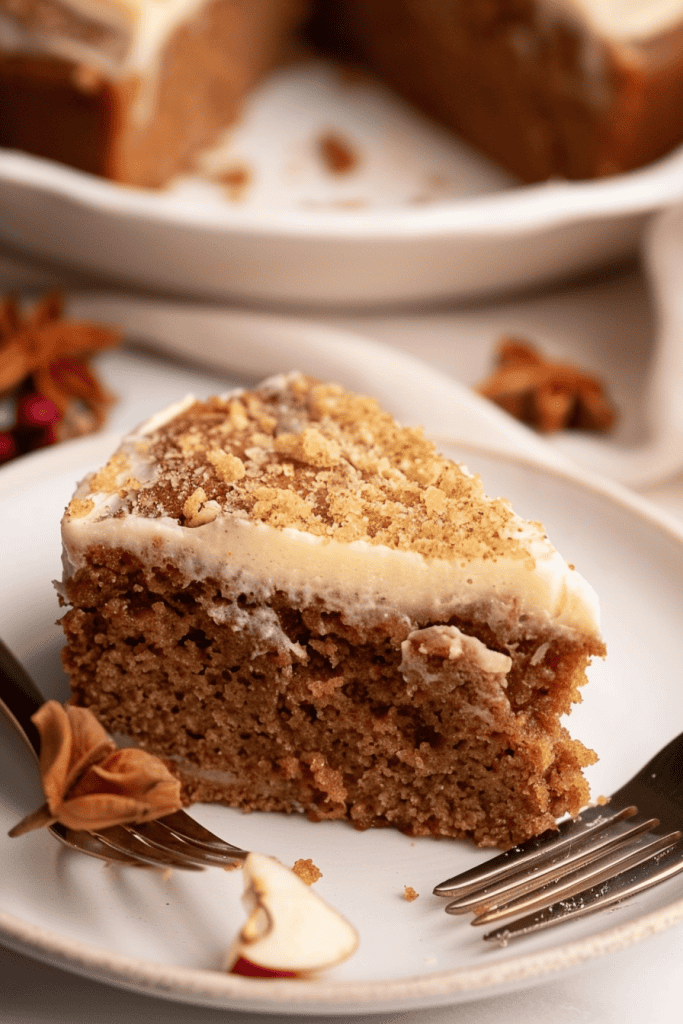
Applying the Glaze
- Prepare the glaze by whisking together melted butter, powdered sugar, and a splash of maple extract in a mixing bowl.
- Gradually add hot water to the mixture, stirring constantly until a smooth and pourable consistency is achieved.
- Drizzle the glaze generously over the cooled sheet cake, ensuring even coverage.
- Allow the glaze to set for a few minutes before serving to let the flavors meld with the cake.
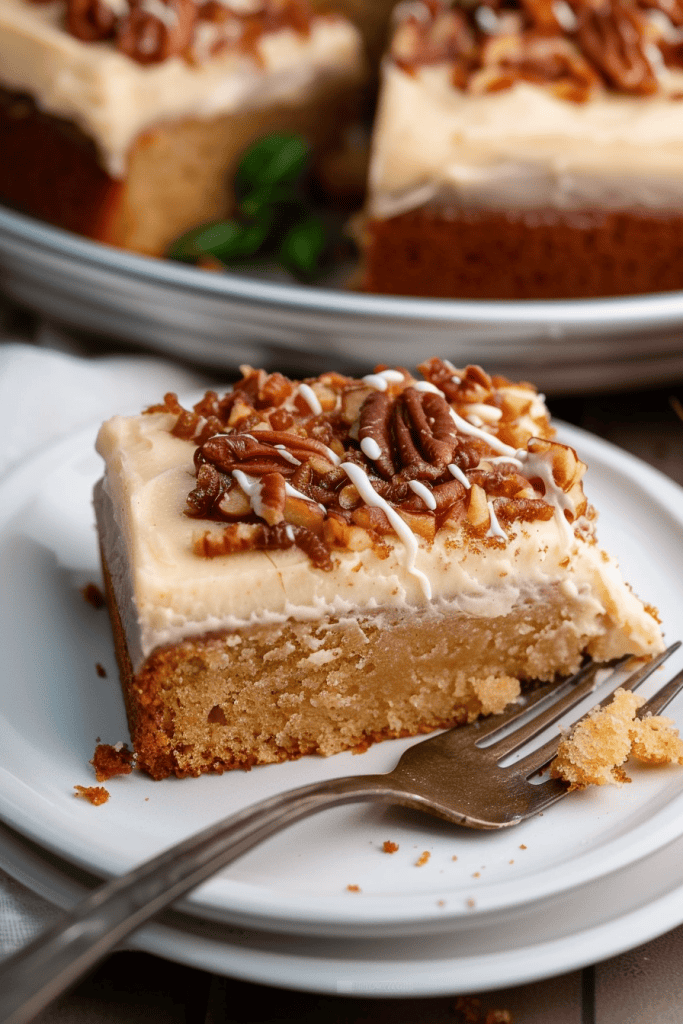
- For an extra layer of flavor and texture, consider sprinkling chopped nuts like pecans or walnuts over the glazed cake.
- Fresh slices of apple or a sprinkle of cinnamon on top can add a decorative touch and hint at the delicious apple butter flavor inside.
- If desired, a dollop of whipped cream or a scoop of vanilla ice cream pairs beautifully with the warm, spiced notes of the sheet cake.
By following these steps to apply the glaze and add optional toppings, you can elevate your apple butter sheet cake into a stunning dessert that will wow your guests with both its taste and presentation.
Serving and Presentation
Once the delicious apple butter sheet cake is baked to perfection and cooled, it’s time to elevate its presentation and serve it in style. Follow these simple steps to ensure a delightful serving experience:
- Glazing the Cake:
- Whisk together the ingredients for the glaze, including melted butter, powdered sugar, maple extract, and hot water until smooth and glossy.
- Drizzle the glaze liberally over the cooled sheet cake, allowing it to cascade down the sides for a beautiful finish.
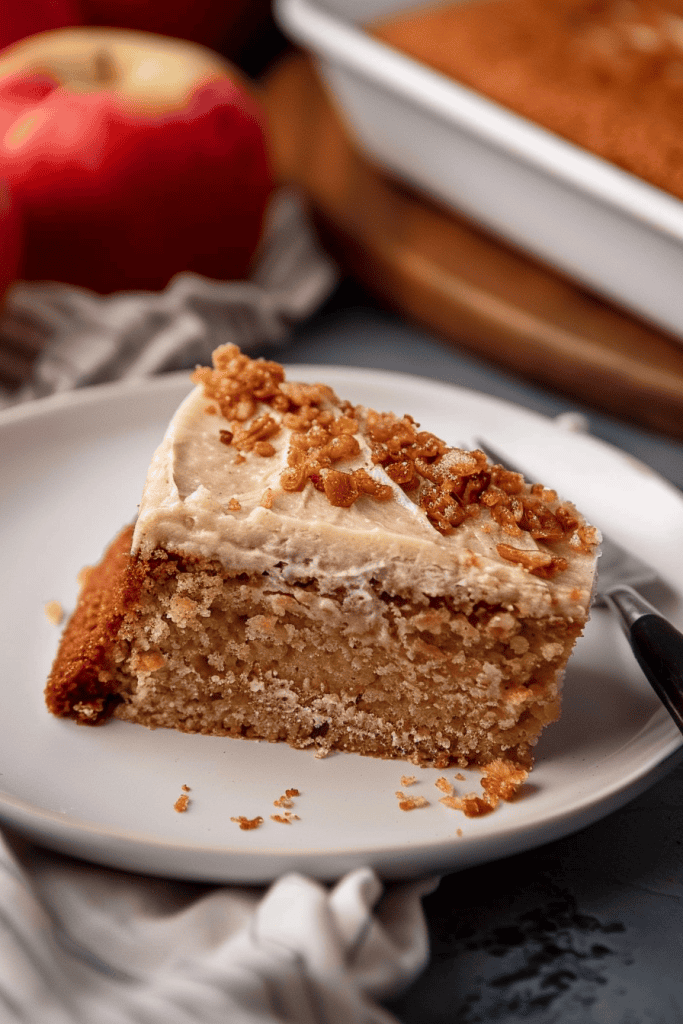
- Adding Toppings:
- Enhance the visual appeal and taste of the cake by adding decorative toppings. Consider sprinkling chopped nuts, such as pecans or walnuts, on top for a delightful crunch.
- Thinly sliced apple slices arranged artfully on the cake provide a fresh and fruity contrast to the rich flavors.
- A light dusting of cinnamon over the glaze not only looks elegant but also adds a hint of warmth to each bite.
- Serving Suggestions:
- For a decadent touch, serve each slice with a dollop of freshly whipped cream or a scoop of creamy vanilla ice cream on the side.
- Present the cake on a beautiful platter or cake stand to showcase its inviting appearance and make it the centerpiece of your dessert table.
- Pair slices of apple butter sheet cake with a warm cup of coffee, a scoop of vanilla ice cream, or a drizzle of caramel sauce for a truly indulgent treat.
By following these steps for serving and presentation, you not only enhance the visual appeal of the apple butter sheet cake but also create a memorable dessert experience for yourself and your guests.
Storage Instructions
Storing the Cake
To store your apple butter sheet cake, you have a few options depending on your preference and timeline. If you plan to enjoy it within a couple of days, keeping it at room temperature in an airtight container or well-covered with plastic wrap works well. For longer storage, refrigerating the cake in an airtight container can maintain its freshness for up to 4 days.
Tips for Freezing
If you want to freeze your apple butter sheet cake for future enjoyment, you can do so successfully. After baking and allowing the cake to cool completely, wrap it securely with plastic wrap and foil before placing it in the freezer. This method can preserve the cake for up to two months. To thaw, simply leave the wrapped cake on the counter at room temperature until it comes to a suitable serving condition.
Conclusion
In wrapping up, apple butter sheet cake recipes are a delightful way to embrace the flavors of fall and simplify baking for any occasion. The blend of apple butter’s sweetness with a moist cake base, infused with cinnamon and apple aromas, creates a truly comforting treat. With easy-to-follow steps and versatile serving options, this recipe offers a delicious dessert that can be enjoyed by all. Whether glazed and topped with nuts or served with a dollop of whipped cream, the apple butter sheet cake is a versatile and crowd-pleasing option. Don’t hesitate to try this recipe for a taste of autumn in every bite.