Let’s Talk About Mini Broccoli and Cheese Quiches
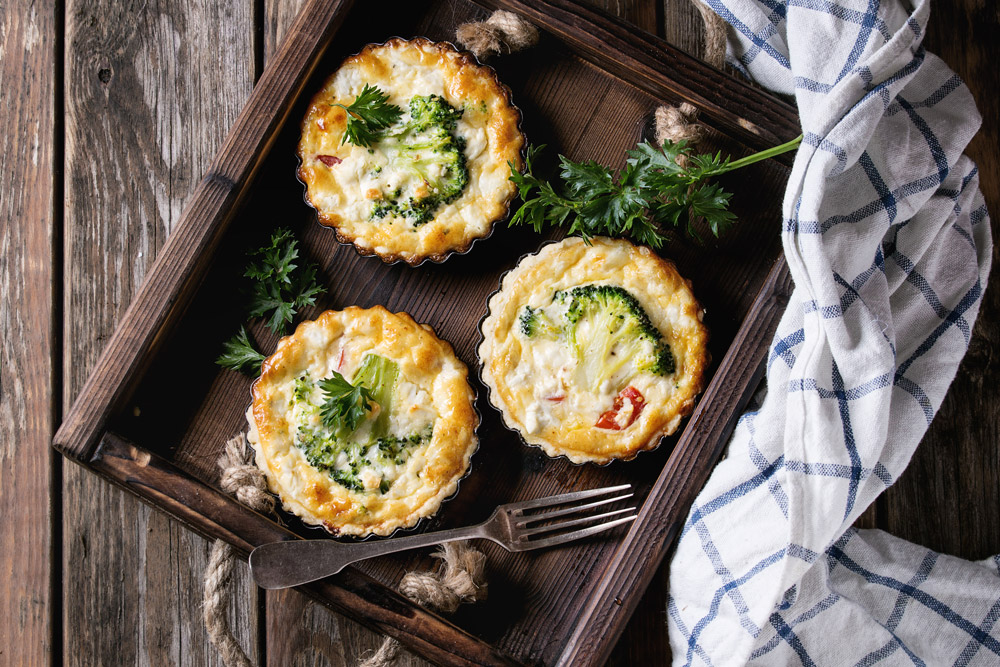
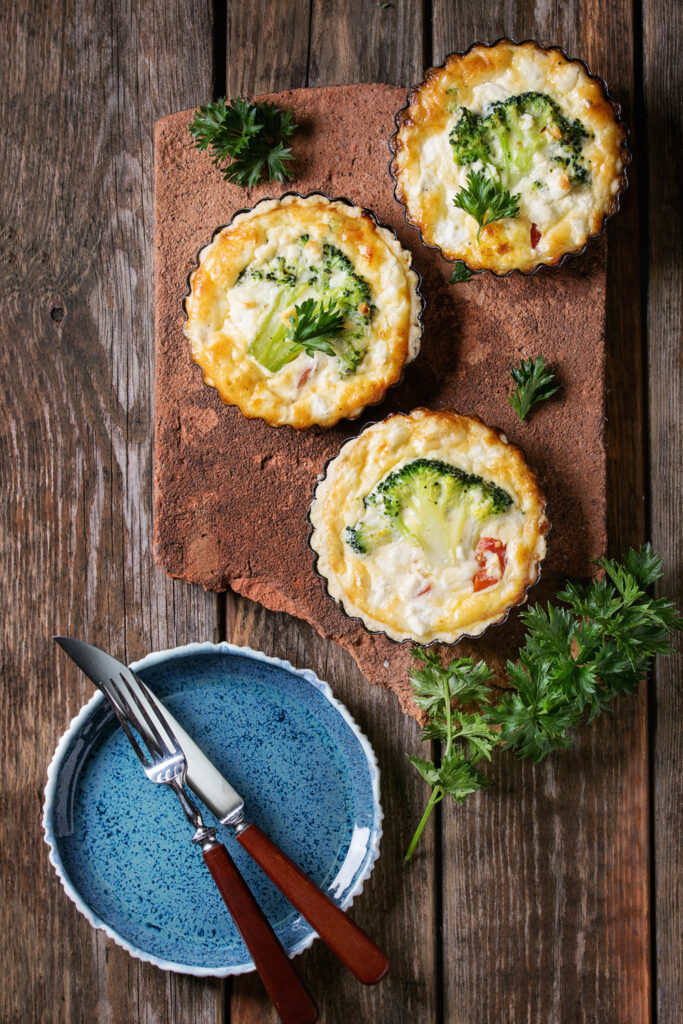
Imagine this: flaky, golden crust cradling a creamy, cheesy filling. Add the brightness of broccoli and a sprinkle of parsley, and you’ve created something special. These little quiches are comforting and classy—perfect for brunch, a light dinner, or just because you want something fancy without too much effort.
The best part? They’re easier to make than they look. Trust me. I’ve baked these multiple times, and they’ve officially joined my “go-to” list for impressing friends and feeding picky eaters.

Let’s make them together.
Why You’ll Love These Quiches
Because they’re:
- Individual-sized. All the charm. None of the slicing.
- Easy to customize. Got zucchini or spinach instead of broccoli? Use it.
- Perfect for meal prep. Bake ahead, eat later.
The Basics
Prep Time: 15 minutes
Cook Time: 25 minutes
Total Time: 40 minutes
Servings: Makes 6 mini quiches
Difficulty: Simple enough for beginners.
You’ll Need:
- Mini tart pans or a muffin tin (no tart pans? Muffin tins work perfectly).
- Parchment paper and pie weights (or dried beans from the pantry—works just as well).
- A rolling pin and whisk.

Ingredients (and Substitutions)
For the Crust
- 1 ½ cups all-purpose flour: Your base for that buttery crunch.
- ½ cup chilled, diced butter: Cold butter = flaky dough.
- ¼ teaspoon salt: Balances out the flavors.
- 4–5 tablespoons ice water: Just enough to bring it together.
Shortcut? Use pre-made pie dough. It’s not quite the same, but it works when you’re pressed for time.
For the Filling
- 1 cup fresh broccoli florets: Steam them lightly and chop small.
- 1 medium tomato, diced: Adds color and brightness.
- 1 cup shredded cheese: Cheddar, mozzarella, or a mix. (Feeling fancy? Try gruyère.)
- 4 large eggs: The foundation of that creamy custard.
- ½ cup cream + ½ cup milk: Perfectly balanced richness.
- ½ teaspoon garlic powder + ½ teaspoon onion powder: Easy flavor boosters.
- Salt and pepper: To taste.
- Fresh parsley: For a pop of green on top.
How to Make Them
Step 1: Make the Crust
Start by mixing your flour and salt. Add diced butter. Use your fingers (or a pastry cutter) to mix until it looks like breadcrumbs. Slowly add ice water, a tablespoon at a time, until the dough holds together. Don’t overwork it—keep that butter cold! Chill the dough for 20 minutes. This helps it roll out better and keeps the crust flaky.
Step 2: Roll It Out
Preheat your oven to 375°F (190°C). Roll the dough on a floured surface, about ⅛-inch thick. Cut circles slightly larger than your tart pans. Gently press the dough into the pans. Trim the edges and prick the bottom with a fork.
Step 3: Pre-Bake the Crusts
Line each crust with parchment paper. Add pie weights or dried beans. Bake for 8–10 minutes. Remove the weights and bake for 3 more minutes. (Why? It keeps the crust from getting soggy later.)
Step 4: Mix the Filling
- In a bowl, whisk eggs, cream, milk, garlic powder, onion powder, salt, and pepper.
- Spread a layer of cheese on the bottom of each crust. Divide broccoli and tomatoes evenly.
Step 5: Assemble and Bake
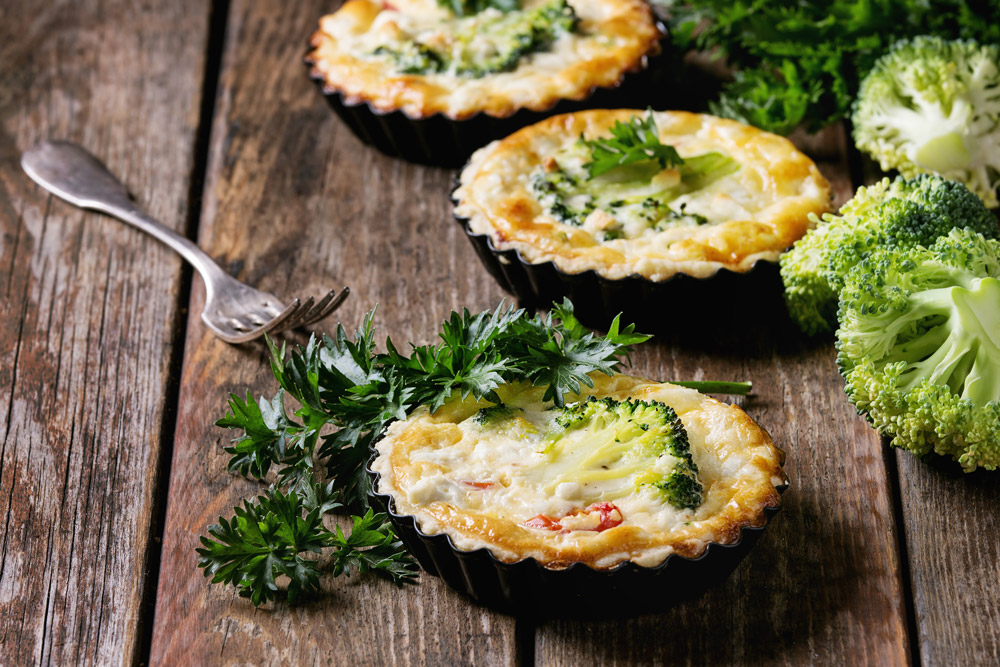
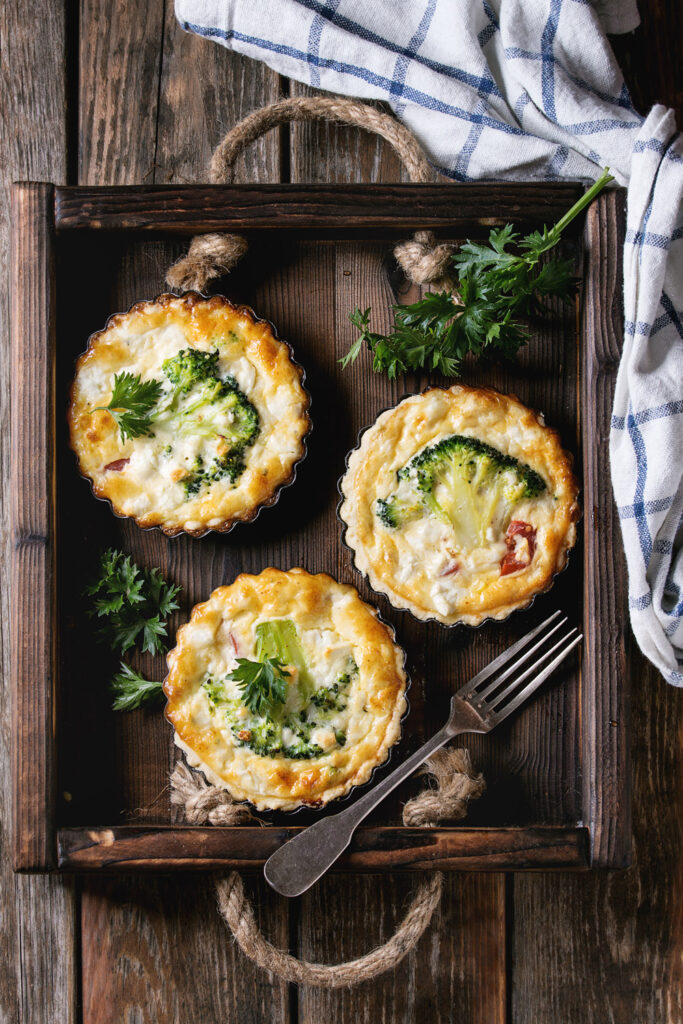
Pour the egg mixture into each tart, filling just below the edges. Add a small broccoli floret on top for decoration. Bake for 20–25 minutes, until golden and slightly puffed.
Step 6: Cool and Serve
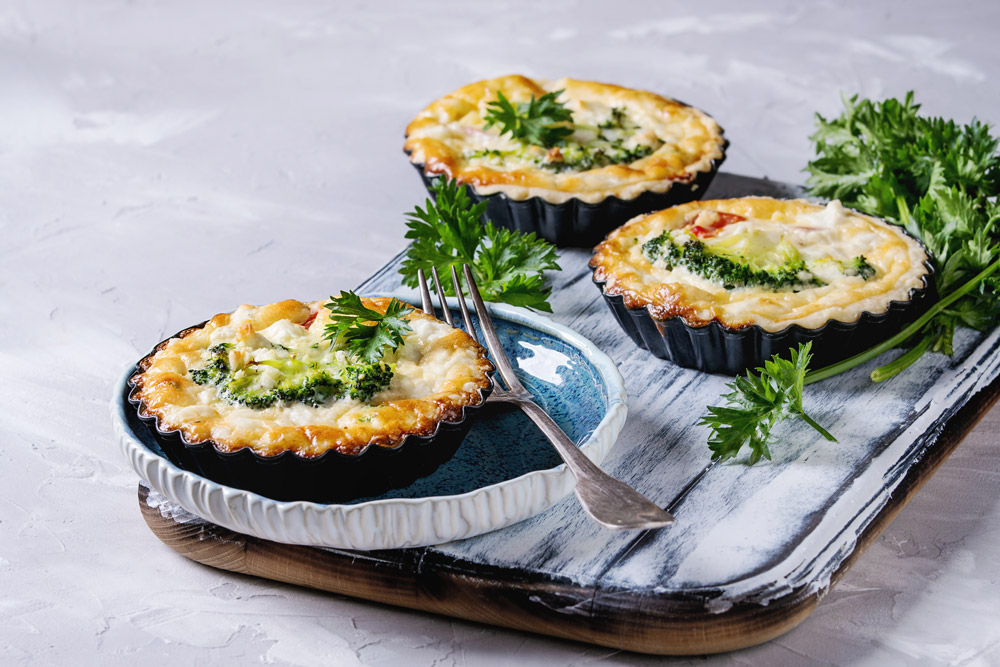
- Let them cool for 5 minutes before removing from the pans. Garnish with fresh parsley.
How to Serve Them
These quiches are stars on their own, but here’s how to make them even better:
- Add a side of green salad or roasted veggies for balance.
- Serve at room temp for a party spread.
- Pair with an iced tea or sparkling water for a light meal.
Customizations
- Dietary Swaps:
- Use a gluten-free crust if needed. Almond flour works great.
- Swap the dairy for coconut cream and plant-based cheese.
- Seasonal Adaptations:
- Summer? Zucchini and basil.
- Winter? Roasted sweet potatoes and thyme.
- Spicy Kick: Add a dash of chili flakes or smoked paprika.
Storing and Reheating
- Fridge: Store in an airtight container for up to 3 days.
- Freezer: Wrap them in plastic and freeze for up to 2 months. Reheat straight from frozen at 350°F (175°C) for 20–25 minutes.
- Reheat: Pop them in the oven at 325°F (160°C) for 10 minutes. Avoid the microwave if you want to keep the crust crisp.
Final Thoughts
These mini quiches are proof that good food doesn’t have to be complicated. Whether you’re impressing guests or just treating yourself, they’re always a win. Give them a try—and don’t forget to experiment with different veggies and cheeses. Cooking’s more fun when you make it your own!
What’s your favorite quiche combo? Let me know—I’d love to hear your ideas!
PrintMini Broccoli and Cheese Quiches
These Mini Broccoli and Cheese Quiches are everything you love about quiche packed into personal-sized portions. With a buttery crust, a creamy egg filling, fresh broccoli, and a pop of tomato, they’re perfect for brunch, light dinners, or meal prep. Simple to make and packed with flavor, these quiches save you from messy slicing and serve beautifully.
- Prep Time: 15 minutes
- Cook Time: 25 minutes
- Total Time: 40 minutes
- Yield: 6 mini quiches 1x
- Category: Breakfast, Brunch, Appetizer
- Cuisine: French-inspired
Ingredients
For the Crust:
- 1 ½ cups all-purpose flour
- ½ cup unsalted butter, chilled and diced
- ¼ teaspoon salt
- 4–5 tablespoons ice water
For the Filling:
- 1 cup fresh broccoli florets, steamed and chopped
- 1 medium tomato, diced
- 1 cup shredded cheese (cheddar or mozzarella)
- 4 large eggs
- ½ cup heavy cream
- ½ cup milk
- ½ teaspoon garlic powder
- ½ teaspoon onion powder
- ½ teaspoon salt
- ¼ teaspoon black pepper
- Fresh parsley, for garnish
Instructions
. Prepare the Crust
- In a mixing bowl, combine flour and salt. Add chilled butter and mix with your hands or a pastry cutter until crumbly.
- Gradually add ice water, one tablespoon at a time, until the dough comes together. Wrap it in plastic wrap and refrigerate for 20 minutes.
2. Preheat and Roll
- Preheat oven to 375°F (190°C). Roll the chilled dough on a floured surface until ⅛-inch thick.
- Cut circles slightly larger than the mini tart pans, gently press them in, and trim excess.
3. Pre-Bake the Crust
- Prick the dough bases with a fork. Line with parchment paper and fill with pie weights or dried beans to keep them flat. Bake for 8–10 minutes. Remove weights and bake 3 more minutes to crisp the crust.
4. Prepare the Filling
- In a bowl, whisk eggs, heavy cream, milk, garlic powder, onion powder, salt, and pepper.
- Spread shredded cheese across the crusts. Divide chopped broccoli and diced tomato evenly between the quiche bases.
5. Assemble and Bake
- Pour the egg mixture into the crusts, filling just below the edges. Garnish with a small broccoli floret for a finishing touch.
- Bake for 20–25 minutes, or until the tops turn golden and the filling is set.
6. Serve
- Cool for 5 minutes, then carefully remove from pans. Garnish with fresh parsley and serve warm or at room temperature.
Notes
Serving Suggestions:
- Pair with a side salad or fresh fruit for a balanced meal.
- These work great for parties or potlucks—serve at room temperature for convenience.
Tips & Tricks:
- Crust Hack: Short on time? Store-bought pie dough works as a substitute.
- Cheese Variations: Try feta or gruyère for a unique twist.
- Rotate your tray halfway through baking for even cooking.
Storage & Reheating:
- Store leftovers in an airtight container in the fridge for up to 3 days.
- To reheat: Bake in a 325°F (160°C) oven for 10 minutes to retain the crispy crust. Avoid microwaves, as they may soften the texture.
- Freezing: Once completely cooled, wrap quiches tightly in plastic wrap and freeze for up to 2 months. Reheat directly from frozen at 350°F (175°C) for 20–25 minutes.

