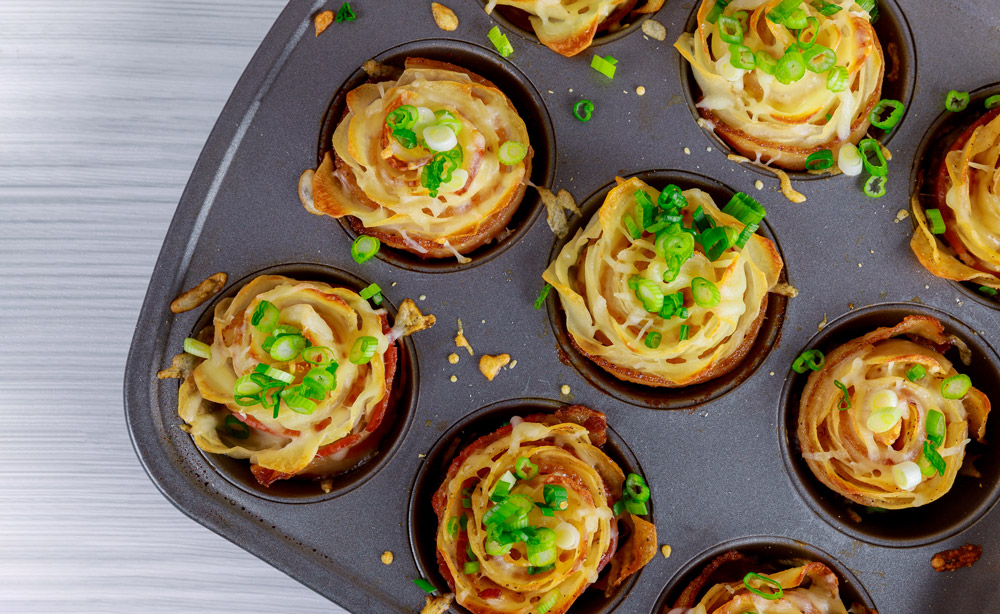
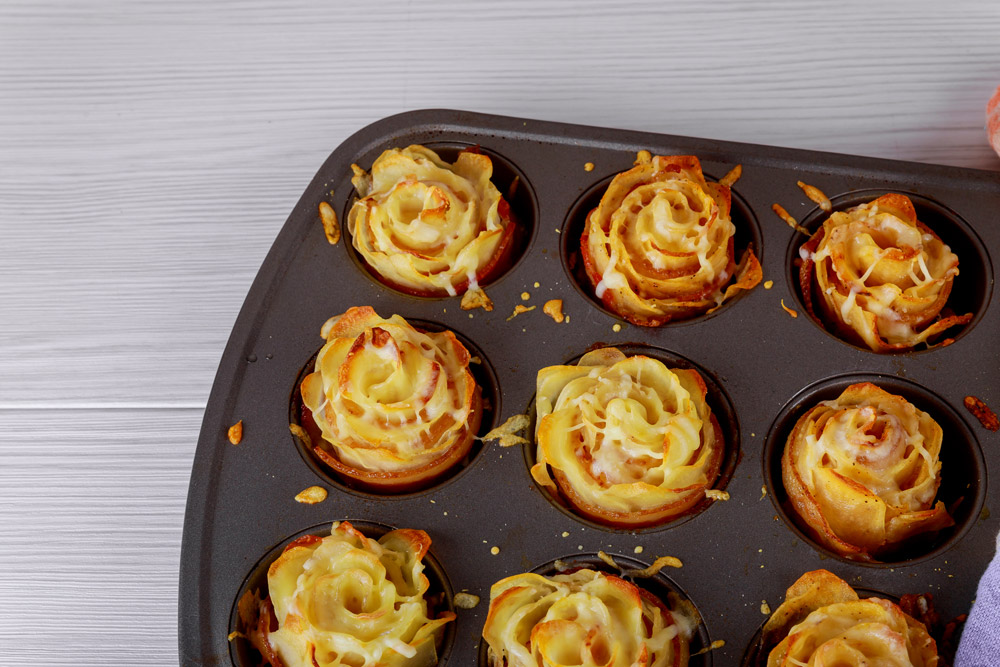
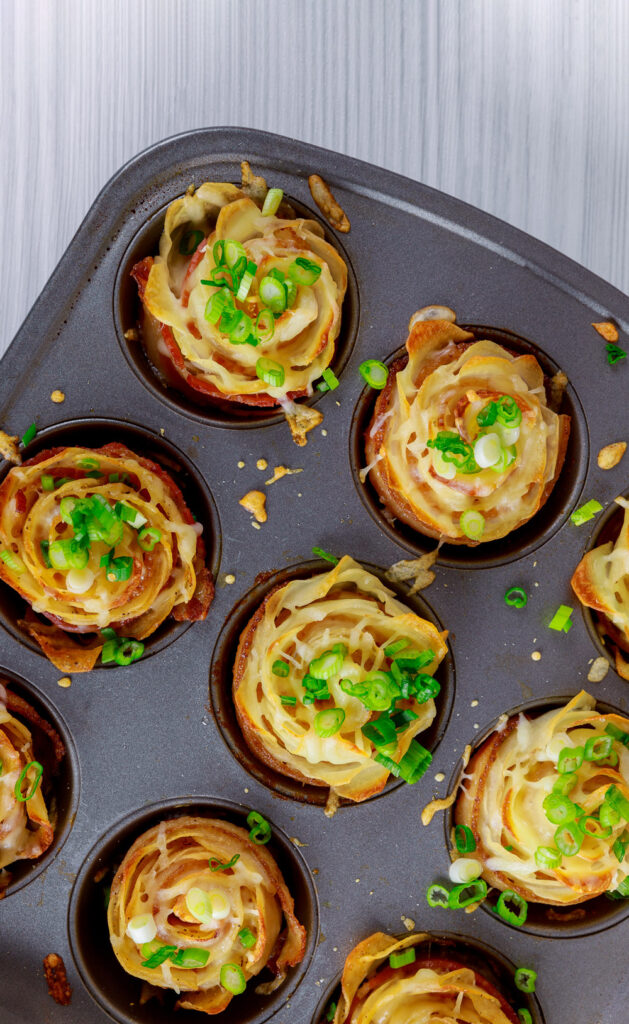
Hey there! Let’s talk about these Cheesy Potato Roses—a dish that’s as delicious as it is beautiful. Imagine crispy, golden potato slices layered with gooey melted cheese and topped off with fresh green onions. Sounds fancy, right? But here’s the secret: they’re super easy to make. Perfect for a dinner party, a cozy family meal, or just when you want to treat yourself.
These little potato roses aren’t just about looks. They’re packed with flavor—seasoned with garlic, paprika, and a hint of onion powder. And the best part? They’re baked in a muffin tin! It’s like turning your favorite comfort food into edible art.

Why You’ll Love This Recipe
- Looks impressive but is surprisingly simple to make.
- Customizable—swap cheeses, add spices, or even mix in sweet potatoes.
- Perfect for any occasion, whether it’s a holiday dinner or a casual snack.
What You Need to Know Before You Start
Prep Time & Cook Time:
- Prep Time: 20 minutes
- Cook Time: 45 minutes
- Total Time: About an hour
Servings:
This recipe makes 12 potato roses—enough for 6 people if served as a side dish. Need more? Double the recipe and grab an extra muffin tin.
Difficulty:
Easy enough for beginners but fun for experienced cooks too.
Equipment:
- A muffin tin (standard 12-cup size).
- A mandoline slicer or sharp knife (for those thin potato slices).
- Mixing bowl and aluminum foil.
No muffin tin? Use small ramekins or oven-safe cups instead.
Ingredients You’ll Need
Here’s what goes into these cheesy beauties:
- 4 medium potatoes (Yukon Gold or Russet)—thinly sliced for those delicate layers.
- 2 tablespoons olive oil—to coat and crisp up the potatoes.
- 1 teaspoon garlic powder—for that savory kick.
- 1 teaspoon onion powder—adds depth to the flavor.
- 1 teaspoon smoked paprika—a subtle smoky touch.
- Salt and black pepper, to taste—because seasoning is everything.
- 1 cup shredded mozzarella cheese (or mix with cheddar)—melty goodness in every bite.
- 2 tablespoons grated Parmesan cheese (optional)—for extra richness.
- 2 green onions, finely chopped—for a fresh, colorful garnish.
Step-by-Step Guide

Let’s break it down step by step so you can nail this recipe every time.
Step 1: Prep Your Potatoes
Start by washing and peeling your potatoes. Then slice them super thin—about 1/16 inch thick. A mandoline slicer works best here, but if you’re using a knife, just take your time.
Pro Tip: Keep the slices uniform so they cook evenly.
Step 2: Season Like a Pro
Toss the potato slices in a large bowl with olive oil, garlic powder, onion powder, smoked paprika, salt, and pepper. Make sure every slice gets coated in that flavorful mix.
What to look for: The slices should be lightly shiny but not drenched in oil.
Step 3: Roll Those Roses
Preheat your oven to 375°F (190°C) and grease your muffin tin with non-stick spray or olive oil. Lay out 8–10 potato slices in an overlapping line on your cutting board. Roll them up tightly from one end to form a rose shape.
Place each rose into a muffin tin cavity. Repeat until all cavities are filled.
Common mistake: Overcrowding the rolls will make them harder to cook evenly.
Step 4: Add Cheese (The Best Part!)
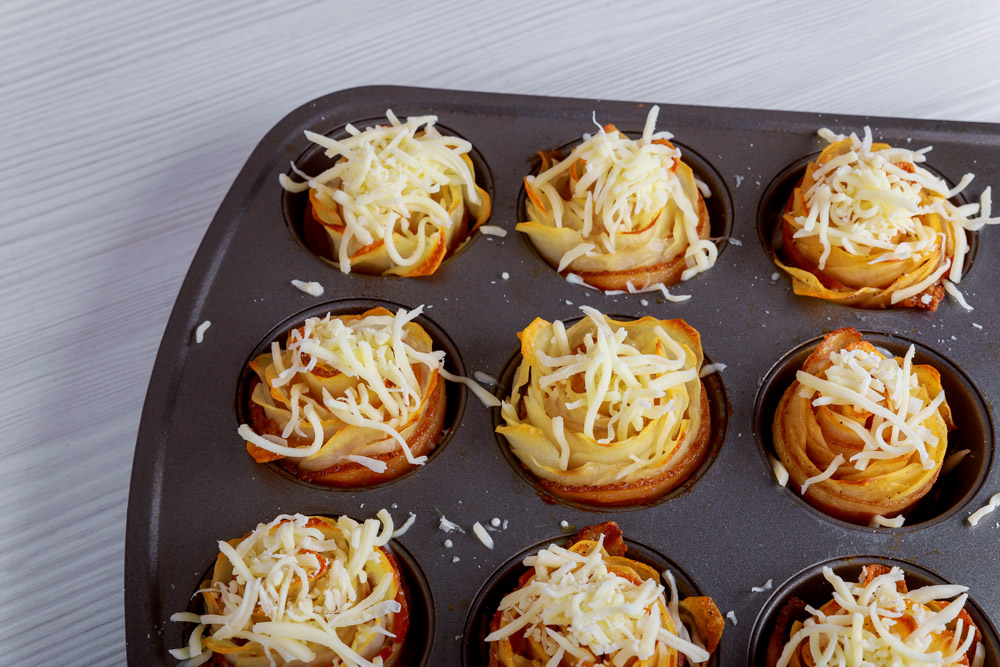
Sprinkle shredded mozzarella over each rose, letting some fall between the layers for maximum cheesiness. If you’re feeling fancy, add a dusting of Parmesan on top too.
Step 5: Bake to Perfection
Cover the muffin tin loosely with foil so the tops don’t burn too soon. Bake for 30 minutes, then remove the foil and bake for another 15–20 minutes.
How do you know they’re done? The edges will be golden brown and crispy, while the centers should be tender when poked with a fork.
Step 6: Garnish & Serve
Let the roses cool slightly before carefully removing them from the tin with a spoon or spatula. Sprinkle chopped green onions on top for that final touch of freshness.
Variations & Customizations

Want to make these your own? Here are some ideas:
- Make it vegan: Swap mozzarella for plant-based cheese and use vegan butter instead of olive oil.
- Spice it up: Add chili flakes or cayenne pepper to the seasoning mix.
- Sweet & savory twist: Mix in thinly sliced sweet potatoes for color contrast.
- Fancy version: Drizzle truffle oil over the roses before serving for an upscale vibe.
How to Serve & Store
Serving Suggestions:
These potato roses are stunning on their own but pair beautifully with:
- A dollop of sour cream or garlic aioli on the side.
- Grilled chicken or steak for a hearty meal.
- A fresh green salad for balance.

Storing Leftovers:
Got extras? Store them in an airtight container in the fridge for up to 3 days.
Reheating Tips:
Reheat in an oven at 350°F (175°C) for about 10 minutes to bring back that crispiness. Avoid microwaving—it’ll make them soggy!
Freezing Option:
You can freeze uncooked potato roses right in their muffin tin. Just thaw overnight in the fridge before baking as usual.
These Cheesy Potato Roses are more than just food—they’re an experience! Whether you’re making them for guests or treating yourself on a quiet evening, they’re guaranteed to impress. So grab your potatoes and let’s get cooking!
PrintCheesy Potato Roses with Green Onions
These Cheesy Potato Roses are a stunning and delicious side dish made with thinly sliced potatoes, seasoned to perfection, layered with gooey cheese, and baked into crispy, golden roses. Topped with fresh green onions, they’re perfect for dinner parties or cozy family meals.
- Prep Time: 20 minutes
- Cook Time: 45 minutes
- Total Time: 1 hour 5 minutes
- Yield: 6 (makes 12 potato roses) 1x
- Category: Side Dish, Appetizer
- Cuisine: American
Ingredients
- 4 medium potatoes (Yukon Gold or Russet), thinly sliced
- 2 tablespoons olive oil
- 1 teaspoon garlic powder
- 1 teaspoon onion powder
- 1 teaspoon smoked paprika
- Salt and black pepper, to taste
- 1 cup shredded mozzarella cheese (or a mix of mozzarella and cheddar)
- 2 tablespoons grated Parmesan cheese (optional)
- 2 green onions, finely chopped (for garnish)
Instructions
- Prepare the Potatoes:
Wash and peel the potatoes. Slice them thinly (about 1/16 inch) using a mandoline slicer or sharp knife. Uniform slices ensure even cooking. - Season the Slices:
In a large bowl, toss the potato slices with olive oil, garlic powder, onion powder, smoked paprika, salt, and pepper. Coat evenly. - Assemble the Roses:
Preheat your oven to 375°F (190°C). Grease a muffin tin with non-stick spray or olive oil. Lay out about 8–10 potato slices in an overlapping line on a cutting board. Roll them tightly to form a rose shape and place each rose into a muffin tin cavity. Repeat for all cavities. - Add Cheese Layers:
Sprinkle shredded mozzarella over each rose, letting it fall between the layers for extra cheesiness. For additional flavor, add Parmesan cheese on top. - Bake to Perfection:
Cover the muffin tin loosely with aluminum foil to prevent over-browning. Bake for 30 minutes. Remove the foil and bake for another 15–20 minutes until the edges are golden and crispy, and the centers are tender when pierced with a fork. - Garnish and Serve:
Let the potato roses cool slightly before removing them from the tin. Garnish with chopped green onions for a fresh finish.
Notes
Serving Suggestions:
- Pair these roses with sour cream or garlic aioli for dipping.
- Serve alongside roasted chicken or steak for an elegant meal.
Tips & Tricks:
- Use a silicone muffin tray for easier removal.
- Keep slices thin and consistent for better rolling and cooking.
- Add chili flakes to the seasoning if you like a spicy kick.
Storage & Reheating:
- Store leftovers in an airtight container in the fridge for up to 3 days.
- Reheat in an oven at 350°F (175°C) for about 10 minutes to restore crispiness.
- Avoid microwaving as it can make them soggy.

