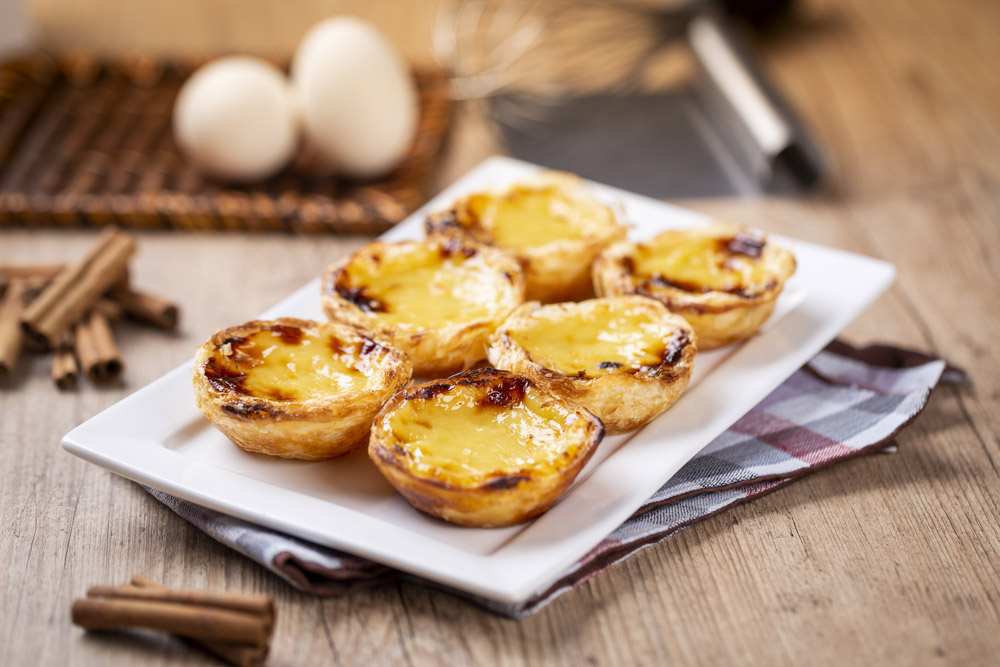
Hey there! Let’s talk about these little golden beauties: Portuguese Custard Tarts, also known as Pastéis de Nata. These are crispy, flaky pastries filled with velvety vanilla custard and topped with caramel-like spots. The kind of dessert that makes people close their eyes and savor every bite.
If you’ve never tried them, picture this: the outside is like a buttery puff pastry croissant, golden and delicate. The inside? A creamy, sweet custard that feels like a warm hug. And when you take a bite, you get this perfect mix of crunch and creaminess.
The story behind these treats is just as sweet. These tarts come from Portugal, created centuries ago by monks in a Lisbon monastery. They used egg whites to starch their clothes and were left with an abundance of yolks. Waste not, want not — they baked them into the custardy goodness we now call Pastéis de Nata. Talk about turning leftovers into legends!
What Makes This Recipe Special?
Here’s why you’ll love making these at home:
- Simple ingredients. You’ve probably already got most of them in your kitchen.
- Beginner-friendly. Sure, they look fancy, but I’ll walk you through every step.
- Versatile. Dust them with cinnamon, serve them warm, or enjoy them with your morning coffee.
Recipe Breakdown
Here’s the quick overview:
- Prep Time: 30 minutes
- Cook Time: 20 minutes
- Total Time: 50 minutes
- Servings: 12 heavenly tarts
- Difficulty: Easy-to-intermediate. A bit of patience makes all the difference.
What you’ll need:
- A muffin tin. Perfect for shaping the delicate pastry shells.
- A saucepan for the custard. Nothing fancy, just your standard medium-sized pot.
- A whisk, rolling pin, and cooling rack. You probably have these handy.

The Ingredients
Pastry Shells
- 1 sheet of puff pastry (thawed if frozen).
Creamy Custard Filling
- 1 cup whole milk
- 1/2 cup heavy cream
- 3/4 cup sugar
- 3 tablespoons all-purpose flour
- 4 egg yolks (room temp for smoother blending).
- 1 teaspoon vanilla extract
- A tiny pinch of cinnamon for dusting (optional but traditional).
Ingredient Tips:
- Egg yolks: Don’t skip them! These are key for a silky custard.
- Whole milk and cream: Why both? Milk keeps the custard light, and cream adds richness. Balance is everything.
- Puff pastry: Store-bought works like a charm. No need to make it from scratch unless you’re feeling ambitious.
Step-by-Step Instructions: Baking Together
Let’s get down to business. Imagine me beside you, guiding you through every phase!
1. Prepare the Pastry Shells
First, roll your puff pastry into a long log. Think of rolling a poster, but with buttery goodness. Once it’s nice and tight, cut it into 12 equal slices.
Each slice looks like a little spiral. Place one in each cup of your muffin tin (swirly side up), and gently press it outward, covering the base and sides of the tin. It doesn’t need to be perfect. A little rustic charm makes them even better.
Pop the tin in the fridge to chill while we work on the custard. Why? Cold pastry = flaky layers.
Pro Tip: Chilling prevents the dough from shrinking while baking.
2. Make the Custard Filling
In a medium saucepan, whisk together sugar and flour. No lumps, okay? Gradually pour in the milk and cream while whisking, until it’s smooth like melted ice cream.
Now, heat this mixture over medium heat. Keep stirring. In about 5–7 minutes, it’ll get thick enough to coat the back of a spoon. This is your sign to take it off the stove.
Let it cool for a few minutes. Once it’s slightly warm—not hot—whisk in the yolks and vanilla. Welcome to custard heaven!
Visual Cue: The custard should be glossy and smooth, with no lumps. Got lumps? No worries. Just strain it through a sieve.
3. Fill, Bake, and Caramelize
Grab your chilled pastry shells. Pour the custard in, filling each cup about three-quarters full. Don’t overfill them, or the custard might bubble over.
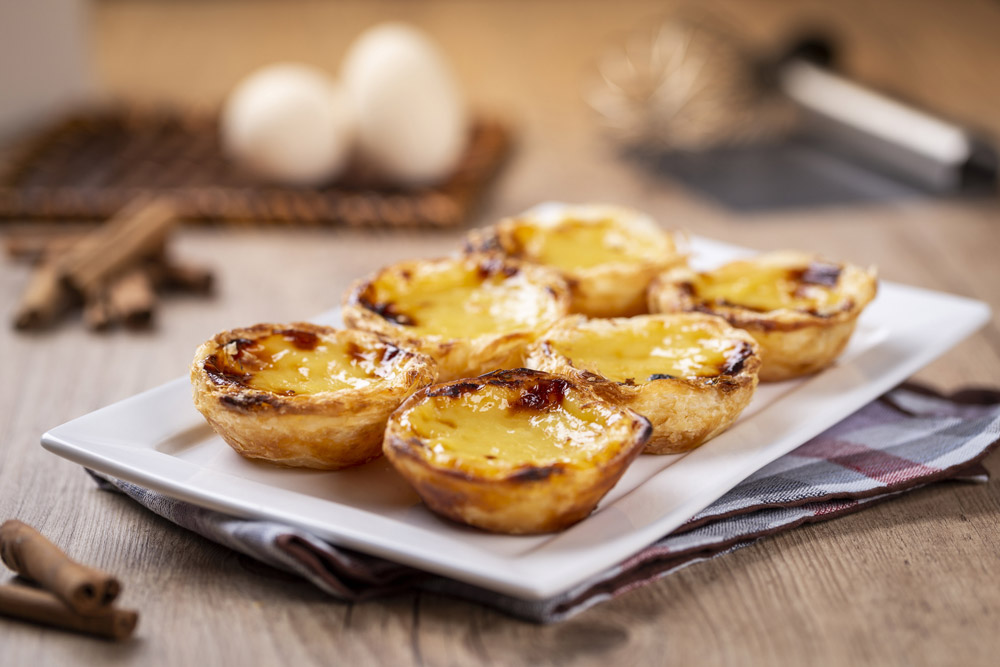
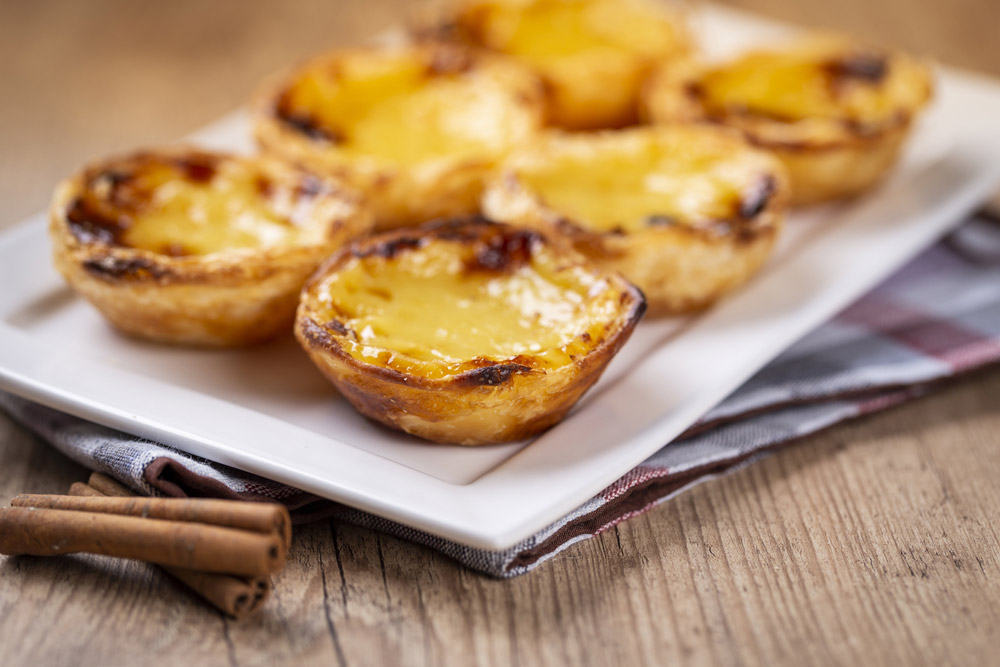
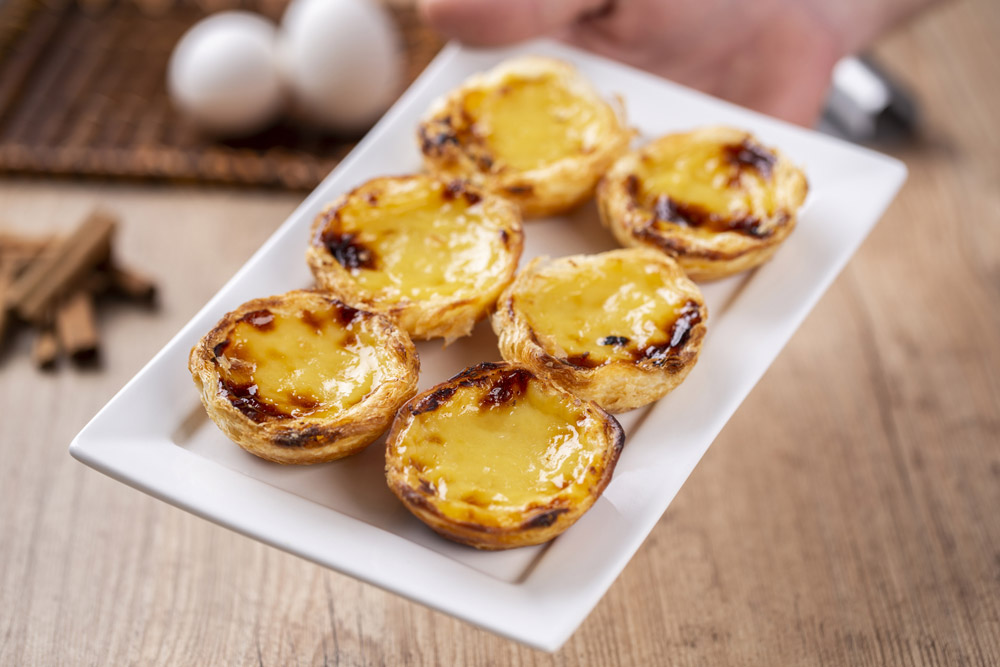
Bake in a 400°F oven for 15–20 minutes. Here’s the magic: the tops will develop caramelized spots, almost like crème brûlée. The pastry edges? Golden, crispy, and flaky.
Mistake to Avoid: Forgetting to rotate your tray halfway through baking. This prevents uneven browning.
Once done, let the tarts cool for about 10 minutes in the tin. Then gently transfer them to a cooling rack. The hardest part? Waiting for them to cool just enough so you don’t burn your tongue!

4. Serve Them Right
Before serving, sprinkle a pinch of ground cinnamon on top. Pair them with strong coffee or tea, and you’ll feel like you’re sitting in a cozy Lisbon café.
Variations & Customizations
Make these uniquely yours:
- Lemon lovers: Add a touch of lemon zest to the custard for a citrusy kick.
- Gluten-free option: Use gluten-free puff pastry for a celiac-friendly version.
- Dairy-free: Swap the milk with almond or oat milk and the cream with coconut cream.
Feeling creative? Try filling half with custard and half with fruit preserves for a fun twist.
How to Store & Enjoy Later
Life happens, and sometimes we don’t finish all 12 tarts in one sitting. Here’s how to keep them fresh:
- Room Temp: Store in an airtight container for up to 2 days.
- Fridge: Keeps well for 4 days. But heads up: they’ll lose a little crispiness.
- Reheat: Pop them in a 350°F oven for 5–7 minutes. Good as fresh!
Want to freeze them? Sure! Wrap each tart in foil, toss them in a freezer bag, and freeze for up to 2 months. To reheat, thaw them in the fridge overnight and warm them up just before serving.
Let’s Bake!
There you have it. The step-by-step guide to baking Pastéis de Nata like a pro. These tarts might just transport you to Portugal (in spirit, at least). So roll up your sleeves, preheat that oven, and give these a try.
And when you take your first bite? Don’t forget to savor the moment. You earned it.
PrintPastéis de Nata: (Portuguese Custard Tarts)
Golden, flaky puff pastry filled with a creamy egg custard and baked to perfection until the tops are caramelized. A quintessential Portuguese dessert that’s perfect for tea time or an indulgent treat.
- Prep Time: 30 minutes
- Cook Time: 20 minutes
- Total Time: 50 minutes
- Yield: 12 tarts 1x
- Category: Dessert
- Cuisine: Portuguese
Ingredients
For the Pastry Shells:
- 1 sheet puff pastry (thawed if frozen)
For the Custard Filling:
- 1 cup whole milk
- 1/2 cup heavy cream
- 3/4 cup granulated sugar
- 3 tablespoons all-purpose flour
- 4 large egg yolks (room temperature)
- 1 teaspoon vanilla extract
- Ground cinnamon (optional, for dusting)
Instructions
1. Prepare the Pastry Shells:
- Preheat oven to 400°F (200°C) and grease a 12-cup muffin tin.
- Roll the puff pastry into a log and cut into 12 slices. Press each piece swirl-side-up into the muffin cups, stretching to cover the base and edges. Chill for 15 minutes.
2. Make the Custard:
- In a saucepan, whisk sugar and flour. Gradually add milk and cream, whisking to combine.
- Cook over medium heat, stirring constantly, until thick (5–7 minutes).
- Cool slightly, then whisk in egg yolks and vanilla until smooth.
3. Assemble and Bake:
- Pour custard into pastry shells, filling each 3/4 full.
- Bake for 15–20 minutes, rotating halfway, until tops are golden with caramelized spots.
- Cool in the tin for 10 minutes before transferring to a rack.
4. Serve and Garnish:
- Serve warm or at room temperature. Dust with cinnamon for a traditional touch.
Notes
Serving Suggestions:
- Best paired with coffee or tea. Serve as a dessert or snack.
Tips & Tricks:
- Chill the dough before baking for flakier shells.
- Strain the custard if there are lumps for a silky texture.
Storage & Reheating:
- Store in an airtight container at room temp for 2 days or in the fridge for up to 4 days.
- Reheat in a 350°F (175°C) oven for 5 minutes to restore crispiness. Avoid microwaving.
