Craving something sweet and chocolatey but don’t have the time or energy to bake a full batch of brownies? Enter the Microwave Brownie in a Mug—a quick, easy, and satisfying solution for those sudden chocolate cravings. This simple recipe allows you to whip up a delicious, single-serving brownie in just a few minutes using ingredients you probably already have in your pantry.
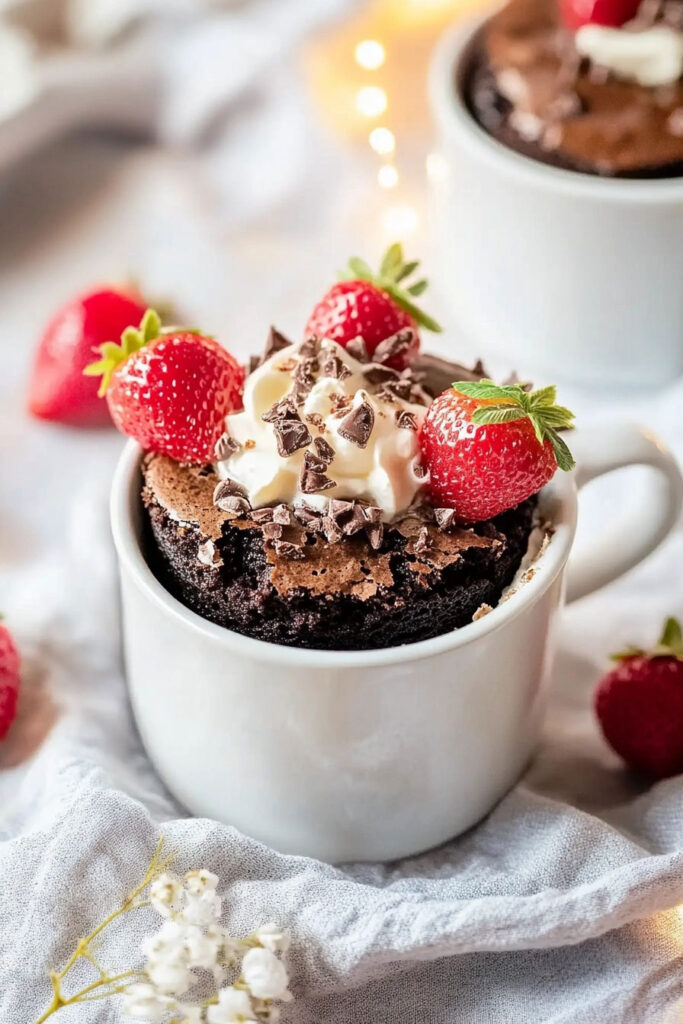
Why Choose a Microwave Brownie in a Mug?
- Speed and Convenience: Unlike traditional brownies that require an oven and take at least 30 minutes to bake, this mug brownie is ready in under 5 minutes.
- Minimal Cleanup: You only need one mug, making cleanup a breeze.
- Portion Control: Perfect for those who want a sweet treat without the temptation of an entire pan of brownies.
- Customizable: Add your favorite toppings or mix-ins like chocolate chips, nuts, or even a scoop of ice cream.
The Perfect Solution for Chocolate Lovers
The microwave brownie in a mug is not just about convenience; it’s about delivering that rich, fudgy chocolate flavor that we all crave. Whether you’re looking for a quick dessert after dinner or an afternoon pick-me-up, this recipe is your go-to option. Plus, it’s versatile enough to suit various dietary needs—swap out ingredients to make it vegan or gluten-free if necessary.
Common Questions About Microwave Brownies
- Is it safe to cook brownies in the microwave?
Absolutely! As long as you use microwave-safe mugs and follow the cooking instructions carefully, it’s perfectly safe. The ingredients are cooked thoroughly in the microwave. - Can I overcook my brownie?
Yes, overcooking can lead to a dry and tough texture. It’s best to start with 60 seconds and then add time in short increments until the desired consistency is achieved.
Ingredients and Kitchen Tools
Essential Ingredients for a Perfect Microwave Brownie
Creating a delicious microwave brownie in a mug requires just a handful of simple ingredients. Here’s what you’ll need:
- 4 tablespoons granulated white sugar: This provides the sweetness essential for any brownie.
- 4 tablespoons all-purpose flour: The base of your brownie, giving it structure.
- 2 tablespoons cocoa powder: For that rich chocolate flavor, use unsweetened cocoa powder.
- 1/8 teaspoon salt: A pinch of salt enhances the chocolate flavor and balances the sweetness.
- 3 tablespoons milk: This adds moisture to your brownie; feel free to use any milk variety, including dairy-free options.
- 2 tablespoons vegetable oil: Helps keep your brownie moist and tender.
- 1/4 teaspoon vanilla extract: Adds depth and enhances the overall flavor.
- 2 tablespoons chocolate chips: Optional, but they melt into gooey pockets of chocolate goodness.
Kitchen Tools You’ll Need
Preparing a microwave brownie in a mug is incredibly straightforward, and you only need a few basic tools:
- Microwave-Safe Mug: Choose a mug that can hold at least 12 ounces to prevent overflow as the brownie cooks.
- Spoon or Fork: For mixing the ingredients directly in the mug.
- Measuring Spoons: To ensure accuracy with your ingredients, which is crucial for the perfect texture.
Tips for Ingredient Substitutions
- If you’re looking to make this recipe vegan, swap out regular milk for almond milk or another plant-based alternative.
- For a gluten-free version, use a gluten-free all-purpose flour blend instead of regular flour.
- Experiment with different flavor extracts like almond or mint for a unique twist.
Step-by-Step Preparation and Cooking
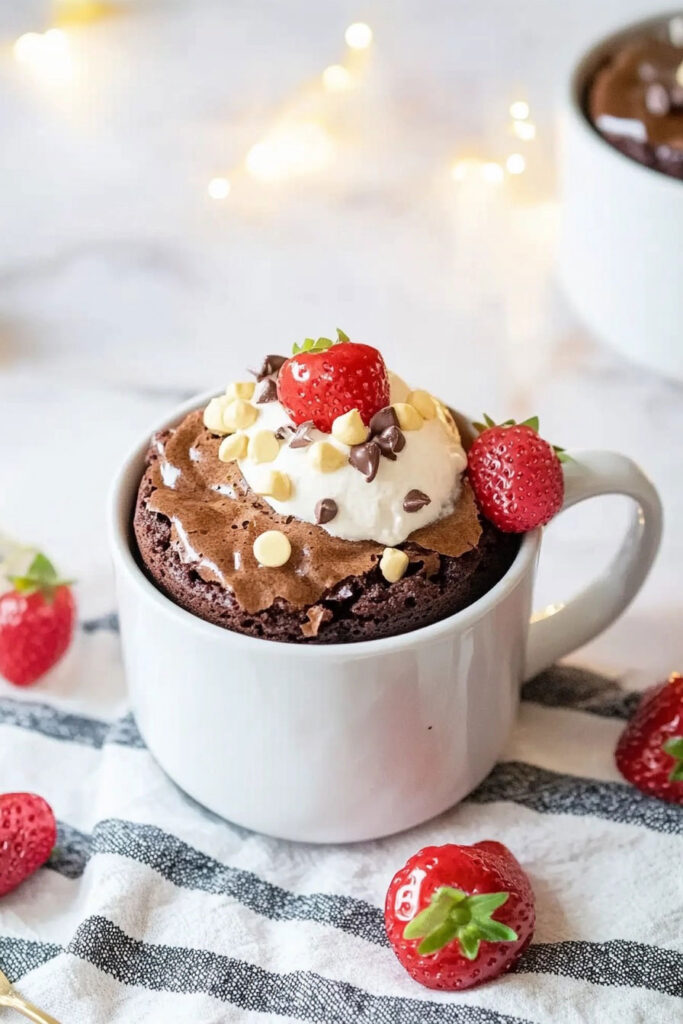
Preparing Your Microwave Brownie in a Mug
Now that you have all your ingredients and tools ready, it’s time to make your delicious microwave brownie. Follow these simple steps:
Step 1: Mix the Dry Ingredients
Start by combining the dry ingredients directly in your microwave-safe mug:
- Add 4 tablespoons of granulated white sugar, 4 tablespoons of all-purpose flour, 2 tablespoons of cocoa powder, and 1/8 teaspoon of salt.
- Use a spoon or fork to thoroughly mix these dry ingredients until they are well combined. This ensures even distribution of flavors and prevents clumping.
Step 2: Add the Wet Ingredients
Next, incorporate the wet ingredients to form a thick brownie batter:
- Pour in 3 tablespoons of milk, 2 tablespoons of vegetable oil, and 1/4 teaspoon of vanilla extract.
- Stir the mixture until it becomes a smooth, thick paste. Make sure there are no lumps for the best texture.
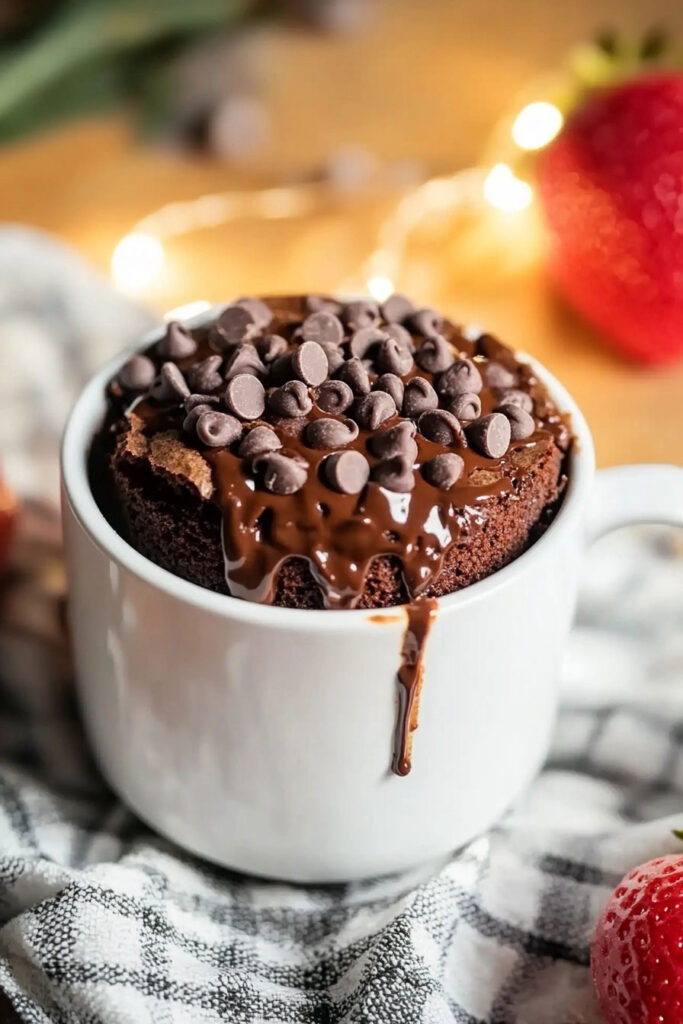
Step 3: Fold in Chocolate Chips
For an extra chocolatey experience, fold in 2 tablespoons of chocolate chips. This step is optional but highly recommended for those who love a gooey center.
Step 4: Microwave Your Brownie
The cooking time will vary depending on your microwave’s power, so it’s important to monitor it closely:
- Place the mug in the microwave and cook on high for 60 seconds.
- Check the brownie; if it’s not fully set in the middle, continue microwaving in 30-second increments until just cooked through. Be careful not to overcook, as this can lead to a dry texture.
Tips for Perfecting Your Mug Brownie
- Microwave Power: If your microwave is particularly powerful, reduce the cooking time slightly to avoid overcooking.
- Texture Check: The brownie should be firm around the edges but slightly soft in the center when done.
- Cooling Time: Allow the brownie to cool for a minute or two before enjoying. This helps it set properly and enhances the flavors.
Serving Suggestions and Creative Variations
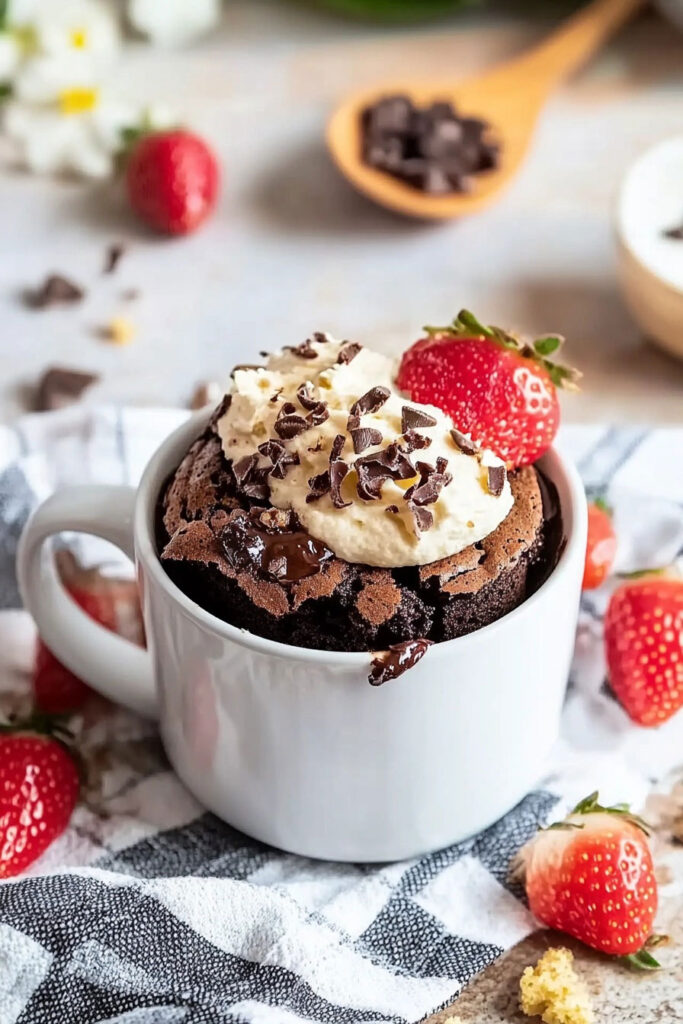
Enjoying Your Microwave Brownie
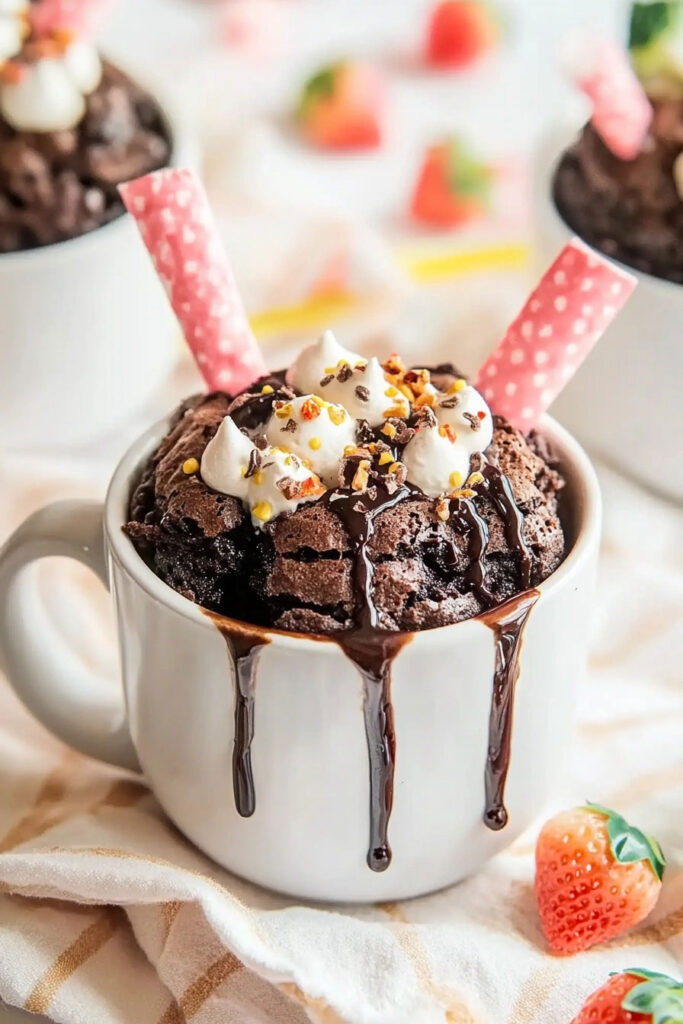
Once your microwave brownie in a mug is ready, it’s time to indulge in this delightful treat. Here are some serving suggestions to enhance your experience:
- Top with Ice Cream: A scoop of vanilla ice cream on top of a warm brownie creates a classic and irresistible combination.
- Whipped Cream: Add a dollop of whipped cream for a light and creamy contrast to the rich chocolate.
- Fresh Berries: Sprinkle fresh raspberries or strawberries over the brownie for a refreshing burst of flavor.
- Nuts: For added crunch, top with chopped nuts like walnuts or pecans.
Creative Variations to Try
While the classic microwave brownie is delicious on its own, you can experiment with different flavors and ingredients to suit your taste:
- Peanut Butter Swirl: Add a swirl of peanut butter into the batter before microwaving for a nutty twist.
- Mint Chocolate: Mix in a few drops of mint extract and sprinkle crushed peppermint candies on top for a festive flavor.
- Salted Caramel: Drizzle caramel sauce over the brownie and sprinkle with sea salt for a sweet and salty treat.
- Mocha Brownie: Stir in a teaspoon of instant coffee granules for a rich mocha flavor.
Frequently Asked Questions About Variations
- Can I make this brownie healthier?
Yes, you can substitute sugar with a natural sweetener like honey or maple syrup and use whole wheat flour instead of all-purpose flour. - What other mix-ins can I use?
Feel free to get creative with mix-ins like dried fruits, marshmallows, or even white chocolate chips. - Why is my brownie dry?
Overcooking is usually the culprit. Try reducing the cooking time or checking your microwave’s power settings. - Can I make this recipe without cocoa powder?
While cocoa powder is essential for a chocolate brownie, you could experiment with other flavors by omitting it and adding spices like cinnamon or nutmeg for a different twist.
With these steps, you’re now equipped to create a perfect microwave brownie in a mug every time. In the final section, I’ll share some serving suggestions and creative variations to elevate your mug brownie experience.
Conclusion
The microwave brownie in a mug is not only quick and easy but also endlessly customizable. Whether you’re sticking to the classic recipe or trying out new variations, this dessert is sure to satisfy your chocolate cravings. It’s perfect for when you want something sweet without the fuss of traditional baking. So next time you’re in need of a quick dessert fix, remember this simple recipe and enjoy your personalized mug brownie masterpiece.
