
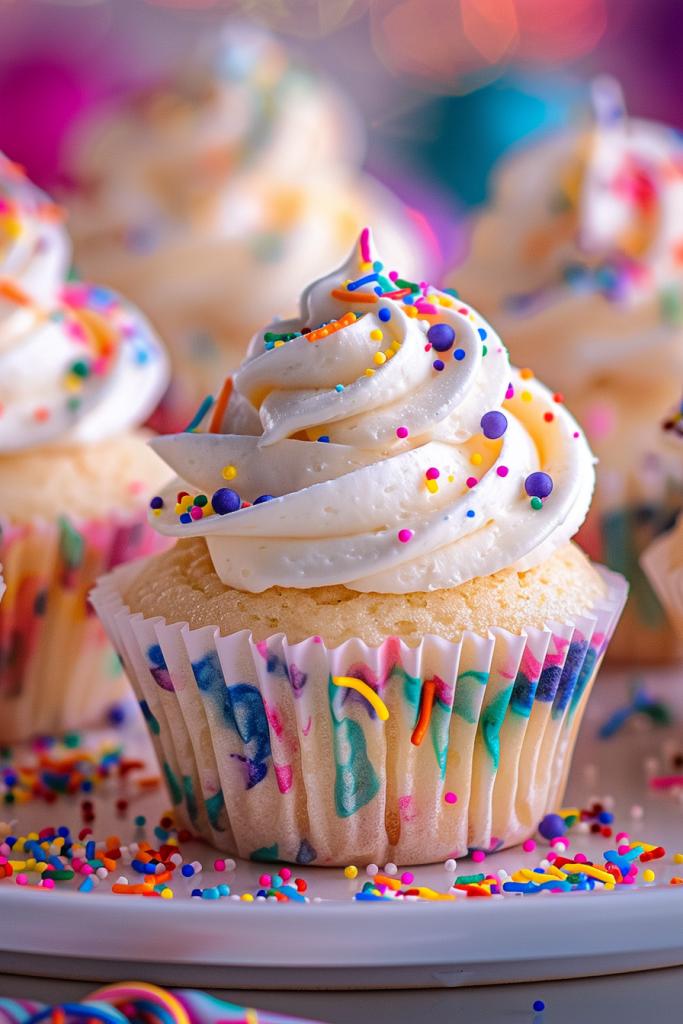
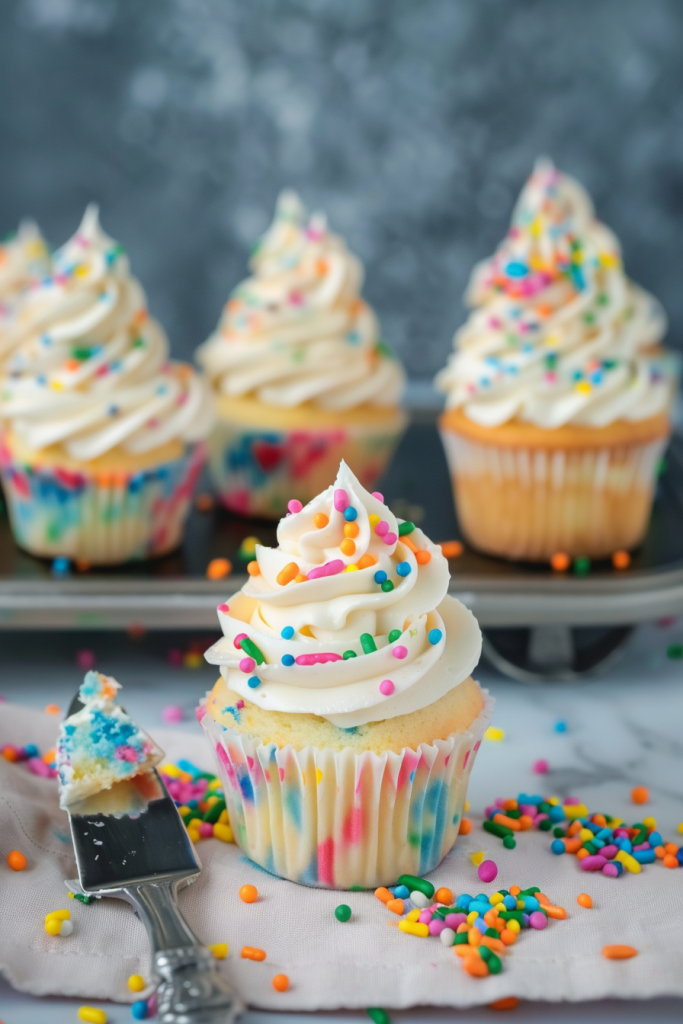
Get ready to indulge in the ultimate childhood favorite with my go-to recipe for the most delicious homemade Funfetti Cupcakes. These fluffy vanilla cupcakes, speckled with bright rainbow sprinkles, are a true delight that surpasses any store-bought version. Funfetti cupcakes are a classic treat loved by many for their charming appearance and delightful taste.
Ingredients
Creating delicious Funfetti cupcakes require a few key ingredients that come together to make the perfect treat. Here’s what you’ll need for the cupcake base, the vanilla buttercream frosting, and additional decorations.
Funfetti Cupcake Base
- 3/4 cup (12 Tbsp) unsalted butter, softened to room temperature
- 3 cups confectioners sugar
- 1/4 cup heavy cream or alternative milk
- 3 large eggs
- 1 tsp vanilla extract
- 1/2 tsp almond extract
- 1 cup sour cream
- 2 1/2 cups all-purpose flour
- 1 1/2 tsp baking powder
- 1/2 tsp baking soda
- 1/2 tsp salt
- 1/2 cup buttermilk
- 1/3 cup rainbow jimmies sprinkles
Vanilla Buttercream Frosting
- 1 cup unsalted butter, softened
- 4 cups confectioners sugar
- 1/4 cup heavy cream or alternative milk
- 2 tsp vanilla extract
- Pinch of salt
- Assorted sprinkles (jimmies, quins, nonpareils)
- Edible gold stars (optional)
Equipment Needed
To make these delicious funfetti cupcakes, you’ll need a few essential tools and equipment to ensure the baking process goes smoothly. Here’s a list of what you’ll need:
For the Cupcake Batter:
- Mixing Bowls: Prepare a couple of mixing bowls to combine the dry and wet ingredients separately.
- Whisk or Electric Mixer: Use a whisk or an electric mixer to ensure a smooth and well-mixed cupcake batter.
- Measuring Cups and Spoons: Have measuring cups and spoons on hand to accurately measure out the ingredients.
- Cupcake Liners: Line your cupcake tin with colorful cupcake liners for easy removal and a fun presentation.
- Muffin Tin: You’ll need a standard 12-cup muffin tin to bake the funfetti cupcakes.
- Cooling Rack: Prepare a cooling rack for the cupcakes to cool down after baking.
- Electric Mixer: Use an electric mixer to whip up the creamy and fluffy buttercream frosting.
- Piping Bag and Tips (optional): If you prefer a more decorative frosting style, have a piping bag and tips ready.
- Offset Spatula or Spoon: For a simple frosting technique, an offset spatula or a spoon works well.
- Rainbow Sprinkles: Don’t forget the rainbow sprinkles to sprinkle on top of the frosted cupcakes for that classic funfetti look.
Prep Work
Before diving into making these funfetti cupcakes, a little prep work is key to ensure everything runs smoothly.
Measuring Ingredients
- To start off, make sure to properly measure your dry ingredients like flour by spooning it into the measuring cup and then leveling it off. You can also use a kitchen scale for accuracy.
- Have all your ingredients at room temperature as it helps them mix together better.
- Line your cupcake tin with cupcake liners for easy release and cleanup.
- Fill each liner about 3/4 of the way full with the batter to allow room for rising while baking.
- Remember, a well-prepared cupcake tin makes the baking process a breeze and ensures perfect cupcakes every time.
Directions
Let’s dive into the process of creating these delightful funfetti cupcakes with fluffy vanilla bases and colorful rainbow sprinkles. Follow these steps to achieve cupcakes that are not only visually appealing but also delicious.
Making the Cupcake Batter
- Preheat the oven to 350F (175C) and line a muffin pan with 12 cupcake liners.
- In a medium bowl, combine flour, baking powder, baking soda, and salt. Set aside.
- Melt butter in a microwave-safe bowl and whisk in sugar until gritty. Chill for 1 minute.
- Stir in egg, yogurt, milk, and vanilla extract until combined.
- Slowly mix in the dry ingredients until no lumps remain; the batter will be thick.
- Carefully fold in the rainbow sprinkles to avoid color bleeding.
- Divide the batter among the cupcake liners, filling them 3/4 full.
- Bake for 20-22 minutes, or until a toothpick inserted into the center comes out with a few moist crumbs.
Baking the Cupcakes
- Rotate the pan halfway through baking to ensure even baking.
- Once baked, remove the cupcakes from the oven and allow them to cool in the pan for 10 minutes.
- Transfer the cupcakes to a wire rack to cool completely.
Preparing the Frosting
- In a medium bowl, beat softened butter on medium speed with an electric mixer for about 3 minutes until smooth and creamy.
- Add confectioners’ sugar, cream, and vanilla extract to the bowl.
- Mix on low speed initially to prevent sugar from flying out, then increase to medium-high; beat until smooth and fluffy.
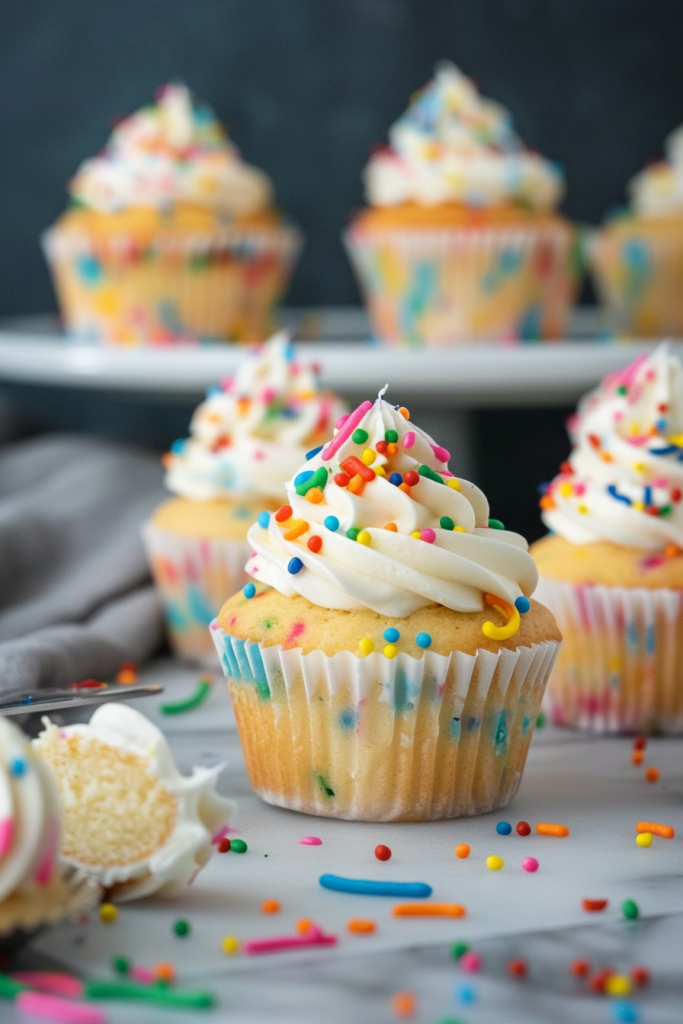
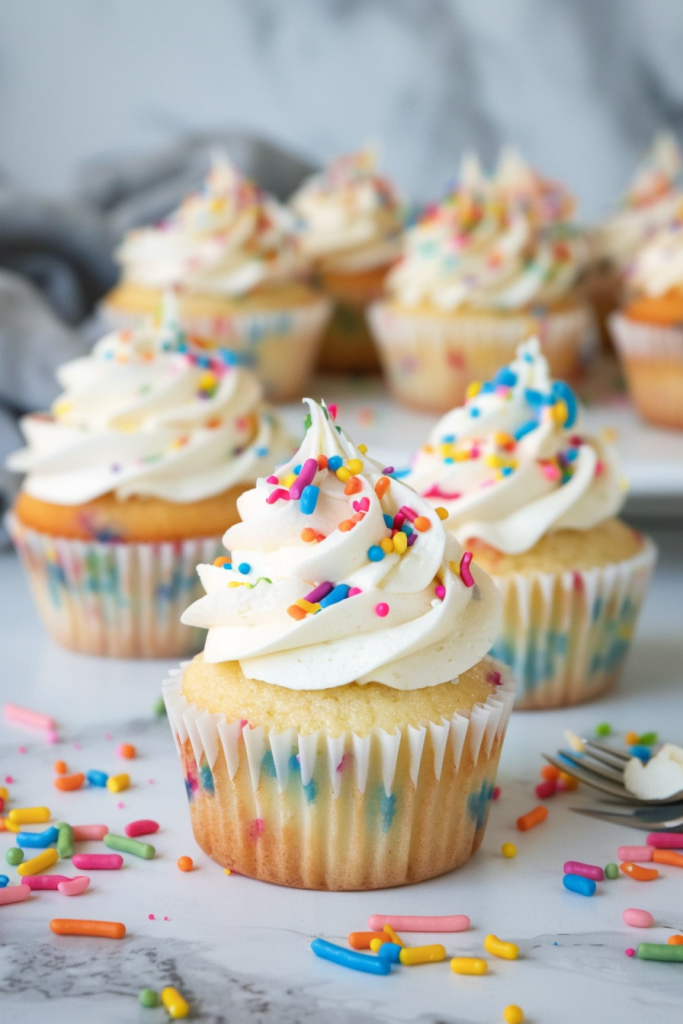
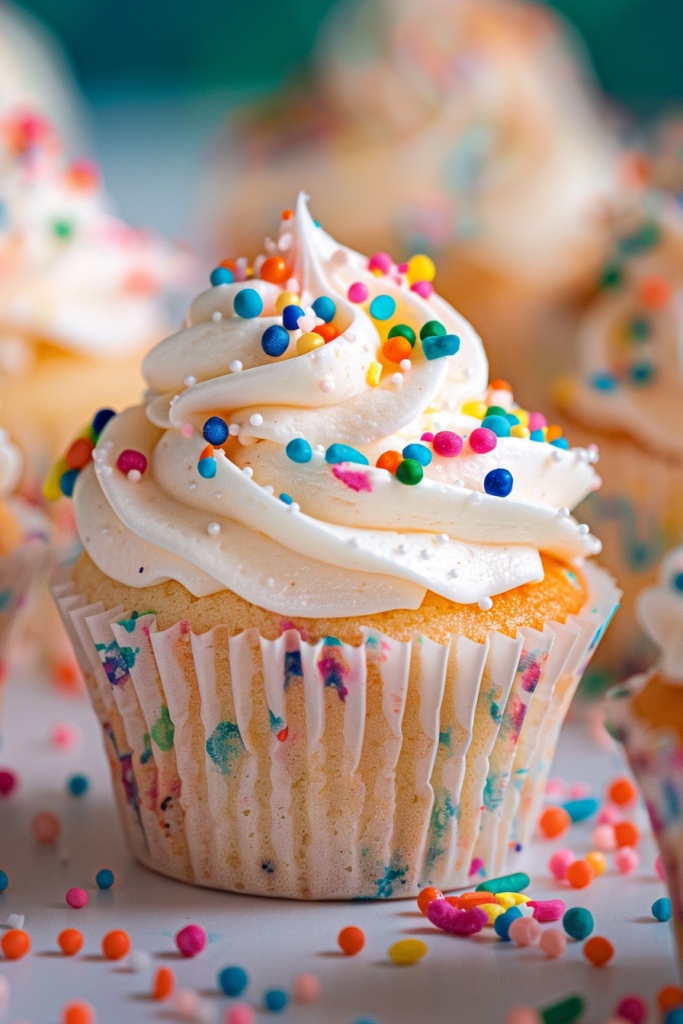
- Once the cupcakes are completely cooled, frost them generously with the prepared vanilla buttercream frosting.
- For an extra touch, top the cupcakes with additional rainbow sprinkles or any other decorations of your choice.
- Your funfetti cupcakes are now ready to be enjoyed!
Make-Ahead and Storage Tips
When it comes to preparing ahead or storing your delightful funfetti cupcakes, here are some tips to ensure they stay fresh and delicious:
Refrigerating
If you want to enjoy your funfetti cupcakes at a later time, you can refrigerate them. Simply cover the cupcakes and store them at room temperature for up to 3 days. For the frosting, you can refrigerate it separately for up to 2 weeks. Before using the frosting, make sure to let it come to room temperature to ensure easy spreading and to maintain its fluffy texture.
Freezing
To freeze your funfetti cupcakes, whether frosted or unfrosted, simply place them in a freezersafe container. They can be frozen for up to 3 months. Thaw them overnight in the refrigerator before serving. If you opt to freeze frosted cupcakes, consider flash-freezing them on a tray for 30 minutes to help the frosting retain its shape. Additionally, you can freeze frosting in an airtight container, and when you’re ready to use it, thaw it in the fridge overnight, bring it to room temperature, and then whip it with an electric mixer for a minute before frosting your cupcakes.
Variation Ideas
Alternative Frostings
When looking to switch up the frosting on your funfetti cupcakes, consider trying out different flavors to complement the colorful sprinkles. You can experiment with strawberry buttercream for a fruity twist, indulge in rich chocolate buttercream for a decadent touch, or opt for the sweetness of white chocolate buttercream. These alternative frostings can elevate your cupcakes and cater to different taste preferences.
Additional Mix-Ins
For a unique twist on the classic funfetti cupcakes, you can incorporate additional mix-ins to add extra flavors and textures. Consider folding in crushed fruits like berries or mango for a burst of freshness, adding mini chocolate chips for a chocolaty surprise, or mixing in chopped nuts for added crunch. These additional mix-ins can enhance the overall taste and provide a delightful surprise with every bite. Experiment with different combinations to create your signature funfetti cupcake variations.
Conclusion
Creating your own funfetti cupcakes is a delightful and rewarding experience. The process of baking these colorful treats allows you to unleash your creativity in the kitchen. From the fluffy vanilla base to the vibrant rainbow sprinkles, each step brings joy and excitement. Experimenting with different frosting flavors and mix-ins opens up endless possibilities for unique variations. Whether you choose to follow the classic recipe or add your own twist, funfetti cupcakes are sure to bring smiles to faces of all ages. So, gather your ingredients, preheat the oven, and let your imagination run wild as you bake up a batch of these fun and festive treats. Enjoy the process, and savor the delicious results!