
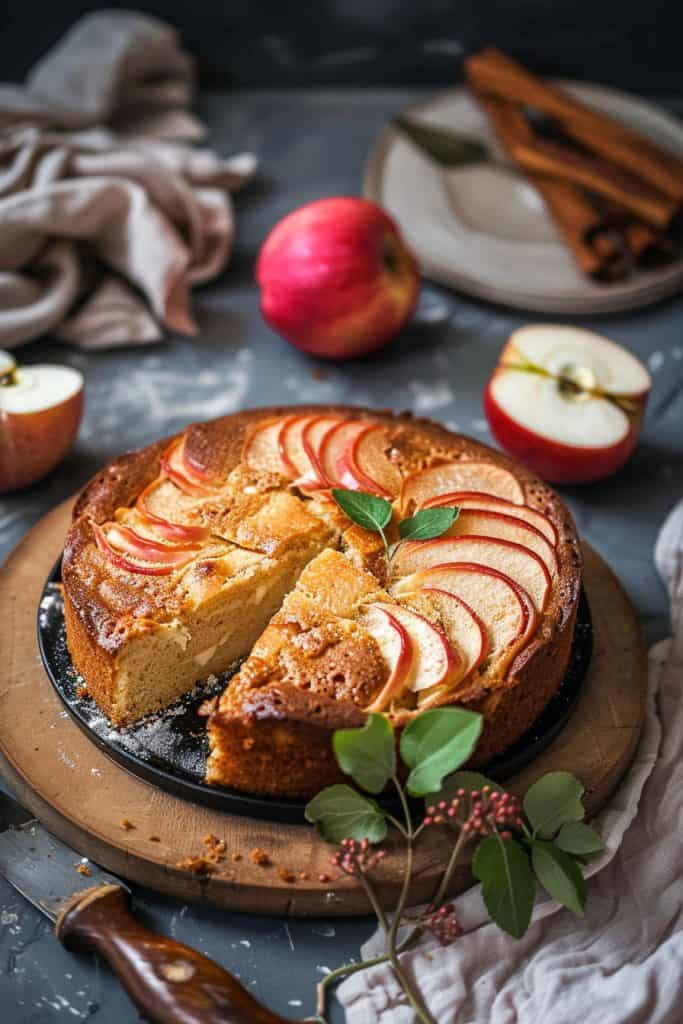
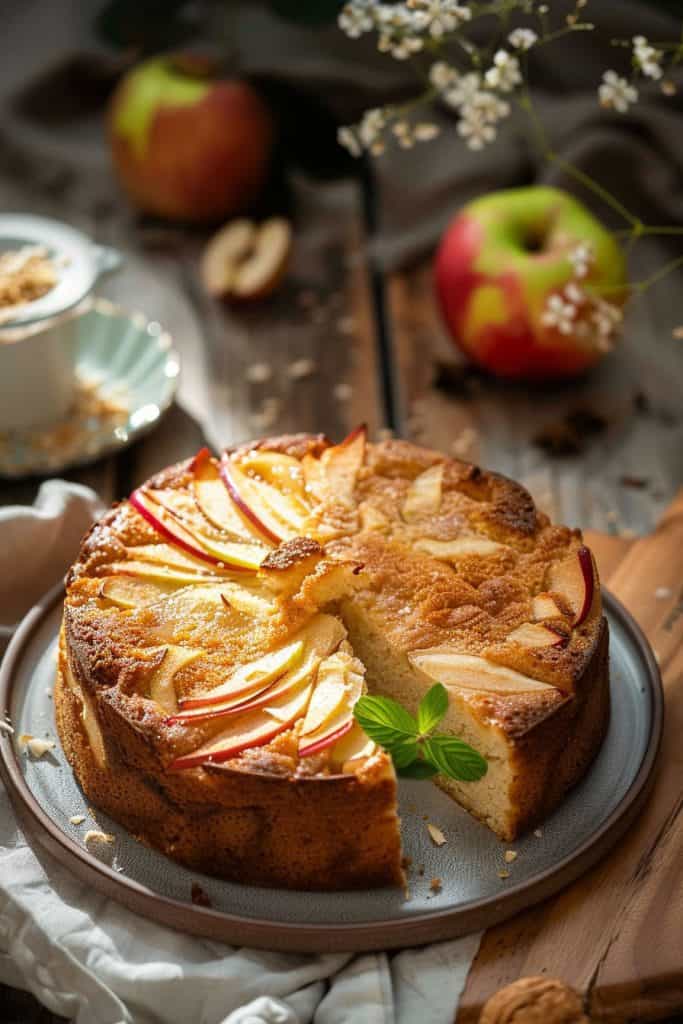
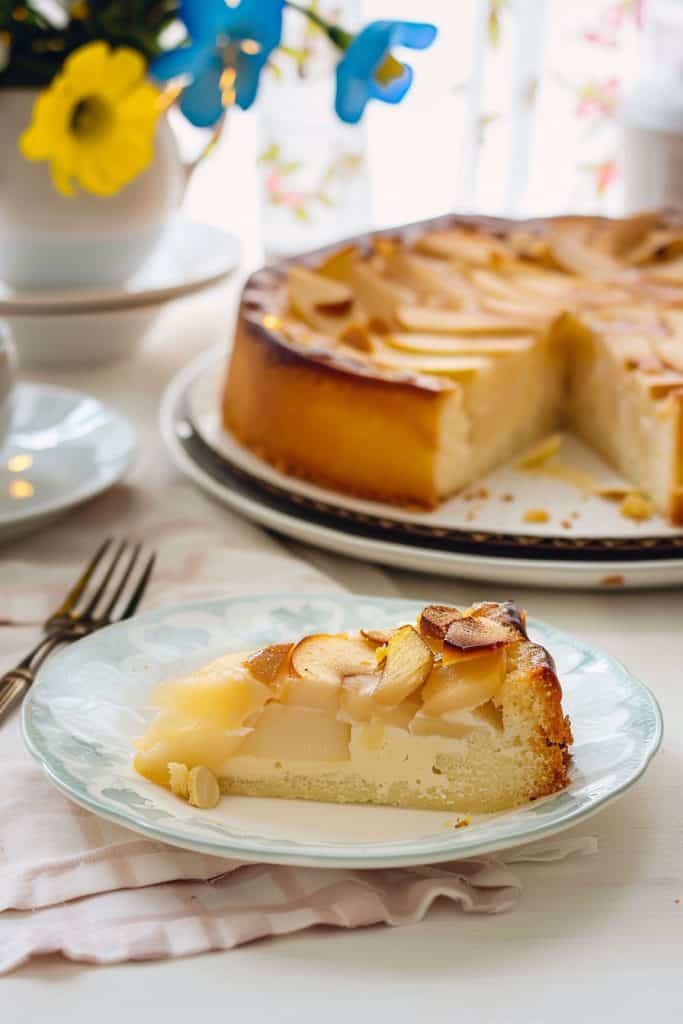
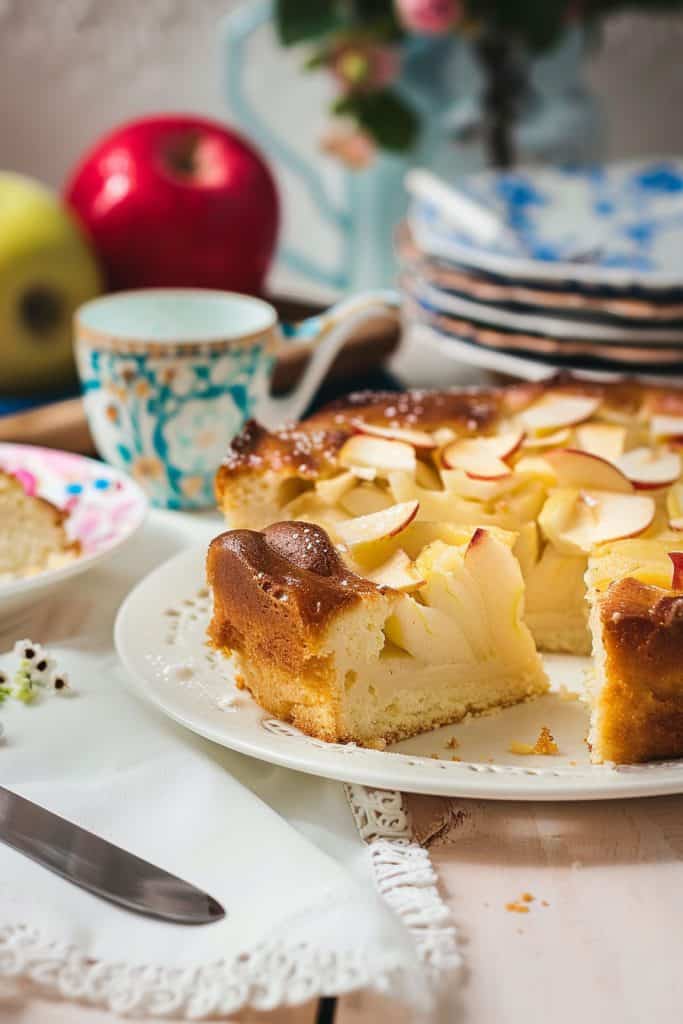
Craving a moist and flavorful dessert that’s both easy to make and utterly delicious? I’ve got just the recipe for you – apple yogurt cake. This delightful treat combines the natural sweetness of apples with the tangy twist of yogurt, resulting in a light and airy cake that’s perfect for any occasion.
Originating from the heartwarming kitchens of home bakers, apple yogurt cake recipes have been cherished for generations. The combination of juicy apple chunks nestled in a tender cake batter creates a delightful texture that’s sure to please your taste buds. Whether enjoyed as a cozy snack with a cup of tea or dressed up with a dollop of whipped cream for a special celebration, this cake is a versatile crowd-pleaser.
Ingredients
For the Apple Yogurt Cake
- 1 1/2 cups all-purpose flour
- 1 cup plain Greek yogurt
- 1/2 cup unsalted butter, softened
- 1 cup granulated sugar
- 2 large eggs
- 1 teaspoon vanilla extract
- 1 1/2 teaspoons baking powder
- 1/2 teaspoon baking soda
- 1/4 teaspoon salt
- 2 medium apples, peeled and diced
- 1/4 cup brown sugar
- 1/2 teaspoon ground cinnamon
- 1/4 cup all-purpose flour
- 2 tablespoons unsalted butter, softened
Equipment Needed
For preparing this delicious apple yogurt cake recipe, you will need the following essential equipment:
- Mixing bowls: To combine and blend the cake ingredients thoroughly.
- Whisk: For whisking the wet ingredients such as the Greek yogurt, eggs, and vanilla extract.
- Spatula: For folding in the diced apples into the cake batter gently.
- Round cake pan: To bake the cake to perfection.
- Parchment paper: To line the cake pan for easy removal of the cake.
- Oven: For baking the cake to a golden brown.
- Cooling rack: To cool the cake after baking.
- Knife: For slicing and serving the apple yogurt cake.
- Optional: Hand or stand mixer for easier mixing of the cake batter.
Gathering these tools before starting the baking process will ensure a smooth and enjoyable experience while making this delightful apple yogurt cake.
Preparation
As I prepare to make this delightful apple yogurt cake, I need to ensure that both the apples and cake batter are ready for baking. Let’s get started!
Preparing the Apples
- Begin by peeling the apples, removing the cores, and cutting them into small, uniform pieces to ensure even distribution throughout the cake.
- To prevent browning, toss the apple pieces in a bowl with a squeeze of lemon juice or immerse them in cold water until ready to use in the recipe.
- In a mixing bowl, combine the dry ingredients like flour, baking powder, and spices such as cinnamon and nutmeg. Whisk the ingredients together to ensure they are evenly mixed.
- In another bowl, cream the butter and sugar until light and fluffy. Add in the Greek yogurt and eggs, mixing well after each addition.
- Gradually incorporate the dry ingredients into the wet mixture, stirring until just combined. Be careful not to overmix to maintain the cake’s light and airy texture.
- Once the batter is ready, gently fold in the prepared apple pieces until evenly distributed.
- Your apple yogurt cake batter is now prepared and ready to be poured into the cake pan for baking.
Baking Instructions
Now that the apple yogurt cake batter is ready, it’s time to bake this delightful treat to perfection. Follow these simple steps to ensure a moist and flavorful outcome:
- Preheat the Oven: Begin by preheating your oven to 350°F (175°C) to ensure the cake bakes evenly.
- Prepare the Cake Pan: Grease a 9-inch round cake pan or line it with parchment paper to prevent the cake from sticking.
- Fill the Pan: Pour the prepared apple yogurt cake batter into the cake pan, spreading it evenly with a spatula.
- Bake the Cake: Place the cake pan in the preheated oven and bake for approximately 40-45 minutes. To test for doneness, insert a toothpick into the center of the cake – if it comes out clean, the cake is ready.
- Cool and Serve: Once baked, remove the cake from the oven and allow it to cool in the pan for about 10 minutes. Then, transfer it to a wire rack to cool completely before serving.
- Optional Toppings: For an extra touch of sweetness, sprinkle the cooled apple yogurt cake with powdered sugar or glaze it with a simple icing made of powdered sugar and lemon juice.
- Enjoy: Slice the cake into wedges, serve, and savor the moist and flavorful goodness of this apple yogurt cake. Perfect for any occasion or as a delightful snack!
By following these baking instructions carefully, you will present a perfectly baked apple yogurt cake that will surely impress your friends and family.
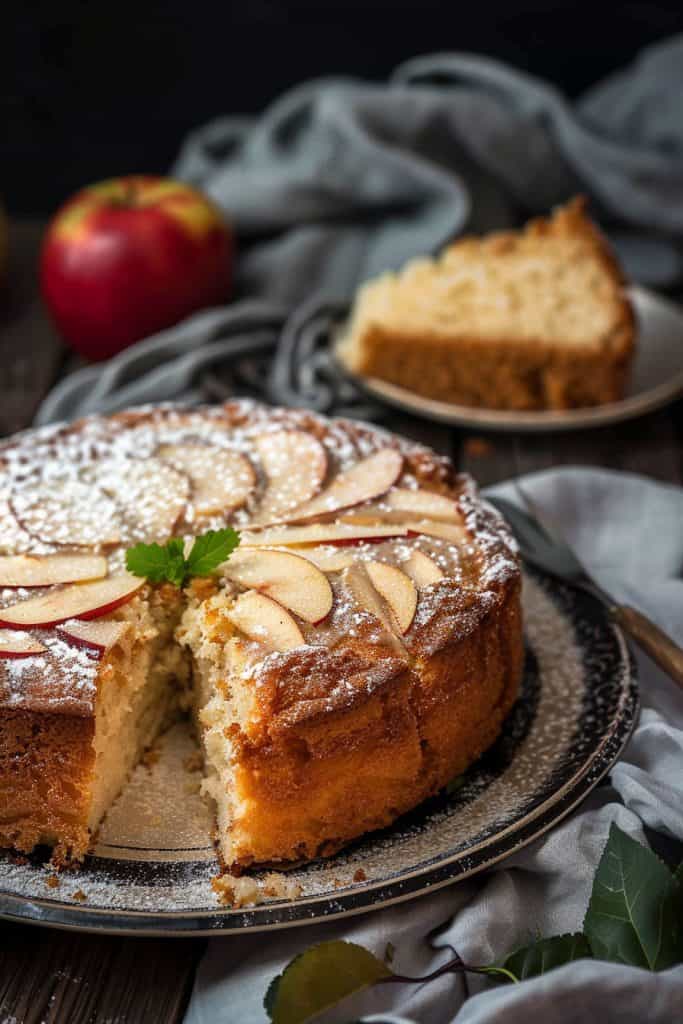
Serving Suggestions
To complement the delightful flavors of the apple yogurt cake, I recommend serving it with a dollop of freshly whipped cream or a scoop of vanilla ice cream. The contrast of the creamy topping with the moist cake creates a perfect balance of textures and tastes.
For a more indulgent experience, drizzle warm caramel sauce over each slice of the cake just before serving. The sweet and buttery notes of caramel will elevate the dessert to a whole new level of decadence.
If you prefer a lighter accompaniment, a sprinkle of cinnamon or a dusting of powdered sugar on top of the cake adds a touch of elegance and enhances the overall presentation. These simple yet elegant garnishes not only enhance the visual appeal but also offer subtle flavor enhancements that will impress your guests.
To take it up a notch, consider serving the apple yogurt cake with a side of fresh berries, such as strawberries or raspberries, for a refreshing and fruity contrast to the richness of the cake. The burst of fruity flavors provides a delightful break between bites of the cake, making each mouthful a delightful experience.
Experiment with different serving suggestions to find your favorite combination and elevate the apple yogurt cake to a stunning dessert that will leave everyone asking for seconds.
Storing and Freezing
After indulging in the delightful apple yogurt cake, you might find yourself with leftovers or simply wanting to prepare ahead. Here’s how you can store and freeze this savory treat for future enjoyment:
Storing:
- Once the apple yogurt cake has cooled completely, wrap it tightly in plastic wrap or aluminum foil to prevent it from drying out.
- Store the wrapped cake at room temperature for up to 2 days. For longer storage, keep it in the refrigerator for up to 5 days.
- To freeze the apple yogurt cake, ensure it has cooled entirely before proceeding.
- Wrap the cake tightly in plastic wrap, followed by a layer of aluminum foil to provide extra protection against freezer burn.
- Place the wrapped cake in a freezer-safe container or resealable plastic bag for added insulation.
- Label the container with the date to keep track of its freshness.
- The cake can be frozen for up to 3 months.
- When ready to enjoy, thaw the cake in the refrigerator overnight. For a quick defrost, you can leave it at room temperature for a few hours.
By following these simple steps, you can savor the deliciousness of apple yogurt cake anytime – whether it’s a spontaneous craving or a planned treat.
Conclusion
Creating apple yogurt cake is a delightful experience that offers a perfect balance of flavors and textures. By following the detailed recipe provided, you can enjoy a moist and flavorful cake that is sure to impress your taste buds. Experimenting with different accompaniments can elevate the cake’s taste profile and cater to various preferences. Properly storing and freezing the cake allows you to enjoy it at your convenience, ensuring that you always have a delicious treat on hand. With these tips in mind, you can confidently prepare, serve, and preserve your apple yogurt cake for any occasion.