
Craving a delightful dessert that’s easy to make and loved by all ages? Look no further than the Strawberry Icebox Cake! This no-bake treat is a fruity, layered masterpiece that requires only three simple ingredients. With a prep time of just 15 minutes and a total time of 19 minutes, this American classic is perfect for satisfying your sweet tooth in no time.
In just a few layers, you’ll create a heavenly Strawberry Icebox Cake that will have everyone asking for seconds. Made with Cool Whip, fresh strawberries, and graham crackers, this dessert is a surefire crowd-pleaser. Whether you’re hosting a gathering or simply treating yourself, this recipe is a go-to option for a quick and delicious sweet fix.
So, if you’re looking for a hassle-free dessert that’s bursting with flavor, give this Strawberry Icebox Cake a try. With its simple preparation and irresistible taste, it’s a dessert that never fails to impress.
Ingredients
Creating a delectable Strawberry Icebox Cake requires a few simple yet crucial ingredients that harmonize perfectly to make this delightful dessert.
Fresh Strawberries
Fresh, ripe strawberries are the star of this icebox cake recipe. Opt for plump, juicy strawberries to ensure the best flavor and texture in every bite.
Whipped Cream
Nothing beats the light and airy texture of freshly whipped cream in this dessert. Whipping heavy cream with a touch of sweetness elevates the overall taste and creaminess of the cake.
Graham Crackers or Cookies
Graham crackers or your favorite cookies act as the perfect sponge-like layer in between the strawberries and whipped cream. Dive into layers of soft, creamy goodness with each bite.
Equipment and Tools Needed
To create this delightful Strawberry Icebox Cake recipe, you will need a few essential tools and equipment. Here’s what you’ll need to get started:
Equipment:
- Electric Mixer: A hand or stand mixer will be useful for whipping the heavy cream to the desired consistency.
- 8×8 inch baking dish or similar size: This dish will be used to assemble the layers of the icebox cake.
- Mixing Bowls: Have a few mixing bowls on hand for combining the ingredients and whipping the cream.
- Measuring Cups and Spoons: Accurate measurements are crucial for the success of this recipe, so make sure you have measuring cups and spoons available.
- Knife and Cutting Board: You’ll need these to slice the fresh strawberries and any other ingredients that require chopping.
- Spatula: A spatula will be handy for spreading the whipped cream and assembling the layers of the cake.
- Plastic Wrap: You’ll need plastic wrap to cover the icebox cake while it sets in the refrigerator.
- Refrigerator: Ensure you have enough space in your refrigerator to chill the cake for at least 4 hours or overnight.
- Serving Plate: Once the cake is set, you’ll need a serving plate to present and enjoy this delicious dessert.
Having these tools and equipment ready will make the process of preparing and assembling the Strawberry Icebox Cake much easier and more efficient. Now, let’s move on to the next steps in creating this delightful dessert.
Preparation Steps
Cleaning and Slicing Strawberries
To begin preparing the strawberry icebox cake, I recommend starting with fresh strawberries. Ensure to wash them thoroughly and pat them dry. Using a sharp knife, carefully slice the strawberries into thin, even pieces. This step is crucial to ensure that the strawberries are prepped and ready to be used in the various layers of the cake.
Making Whipped Cream from Scratch
For the next step, it’s time to whip up some delicious homemade whipped cream. In a large mixing bowl or stand mixer, beat heavy cream until it begins to thicken. Add powdered sugar and vanilla extract to the cream, continuing to beat until soft peaks form. This luscious whipped cream will add a light and airy texture to the icebox cake, complementing the sweetness of the strawberries and graham crackers perfectly.

Assembling the Strawberry Icebox Cake
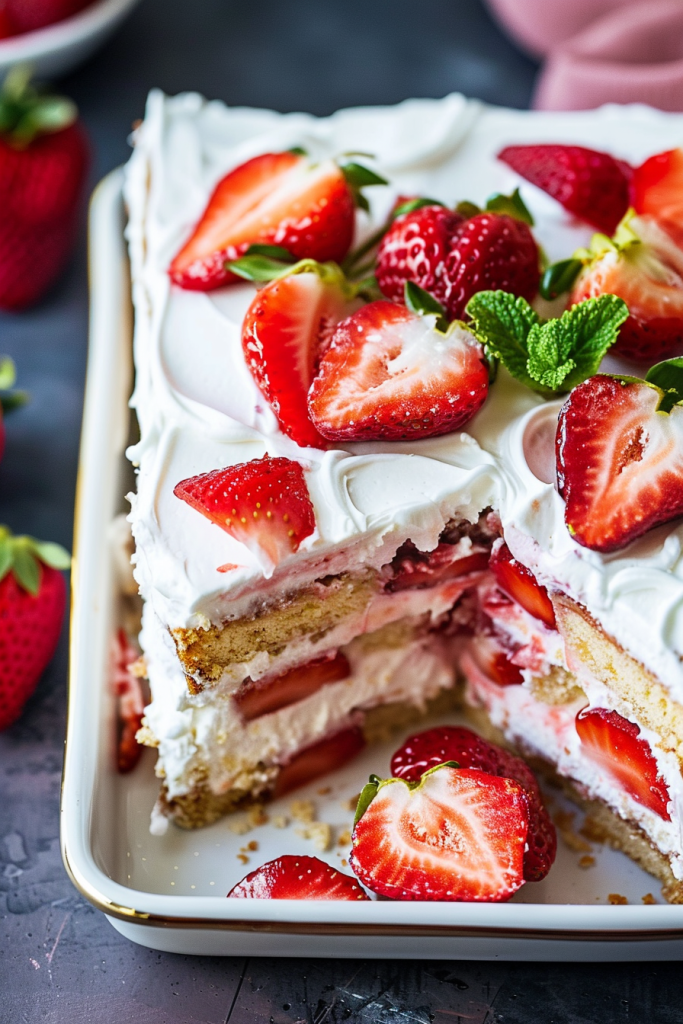
Layering the Ingredients
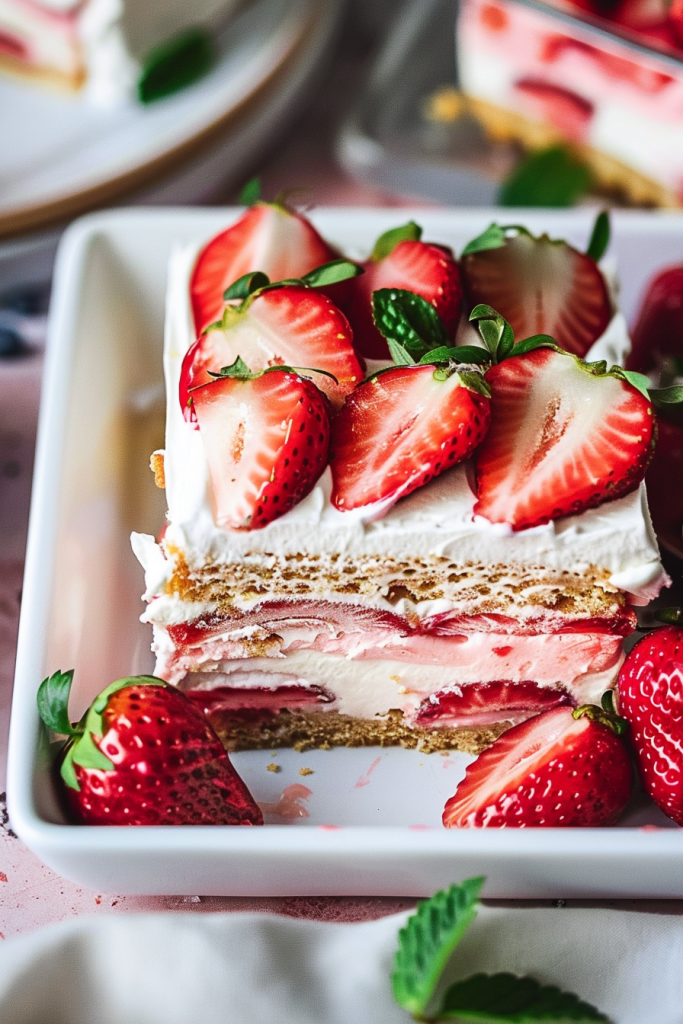
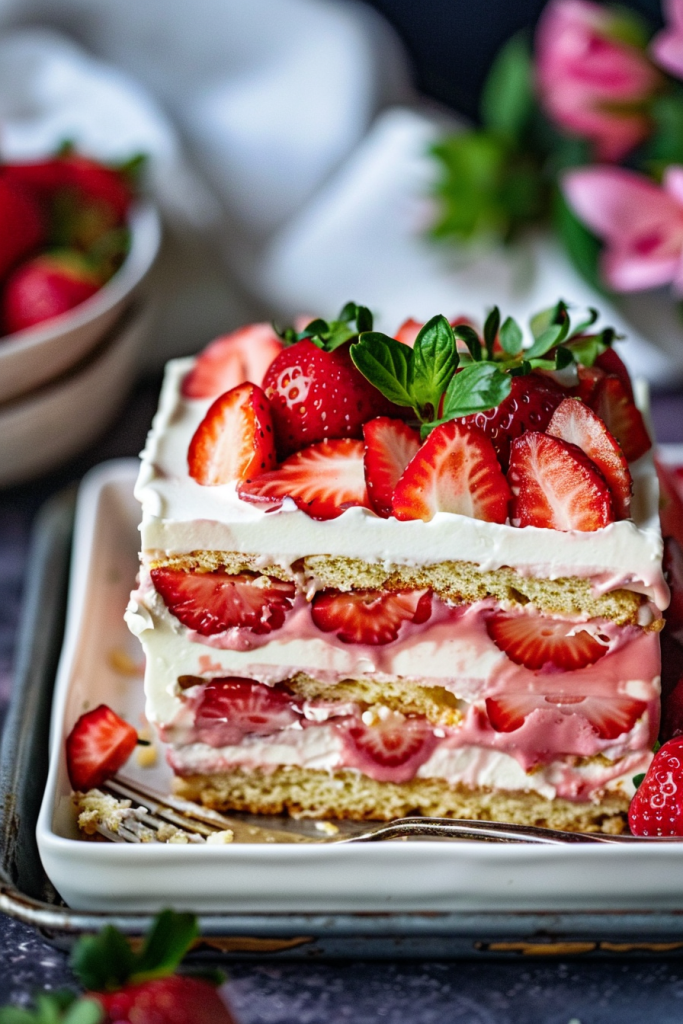
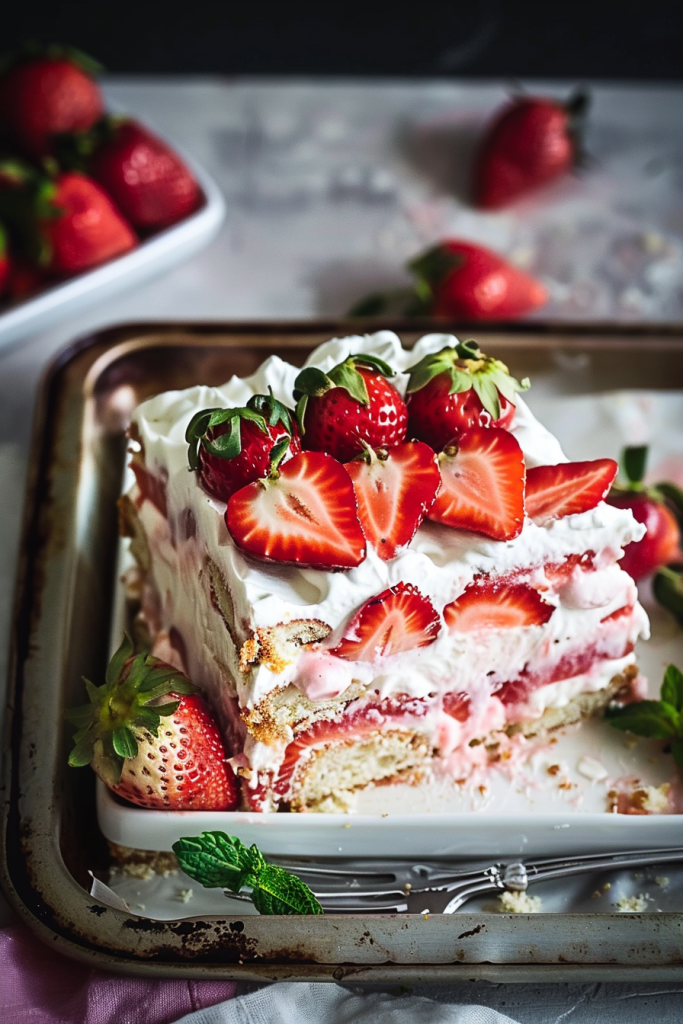
To begin assembling the strawberry icebox cake, start by placing a layer of graham crackers evenly at the bottom of a 9×13-inch baking dish. Next, spread a generous amount of freshly whipped cream on top of the graham crackers, ensuring a smooth and even layer. Then, add a layer of sliced fresh strawberries on top of the whipped cream, covering the entire surface. Repeat this process by adding another layer of graham crackers, whipped cream, and strawberries until you reach the top of the dish, finishing with a final layer of whipped cream.
Chilling Time
After assembling the delightful layers of the Strawberry Icebox Cake in the baking dish, it’s time to let the magic happen in the fridge. Chilling is a crucial step in allowing all the flavors to meld together and the cake to set properly. Here’s a breakdown of the chilling process:
- Covering the Cake: Once the last layer of whipped cream is spread on top of the cake, gently cover the baking dish with plastic wrap. This step helps seal in the freshness and prevents any odors from the fridge from affecting the cake.
- Refrigeration: Place the covered Strawberry Icebox Cake in the refrigerator and let it chill for a minimum of 2 hours. This time allows the graham crackers to soften slightly, creating a tender cake-like texture that is easy to slice through.
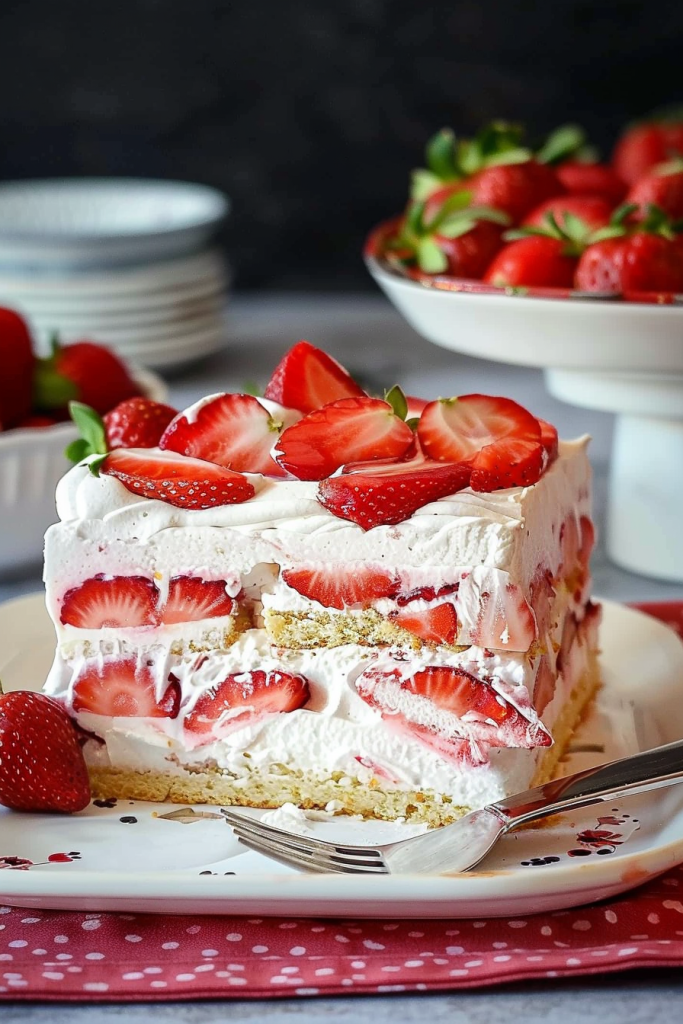
- Chill Until Firm: For the best results, it is recommended to chill the cake for at least 2 hours, but if you can resist the temptation, letting it chill overnight is even better. The extended chilling time enhances the flavors and ensures a perfect slice every time.
Remember, patience is key when it comes to chilling the Strawberry Icebox Cake. The longer it chills, the more irresistible and satisfying each bite will be.
Serving Suggestions
Adding a touch of creativity to your strawberry icebox cake can elevate its visual appeal and flavor. Explore these garnishing tips to enhance your dessert:
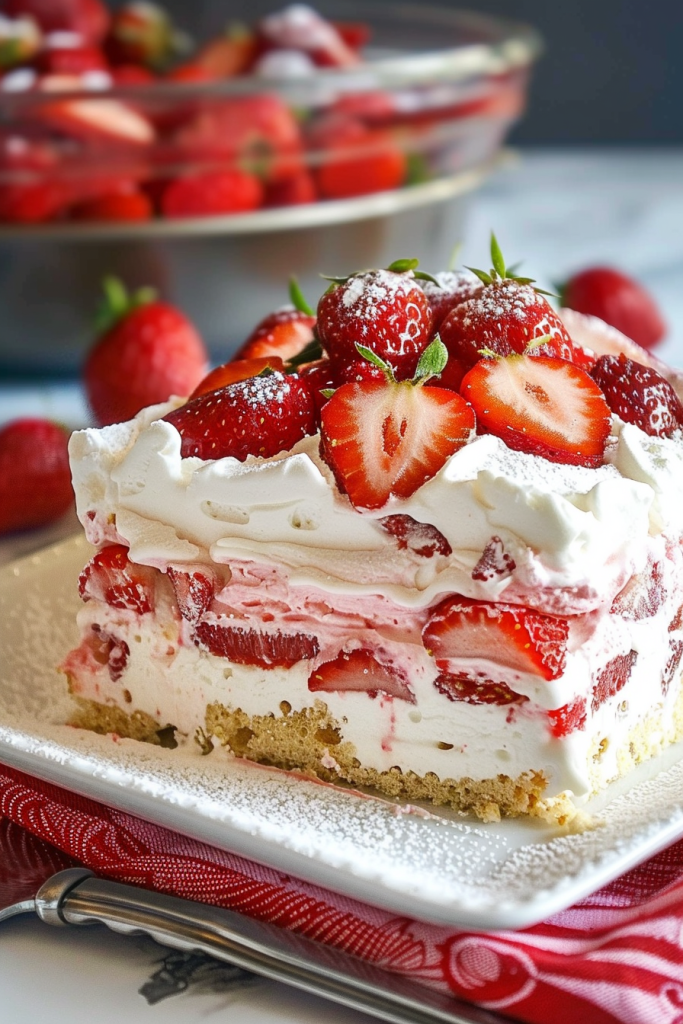
- Fresh Strawberry Slices: Use extra strawberry slices to create a colorful and inviting pattern on the top layer of the cake. The vibrant red hues will add a pop of freshness to the dessert.
- Chocolate Drizzle: Melt dark chocolate and drizzle it over the final layer of whipped cream for a decadent finish. The combination of strawberries, cream, and chocolate creates a tantalizing flavor profile.
- Mint Leaves: Garnish each slice with a sprig of fresh mint leaves for a hint of herbaceousness that complements the sweetness of the cake.
- Chopped Nuts: Sprinkle chopped nuts like almonds or pecans on top for a satisfying crunch and nutty flavor contrast.
Experiment with different combinations to customize your strawberry icebox cake and impress your guests with a visually stunning and delectable dessert.
Storage Instructions
Once you’ve made this delicious Strawberry Icebox Cake, you may wonder how to properly store it to keep it fresh for longer and enjoy it at its best. Follow these simple storage instructions to preserve the flavors and textures of your delightful dessert:
- Refrigeration: After serving or enjoying a slice, promptly cover the remaining cake with plastic wrap or place it in an airtight container. Refrigerate the Strawberry Icebox Cake to maintain its freshness and prevent it from becoming soggy.
- Chilling Time: It is recommended to store the cake in the refrigerator for up to 3-4 days. Although it’s best enjoyed fresh, the flavors will continue to meld together, creating a more harmonious and delicious dessert over time.
- Avoid Freezing: Due to the creamy and delicate layers of the cake, it’s not advisable to freeze the Strawberry Icebox Cake. Freezing may alter the texture and consistency, affecting the overall taste and presentation.
- Garnish Before Serving: If you’ve garnished the top of your cake with fresh strawberries, chocolate drizzle, mint leaves, or chopped nuts, consider adding these toppings just before serving. This will help maintain their freshness and visual appeal.
- Slice Just Before Serving: For the best experience, slice the cake just before serving each portion. This will ensure that each slice retains its structure and presentation, enhancing the overall enjoyment of this delightful dessert.
By following these storage instructions, you can prolong the enjoyment of your Strawberry Icebox Cake and continue to relish its luscious flavors and creamy textures.
Customization Ideas
When it comes to customizing your strawberry icebox cake, you have a world of options to explore. From incorporating different fruits to switching up the cookies for alternative bases, there are plenty of ways to put your own spin on this classic dessert.
Alternative Fruits and Cookies
Feel free to swap out the strawberries in your icebox cake with other fruits like raspberries, blueberries, or a mix of your favorites. Similarly, consider using different types of cookies or crackers for the layers; think chocolate wafers, shortbread cookies, or even coconut macaroons for a unique twist.
Vegan and Gluten-Free Options
For those with dietary restrictions, you can easily make a vegan version of the strawberry icebox cake by using coconut whipped cream, dairy-free cream cheese, and gluten-free graham crackers. This way, everyone can enjoy this delightful dessert regardless of their dietary needs.
Conclusion
Creating a delightful Strawberry Icebox Cake is a breeze with its simple ingredients and easy assembly. Remember, using fresh strawberries and allowing the cake to chill properly are key to its success. Avoid freezing the cake and opt for refrigeration for 3-4 days to maintain its freshness. When ready to serve, garnish with your favorite toppings for an extra touch of flavor. Don’t hesitate to get creative by experimenting with different fruits and cookies to customize your dessert. Whether you’re catering to vegan or gluten-free diets, there are versatile options available to suit everyone’s preferences. Enjoy the process of making this delicious treat and impress your guests with a dessert that’s both visually appealing and scrumptiously satisfying.