
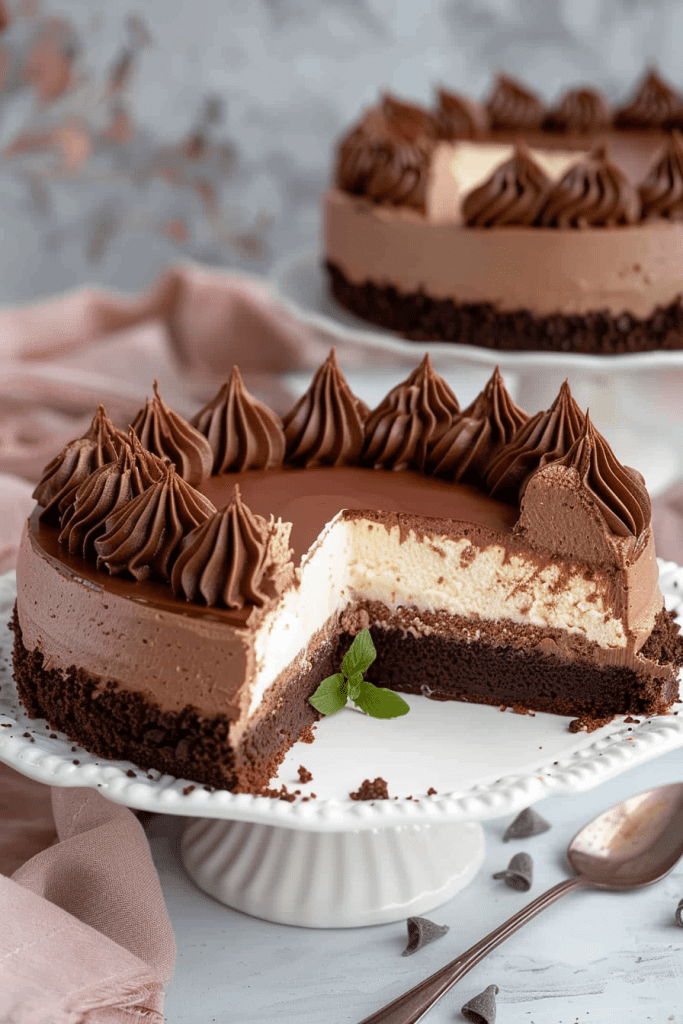
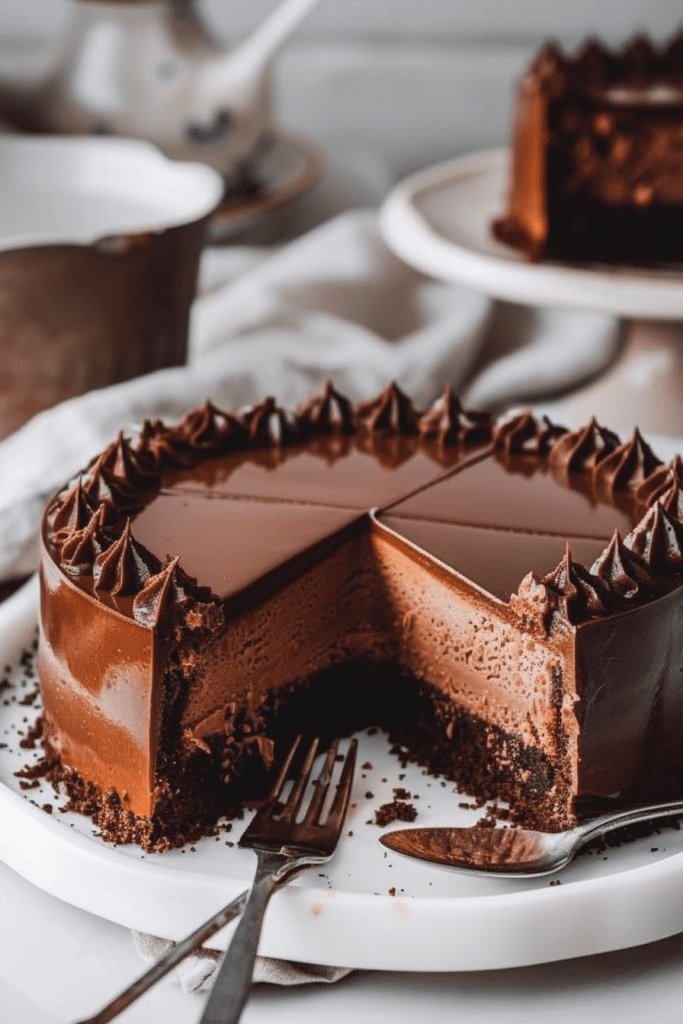
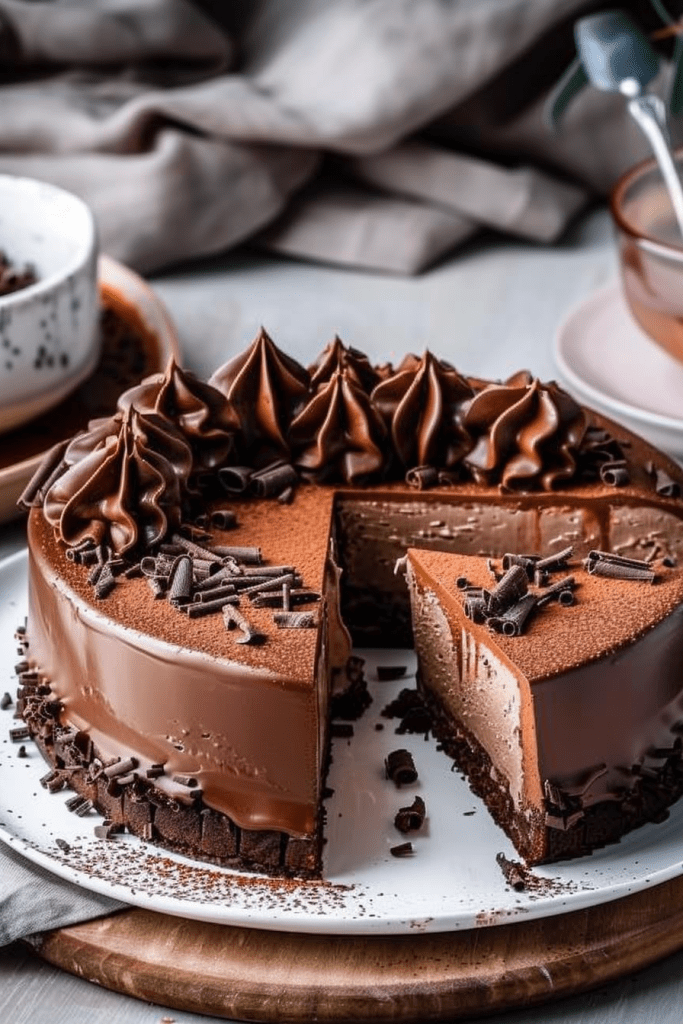
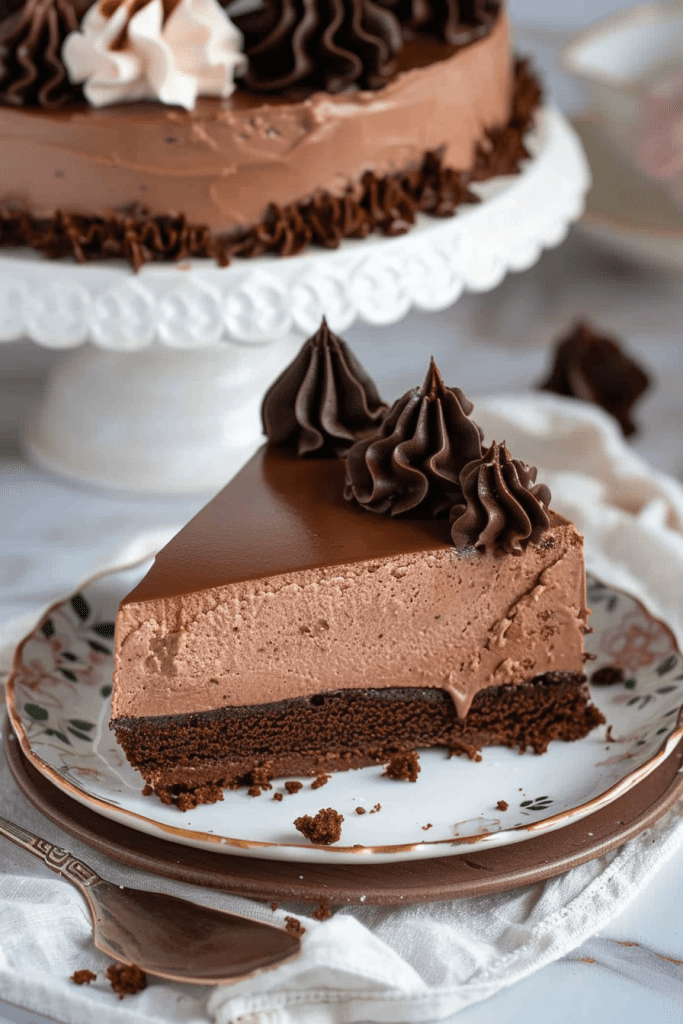
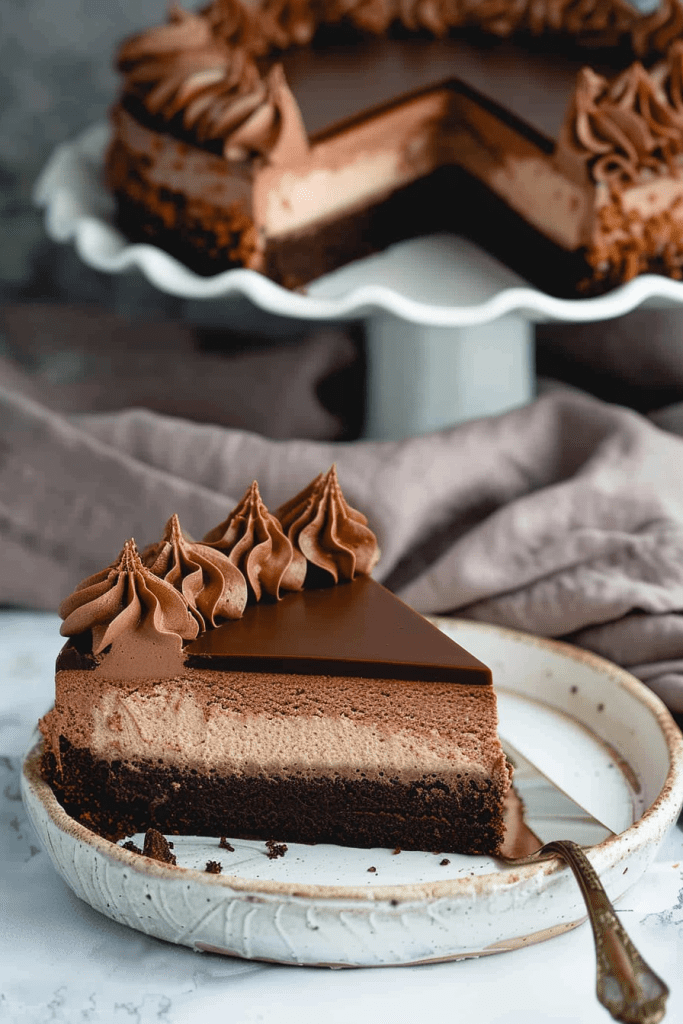
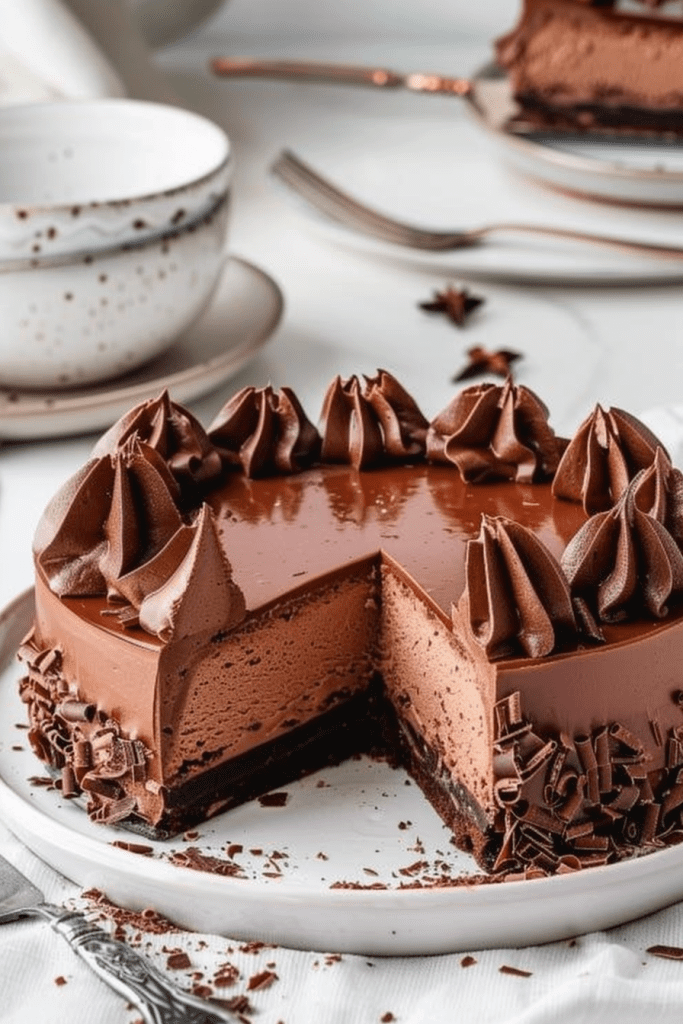
Craving a decadent dessert that will satisfy your sweet tooth cravings? Dive into the world of chocolate cheesecake recipes, where indulgence meets simplicity. This Ultimate Chocolate Cheesecake is a symphony of flavors – from the rich chocolate cookie crust to the velvety chocolate cheesecake filling, topped with a luscious chocolate ganache and delicate shavings of chocolate.
Whether you’re a chocolate lover or a cheesecake enthusiast, this recipe is a must-try. With basic ingredients found in your kitchen, you can create the best chocolate cheesecake you’ll ever taste. Versatile and easy to customize, this no-bake chocolate cheesecake opens the door to a realm of delicious possibilities.
Get ready to impress your taste buds and guests with this mouthwatering dessert. Stay tuned for the step-by-step guide to creating this heavenly chocolate cheesecake that will leave you craving for more.
Ingredients for Chocolate Cheesecake
Creating the perfect chocolate cheesecake requires a harmonious blend of essential ingredients readily available in your kitchen. Below are the key components you’ll need for the crust, filling, and topping:
For the Crust
- Chocolate cookie crumbs
- Butter
- White sugar
For the Filling
- Heavy whipping cream
- Chocolate chips
- Cream cheese
- White sugar
- Cocoa powder
- Eggs
- Vanilla extract
- Chocolate chips
- Heavy whipping cream
- Vanilla extract
These ingredients form the foundation of a decadent and indulgent chocolate cheesecake that will delight your senses with every bite.
Equipment Needed
To create a perfect chocolate cheesecake, you’ll need a few essential pieces of equipment to make the process seamless and enjoyable. Here’s what you’ll need:
1. Food Processor
A food processor is a handy tool for grinding the chocolate graham crackers into fine crumbs for the crust. It helps achieve a smooth texture that forms the base of your decadent cheesecake.
2. 9-Inch Springform Pan
A 9-inch springform pan is ideal for baking your chocolate cheesecake. This type of pan has removable sides, making it easier to release the cake once it’s done without damaging its shape.
3. Mixer
A stand mixer or a hand mixer is essential for combining the cream cheese, sugar, and other ingredients to create a creamy and smooth filling for your chocolate cheesecake. It ensures all components are well-blended for a perfect consistency.
4. Mixing Bowls
Having a set of mixing bowls in various sizes is crucial for preparing and mixing the ingredients for both the crust and the filling. They provide ample space for combining different elements efficiently.
5. Spatula
A spatula is invaluable for scraping down the sides of the mixing bowl and ensuring all ingredients are well incorporated. It helps maintain the integrity of the mixture and promotes even distribution of flavors.
6. Oven
Of course, you’ll need an oven to bake your chocolate cheesecake to perfection. Preheat it to 325°F before assembling the crust and filling to ensure the ideal baking temperature for a creamy and rich dessert.
7. Serving Platter
Once your chocolate cheesecake is ready to serve, a beautiful serving platter or cake stand will elevate its presentation. Consider garnishing the cake with crumbs, whipped cream, or berries for a stunning finish.
Having these essential pieces of equipment on hand will streamline the process of creating a show-stopping chocolate cheesecake that will delight your taste buds and impress your guests.
Prep Work
Before starting the assembly of the chocolate cheesecake, it’s essential to prepare the crust, mix the filling, and understand how to layer each component to achieve a perfect dessert. Follow these steps for a smooth baking experience.
Preparing the Crust
- Lightly grease a 9-inch springform pan by using cooking spray and paper towel, ensuring the edges are well-covered.
- Use a food processor or blender to grind chocolate cookies into fine crumbs.
- Stir in melted butter with the crumbs until evenly coated.
- Press the mixture firmly into the bottom and up the sides of the springform pan to create a thick crust.
- Refrigerate the crust while preparing the filling.
Mixing the Filling
- In a microwavesafe bowl, combine chocolate and 1/4 cup of heavy whipping cream. Melt the chocolate in 30-second increments in the microwave at 50% power, stirring occasionally.
- Chill a mixing bowl and whisk attachment in the freezer for 5-10 minutes. Beat heavy cream until soft peaks form, then add powdered sugar and beat until stiff peaks form.
- Beat cream cheese until smooth, adding sugar, vanilla, and melted chocolate until well combined.
- Slowly fold in the whipped cream until smooth and spread the filling evenly over the prepared crust.
- Refrigerate the cheesecake for at least 3-4 hours to set.
- Once the cheesecake has set, prepare another batch of whipped cream for piping borders using a large open star tip.
- Decorate the cheesecake with whipped cream borders and garnish with fresh fruit for a delightful presentation.
Baking the Chocolate Cheesecake
Baking the chocolate cheesecake is a crucial step in achieving that rich, creamy, and chocolatey dessert. Follow the detailed instructions below to bake your chocolate cheesecake to perfection.
Oven Temperature and Time
- Preheat your oven to 325 degrees F.
- Bake the chocolate cheesecake at 325 degrees F for 45 to 50 minutes.
- The cheesecake is ready when a toothpick inserted into the cake 1 inch from the edge comes out clean, and a digital thermometer reads 175 degrees F.
- After baking, turn off the oven, crack the door open, and let the cheesecake cool in the oven for 1 hour.
- Once cooled, remove the cheesecake from the oven and allow it to come to room temperature before refrigerating.
- To ensure even baking and prevent cracking, use a water bath for your chocolate cheesecake.
- Place your springform pan in a larger baking pan and fill the outer pan with hot water. The water level should be halfway up the side of the springform pan.
- The water bath will provide gentle heat around the cheesecake, resulting in a silky-smooth texture.
- Choose a pan that is as tall as the springform pan and has enough room for water circulation.
- The water bath method helps your cheesecake maintain its rich and creamy consistency.
Decorating and Adding Final Touches
After baking and cooling the chocolate cheesecake, it’s time to add the final decorations and touches that will make your dessert visually appealing and even more delicious.
Applying the Topping
To elevate the flavor and presentation of your chocolate cheesecake, prepare a luxurious ganache topping. Begin by microwaving heavy whipping cream until it just starts to boil. Pour it over a bowl of chocolate chips and allow it to sit for a couple of minutes. Whisk the mixture until smooth, then pour the ganache over the cooled cheesecake, spreading it evenly with an offset spatula. Place the cheesecake back in the refrigerator to set the ganache for about 30 to 45 minutes.
Garnishing Options
Once the ganache has set, it’s time to add the final garnishes to your chocolate cheesecake. Consider optional toppings like chocolate whipped cream, fresh raspberries, and a drizzle of raspberry coulis sauce. Get creative with your presentation by marking each slice before placing the garnishes. Remember, presentation is key to a delightful dessert experience.
Cooling and Setting
After decorating your chocolate cheesecake, it’s crucial to follow proper cooling and setting techniques to ensure a perfect texture and flavor. Let’s dive into the final steps to complete this delectable dessert.
Initial Cooling Phase
Once the cheesecake is fully assembled and decorated, it’s essential to allow it to cool initially at room temperature. This phase helps the flavors meld together and sets the ganache topping.
Refrigeration Time
After the initial cooling phase, transfer the cheesecake to the refrigerator and let it chill for at least a few hours. Refrigeration is key to achieving the ideal creamy texture and firmness of the cheesecake. Ensure it is covered properly to prevent any odors from the fridge affecting the dessert.
Tips for a Perfect Chocolate Cheesecake
Creating a perfect chocolate cheesecake can be a delightful experience if you remember a few key tips throughout the process.
Ingredient Substitutions
If you’re ever in a pinch or looking to add a unique twist to your chocolate cheesecake, here are some ingredient substitutions you can consider:
- Replace chocolate graham crackers with regular graham crackers or Oreos for a different crust flavor.
- Experiment with different types of chocolate, like dark chocolate or milk chocolate, for varied richness levels.
- Substitute sour cream with Greek yogurt for a tangier cheesecake filling.
- Use almond flour or coconut flour in the crust for a gluten-free alternative.
Avoiding Common Baking Issues
To ensure your chocolate cheesecake comes out perfectly every time, here are some common baking issues to avoid and tips to overcome them:
- Cracking: To prevent cracks on the surface of your cheesecake, avoid overmixing the batter and refrain from opening the oven door frequently during baking.
- Sinking: Ensure the cheesecake is fully set before removing it from the oven, and allow it to cool gradually to room temperature to prevent sinking in the center.
- Dry Texture: Overbaking can lead to a dry texture, so monitor the cheesecake towards the end of the baking time and remove it once the center is slightly jiggly.
By keeping these ingredient substitutions and baking tips in mind, you can elevate your chocolate cheesecake baking skills and create a decadent dessert that will impress your family and friends.
Storing Chocolate Cheesecake
After preparing a delicious chocolate cheesecake, it is essential to store it correctly to maintain its flavor and texture. Follow these guidelines for refrigeration, freezing, and thawing to enjoy your chocolate cheesecake for longer.
Refrigeration Guidelines
Once your no-bake chocolate cheesecake has set, store it in the refrigerator to keep it fresh and delicious. Remember to cover it airtight with plastic wrap, foil, or a cake carrier to prevent drying out. If you’ve sliced the cheesecake, cover any exposed edges to maintain its moisture and prevent skin from forming. Chocolate cheesecake should be refrigerated and can be stored for up to four days.
Freezing and Thawing Instructions
If you want to prepare your chocolate cheesecake ahead of time, it freezes wonderfully for up to two months. Ensure that the cheesecake filling is fully set in the fridge before freezing it. Press plastic wrap or parchment paper directly against the surface of the cheesecake to prevent condensation, then double wrap the whole cheesecake in another layer of plastic wrap or foil. Thaw the frozen cheesecake in the refrigerator overnight before serving. Add any whipped cream and toppings just before serving to enjoy your frozen chocolate cheesecake.
Conclusion
Creating a delectable chocolate cheesecake is a delightful journey that involves perfecting ingredient ratios, utilizing the right tools, mastering baking techniques, and ensuring proper cooling methods. The key to a successful chocolate cheesecake lies not only in the baking process but also in the crucial cooling and setting stage post-decoration. By following these guidelines and incorporating personalized touches, you can elevate your chocolate cheesecake game to new heights. Remember, experimentation with ingredient variations can lead to exciting flavor profiles. Lastly, storing your chocolate cheesecake correctly, whether in the refrigerator or freezer, will help preserve its taste and texture for extended enjoyment. Happy baking and indulging in your chocolate cheesecake creations!