
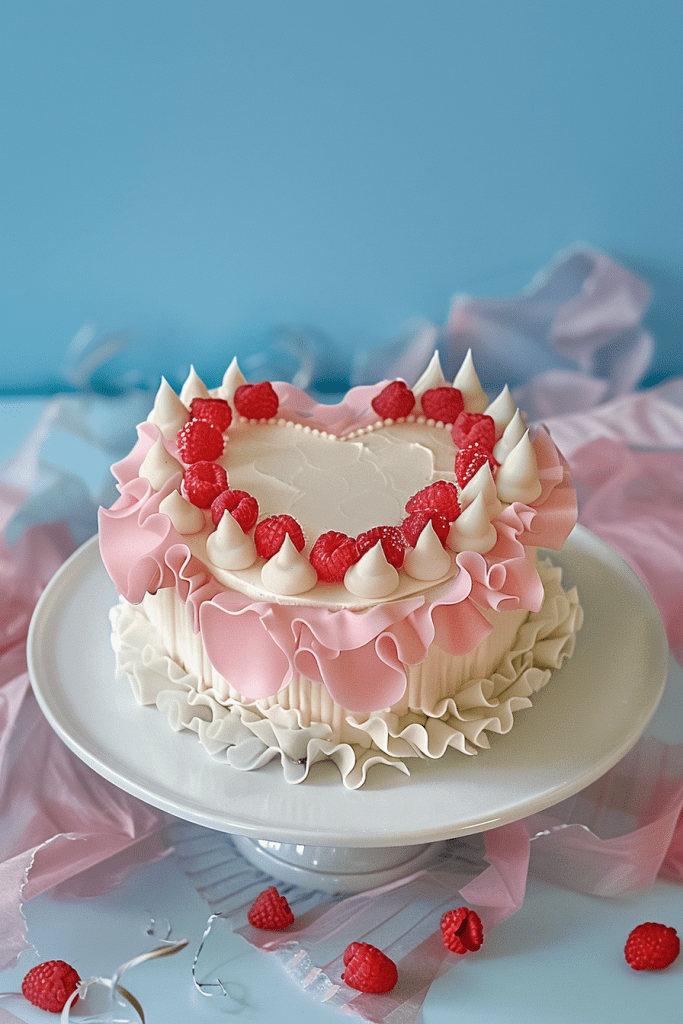
Looking to add a touch of whimsy and love to your baking repertoire? Dive into the delightful world of ruffle heart cake recipes. This charming twist on the classic ruffle cake design combines elegance with a hint of romance, perfect for special occasions or simply to spread some joy through baking.
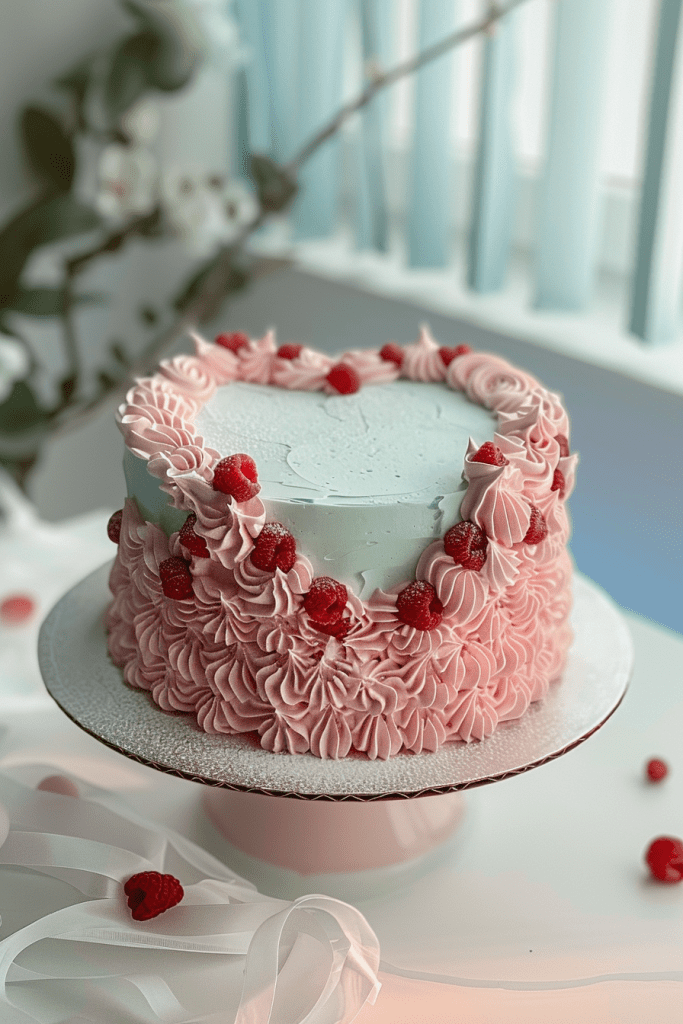
Crafted with layers of red velvet cake and whipped vanilla buttercream, this recipe promises a delectable treat that’s as visually stunning as it is delicious. The intricate ruffle detailing, coupled with a sweet heart motif, adds a playful flair to traditional cake decorating.
Join me as I guide you through the steps to create this enchanting ruffle heart cake. From baking the layers to assembling the final masterpiece, I’ll share tips and tricks to ensure your creation is not only a feast for the eyes but also a delight for the taste buds.
Ingredients
Creating a delightful ruffle heart cake requires a careful selection of quality ingredients to achieve the perfect balance of flavor and presentation. Let’s dive into the essential components that will make this cake a showstopper.
Cake Ingredients
- 2 cups of all-purpose flour
- 1 ½ cups of granulated sugar
- 1 teaspoon of baking powder
- ½ teaspoon of baking soda
- ½ teaspoon of salt
- 1 cup of buttermilk
- ½ cup of vegetable oil
- 2 large eggs
- 1 tablespoon of cocoa powder
- Red food coloring
Frosting Ingredients
- 1 cup of unsalted butter, softened
- 4 cups of powdered sugar
- 1 teaspoon of vanilla extract
- 2-3 tablespoons of heavy cream
- Pink fondant
- Sugar glue or water
- Small heart plunger cutter
- Pink ribbon
Equipment and Tools
As I embark on creating the perfect ruffle heart cake, I make sure to gather all the essential equipment and tools to bring my vision to life. Here’s a detailed list of everything I need to craft this enchanting dessert:
Equipment:
- Offset spatula: Essential for spreading and smoothing the buttercream over the cake.
- Bench scraper: I use this tool to create clean lines for the ruffles on the sides of the cake.
- Piping bag: To neatly apply the frosting on the cake, giving it a beautiful finish.
- Small heart plunger cutter: Perfect for creating dainty fondant hearts for decoration.
- Rolling pin: Used to roll out the pink fondant for the heart details.
- Round cutter: Ideal for cutting out circles of pink flower paste for the ruffle effect.
- Toothpick: Handy for tracing out the heart shape on the cake before decorating.
- Sugar glue or water: Used to attach fondant decorations securely.
- Pink ribbon: Adds a lovely finishing touch to the bottom of the cake.
- Clean, dry surface lightly dusted with icing sugar: Ensures a smooth rolling surface for the fondant.
- Small bowl for preparing sugar glue: To mix the sugar and water for a secure attachment.
- Heart-shaped envelope mold: Use this to create a unique and romantic topper for the cake.
With these equipment and tools in hand, I am ready to dive into the intricate process of crafting my ruffle heart cake masterpiece.
Preparing the Batter
To begin crafting the delicious ruffle heart cake, we’ll first focus on preparing the batter. This step is crucial to achieve the perfect texture and flavor for our delightful creation.
Mixing Dry Ingredients
First, gather all the dry ingredients required for the red velvet cake recipe. In a large mixing bowl, combine the flour, cocoa powder, baking soda, and salt. Ensuring that the dry ingredients are well mixed is essential for even distribution and uniform taste in the cake.
Combining Wet Ingredients
In a separate bowl, it’s time to combine the wet ingredients for the batter. Mix together the buttermilk, eggs, vanilla extract, vinegar, and red food coloring. The wet ingredients provide moisture and binding agents for the cake, creating a rich and vibrant base for our ruffle heart cake.
Merging the Mixtures
Once both the dry and wet ingredients are thoroughly mixed, it’s time to merge them together. Gradually add the dry ingredients into the wet mixture, stirring gently until just combined. Avoid overmixing to maintain the cake’s light and airy texture. The seamless merging of these mixtures is key to achieving a perfect batter for our enchanting ruffle heart cake.
Baking the Cake
As I dive into baking this enchanting ruffle heart cake, there are crucial steps to follow to ensure a delightful outcome. Let’s start with preparing the cake pans and then move on to baking and testing for doneness.
Preparing the Cake Pans
Before diving into the baking process, it’s essential to prepare the cake pans properly to ensure the cakes come out seamlessly. Here’s how I prepare my cake pans:
- Grease the cake pans with butter or cooking spray thoroughly.
- Dust the pans with flour, tapping out any excess to prevent sticking.
- Consider placing parchment paper at the bottom of the pans for even easier removal of the cakes once baked.
- Preheat the oven to the temperature specified in your red velvet cake recipe.
- Pour the cake batter evenly into the prepared cake pans.
- Place the pans in the preheated oven and bake according to the recipe instructions.
- To test for doneness, insert a toothpick or cake tester into the center of the cakes. If it comes out clean or with a few moist crumbs, the cakes are ready.
- Remove the cakes from the oven and let them cool in the pans for a few minutes before transferring them to a wire rack to cool completely.
Assembling the Cake
Leveling and Layering
To begin assembling the ruffle heart cake, place the first cake layer on a flat surface. Using a serrated knife, make two cuts at the top of the layer to create the pointed part of the heart shape. The smaller pieces cut off will form the rounded parts of the heart. Repeat this step with the remaining cake layers for a complete heart shape.
Applying the Crumb Coat
After layering the cake, it’s time to apply the crumb coat. Pipe out or spread whipped vanilla buttercream over the tops and sides of the cake. This initial layer acts as a crumb coat, sealing in any loose crumbs and creating a smooth surface for the final decorations. Chill the cake for about 15 minutes to set the crumb coat before moving on to the next step.
Frosting the Cake
After completing the cake assembly and applying the crumb coat, it’s time to move on to the next crucial step: frosting the cake. Here’s how I choose the right buttercream and apply the base layer of frosting.
Choosing the Right Buttercream
For frosting the ruffle heart cake, I recommend using a smooth and creamy buttercream that is easy to work with. Opt for a buttercream that holds its shape well to ensure a clean and professional finish. Whipped vanilla buttercream works great for this cake, providing a delicious taste and a sturdy base for decorations.
Applying the Base Layer of Frosting
To start frosting the cake, place a generous amount of buttercream on top of the chilled crumb-coated cake. Using an offset spatula, spread the buttercream evenly over the top of the cake, creating a smooth surface. Next, apply more buttercream to the sides of the cake and use a bench scraper to smooth and level the frosting. Continue frosting until the entire cake is covered in a uniform layer. Chilling the cake after applying the base layer will help the frosting set and prepare it for the final decorations.
Decorating the Cake
Decorating the cake is where the magic truly comes alive, transforming a simple cake into a masterpiece that will impress your guests. Let’s dive into the intricate details of creating the ruffle heart cake.
Preparing the Ruffle Design
To start off the decoration process, we need to prepare the ruffle design that will adorn the heart-shaped cake. Roll out a long, thin sausage of pink fondant with added tylose/cmc powder. Ensure the ruffles are rolled thinly to avoid bulkiness. Cut out a long strip, approximately 18cm long x 1cm wide, using an X-Acto knife and ruler.
Piping the Ruffles
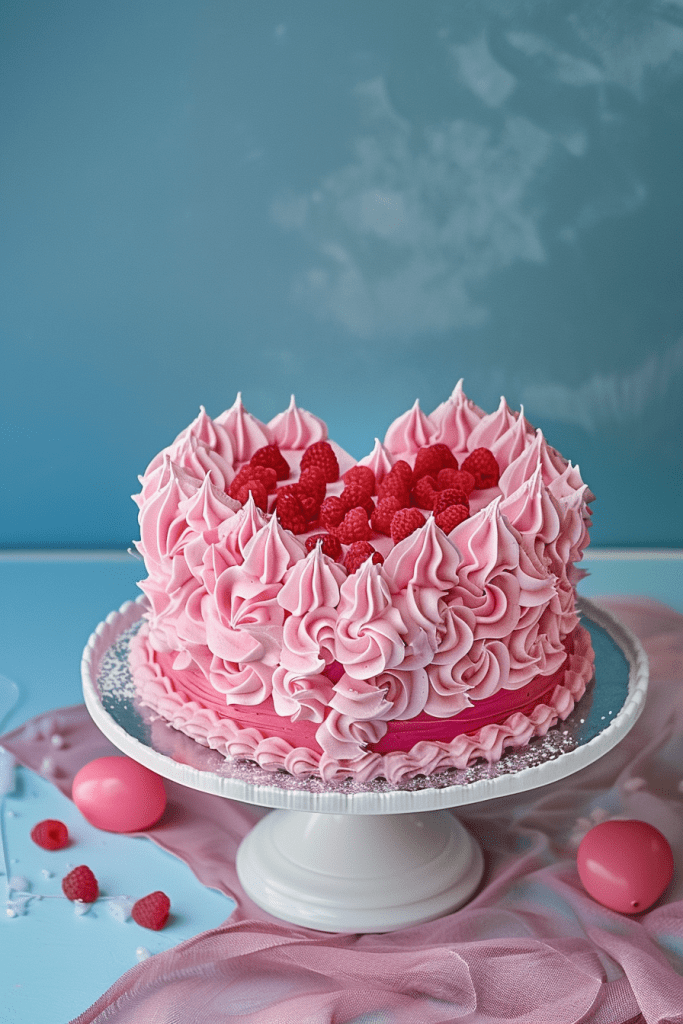
Once the heart-shaped cake has been prepped, it’s time to pipe the ruffles. Use a pastry bag fitted with a Wilton Tip 104 to pipe small round ruffle shapes on waxed paper, following the outline of the heart. By turning the waxed paper as you pipe, you can create a beautiful ruffled effect. After piping the heart shape, gently place it on a rounded container to set up with a slight curve.
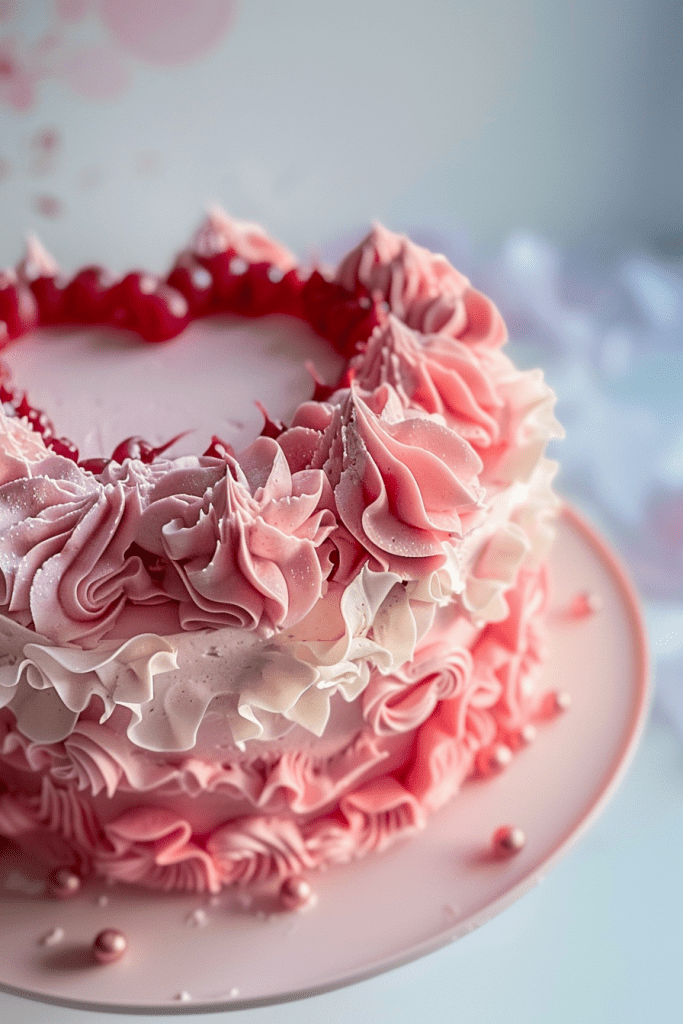
Adding Final Touches
For the finishing touches, pipe double ruffle garlands on the sides of the cake using a Wilton Tip 102. Create a ruffle texture by moving your hand up and down as you pipe a semicircle. Connect each ruffle garland with simple piped heart shapes using a Wilton Tip 32. The final step involves adding a complementary design by piping a white and red ruffle pattern into the heart, ensuring precision and staying within the lines of the heart shape.
Optional Customizations
As you venture into customizing your ruffle heart cake, consider adding vibrant hues to your buttercream and exploring unique flavor variations to elevate your creation.
Adding Color to Buttercream
For a personalized touch, experiment with adding various colors to your buttercream. Whether you prefer pastel shades for a delicate look or bold tones for a striking appearance, coloring your buttercream opens up endless creative possibilities. Utilize gel food coloring to achieve the desired intensity without altering the consistency of your frosting. Mix colors gradually to achieve custom hues and ensure even distribution by thoroughly incorporating the color into the buttercream.
Flavor Variations
Take your ruffle heart cake to the next level by exploring diverse flavor options for both the cake and frosting. Consider infusing your cake batter with extracts like almond or lemon for a unique twist on traditional flavors. Experiment with different types of fillings such as fruit preserves, chocolate ganache, or citrus curd to add layers of taste and texture to your cake. When it comes to frosting, think outside the box by incorporating extracts, spices, or liqueurs for a sophisticated flavor profile. Don’t be afraid to combine complementary flavors to create a harmonious and delectable experience for your taste buds.
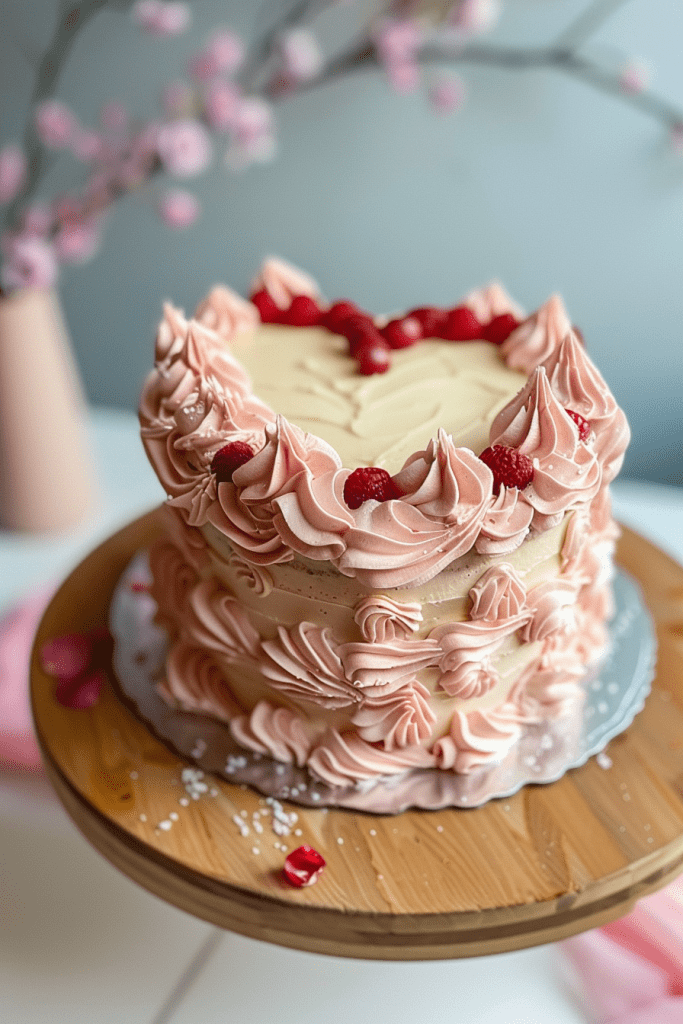
Conclusion
Creating ruffle heart cakes is a delightful way to showcase your baking skills while adding a touch of elegance to any special occasion. By following the detailed steps outlined in this article, you can craft a stunning dessert that not only looks impressive but also tastes divine. Experimenting with different colors and flavors allows you to personalize your ruffle heart cake and make it truly unique. Whether you’re a baking enthusiast looking to try something new or a seasoned pro seeking fresh inspiration, ruffle heart cakes offer endless possibilities for creativity. So, gather your ingredients, unleash your imagination, and let your ruffle heart cake creation become a show-stopping centerpiece at your next celebration.