
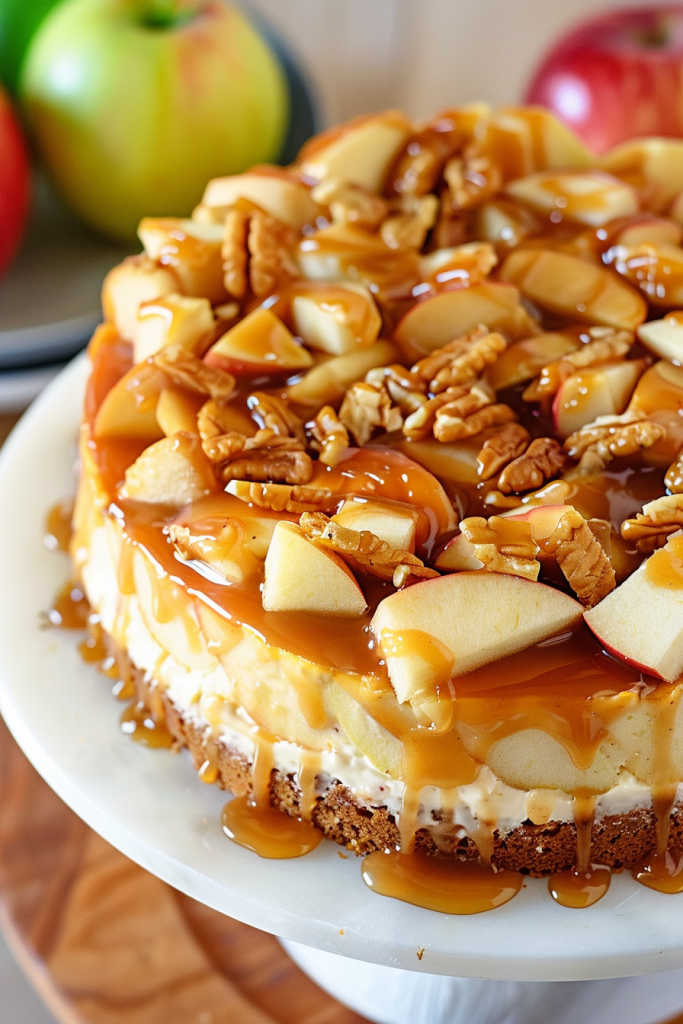
Get ready to indulge in the ultimate Fall dessert experience with my irresistible Caramel Apple Cheesecake recipe. Picture a luscious cheesecake infused with cozy cinnamon apples, drizzled with a heavenly homemade caramel sauce, and topped with tender spiced apple slices. This decadent treat captures the essence of the season in every bite, perfect for Thanksgiving or any gathering where you want to impress.
As a fall enthusiast, I can’t resist the allure of caramel apples during apple picking season. This recipe combines the best of both worlds, blending the classic flavors of caramel apples with the creamy richness of cheesecake. Fall is a time to savor the bounty of seasonal produce like apples, pumpkins, and sweet potatoes, and this cheesecake is a delicious celebration of autumn’s harvest.
Embrace the warmth and comfort of fall with this Caramel Apple Cheesecake that’s sure to become a favorite in your dessert repertoire. Join me in exploring the delightful flavors of the season with this indulgent and satisfying treat.
Ingredients
Creating the perfect Caramel Apple Cheesecake requires a harmonious blend of ingredients that complement each other’s flavors and textures throughout every layer of this decadent dessert.
For the Crust
- 2 cups graham cracker crumbs
- 5 tablespoons salted butter, melted
- 2 tablespoons light brown sugar
- 1 medium Honeycrisp or Granny Smith apple, peeled, cored, and thinly sliced
For the Cheesecake Filling
- Nonstick cooking spray
- Room temperature ingredients
- 2 cups granulated sugar
- 1 teaspoon vanilla extract
- 3 large eggs
- 24 ounces cream cheese, softened
For the Apple Topping
- 1 small Granny Smith apple
- 3 tablespoons light brown sugar
- 1/2 teaspoon ground cinnamon
- 1/4 teaspoon nutmeg
- 2 tablespoons unsalted butter
- 1 cup granulated sugar
- 6 tablespoons unsalted butter, room temperature
- 1/2 cup heavy cream
- 1 teaspoon salt
Equipment Needed
When preparing this indulgent Caramel Apple Cheesecake, having the right equipment on hand is crucial to ensure a successful baking experience. Here’s a list of essential tools you’ll need to create this delightful dessert:
- 9-inch Pie Plate
- Mixing Bowls
- Electric Mixer
- Saucepan
- Oven
- Spatula
- Measuring Cups and Spoons
- Oven Mitts
- Serving Plate
Preparation Steps
Preparing the Crust
To begin, prepare an 8-inch round springform pan by coating it with nonstick cooking spray and wrapping the outside with foil to prevent leaks. For the crust, combine vanilla wafer crumbs, melted butter, and brown sugar in a bowl, then press the mixture into the pan. After baking the crust, cover the pan with aluminum foil to protect it during the water bath.
Making the Cheesecake Filling
In a large bowl, blend cream cheese, brown sugar, flour, and cinnamon on low speed until smooth and well combined. Add sour cream, applesauce, and caramel sauce, then slowly mix in the eggs one at a time. Scrape the sides of the bowl to ensure thorough mixing. Pour the cheesecake filling into the prepared crust and place the pan in a larger roasting pan before baking.
Preparing the Apple Topping
Slice and chop apples, then mix them with brown sugar, lemon juice, and cinnamon. Layer the apples on top of the cheesecake filling for a delicious and fruity topping.
Creating the Caramel Sauce
Prepare a caramel sauce by combining chewy caramel candies and heavy cream in a saucepan over low heat until melted and smooth. Drizzle the caramel sauce generously over the apple-topped cheesecake to add a decadent finish.
Baking the Cheesecake
After assembling the delicious layers of caramel apple cheesecake, it’s time to bake it to perfection. Follow the steps below for a mouthwatering dessert experience.
Assembling the Layers
- Prepare the Cheesecake: After layering the graham cracker crust, creamy cheesecake filling, and flavorful apple topping, ensure everything is evenly distributed and smooth for a perfect bake.
- Add the Caramel Sauce: Drizzle the caramel sauce over the top of the apple-topped cheesecake, creating a decadent finish that will add a rich flavor to each bite.
Baking Instructions
- Preheat the Oven: Set your oven to 325°F for a slow and even baking process that will guarantee a creamy texture in the cheesecake.
- Bake the Cheesecake: Place the assembled cheesecake in the preheated oven and bake until the edges are firm, and the center jiggles slightly. This gentle jiggle indicates the perfect doneness of the cake.
- Check for Doneness: Carefully shake the cheesecake in the oven mitts to see if only a small circle in the center jiggles slightly. If it jiggles more, bake for a little longer until the desired firmness is achieved.
- Adjust Baking Time: Since baking times can vary, check the cheesecake at 75 minutes and add extra time as needed to ensure it bakes to perfection.
- Cooling Process: Once baked, allow the cheesecake to cool at room temperature. This gradual cooling process helps in setting the cheesecake for a creamy and luxurious texture.
- Refrigerate for Setting: For best results, refrigerate the cheesecake after it has cooled to room temperature. Chilling the cheesecake will enhance its flavors and help it set properly before serving.
Serving and Presentation
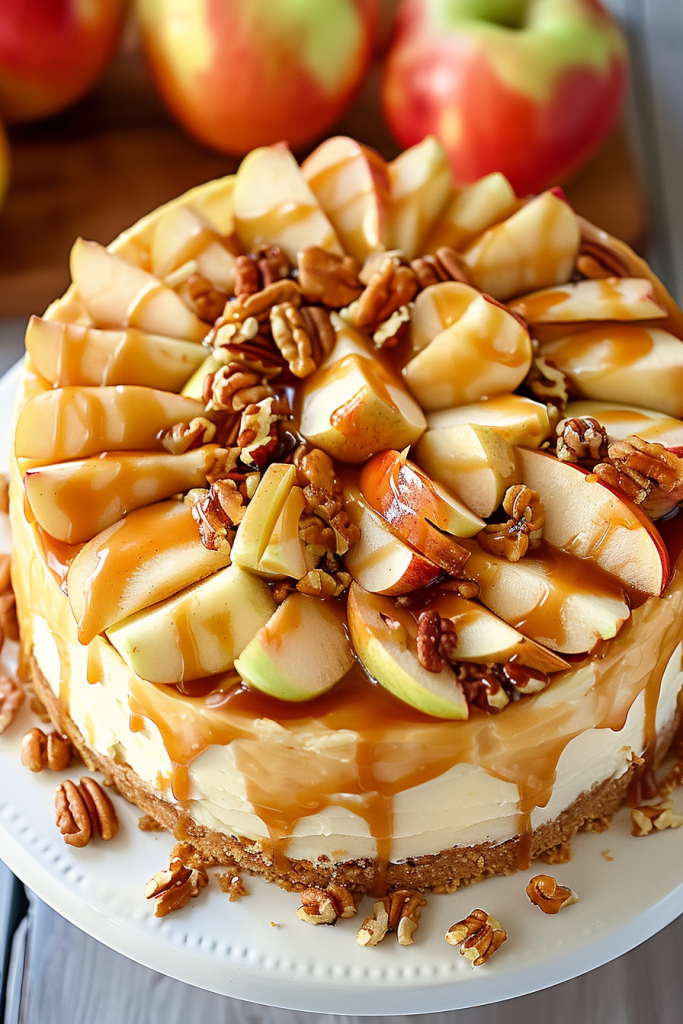
Adding Final Touches
After the cheesecake has cooled and set in the refrigerator, add a final touch by drizzling additional caramel sauce over the top. This extra layer of sweetness and presentation enhances the overall look and taste of the caramel apple cheesecake.
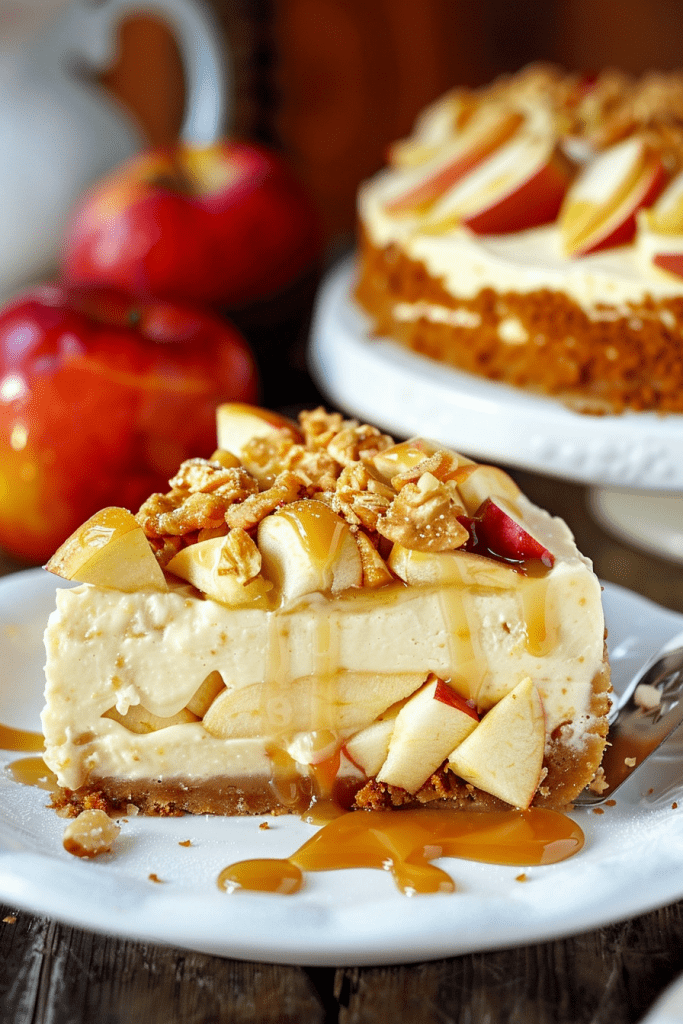
Serving Suggestions
For an elegant presentation, garnish each slice of the caramel apple cheesecake with a sprinkle of cinnamon or a dollop of whipped cream. Serve chilled for the best texture and flavor experience. This dessert is perfect for autumn gatherings, holidays, or any special occasion where you want to impress your guests with a decadent treat.

Storage Tips
When it comes to storing your delicious caramel apple cheesecake, proper handling is key to maintaining its flavor and texture over time. Here are some essential storage tips to keep your dessert fresh and scrumptious.
Refrigerating Your Cheesecake
After indulging in a slice of this heavenly treat, it’s crucial to store the remaining cheesecake properly. Once your cheesecake has cooled and set in the refrigerator overnight, cover it with foil or transfer it to a cake caddy with a lid. Chill the cheesecake in the refrigerator for at least 24 hours to allow the flavors to meld and intensify. Remember, a chilled cheesecake not only tastes better but also offers a delightful creamy texture that is sure to impress your guests.
Freezing Instructions
If you want to prepare your caramel apple cheesecake in advance or save some for later, freezing is a convenient option. This dessert can be made up to 2 days ahead of time, giving you the flexibility to plan ahead for gatherings or special occasions. To freeze your cheesecake, ensure it is baked, cooled, and chilled. Store it covered in the refrigerator overnight to thaw properly before serving. Note that the streusel topping may become slightly softer after freezing and thawing, but the delicious taste will remain intact.
Conclusion
Creating a Caramel Apple Cheesecake is a delightful way to infuse the flavors of fall into a creamy and indulgent dessert. By combining the sweetness of caramel apples with the richness of cheesecake, you can impress your guests with a show-stopping treat. Remember to follow the detailed steps for a perfect graham cracker crust, luscious cheesecake filling, and apple topping. Proper storage is key to enhancing the flavors, so refrigerate the cheesecake for optimal taste. Whether for a cozy autumn gathering or a special celebration, this recipe is sure to be a crowd-pleaser. Enjoy the creamy texture and delicious blend of caramel, apples, and cheesecake in every bite.